
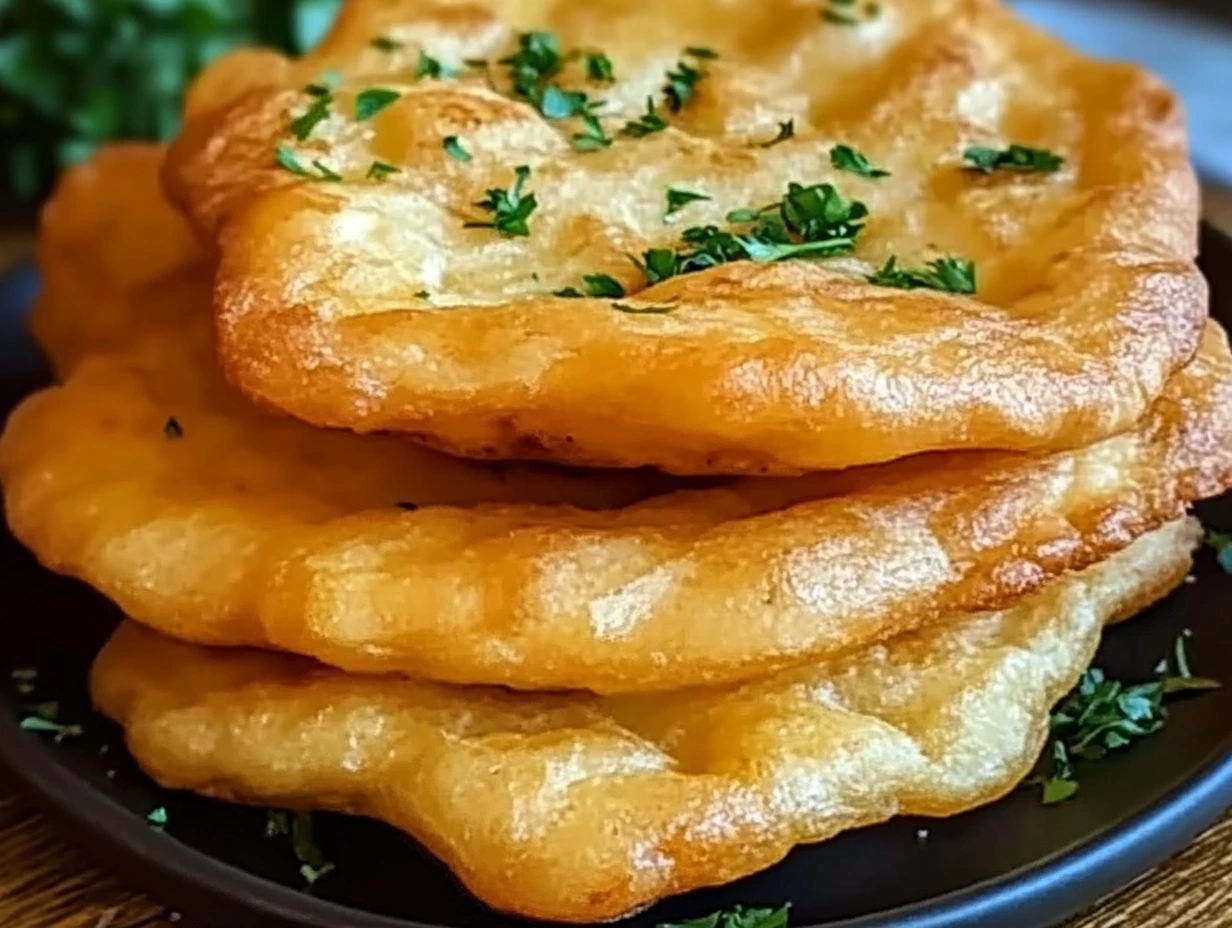
There’s just something magical about a piece of warm, golden fry bread fresh out of the oil. It’s puffy, slightly chewy, and crisp on the edges—the perfect blank canvas whether you’re dreaming of a sweet treat drizzled with honey or a hearty Indian taco loaded with all your favorite toppings.
This Traditional Indian Fry Bread recipe is one of those comfort foods that instantly makes you feel at home. Whether you grew up enjoying it at family gatherings or you’re trying it for the first time, you’re going to fall in love with how simple, delicious, and versatile it is. Honestly, every time I make a batch, it disappears faster than I can fry the next piece!
What I especially love about this recipe is that it only calls for a handful of pantry staples—flour, baking powder, salt, water, and oil. That’s it! No complicated ingredients, no fancy equipment. Just pure, simple goodness that’s perfect for busy weeknights, special occasions, or a cozy Sunday at home.
Let’s get started and make some magic happen in your kitchen!
Ingredients You’ll Need
For the Dough:
2 cups all-purpose flour (plus extra for dusting)
1 tablespoon baking powder
1/2 teaspoon salt
1 cup warm water (adjust as needed)
2 to 3 tablespoons vegetable oil (or melted shortening)
For Frying:
Vegetable oil or shortening (for deep frying, about 2 to 3 cups)
Optional Toppings:
Honey and powdered sugar (for a sweet version)
Taco fillings (ground beef, lettuce, cheese, salsa, etc.)
Stewed beans or chili (for a savory option)
Step 1: Make the Dough
First things first, grab a large mixing bowl. In it, whisk together the flour, baking powder, and salt. You want to make sure everything’s evenly combined so you get a nice, even rise when frying.
Next, add in the vegetable oil (or melted shortening) and mix it into the flour mixture. You’re aiming for a texture that looks a bit like coarse crumbs—think of making pie dough. Then, slowly pour in the warm water, a tablespoon at a time. Stir it together with a fork or dive right in with your hands (my favorite method!) until a soft, pliable dough forms.
The key here is not to overwork it. You want the dough smooth but not sticky. If it’s feeling a bit wet, sprinkle in a little extra flour. If it’s too dry, a splash more warm water will do the trick.

Step 2: Rest the Dough
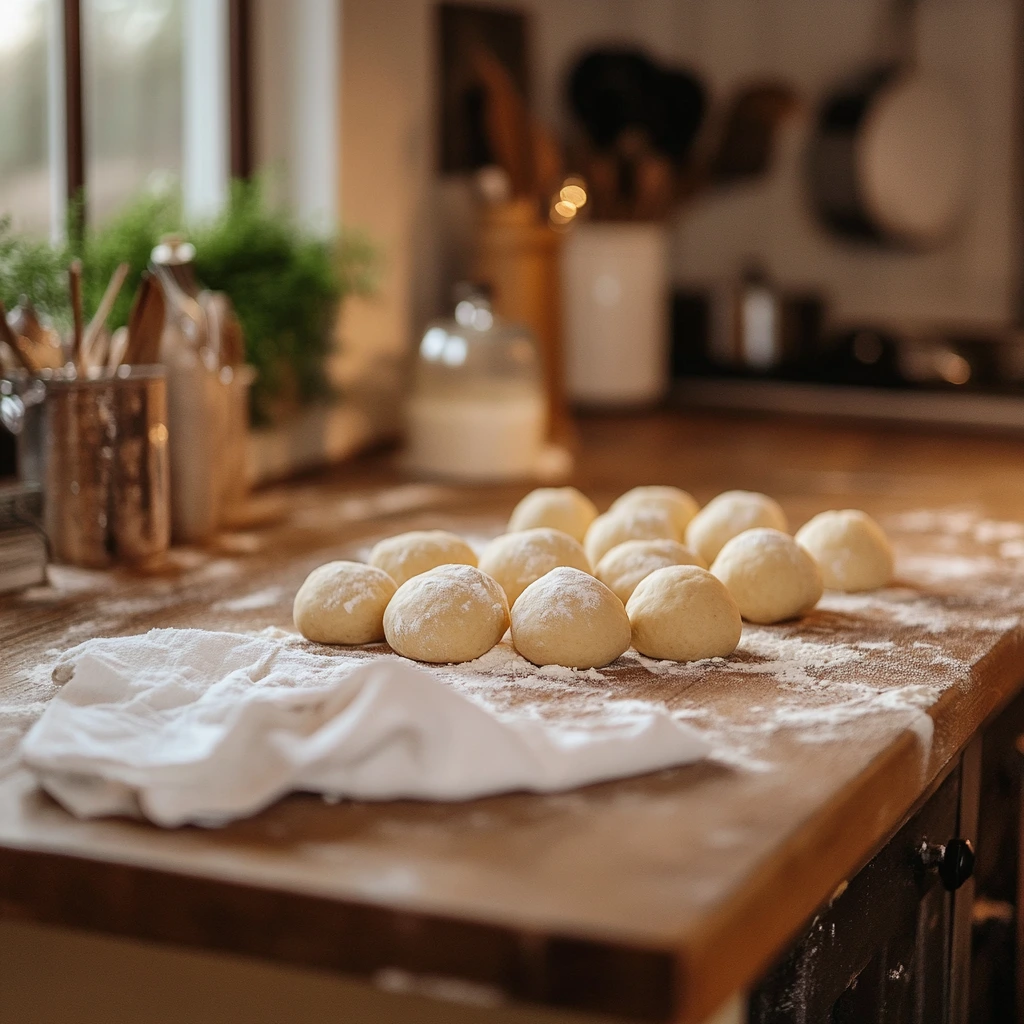
Once your dough is ready, turn it out onto a lightly floured surface and knead it gently for about 2 to 3 minutes. You’re just looking to smooth it out—not work it like bread dough.
After kneading, divide the dough into 8 to 10 equal-sized balls. Don’t worry if they’re not perfect; homemade is beautiful because it’s a little imperfect! Cover the dough balls with a clean kitchen towel and let them rest for about 10 to 15 minutes.
This little resting period lets the gluten relax, making it way easier to roll out the dough without it snapping back on you.
Step 3: Roll Out the Dough
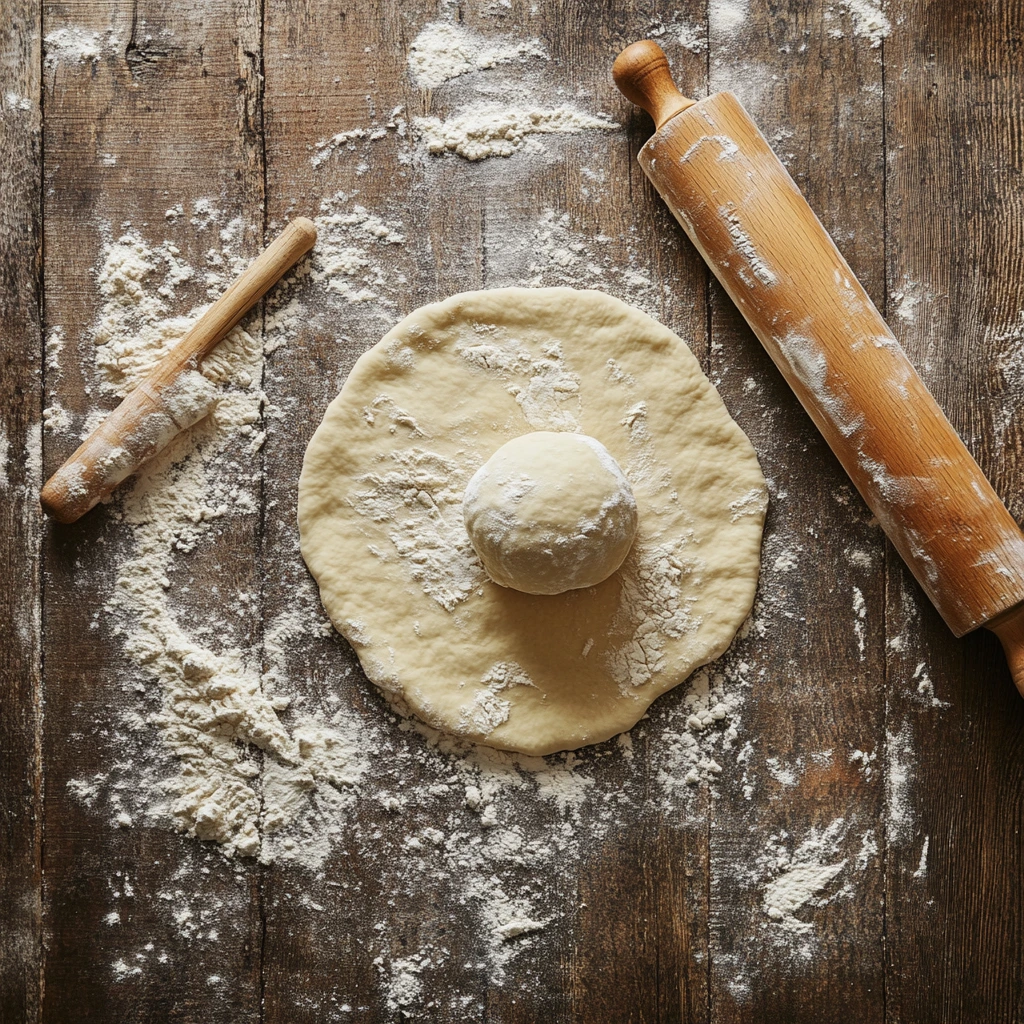
Now for the fun part! Lightly flour your surface and rolling pin, and gently roll each ball into a circle or oval about 1/4-inch thick. Try not to roll them too thin—you want a little thickness so they puff up beautifully when they hit that hot oil.
And remember, they don’t have to be perfect circles. A little rustic shape adds character (and flavor, in my opinion)!
How to Fry Traditional Indian Fry Bread to Crispy Perfection
Alright, now that our dough is rolled and ready, it’s time for the most exciting part—frying! Don’t worry if you’ve never deep-fried anything before. This recipe is very forgiving, and I’ll walk you through every step to make sure your fry bread comes out golden, puffy, and absolutely irresistible.
And trust me, once you fry your first piece and watch it puff up in the oil, you’ll feel like a total kitchen rockstar.
Step 4: Fry the Bread
Start by heating about 1 to 2 inches of vegetable oil or shortening in a deep skillet or heavy pot. You want the oil to reach a temperature of about 350°F to 375°F. If you have a thermometer, great! If not, no worries—you can just drop a small scrap of dough into the oil. If it sizzles and floats to the top right away, you’re good to go.
Carefully place one piece of your rolled dough into the hot oil. I usually fry one or two pieces at a time to keep the oil temperature steady and avoid overcrowding.
You’ll see the dough puff up almost immediately, creating those lovely bubbles that make fry bread so unique. Fry each side for about 1 to 2 minutes, or until beautifully golden brown. Use tongs to flip the bread gently, and once it’s done, transfer it to a plate lined with paper towels to drain any excess oil.
Repeat the process with the remaining dough, making sure your oil stays hot enough between batches.
Tip:
If your bread isn’t puffing up much, your oil might not be hot enough. And if it’s browning too quickly without cooking through, it’s probably a little too hot. Adjust the heat as needed, and you’ll get the hang of it quickly.
Step 5: Serve and Enjoy
Now comes the best part—eating! While fry bread is amazing all by itself (seriously, try it warm with just a pat of butter), it’s also the perfect base for both sweet and savory creations.
For a sweet treat:
Drizzle your fry bread with honey and dust it with powdered sugar. You could even sprinkle a little cinnamon sugar on top if you’re feeling fancy.
For a savory meal:
Load it up like a taco! Some of my favorite toppings include seasoned ground beef, shredded lettuce, diced tomatoes, shredded cheese, sour cream, and salsa. You can also get creative with pulled pork, stewed beans, chili, or roasted veggies.
Fry bread really is like a blank canvas—you can make it as simple or as loaded as you want.
Helpful Tips for the Best Fry Bread
Don’t overwork the dough:
Mix it until just combined and knead lightly. Overworking the dough can make the bread tough instead of light and puffy.Keep the oil temperature steady:
Too hot, and your bread will burn. Too cool, and it will soak up too much oil and turn greasy. Aim for that 350°F to 375°F sweet spot.Serve it fresh:
Fry bread is at its best when it’s hot and fresh. If you have leftovers, you can reheat them in a hot skillet or oven to bring back some of that crispiness.Dust lightly with flour when rolling:
Use just enough flour to prevent sticking, but not so much that it makes the dough dry.Customize your toppings:
Sweet, savory, simple, or loaded—the possibilities are endless. Make it your own depending on the meal or the occasion!
Traditional Indian Fry Bread Recipe: FAQs and Final Tips
Before you grab your ingredients and start frying, let’s go over a few common questions. Whether you’re a first-timer or just looking for a few extra tips, this FAQ section should have you covered!
Frequently Asked Questions
1. Why is my fry bread tough instead of soft and puffy?
Tough fry bread usually happens when the dough is overmixed or over-kneaded. Try to handle the dough as little as possible—just enough to bring it together smoothly. Also, make sure your dough isn’t too dry.
2. Can I make the dough ahead of time?
Yes! You can make the dough a few hours ahead and keep it covered with a damp towel or plastic wrap in the fridge. Let it come back to room temperature before rolling and frying for best results.
3. What’s the best oil for frying fry bread?
Vegetable oil, canola oil, or shortening are all great choices. They have a neutral flavor and high smoke points, making them ideal for frying.
4. How do I keep fry bread warm if I’m cooking for a crowd?
Place the cooked fry bread on a baking sheet lined with paper towels and keep it in a warm oven (about 200°F) while you finish frying the rest. This way, everyone gets to enjoy it hot and crispy.
5. Can I bake fry bread instead of frying it?
Traditional fry bread is meant to be fried for that signature puff and texture. Baking won’t give you quite the same result, but if you want to try, bake at 400°F until golden, flipping once during baking.
6. How do I store and reheat leftovers?
Store any leftovers in an airtight container at room temperature for up to one day. To reheat, pop them into a hot oven (around 350°F) for a few minutes until warmed through and crispy again. A quick warm-up in a dry skillet works well, too.
7. Can I freeze fry bread?
Yes, you can! After frying and cooling completely, wrap individual pieces tightly in plastic wrap and freeze. When ready to eat, reheat in a 350°F oven until hot and slightly crispy.
Final Thoughts: Make This Traditional Indian Fry Bread Your Own
I truly hope this Traditional Indian Fry Bread recipe finds a special place in your kitchen like it has in mine. There’s something so satisfying about making a simple, homemade bread that brings so much joy to a meal.
Whether you’re piling yours high with taco toppings, serving it alongside a hearty stew, or just savoring it with a drizzle of honey, fry bread is one of those timeless recipes that brings people together. It’s perfect for family dinners, potlucks, and casual get-togethers—and it’s always a hit.
If you try this recipe, I’d love to hear how it turned out! Feel free to share your favorite toppings, any twists you added, or even if you made a big batch just to snack on. There’s no wrong way to enjoy fry bread, and the best part is making it your own.
Happy frying, and I hope your kitchen is filled with the wonderful smell of fresh, golden fry bread very soon!
Print
Traditional Indian Fry Bread Recipe
- Author: Andrew Recipes
Description
Traditional Indian Fry Bread is a beloved, versatile dish with deep cultural roots, known for its light, puffy texture and golden exterior. It can be served sweet with honey and powdered sugar, or savory as the base for hearty Indian tacos. Simple ingredients and quick preparation make this a go-to comfort food, perfect for gatherings or family dinners.
Ingredients
For the Dough:
2 cups all-purpose flour (plus extra for dusting)
1 tablespoon baking powder
1/2 teaspoon salt
1 cup warm water (adjust as needed)
2 to 3 tablespoons vegetable oil (or melted shortening)
For Frying:
Vegetable oil or shortening (for deep frying, about 2 to 3 cups)
Optional Toppings:
Honey and powdered sugar (for sweet fry bread)
Taco fillings (ground beef, lettuce, cheese, salsa, etc.)
Stewed beans or chili (for a savory dish)
Instructions
Step 1: Make the Dough
In a large mixing bowl, whisk together the flour, baking powder, and salt. Add the vegetable oil or melted shortening and mix until the texture resembles coarse crumbs. Gradually add the warm water, one tablespoon at a time, mixing with a fork or your hands until a soft dough forms. The dough should be smooth and pliable but not sticky. Adjust with a little extra flour or water as needed.
Step 2: Rest the Dough
Knead the dough gently on a floured surface for 2 to 3 minutes until smooth. Divide the dough into 8 to 10 equal-sized balls. Cover them with a clean kitchen towel and let them rest for 10 to 15 minutes to relax the gluten, which makes rolling easier.
Step 3: Roll Out the Dough
On a lightly floured surface, roll each dough ball into a circle or oval about 1/4-inch thick. Avoid rolling them too thin, as they will puff up during frying and you want them to be slightly chewy inside.
Step 4: Fry the Bread
Heat about 1 to 2 inches of oil in a deep skillet or pot over medium-high heat until it reaches 350°F to 375°F (175°C to 190°C). If you don’t have a thermometer, drop a small piece of dough into the oil; it should sizzle immediately and float to the top. Carefully place one piece of rolled dough into the hot oil. It will puff up almost instantly. Fry for 1 to 2 minutes per side, or until golden brown and crispy. Use tongs to flip and remove the fry bread, placing it on a paper towel-lined plate to drain excess oil. Repeat with the remaining dough.
Step 5: Serve and Enjoy
Serve the fry bread warm with your choice of toppings. For a sweet version, drizzle with honey and sprinkle with powdered sugar or cinnamon sugar. For a savory meal, load it with seasoned ground beef, shredded lettuce, diced tomatoes, cheese, and salsa to create Indian Tacos. You can also enjoy fry bread simply with a pat of butter or your favorite jam.
Notes
Fry bread is best enjoyed fresh, but leftovers can be stored in an airtight container at room temperature for a day. Reheat briefly in a hot oven or skillet to restore some of the crispiness. Be sure not to overwork the dough to keep it tender, and monitor the oil temperature carefully to avoid greasy or undercooked bread. Adjust toppings to suit the occasion, from breakfast to dinner to dessert.

