There’s something truly magical about rhubarb. Maybe it’s that bright pink hue or its tangy punch that wakes up your taste buds. Either way, it’s a springtime staple in my kitchen, and these Twice-Baked Rhubarb Cheesecake Bombs are one of my favorite ways to show it off. If you’re like me and love a dessert that’s creamy, fruity, and just a little bit fancy (without all the work), you’re going to love these.
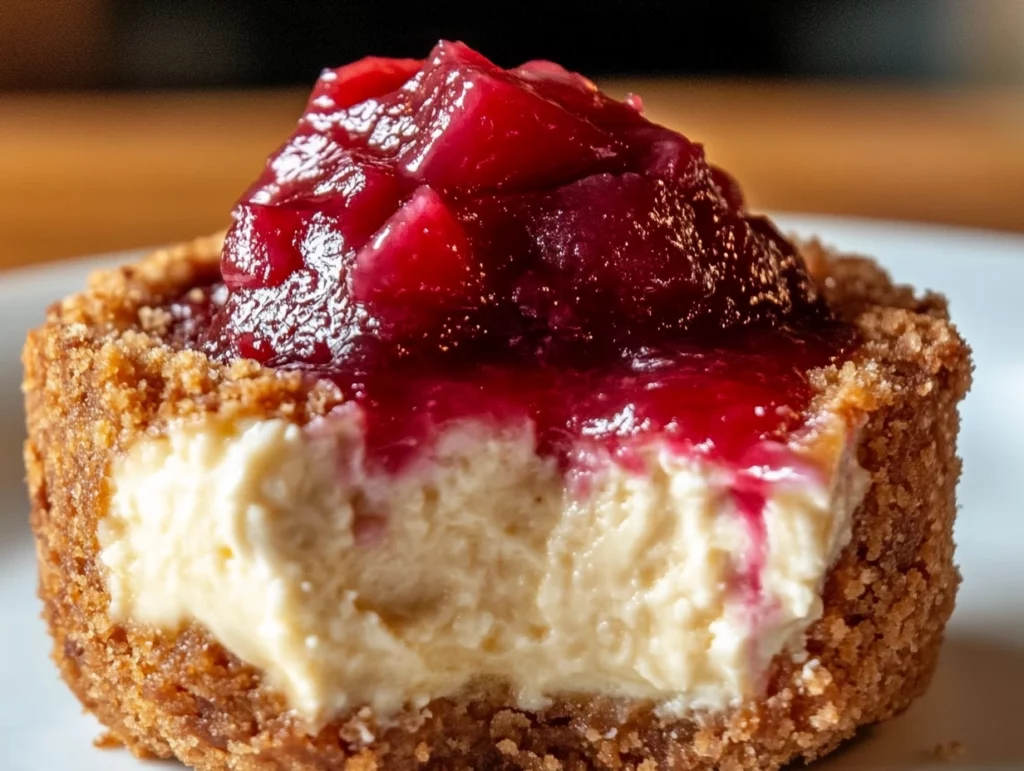
I whipped these up for a small garden get-together last weekend, and let me just say—they disappeared faster than anything else on the dessert table. What makes them extra special? They’re baked twice, just enough to give them structure and a gorgeous finish, but still keep that luscious texture you want in a cheesecake. And the rhubarb topping? Tart, jammy, and so perfectly balanced by the rich cream cheese filling.
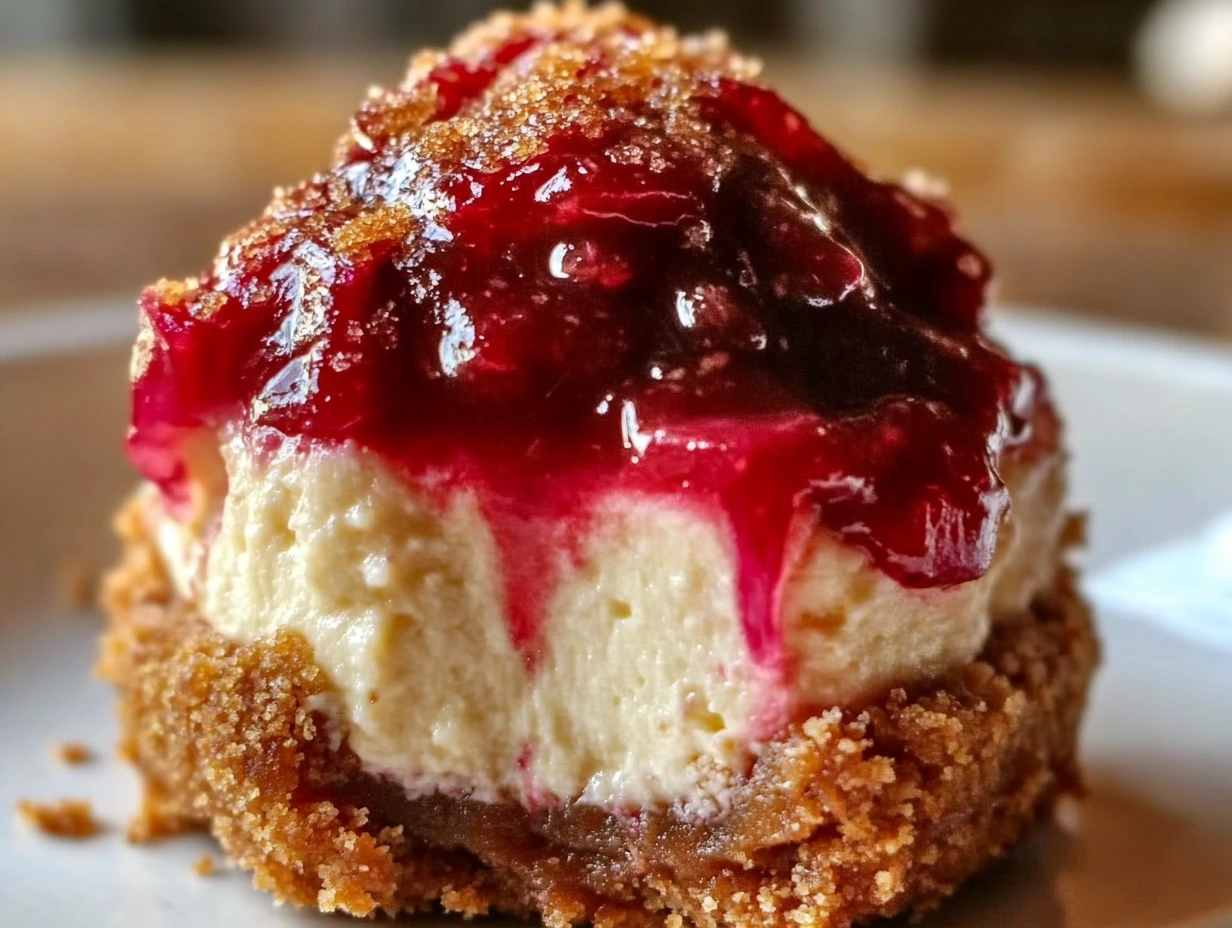
We’re talking a buttery graham cracker crust, smooth cheesecake, and a tangy rhubarb compote layered right on top—all made in muffin tins so you get that perfect single-serving treat. Trust me, you won’t be able to eat just one.
Ready to make them? Let’s get into it.
Ingredients You’ll Need
For the crust:
1 cup graham cracker crumbs
2 tablespoons sugar
4 tablespoons unsalted butter, melted
For the cheesecake filling:
1 (8 oz) package cream cheese, softened
½ cup sugar
1 large egg
1 teaspoon vanilla extract
For the rhubarb topping:
1 cup chopped fresh rhubarb
¼ cup sugar
1 tablespoon water
1 teaspoon cornstarch
STEP-BY-STEP INSTRUCTIONS
Step 1: Preheat Your Oven and Prep the Pan
Start by preheating your oven to 350°F (175°C). You’ll want to lightly grease a standard muffin tin—just a little spray or butter will do. These cheesecake bombs don’t rise much, so no need for cupcake liners unless you want easy cleanup.

Step 2: Make That Buttery Graham Cracker Crust
In a medium bowl, mix together the graham cracker crumbs, sugar, and melted butter. It should look like damp sand, and if you pinch a bit between your fingers, it should stick together. Spoon the mixture evenly into the bottoms of your muffin cups. Press it down firmly—I like using the bottom of a small measuring cup to get a nice flat base. This is the foundation for your mini cheesecakes, so don’t skip the press!
Step 3: Whip Up the Creamy Cheesecake Filling
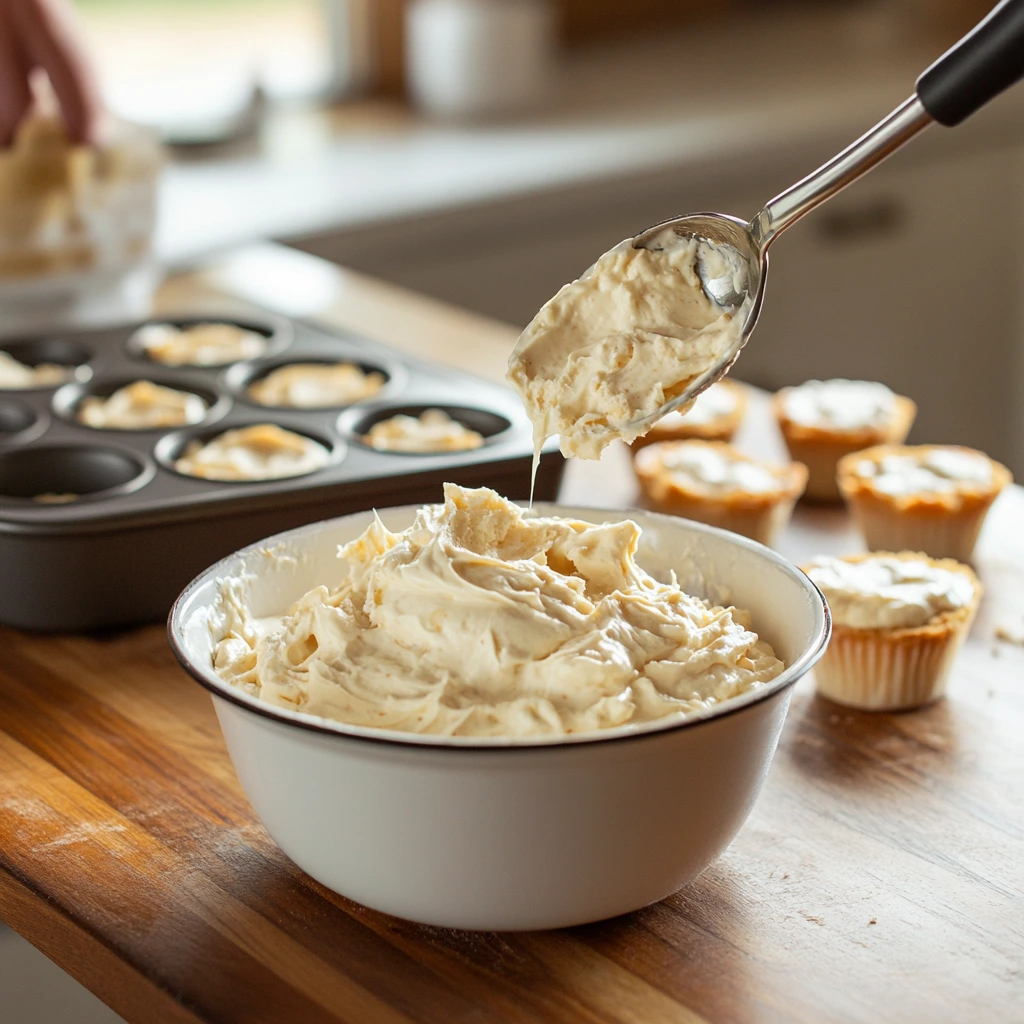
Now for the good stuff. In another bowl, beat the softened cream cheese and sugar together until smooth. You want it really creamy—no lumps here. Add the egg and vanilla extract, and beat just until everything is incorporated. Don’t overmix at this stage; that can cause the filling to puff up too much and crack in the oven.
Spoon the cheesecake filling over your crusts, filling each muffin cup about ¾ full. You’ll want to leave just enough room on top for that second bake with the rhubarb.
Step 4: Bake the First Round
Pop the muffin tin into your preheated oven and bake for 15 to 18 minutes. Keep an eye on them—they should look mostly set but still have a little jiggle in the center. That’s exactly what you want. Once they’re out, let them cool slightly on the counter while you whip up that irresistible rhubarb topping.
Twice-Baked Rhubarb Cheesecake Bombs: A Tangy-Sweet Mini Dessert That Steals the Show
Welcome back! If you’re following along from Part 1, you’ve already prepped your crust, mixed that luscious cream cheese filling, and given your mini cheesecakes their first bake. Now it’s time for the star of the show—the rhubarb topping—and that second trip to the oven that really brings everything together.
This next section is all about building flavor and giving these mini bombs their signature tangy-sweet finish. The rhubarb topping couldn’t be simpler, but it’s what gives these little treats their personality. It’s tart, glossy, and just thick enough to sit beautifully atop each cheesecake without sliding off.
Let’s get right into it.
Step 5: Cook the Rhubarb Topping
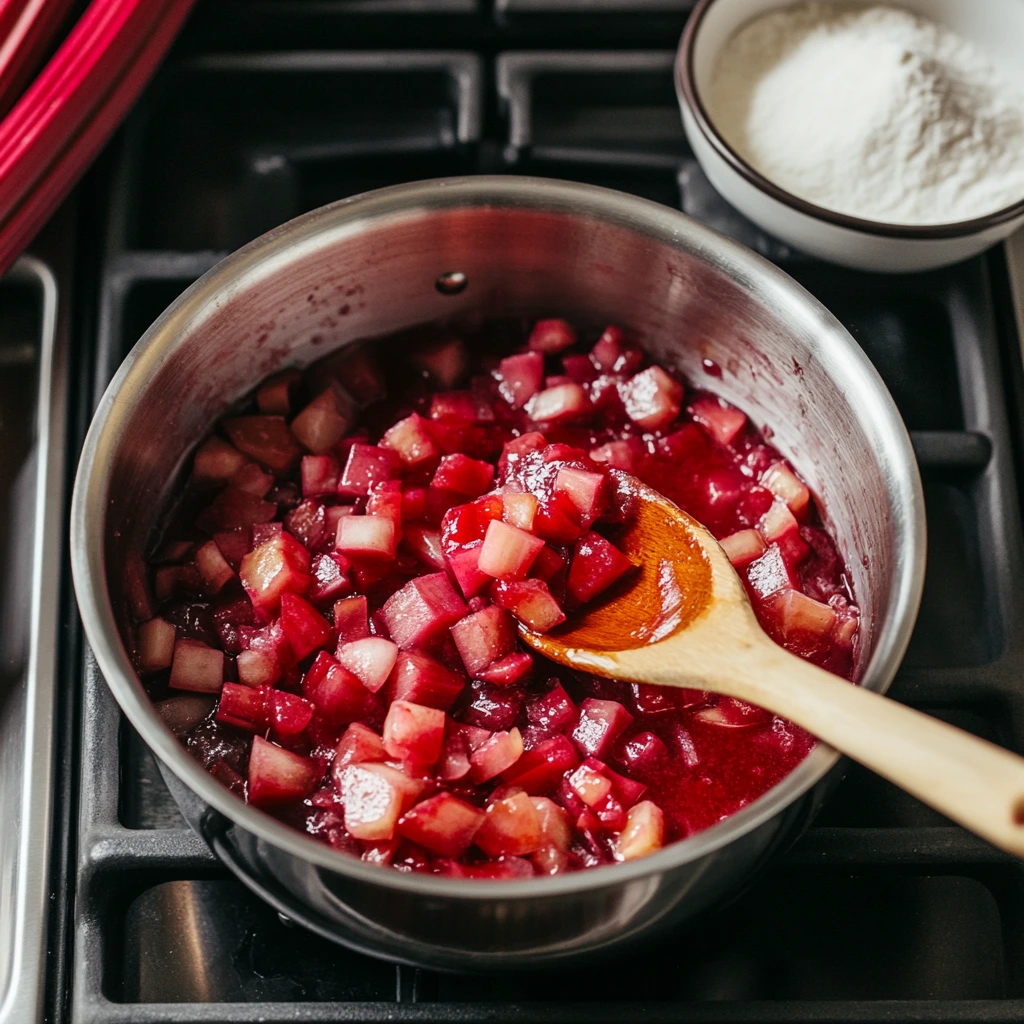
Grab a small saucepan and toss in your chopped rhubarb, sugar, and water. Turn the heat to medium and let everything cook down gently. After about 5–7 minutes, the rhubarb should soften and start to break down into a bright, jammy mixture. At this point, stir in the cornstarch and continue cooking for another minute or so, just until the mixture thickens up slightly.
Once it’s done, take it off the heat and let it cool for a few minutes. You don’t want it piping hot when you spoon it over the cheesecakes, or it’ll melt into the filling rather than sitting nicely on top.
Tip: If your rhubarb is especially tart, feel free to add an extra teaspoon of sugar to the topping while it cooks. You can always adjust sweetness to your liking.
Step 6: Spoon and Bake Again
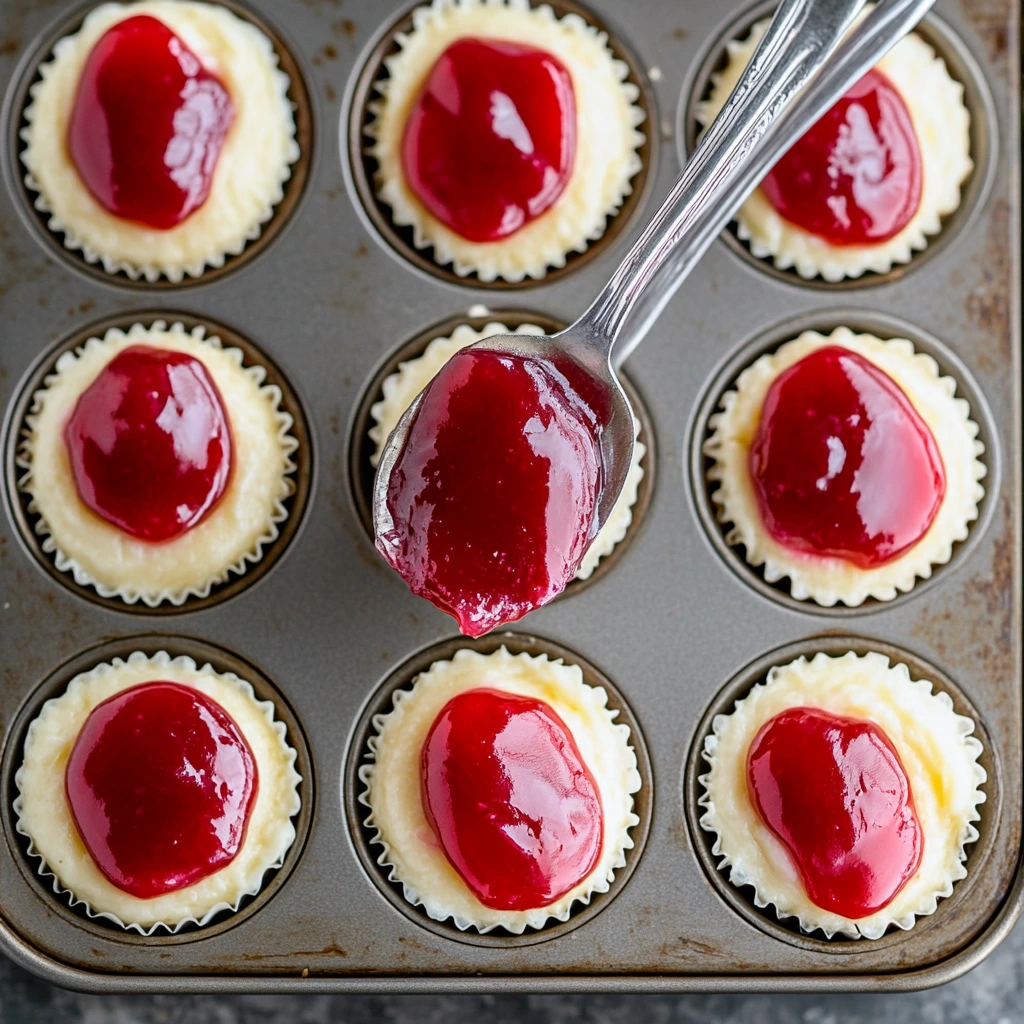
Now that your rhubarb topping has cooled slightly, it’s time to assemble the final layer. Carefully spoon a generous tablespoon of the topping onto each partially baked cheesecake. Spread it gently with the back of your spoon so it covers most of the surface. The vibrant pink color looks stunning against the pale cheesecake—such a pretty contrast!
Once all the muffin cups are topped, return the tin to your 350°F oven and bake for an additional 10 minutes. This second bake helps the topping set just enough and allows the cheesecake centers to fully finish baking without overcooking.
When they’re done, remove them from the oven and let them cool in the tin. This part is important—cheesecakes are delicate right out of the oven, and cooling them in the pan helps them firm up without cracking.
Step 7: Chill Before Serving
Once the cheesecakes have cooled to room temperature, transfer the whole muffin tin to the fridge and chill them for at least 1 hour, though longer is totally fine. In fact, these taste even better the next day after they’ve had time to fully set and develop flavor.
To serve, gently run a thin knife around the edges of each cup and pop them out. If your muffin tin is nonstick and well-greased, they should come out easily.
TIPS AND VARIATIONS
Use cupcake liners if you want an even easier release—just peel them off before serving.
Make ahead friendly: These cheesecake bombs store beautifully in the fridge for up to 3 days, making them a great make-ahead dessert for parties, brunches, or picnics.
White chocolate drizzle: Want to dress them up? A light drizzle of melted white chocolate adds a sweet, creamy touch that pairs perfectly with the tart rhubarb.
Try other fruit toppings: Not a fan of rhubarb? You can swap in strawberries, raspberries, or even a quick blueberry compote using the same method. Just adjust sugar levels depending on the fruit’s sweetness.
Serve chilled or slightly warmed: These are fantastic straight from the fridge, but if you prefer a softer texture, let them sit at room temperature for 10–15 minutes before serving.
Twice-Baked Rhubarb Cheesecake Bombs: A Tangy-Sweet Mini Dessert That Steals the Show
By now, you’ve got a tray of gorgeous Twice-Baked Rhubarb Cheesecake Bombs chilling in the fridge—each one layered with buttery graham crust, creamy cheesecake, and a vibrant rhubarb topping. They’re cute, packed with flavor, and honestly just begging to be shared (or maybe not, no judgment here).
Before we wrap things up, I wanted to answer a few questions you might have while making these. Whether it’s your first time baking with rhubarb or you’re wondering about substitutions, the FAQ below should help clear things up.
FREQUENTLY ASKED QUESTIONS
1. Can I use frozen rhubarb instead of fresh?
Yes! If fresh rhubarb isn’t in season, frozen works just fine. Be sure to thaw and drain it before cooking, as frozen rhubarb tends to release more liquid.
2. Do I have to bake the cheesecakes twice?
You do—just a short second bake is essential for setting the topping and fully cooking the cheesecake layer. Skipping the second bake could leave your cheesecakes underdone or too soft.
3. Can I make these gluten-free?
Absolutely. Just swap the graham crackers for a gluten-free version or use gluten-free cookies like digestive biscuits or vanilla wafers. The rest of the ingredients are naturally gluten-free.
4. What’s the best way to remove them from the muffin tin?
Let them cool completely in the tin, then chill. Once they’re cold, use a thin butter knife to gently loosen the edges and pop them out. Silicone muffin pans also make removal super easy.
5. How long will they keep in the fridge?
Stored in an airtight container, these cheesecake bombs will stay fresh for up to 3 days. The crust might soften a little over time, but the flavor only gets better.
6. Can I freeze them?
Yes! Wrap each cheesecake individually in plastic wrap and place them in an airtight container. They’ll keep well in the freezer for up to 1 month. Thaw overnight in the fridge before serving.
7. What if I don’t like rhubarb?
No problem. You can swap in any fruit topping you like—strawberry, blueberry, or even lemon curd would be delicious. Just make sure to adjust the sugar depending on the fruit’s tartness.
FINAL THOUGHTS: WHY YOU’LL LOVE THESE CHEESECAKE BOMBS
These Twice-Baked Rhubarb Cheesecake Bombs are one of those desserts that check all the boxes—simple, show-stopping, and packed with flavor. The texture is silky smooth with just the right amount of tang, and the rhubarb brings such a fresh, springy vibe that makes these perfect for everything from brunches to bridal showers.
I love how easy they are to portion and serve—no messy slicing or fancy tools required. Plus, they hold up beautifully in the fridge, which makes them a go-to make-ahead option when I’ve got a crowd to feed (or just want a sweet treat ready when the craving hits).
Print
Twice-Baked Rhubarb Cheesecake Bombs
- Author: Andrew Recipes
Description
These Twice-Baked Rhubarb Cheesecake Bombs are mini desserts that pack a punch of creamy, tangy flavor with a rich graham cracker base and a vibrant rhubarb topping. Perfectly portioned in muffin tins, they offer a delightful twist on classic cheesecake and are ideal for spring gatherings or as a unique make-ahead dessert.
Ingredients
For the crust
1 cup graham cracker crumbs
2 tablespoons sugar
4 tablespoons unsalted butter, melted
For the cheesecake filling
1 (8 oz) package cream cheese, softened
½ cup sugar
1 large egg
1 teaspoon vanilla extract
For the rhubarb topping
1 cup chopped fresh rhubarb
¼ cup sugar
1 tablespoon water
1 teaspoon cornstarch
Instructions
1️⃣ Preheat oven to 350°F (175°C). Lightly grease a muffin tin.
2️⃣ In a bowl, mix graham cracker crumbs, sugar, and melted butter. Press the mixture evenly into the bottoms of the muffin cups to form crusts.
3️⃣ In another bowl, beat the cream cheese and sugar until smooth and creamy. Add the egg and vanilla extract, mixing just until combined. Spoon the filling over each crust, filling the cups about ¾ full.
4️⃣ Bake for 15–18 minutes until the centers are set but still slightly jiggly. Remove from oven and cool slightly while preparing the topping.
5️⃣ In a small saucepan, combine the chopped rhubarb, sugar, and water. Cook over medium heat until the rhubarb softens, about 5–7 minutes. Stir in the cornstarch and cook for another minute until thickened. Let the topping cool slightly.
6️⃣ Spoon a layer of the rhubarb topping over each partially baked cheesecake. Return the tray to the oven and bake for an additional 10 minutes.
7️⃣ Let the cheesecakes cool completely in the tin before removing. Chill in the refrigerator for at least 1 hour before serving.
Notes
Fresh rhubarb gives this dessert a bright tartness that pairs beautifully with the creamy filling. These cheesecake bombs can be made a day ahead and stored in the fridge. For extra flair, top with whipped cream or a drizzle of white chocolate before serving.

