There’s something about the combination of buttery shortbread, gooey caramel, and smooth chocolate that makes Twix candy bars totally irresistible. So what happens when you turn that classic flavor combo into a cookie? Magic. That’s what.
These Ultimate Twix Cookies are everything you love about the candy bar—but better. We’re talking a soft, melt-in-your-mouth shortbread base, a luscious caramel layer that pulls just right when you bite into it, and a rich chocolate topping that finishes it all off. Whether you’re baking for the holidays, prepping for a cookie swap, or just treating yourself (because you deserve it), this recipe is a total showstopper.
I first made these for a family movie night, thinking they’d last through the weekend. They didn’t even make it to the second movie. Yep, they’re that good.
Let’s get baking!
The Cookie Base That Sets the Stage
The secret to making these cookies truly “ultimate” lies in the layering. And it all starts with the shortbread base. Think of this as the strong but silent type—simple, reliable, and delicious enough to eat on its own. But just wait until we pile on the caramel and chocolate.
Ingredients You’ll Need for the Full Recipe:
1 cup unsalted butter, softened
½ cup granulated sugar
2 cups all-purpose flour
¼ teaspoon salt
1 cup soft caramels, unwrapped
2 tablespoons heavy cream
1½ cups milk or semi-sweet chocolate chips
STEP 1: Preheat and Prep Your Pan
Before you do anything else, preheat your oven to 350°F and line a large baking sheet with parchment paper. This not only helps prevent sticking, but it also makes cleanup a breeze (and trust me—you’ll thank yourself later).
STEP 2: Cream the Butter and Sugar
In a large mixing bowl, use a hand mixer or stand mixer to cream together 1 cup of softened butter and ½ cup of granulated sugar. You’ll want to mix until it’s light, fluffy, and pale in color—this usually takes about 2-3 minutes on medium speed.
This step is key to getting that perfect shortbread texture. Don’t rush it!

STEP 3: Add the Dry Ingredients
Next, mix in 2 cups of all-purpose flour and ¼ teaspoon of salt. Start on low speed to avoid a flour cloud, then gradually increase as the dough starts coming together.
It should form a soft, slightly crumbly dough—don’t worry if it doesn’t look like your typical cookie dough. That’s exactly what you want here.
STEP 4: Shape the Cookies
Scoop out tablespoon-sized portions of dough and roll them into balls with your hands. Place them a couple inches apart on the prepared baking sheet, then gently flatten each one with your fingers or the bottom of a glass.
You’re not looking for thin cookies here—just a gentle press to give them a nice flat top for holding the caramel and chocolate later.
STEP 5: Bake Until Lightly Golden
Bake in the preheated oven for 12 to 14 minutes, or until the edges are just turning golden brown. The centers will still look pale—that’s okay! You want them to stay tender.
Once they’re out of the oven, let them cool completely on the baking sheet or transfer them to a wire rack.

Caramel, Chocolate, and Cookie Heaven
If you’ve made it through Part 1, you’re already halfway to baking greatness. Now that your shortbread cookies are cooling and the house smells like a dream, it’s time to add the caramel and chocolate layers that give these Twix Cookies their iconic taste.
This is where things get really fun—and a little sticky (in the best way). That combination of soft caramel and melted chocolate takes the simple cookie base and turns it into something truly indulgent. It’s the kind of treat that people talk about long after the cookie tray is empty.
Let’s finish strong.
STEP 6: Melt the Caramel
Once your cookies are fully cooled (and this is important—don’t rush it!), it’s time to make that smooth caramel topping.
In a small saucepan over low heat, combine:
1 cup soft caramels, unwrapped
2 tablespoons heavy cream
Stir constantly as the caramels slowly melt and blend with the cream. This will take a few minutes, but you want to go low and slow to avoid burning or seizing the caramel. Keep stirring until the mixture is silky smooth and pourable.
TIP: If you’re short on time, you can melt the caramels in the microwave in 20-30 second intervals, stirring in between, but stovetop gives you better control over texture.
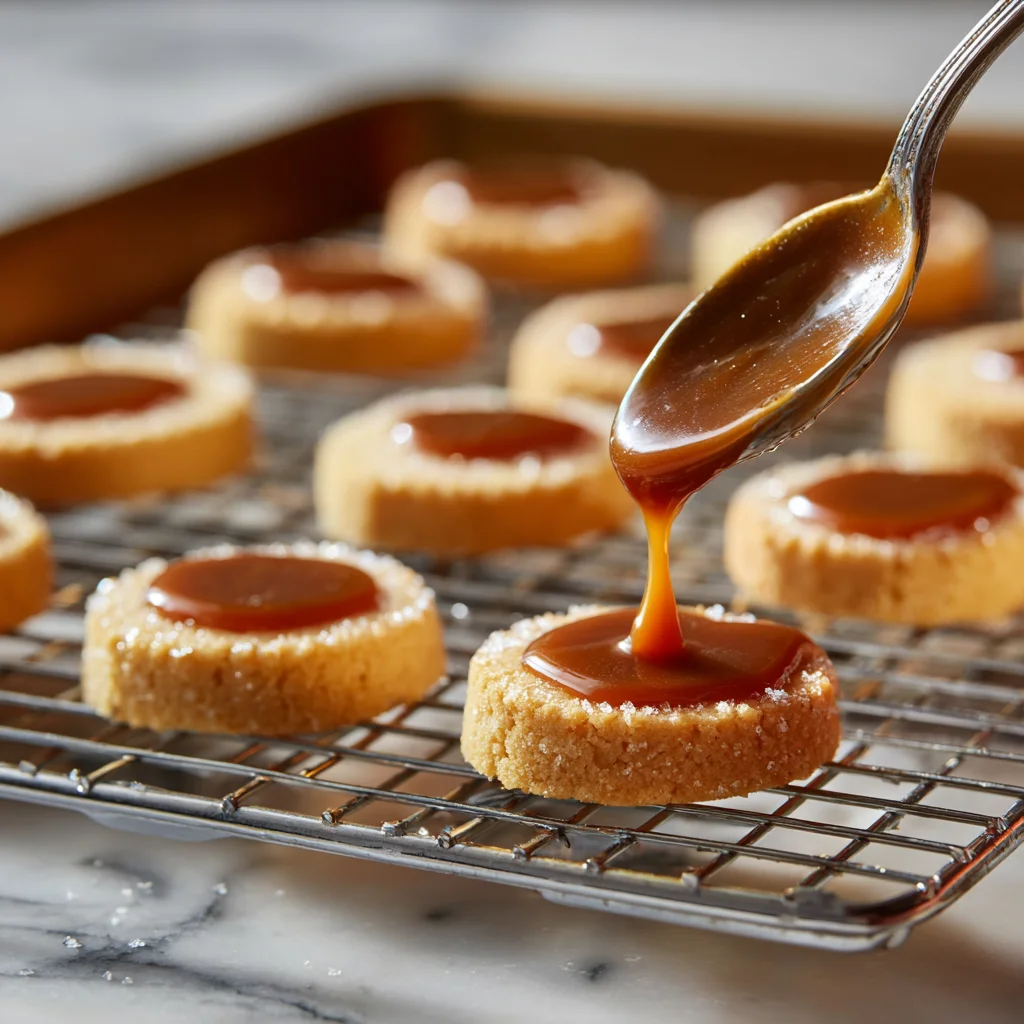
STEP 7: Add the Caramel Layer
Use a spoon to add a generous layer of melted caramel to the top of each cooled cookie. You don’t need to spread it all the way to the edge—just a nice puddle in the center works perfectly.
Then, let the cookies sit for about 10-15 minutes so the caramel can set slightly before adding the chocolate. You can speed things up by placing the cookies in the fridge for a few minutes, especially if your kitchen is warm.
Optional Tip: Want a more polished look? Use the back of a spoon to gently swirl the caramel so it sits evenly on the cookie.
STEP 8: Melt the Chocolate
Now comes the final flourish—the chocolate layer. In a microwave-safe bowl, add:
1½ cups milk or semi-sweet chocolate chips
Microwave the chocolate chips in 30-second intervals, stirring between each round, until completely melted and smooth. Depending on your microwave, this usually takes about 1 to 1½ minutes total.
Tip: For extra shine and smoother texture, you can add 1 teaspoon of coconut oil or vegetable oil to the chocolate before melting. It’s not necessary, but it gives the chocolate a glossy finish and helps it set more evenly.
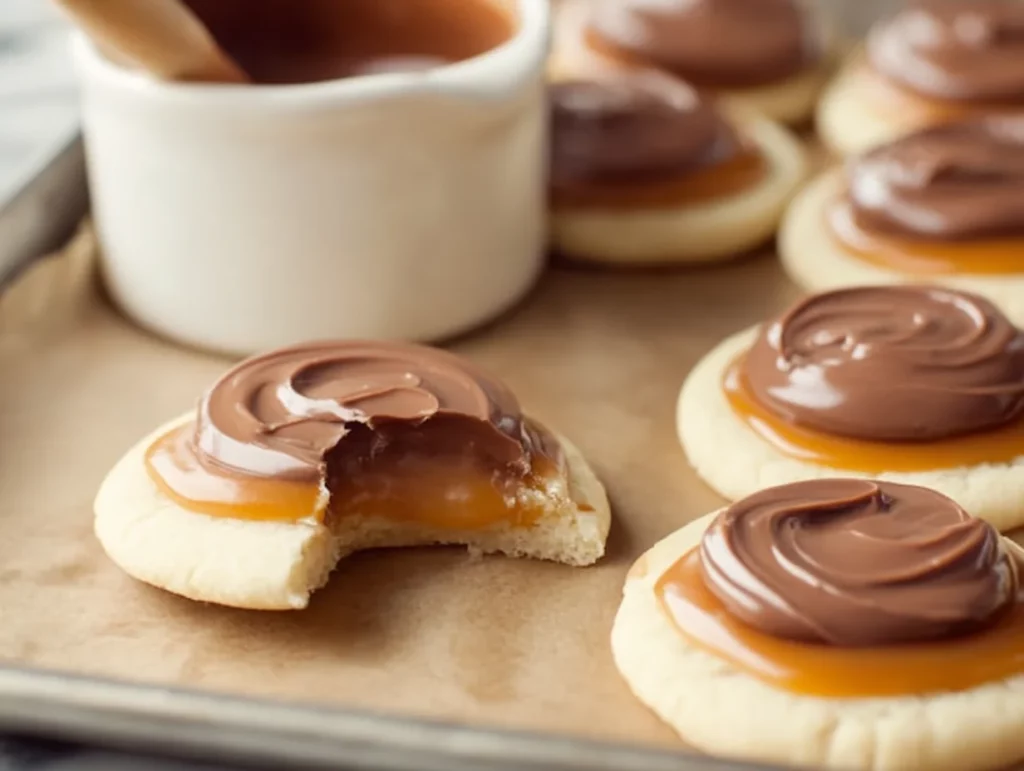
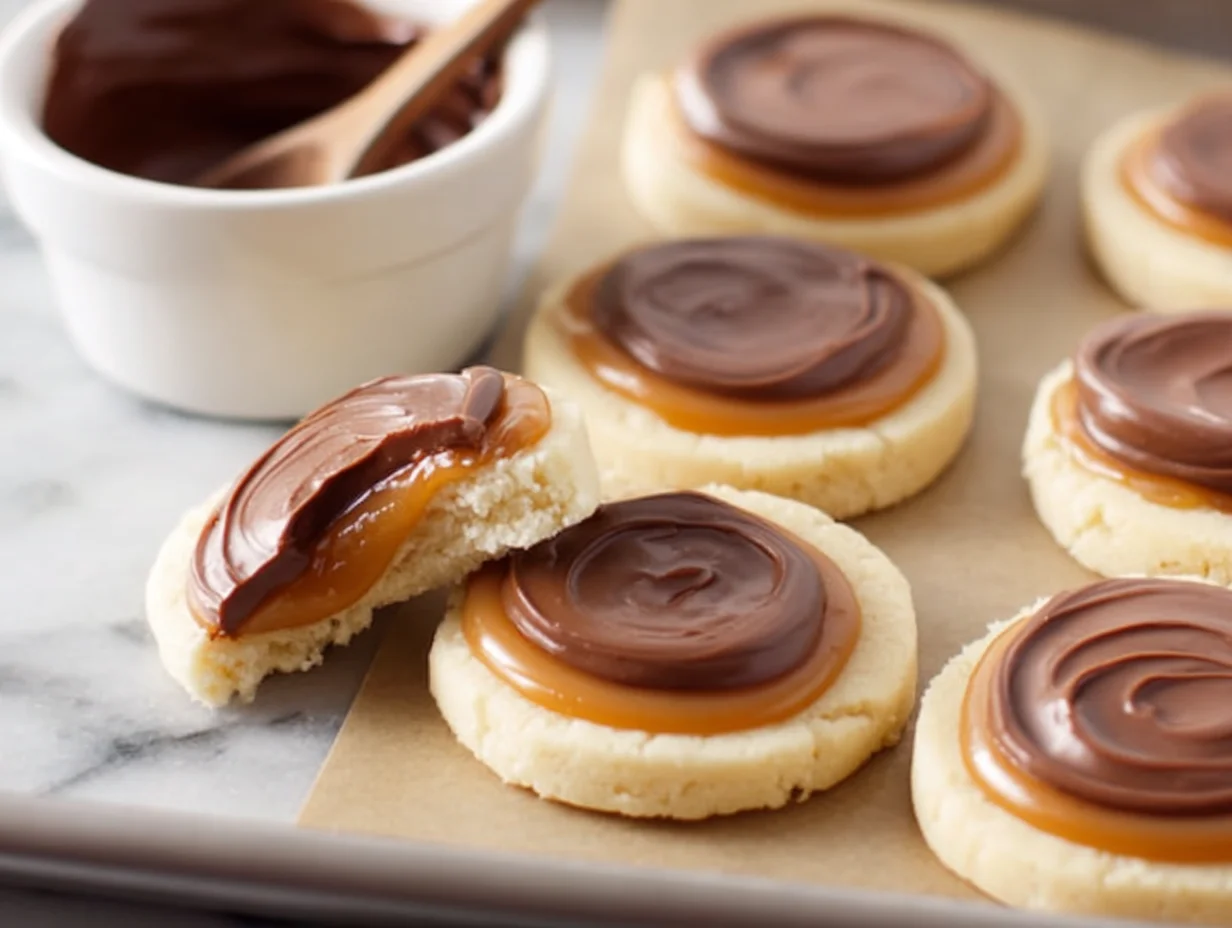
STEP 9: Top with Chocolate
Using a spoon (or small offset spatula if you have one), spread a layer of melted chocolate over the caramel on each cookie. You can go edge-to-edge or leave a little caramel showing—either way, they’ll look beautiful.
Let the chocolate set at room temperature for about 30-60 minutes, or pop the tray into the refrigerator for 15-20 minutes to speed things up.
Once the chocolate is firm to the touch, your cookies are ready to enjoy.
Tips for Success
Use Soft Caramels: Look for soft, chewy caramels (like Kraft or Werther’s Soft Caramels). Hard caramels won’t melt smoothly.
Be Patient Between Layers: Rushing the cooling and setting process can make the layers slide around or blend together. Cool cookies + slightly thickened caramel = clean layers.
Storage: Store cookies in an airtight container at room temperature for up to 5 days. For a firmer bite and longer shelf life, keep them in the fridge.
Flavor Twist: If you love a sweet-salty combo, sprinkle a little flaky sea salt on top of the chocolate before it sets. It cuts through the richness and gives a gourmet finish.
Chocolate Choice: Want a more traditional Twix flavor? Stick with milk chocolate. Prefer a deeper, more grown-up version? Go with semi-sweet or even dark chocolate.
FAQs and Final Thoughts
So now you’ve got these gorgeous, layered Twix Cookies sitting on your counter—shortbread, caramel, chocolate, and all. Whether you’ve already stolen a bite (no judgment) or you’re saving them for a special occasion, chances are you’ve got a few questions.
This section is here to help you troubleshoot, plan ahead, and make your next batch even better.
Let’s dive into some of the most frequently asked questions about making these indulgent treats.
FAQ: Twix Cookie Edition
1. Can I make these cookies ahead of time?
Absolutely. In fact, they’re a great make-ahead dessert. You can prepare the shortbread cookies a day in advance and add the caramel and chocolate layers the next day. Once fully assembled, they store well in an airtight container for up to 5 days at room temperature—or up to a week in the fridge.
2. What’s the best way to melt the caramels if I don’t have a stovetop?
If you don’t want to use the stovetop, melt the caramels in the microwave. Place the caramels and heavy cream in a microwave-safe bowl and heat in 20-30 second bursts, stirring in between until smooth. Just keep a close eye to avoid overheating.
3. Can I freeze Twix Cookies?
Yes, but there’s a trick to it. Once the chocolate layer has completely set, place the cookies in a single layer on a baking sheet and freeze for about 30 minutes. Then transfer them to a freezer-safe container with parchment paper between layers. Let them thaw in the fridge or at room temperature before serving.
4. What kind of chocolate works best?
Milk chocolate will give you that classic Twix bar flavor, but semi-sweet or dark chocolate adds richness and balances the sweetness of the caramel. You can also use chocolate melting wafers for a smoother, glossier finish.
5. Why is my caramel sliding off the cookies?
Most likely, your cookies were still warm when you added the caramel, or your caramel was too hot. Make sure the cookies are fully cooled and the caramel is thickened slightly before spooning it on.
6. Can I use homemade caramel instead of store-bought caramels?
Definitely! If you have a favorite homemade caramel sauce that sets well, go for it. Just make sure it’s thick enough to sit on top of the cookie and not run off the edges.
7. Can I double the recipe?
Yes, this recipe doubles beautifully. You can easily make a larger batch for parties, holiday trays, or cookie exchanges. Just make sure to allow enough space on your baking sheet for the cookies to bake evenly.
Final Thoughts: Your New Favorite Cookie Is Here
If you’re looking for a treat that brings together buttery, chewy, and chocolatey in one perfect bite, these Ultimate Twix Cookies are exactly what you need. They’re the kind of cookie that gets you recipe requests, the ones that disappear first from the dessert table, and the ones you’ll want to keep making again and again.
What I love most about this recipe—besides the obvious flavors—is how customizable it is. Want to sprinkle sea salt on top? Go for it. Prefer dark chocolate? Make it your own. These cookies are a blank canvas for all your creative cravings.
Print
Ultimate Twix Cookies
- Author: Andrew Recipes
Description
Ultimate Twix Cookies are a decadent dessert inspired by the beloved candy bar, layering a buttery shortbread base with smooth caramel and a silky chocolate topping. Each bite delivers the perfect balance of rich, sweet, and crunchy textures, making them ideal for parties, holiday trays, or just an indulgent treat to satisfy any sweet tooth.
Ingredients
1 cup unsalted butter, softened
½ cup granulated sugar
2 cups all-purpose flour
¼ teaspoon salt
1 cup soft caramels, unwrapped
2 tablespoons heavy cream
1½ cups milk or semi-sweet chocolate chips
Instructions
Preheat the oven to 350°F and line a baking sheet with parchment paper.
In a large bowl, cream together the butter and sugar until light and fluffy. Add flour and salt, mixing until a soft dough forms.
Scoop tablespoon-sized portions of dough and roll into balls. Flatten slightly and place on the prepared baking sheet.
Bake for 12 to 14 minutes or until the edges are lightly golden. Let the cookies cool completely.
In a small saucepan over low heat, melt the caramels with the heavy cream, stirring constantly until smooth. Spoon a layer of caramel onto each cooled cookie and let set.
Melt the chocolate chips in a microwave-safe bowl in 30-second intervals, stirring between each, until smooth. Spoon or spread the melted chocolate over the caramel layer on each cookie.
Allow the cookies to cool at room temperature or place in the refrigerator until the chocolate is set.
Notes
Make sure cookies are fully cooled before adding caramel to prevent melting and spreading. For a more classic Twix flavor, use milk chocolate, but dark chocolate works well for a richer twist. These cookies store well in an airtight container for up to five days and can be chilled for a firmer bite. You can also add a pinch of sea salt on top for a sweet-salty finish.

