If you ask me, there’s something incredibly comforting about a simple butter cookie. It’s one of those timeless recipes that takes you right back to cozy afternoons at grandma’s house or the sweet smell of cookies baking during the holidays. The best part? You don’t need any fancy ingredients or complicated steps—just a few kitchen staples and a little love.
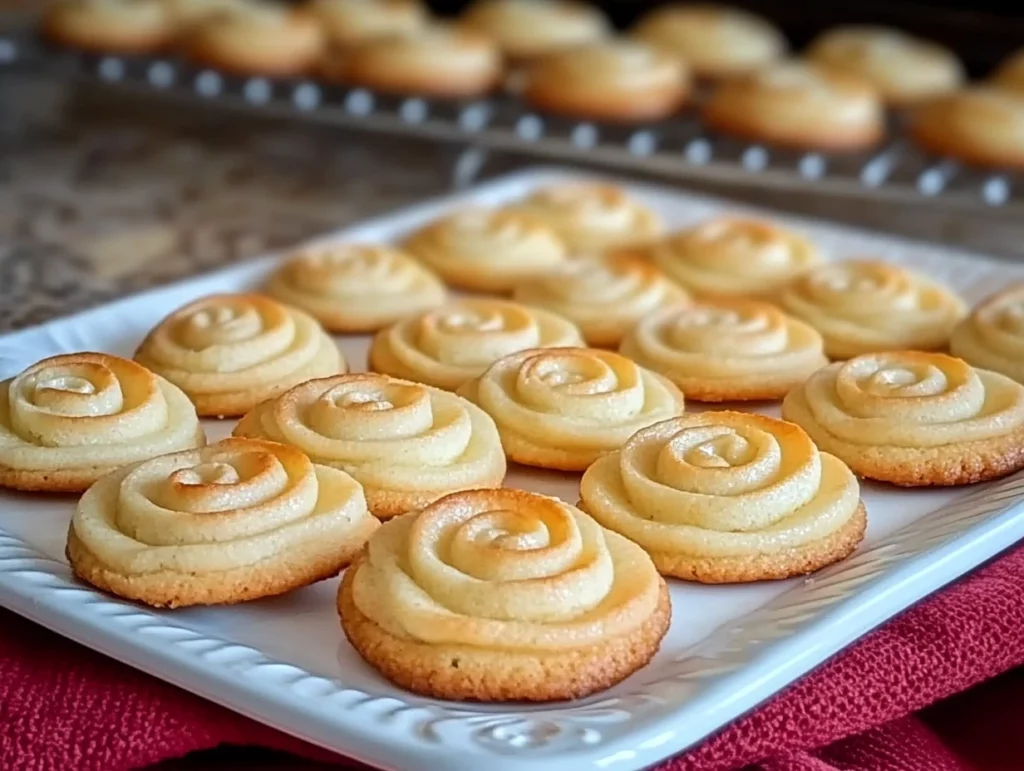
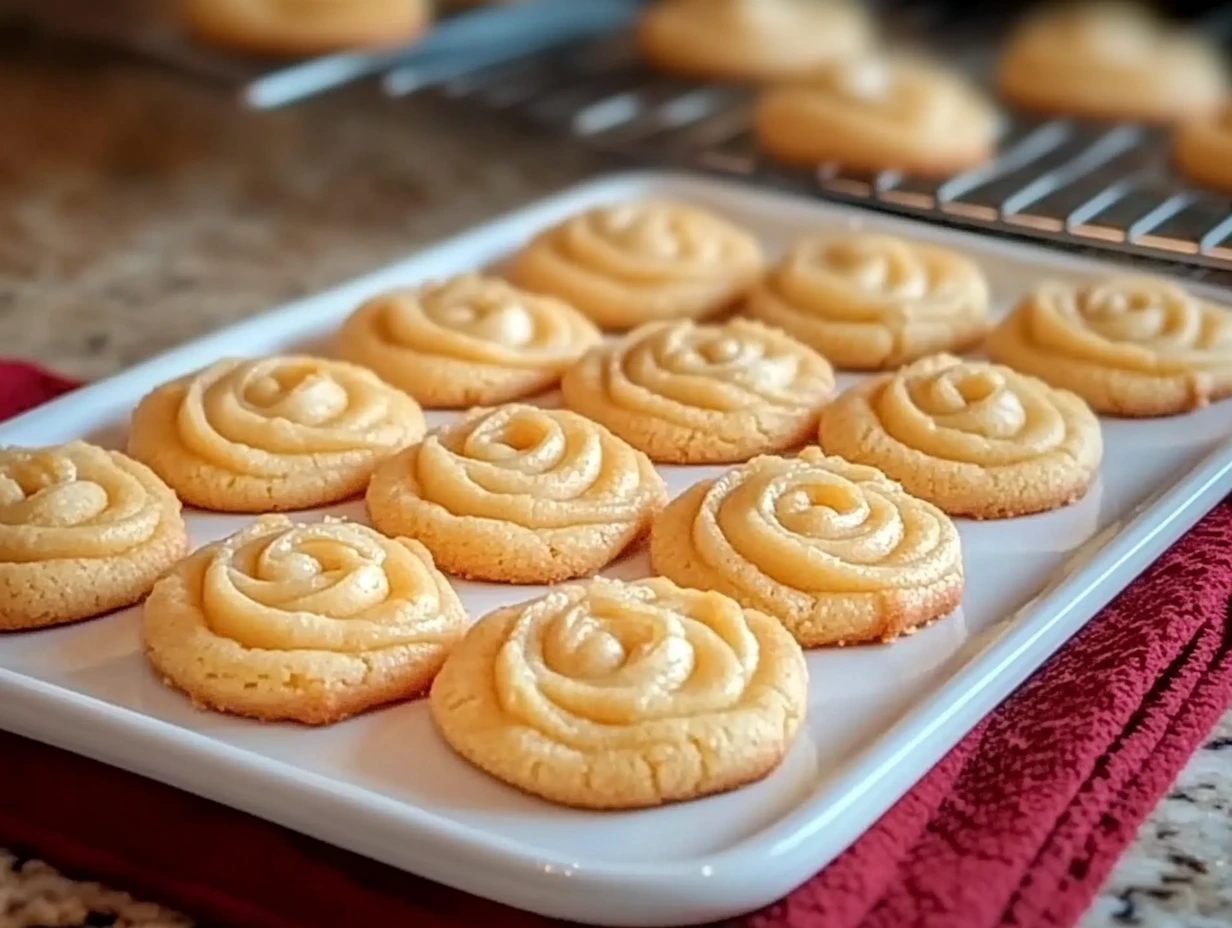
These World’s Best Butter Cookies are exactly what they promise: buttery, tender, and melt-in-your-mouth delicious. They strike the perfect balance between richness and lightness, with a crisp edge that gives way to a soft, delicate center. I like to make a big batch around the holidays for gifting (they look especially lovely dipped in a little chocolate), but honestly, they’re so easy to whip up that I make them year-round.
And here’s the thing—I’ve tested a lot of butter cookie recipes over the years, but this one? This one is my go-to. It’s reliable, incredibly easy to make, and the flavor is out of this world. The best part is that you probably already have all the ingredients sitting in your pantry. Let’s get baking!
Ingredients You’ll Need
8 oz unsalted butter, softened
3/4 cup granulated sugar
1/4 tsp salt
1 1/2 tsp pure vanilla extract
1 large egg yolk
2 cups all-purpose flour
These ingredients might seem simple, but together, they create magic. Using unsalted butter lets you control the salt level, and the egg yolk adds richness without making the dough too soft. The vanilla brings a warm, sweet note that enhances the buttery flavor in just the right way.
STEP-BY-STEP INSTRUCTIONS
Step 1: Preheat and Prep
Before you dive into mixing your dough, go ahead and preheat your oven to 350°F (175°C). Line a couple of baking sheets with parchment paper and set them aside. This helps the cookies bake evenly and makes cleanup a breeze.
Step 2: Cream the Butter and Sugar
In a large mixing bowl, cream together the softened butter and granulated sugar using a hand mixer or stand mixer on medium speed. You’ll want to beat this mixture until it becomes light and fluffy—this usually takes around 2 to 3 minutes.
This step is key. Creaming the butter and sugar properly incorporates air into the dough, which helps give these cookies their signature light texture.

Step 3: Add Flavor and Richness
Next, add in the salt, vanilla extract, and egg yolk. Continue beating until everything is well combined and smooth. At this stage, the dough will start to look more cohesive and rich in color. You’ll smell that lovely hint of vanilla coming through—it’s a sign of good things to come!
Step 4: Mix in the Flour
Slowly add in the flour a little at a time, mixing on low speed until a soft dough forms. Be careful not to overmix—once the flour is fully incorporated and the dough is soft but not sticky, you’re done. Overmixing can lead to tough cookies, and we’re aiming for that perfect melt-in-your-mouth texture.
How to Shape and Bake the World’s Best Butter Cookies
Now that your dough is ready, it’s time to bring these cookies to life. This is my favorite part—rolling, shaping, and sneaking a taste of the dough (yes, I admit it!). These butter cookies are meant to be simple, so you don’t need to worry about any fancy tools or cookie cutters. The classic look comes from just shaping the dough by hand and giving it a gentle press before baking.
The texture is what really sets these cookies apart. They bake up with golden, crisp edges and soft, tender centers—exactly how a butter cookie should be. Let’s keep going and get these beauties into the oven!

Step 5: Roll and Shape the Dough
Take small portions of the dough and roll them into 1-inch balls. I like to use a small cookie scoop to keep the size consistent, but you can eyeball it if you prefer. Place the dough balls onto your parchment-lined baking sheets, spacing them about 2 inches apart to give them room to spread slightly as they bake.
Now for that classic butter cookie shape—use the bottom of a glass or the back of a fork to gently flatten each ball. If you want to get a little fancy, a crisscross fork pattern or a thumbprint in the center works beautifully too. Keep it simple, or have fun with different textures—it’s totally up to you.
Step 6: Bake to Perfection
Slide your baking sheets into the preheated oven and bake for 12 to 15 minutes. You’re looking for just a hint of golden color around the edges—don’t wait for the tops to brown, or you’ll lose that delicate texture.
Every oven is a little different, so start checking around the 12-minute mark. If the edges are just starting to turn golden and the tops look set, they’re ready.

Step 7: Cool and Set
Once baked, let the cookies cool on the baking sheet for about 5 minutes. They’ll be soft right out of the oven, so don’t rush this part. After that, transfer them to a wire rack to cool completely.
The smell at this point is absolutely irresistible—but trust me, giving them a little time to cool helps the flavor and texture settle just right. Plus, it makes them easier to dip or decorate later if you want to add a little flair.
Tips and Simple Variations
These cookies are perfect just as they are, but if you’re in the mood to dress them up a bit, here are a few fun ideas:
Chocolate-Dipped Butter Cookies: Once the cookies are fully cooled, dip half of each one in melted dark or milk chocolate. Place them on parchment to set. It adds a touch of elegance and makes them extra gift-worthy.
Sprinkles or Sanding Sugar: For a festive look (especially around the holidays), sprinkle the tops with colored sugar before baking. It adds a light crunch and makes them sparkle!
Citrus Twist: Add a bit of lemon or orange zest to the dough for a bright, fresh flavor that pairs beautifully with the butter and vanilla.
Thumbprint Version: Press your thumb into the center of each dough ball before baking, and once they’re out of the oven, spoon a bit of jam into the indentation. It’s a delicious variation and super cute on a cookie platter.
Why This Recipe Works
This recipe is a favorite for so many reasons. First, it’s all about balance. The unsalted butter lets you control the flavor without overwhelming sweetness. The egg yolk adds just the right amount of richness without making the cookies too soft. And the flour-to-fat ratio keeps them sturdy enough to hold their shape while still being melt-in-your-mouth tender.
And let’s not forget—this recipe is incredibly forgiving. You don’t have to chill the dough, there’s no complicated shaping, and the ingredient list is beautifully short. Whether you’re a seasoned baker or making cookies for the very first time, this one’s going to be a winner.
Butter Cookie FAQs and Final Thoughts
It’s always amazing how something so simple can be so beloved—and I think that’s the real charm of these butter cookies. Over the years, I’ve had a lot of questions about the recipe, especially from folks making them for the first time. Whether you’re baking for the holidays, a special gathering, or just a cozy night in, I want to make sure you feel confident from start to finish.
Here’s a roundup of the most common questions people ask when making these cookies, along with my best tips to help you get that perfect golden bite every time.
FREQUENTLY ASKED QUESTIONS
1. Can I make the dough ahead of time?
Yes, absolutely! This dough keeps really well in the fridge. You can make it up to 3 days ahead—just wrap it tightly in plastic wrap and store it in the refrigerator. Let it sit at room temperature for about 15–20 minutes before rolling, just to soften slightly.
2. Can I freeze the cookies?
Yes, these butter cookies freeze beautifully. Once baked and fully cooled, store them in an airtight container or freezer bag for up to 2 months. You can also freeze the raw dough balls and bake them straight from frozen—just add a couple of extra minutes to the baking time.
3. What if I only have salted butter?
No problem! If you’re using salted butter, you can still make the recipe—just omit the added 1/4 teaspoon of salt. The flavor will still be delicious, although unsalted butter does give you more control over the salt balance.
4. Why did my cookies spread too much?
If your cookies are spreading too thin, it’s likely because the butter was too soft or the dough was overmixed. Try chilling the dough for 30 minutes before shaping next time, and make sure to mix just until the flour is incorporated.
5. Can I double the recipe?
Yes! This recipe doubles very well. Just make sure to cream the butter and sugar thoroughly, and use a large enough bowl for mixing. You might need to bake in batches depending on your oven space.
6. Can I use a cookie press or piping bag for different shapes?
You sure can. This dough works great in a cookie press or can be piped if softened just a bit more. Keep in mind that if you go this route, the cookies may bake a little faster depending on their shape and size.
7. How long will these cookies stay fresh?
Stored in an airtight container at room temperature, they’ll stay fresh for up to 1 week. That said, they usually disappear way sooner in our house!
Final Thoughts and Encouragement
I hope this recipe finds its way into your favorites folder, right where it belongs. There’s something truly special about a cookie that’s made with just a handful of ingredients but delivers so much flavor and joy. These butter cookies have been a part of our family celebrations, rainy afternoons, and just-because days—and I love that they’re so easy to make on a whim.
If you try this recipe, I’d love to hear how it turns out for you! Did you dip them in chocolate? Add sprinkles for the kids? Or maybe sneak a few for yourself with your afternoon tea (no judgment here)? Leave a comment and let me know—I always enjoy seeing how others make these their own.
And if you’re anything like me, once you’ve made them once, you’ll be making them again and again. Happy baking!
Print
World’s Best Butter Cookies
- Author: Andrew Recipes
Description
These classic butter cookies are rich, tender, and melt-in-your-mouth delicious. Made with just a handful of simple ingredients, they deliver pure buttery flavor with a perfect crisp edge. Ideal for holidays, tea time, or any moment that calls for a sweet treat, these cookies are easy to prepare and even easier to enjoy.
Ingredients
8 oz unsalted butter, softened
3/4 cup granulated sugar
1/4 tsp salt
1 1/2 tsp pure vanilla extract
1 large egg yolk
2 cups all-purpose flour
Instructions
Preheat your oven to 350°F (175°C). Line baking sheets with parchment paper and set aside.
Cream the butter and sugar in a large mixing bowl using a hand mixer or stand mixer on medium speed until the mixture is light and fluffy, about 2 to 3 minutes.
Add the salt, vanilla extract, and egg yolk. Beat until well combined and smooth.
Gradually add the flour to the butter mixture, mixing on low speed until a soft dough forms. Do not overmix.
Portion the dough by rolling it into small balls, about 1 inch in diameter, and place them on the prepared baking sheets, spacing them about 2 inches apart.
Flatten each cookie gently with a fork or the bottom of a glass for a classic butter cookie shape.
Bake for 12 to 15 minutes or until the edges are just starting to turn golden. Avoid overbaking to maintain their tender texture.
Cool the cookies on the baking sheet for 5 minutes before transferring them to a wire rack to cool completely.
Notes
For a festive touch, dip half of each cooled cookie in melted chocolate or sprinkle with sanding sugar before baking. These cookies store well in an airtight container for up to a week and freeze beautifully, making them a perfect make-ahead option for gatherings and gifts.

