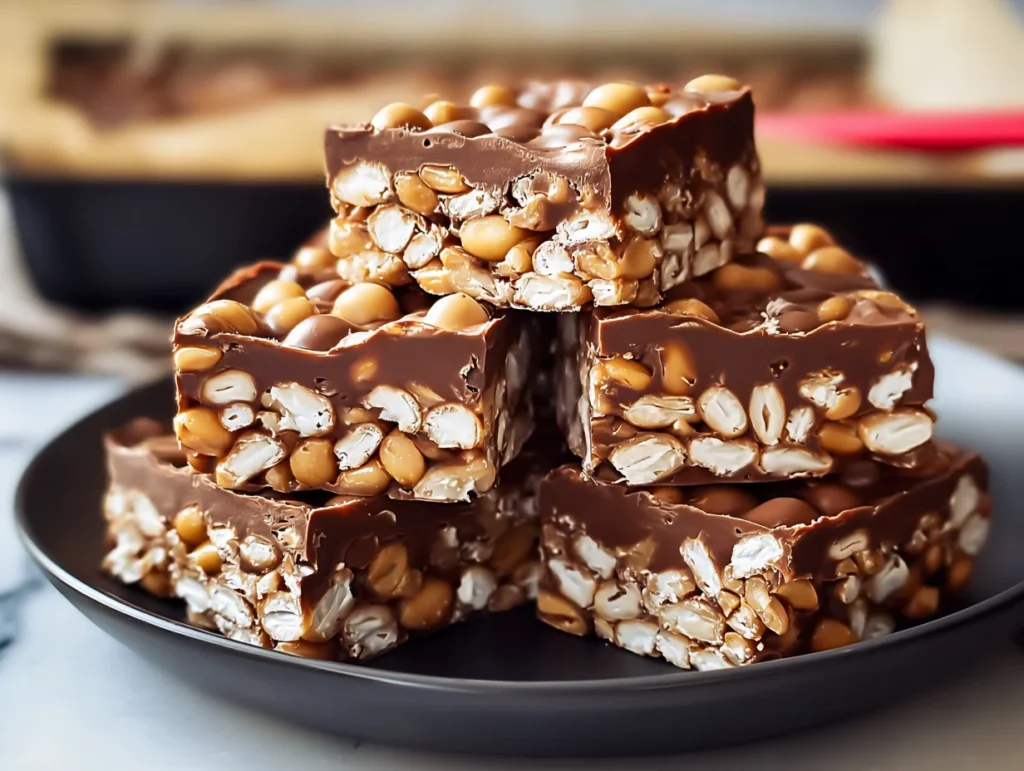
If you’re anything like me, you probably have those days when your sweet tooth kicks in hard—but your motivation to actually bake something is, well… nonexistent. That’s where these 3-Ingredient Chocolate Peanut Crunch Bars save the day. They’re ridiculously simple, no baking required, and somehow taste like something that came out of a fancy dessert shop.
Let me tell you a little secret: this is one of those recipes I keep in my back pocket for last-minute get-togethers or when I want to treat the kids (or myself!) without dirtying up the whole kitchen. And bonus? You probably already have everything you need sitting in your pantry right now.
These bars are a dreamy mix of smooth, melted chocolate, salty roasted peanuts, and crispy puffed rice. Think of them as a cross between a chocolate candy bar and a crunchy snack mix—all wrapped up into perfect little squares.
Whether you’re whipping them up for a movie night, packing them into lunchboxes, or sneaking one (or three) as a midnight snack, these bars are a guaranteed crowd-pleaser.
Let’s get right into it!

Ingredients You’ll Need
2 cups semi-sweet or milk chocolate chips (you can even mix the two!)
1 cup roasted peanuts (salted or unsalted—your choice)
1½ cups crisped rice cereal (like Rice Krispies)
That’s it. Just three ingredients and you’re already halfway there.
STEP-BY-STEP INSTRUCTIONS
Step 1: Melt the Chocolate
Start by melting your chocolate chips. You’ve got two options here:
Stovetop method: Place the chocolate chips in a heatproof bowl over a pot of simmering water (a makeshift double boiler). Stir gently until smooth and melted.
Microwave method: Add chocolate chips to a microwave-safe bowl and heat in 30-second intervals, stirring between each, until completely smooth. Usually takes about 1 to 1½ minutes.
Either method works, just make sure the chocolate is melted evenly and silky smooth.
Step 2: Mix in the Good Stuff
Once your chocolate is ready, stir in the roasted peanuts and crisped rice cereal. Make sure everything is well-coated in that delicious melted chocolate. The peanuts add that salty crunch while the cereal brings in that light, crispy texture that makes each bite so satisfying.
Step 3: Transfer to the Pan
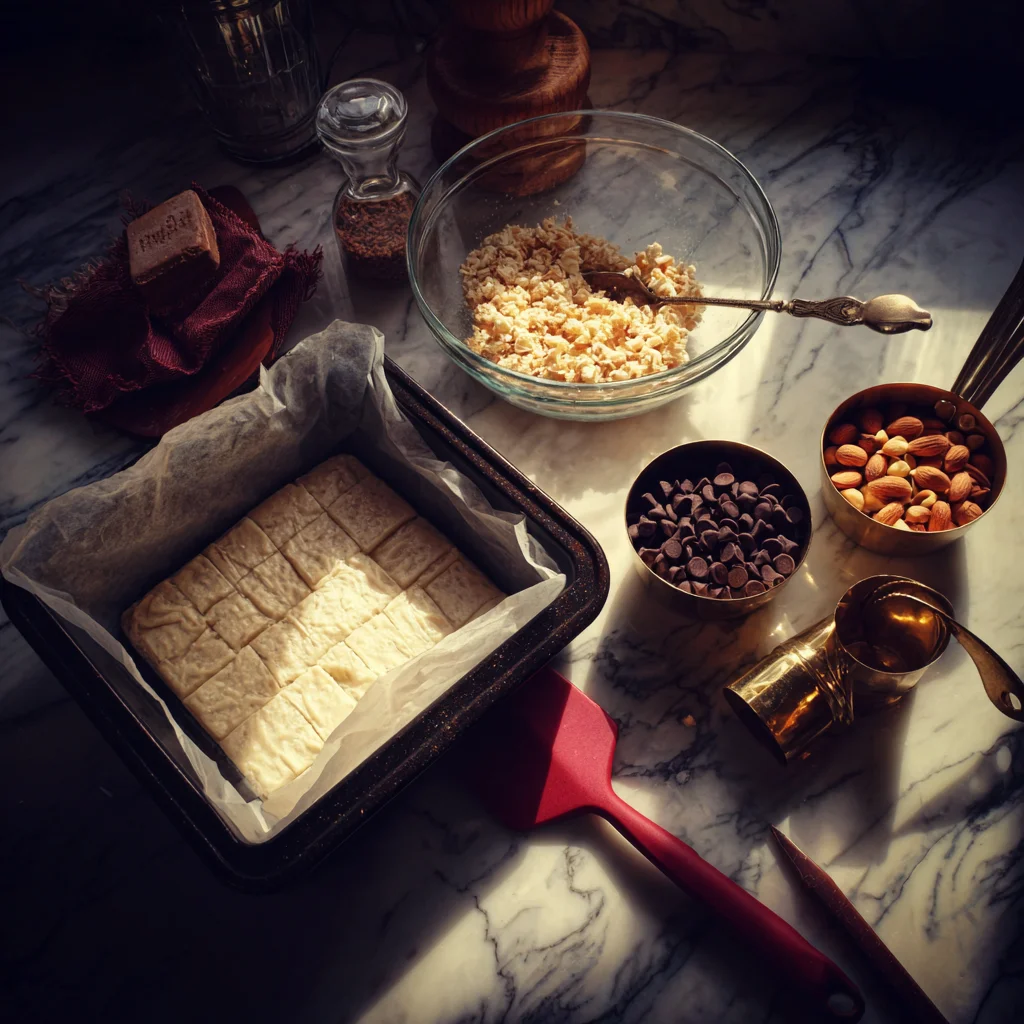
Line an 8×8-inch baking dish with parchment paper (this makes it much easier to remove the bars later). Pour the mixture into the pan and use a spatula or the back of a spoon to press it down into an even layer.
Don’t worry if it looks a little rustic—these bars are all about flavor and texture, not perfection.
Step 4: Chill Until Set
Pop the pan in the fridge for about an hour, or until everything is nice and firm. The chocolate will harden and bind everything together.
Once they’re fully set, lift them out of the pan using the parchment paper and cut them into squares or bars—whatever size works for your snack craving.
Make It Your Own: Variations, Tips & More for the Best Chocolate Peanut Crunch Bars
Now that you’ve got the basic recipe down (and hopefully a batch chilling in the fridge!), let’s talk about how to take these Chocolate Peanut Crunch Bars to the next level. One of the things I love most about this recipe—aside from the whole “no baking” thing—is how incredibly customizable it is.
You can get creative with different mix-ins, flavors, or textures depending on what you have on hand or what you’re in the mood for. Whether you want something a little fancier for a party or need a nut-free version for school lunches, I’ve got you covered.
Let’s dive into the next part of the process, and I’ll share a few ways to make these bars even more irresistible.
Step 5: Cut Into Bars or Squares
Once your chocolate peanut mixture has chilled and set (about an hour in the fridge should do it), it’s time to cut it into pieces.
Lift the block out of the pan using the parchment paper, then place it on a cutting board. Use a sharp knife to slice into bars or squares. I usually go with 16 pieces, but you can go smaller or larger depending on how you want to serve them.
Here’s a quick tip: run your knife under hot water and wipe it dry before cutting. This helps you get cleaner cuts without the chocolate cracking or sticking.

Step 6: Store or Serve
These bars are best kept in an airtight container. You can leave them at room temperature if your kitchen isn’t too warm, but I usually pop them back in the fridge so they stay firm and fresh.
They’ll last up to 3 days at room temp, or up to a week in the refrigerator. That is, of course, if they don’t get eaten long before that.
TASTY VARIATIONS TO TRY
Here are a few of my favorite ways to switch things up:
Add a swirl of peanut butter: Right after you press the mixture into the pan, melt a couple tablespoons of peanut butter and drizzle it over the top. Use a toothpick or knife to swirl it in before chilling.
Try different chocolate: Semi-sweet chips are great, but dark chocolate gives a more intense flavor, while white chocolate brings a creamy twist. You can also mix them for a marbled effect.
Use other nuts or seeds: No peanuts? No problem. Almonds, cashews, or even sunflower seeds work beautifully in this recipe.
Sprinkle with sea salt: A light sprinkle of flaky sea salt on top before chilling adds a fancy touch and balances the sweetness perfectly.
Make it holiday-friendly: Add crushed peppermint candies during the holidays or pastel-colored candy-coated chocolates for Easter. This recipe is super versatile for any season.
TIPS FOR SUCCESS
Use good-quality chocolate chips for the best flavor and texture. Since chocolate is the main ingredient here, it makes a difference.
Don’t skip the parchment paper—it makes removing and slicing the bars way easier and less messy.
If your mixture feels too thick when you’re mixing, warm it slightly in the microwave (10-15 seconds) to loosen the chocolate and make it easier to stir.
Let them sit at room temperature for 5 minutes before cutting if they’ve been in the fridge for a while. This helps prevent the chocolate from cracking when you slice into them.
FAQs About Chocolate Peanut Crunch Bars
Even though this recipe is wonderfully simple, I know there are always a few questions that pop up—especially if you’re making it for the first time or trying to adjust it for dietary needs. Here are some of the most common ones I’ve come across, along with clear, quick answers to help you get the best results every time.
Can I make these bars nut-free?
Yes! If you need a nut-free option, swap the peanuts for sunflower seeds, pumpkin seeds, or even extra crisped rice cereal. Just make sure whatever you’re using has a good crunch to keep the texture balanced.
What type of chocolate works best?
It really comes down to personal preference. Semi-sweet chocolate gives a balanced sweetness, while milk chocolate is creamier and sweeter. For a richer, more intense flavor, try dark chocolate. Just make sure your chocolate melts well and is high quality for the best result.
Can I use natural peanut butter instead of whole peanuts?
You can! Instead of using whole roasted peanuts, swirl a few tablespoons of natural peanut butter into the melted chocolate after adding the cereal. Just note that natural peanut butter is thinner, so the bars may be slightly softer.
How do I prevent the bars from sticking to the pan?
Lining your pan with parchment paper is key. It makes lifting and slicing the bars much easier and prevents them from sticking to the bottom or sides of the dish.
Can I freeze these bars?
Absolutely. These bars freeze really well. Just place them in a single layer in an airtight container (or separate layers with parchment paper), and freeze for up to 2 months. Thaw in the fridge or at room temperature before serving.
How do I make them a little less sweet?
Use dark chocolate chips or bittersweet chocolate instead of milk or semi-sweet. You can also reduce the amount of chocolate slightly and increase the cereal for more crunch and less sugar per bite.
Do they need to stay refrigerated?
Not necessarily, but it depends on your kitchen temperature. If your home is warm, it’s better to keep them in the fridge to maintain their shape and prevent melting. Otherwise, they’re fine on the counter for a couple of days in an airtight container.
Final Thoughts: Why You’ll Keep Coming Back to These Bars
These 3-Ingredient Chocolate Peanut Crunch Bars are one of those recipes you’ll find yourself making again and again—and for good reason. They’re fast, flexible, and completely satisfying. Whether you’re putting together a treat tray for a party, looking for a quick snack, or just need a chocolate fix without heating up the oven, these bars have your back.
I love how easy they are to customize, and honestly, every batch feels a little different (in the best way). Sometimes I add extra peanuts for more crunch, other times I go all-in on a swirl of creamy peanut butter. They’re like a blank canvas that somehow always turns out delicious.
If you give these a try, I’d love to hear how they turned out for you! Drop a comment with your favorite variations or any tips you picked up along the way. Sharing is half the fun—especially when it comes to chocolate.
Print
3-Ingredient Chocolate Peanut Crunch Bars
- Author: Andrew Recipes
Description
These Chocolate Peanut Crunch Bars are the ultimate quick-fix treat—rich, crunchy, and satisfyingly sweet with minimal effort. Made with just three pantry-friendly ingredients, they come together in minutes and require no baking. The smooth chocolate coating pairs perfectly with the salty crunch of peanuts and the light, airy texture of crisped rice cereal, making them a favorite for both kids and adults.
Ingredients
2 cups semi-sweet or milk chocolate chips
1 cup roasted peanuts, salted or unsalted
1½ cups crisped rice cereal
Instructions
Melt the chocolate chips in a heatproof bowl over a pot of simmering water or in the microwave in short bursts, stirring until smooth.
Stir in the roasted peanuts and crisped rice cereal until all ingredients are evenly coated with the melted chocolate.
Pour the mixture into a parchment-lined 8×8-inch pan and press it into an even layer. Chill in the refrigerator for about 1 hour, or until fully set.
Once firm, remove from the pan and cut into squares or bars.
Notes
You can use dark, milk, or white chocolate depending on your preference. For added flavor, try mixing in a pinch of sea salt or a drizzle of peanut butter before chilling. These bars keep well in an airtight container at room temperature for up to 3 days or in the refrigerator for a longer shelf life. Perfect as a snack, dessert, or easy party treat.

