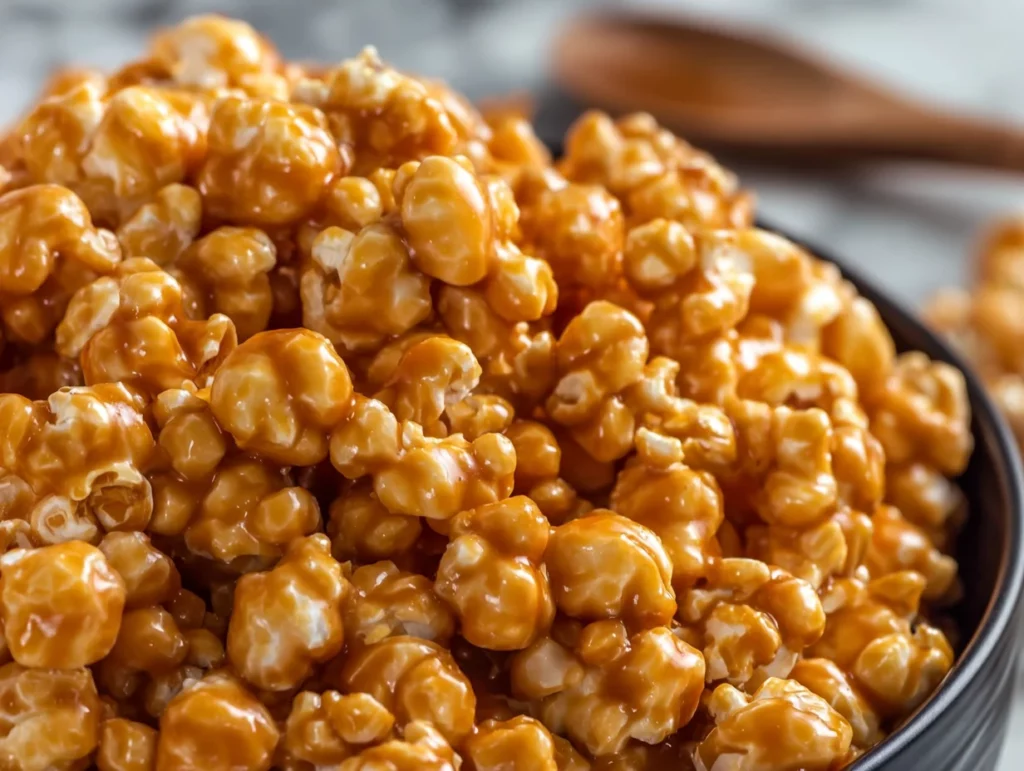
If you’re anything like me, there are just certain smells and flavors that transport you straight back to childhood. For me, it’s that buttery-sweet aroma of homemade caramel corn wafting through the kitchen on a crisp fall afternoon. Amish Caramel Corn is one of those classic, feel-good snacks that brings everyone together—whether you’re curled up on the couch for family movie night, packing up gift bags during the holidays, or just needing something nostalgic to nibble on.
This recipe? It’s the real deal. No microwave shortcuts, no artificial ingredients—just good old-fashioned caramel made from scratch, poured over fluffy popcorn and baked low and slow until it’s perfectly crisp and golden. And the best part? It stores beautifully, so you can make a big batch ahead of time (if it even lasts that long).
Let me walk you through the first steps of how to make this Amish Caramel Corn recipe from scratch. It’s surprisingly simple, but trust me—these little tips and steps make all the difference in achieving that crunchy, glossy finish you’d expect from the best caramel corn.
Why You’ll Love This Recipe
There are plenty of caramel corn recipes out there, but this Amish version stands out for a few key reasons:
Old-fashioned flavor: That deep caramel taste comes from boiling the sugar mixture just long enough—no shortcuts here!
Perfect texture: Thanks to the low-temperature baking, you get that crisp, crunchy coating without any stickiness.
Great for gifting: Package it in cute tins or treat bags, and you’ve got a homemade gift everyone loves.
Easy to make in big batches: This recipe makes 10 to 12 servings, so it’s perfect for parties or sharing.
Ingredients You’ll Need
Before we jump into the cooking, let’s take a quick look at what you’ll need to make this sweet and salty snack:
12 cups popped popcorn (plain and unsalted)
1 cup unsalted butter
2 cups light brown sugar, packed
½ cup light corn syrup
1 teaspoon salt
½ teaspoon baking soda
1 teaspoon vanilla extract
Pro Tip: When you’re popping the popcorn, make sure to remove all the unpopped kernels. There’s nothing worse than biting into a sweet caramel cluster and cracking a tooth on a rogue kernel!
STEP 1: Preheat and Prep Your Baking Sheets
Set your oven to 250°F (120°C). This lower baking temperature is key—it helps the caramel slowly bake into the popcorn without burning.

Line two large baking sheets with parchment paper or a silicone baking mat to make cleanup a breeze. You’re going to be stirring the popcorn a few times during baking, so having it spread out on two sheets helps with even coating and prevents clumps.
STEP 2: Pop the Popcorn and Set It Aside
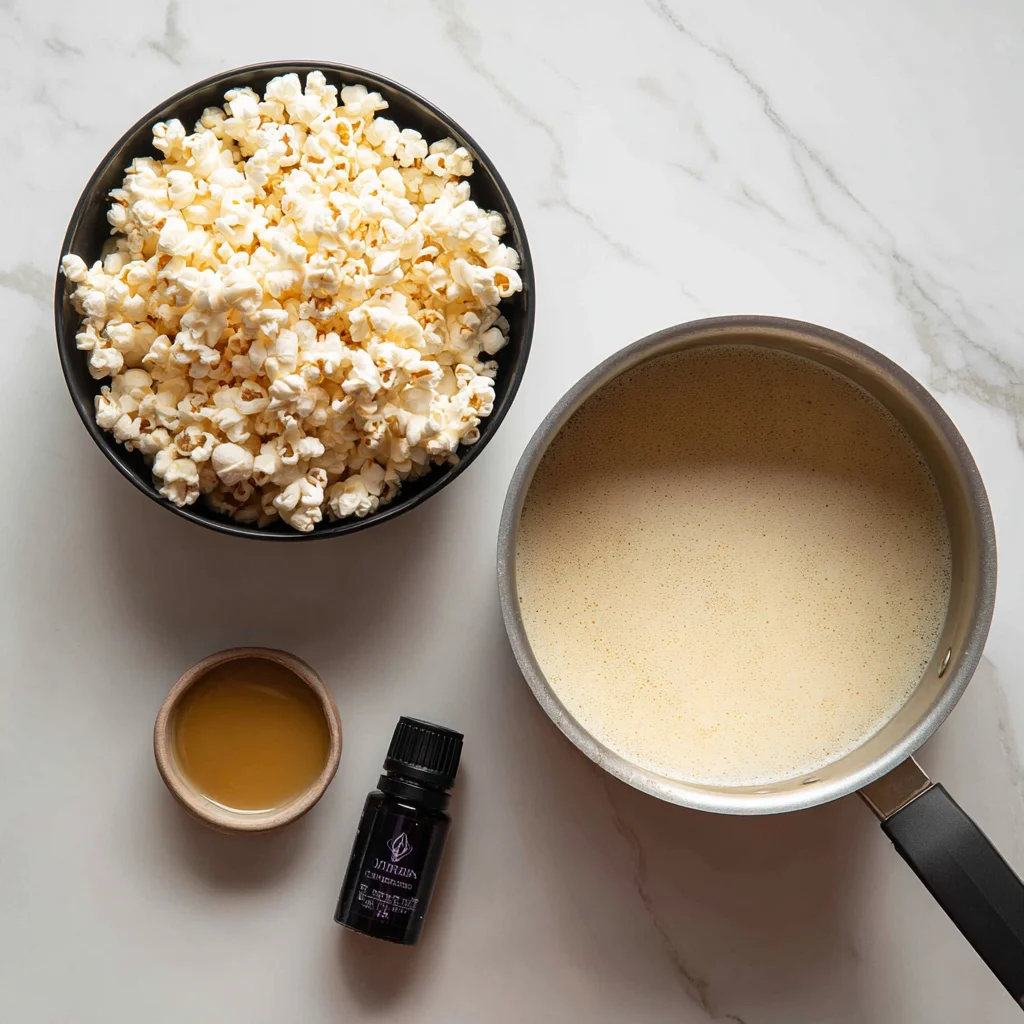
If you’re using an air popper or stovetop method, go ahead and pop your popcorn now. You’ll need 12 cups of popped popcorn, and again, make sure it’s plain and unsalted. No butter, no flavorings—you want a clean slate for that luscious caramel coating.
Once it’s popped, pour it into a large mixing bowl (the biggest one you’ve got!). This gives you plenty of space to stir in the caramel later.
STEP 3: Make the Caramel Sauce
This is where the magic happens.
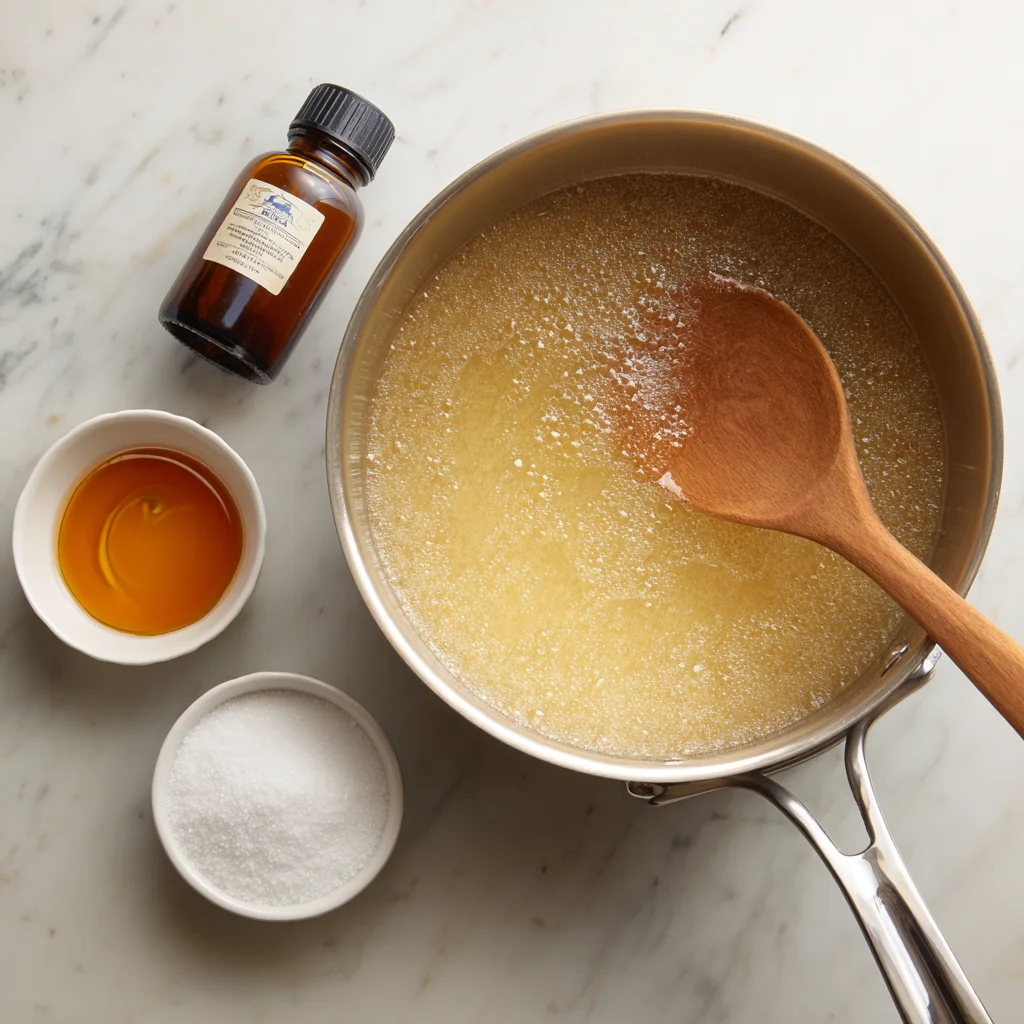
In a medium saucepan, melt the 1 cup of unsalted butter over medium heat. Once melted, stir in the 2 cups of brown sugar, ½ cup corn syrup, and 1 teaspoon salt. Keep stirring until the mixture comes to a gentle boil.
Once it starts bubbling, stop stirring and let it boil undisturbed for 4 to 5 minutes. This step is essential—it helps develop that deep, rich caramel flavor and gives your popcorn that signature amber color.
STEP 4: Add Vanilla and Baking Soda
Now here’s where things get fun—and a little bit foamy!
Take the saucepan off the heat and quickly stir in ½ teaspoon baking soda and 1 teaspoon vanilla extract. The mixture will bubble and foam up slightly—that’s exactly what you want. The baking soda helps create a lighter, more aerated caramel that coats the popcorn more evenly.
STEP 5: Pour Caramel Over Popcorn
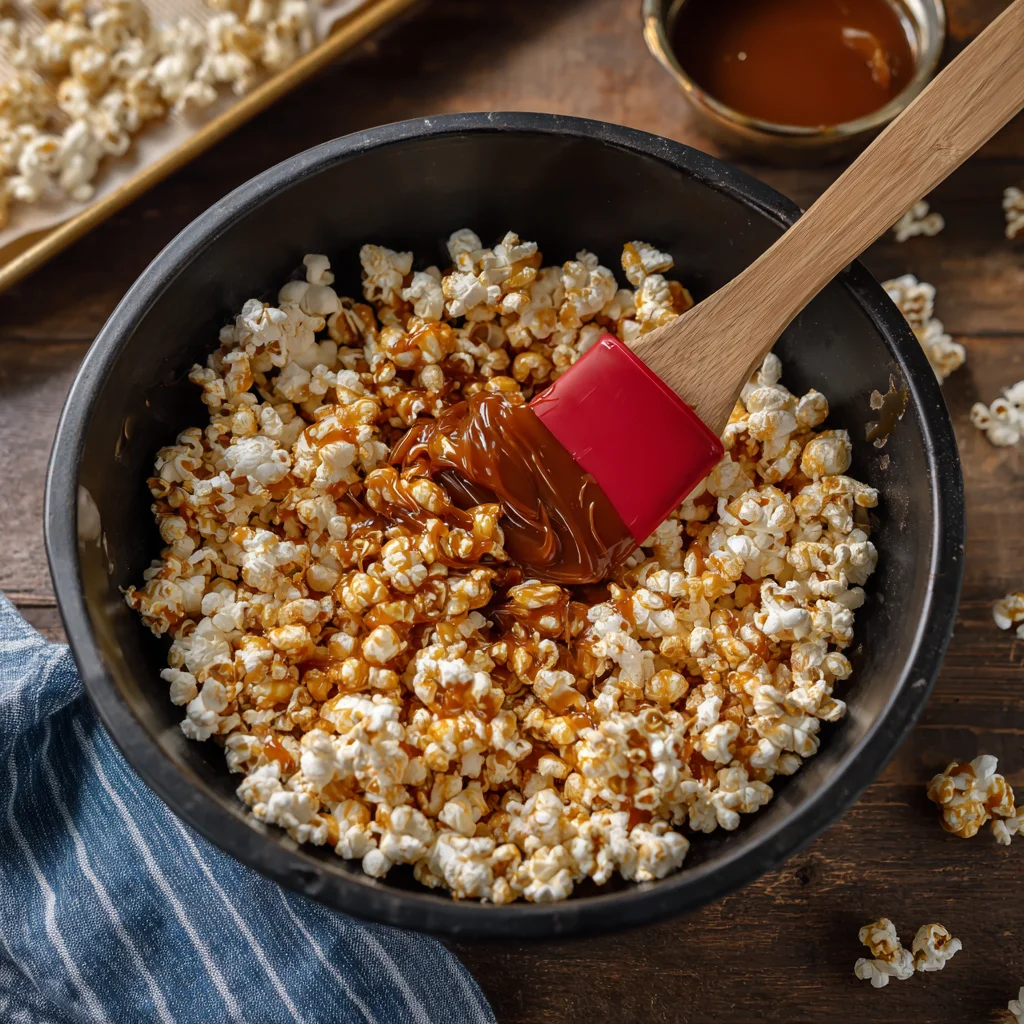
Immediately pour the hot caramel mixture over your bowl of popcorn. Don’t wait—the caramel starts to set quickly, and you want to work fast to ensure even coating.
Using a wooden spoon or silicone spatula, gently stir the popcorn to distribute the caramel as evenly as possible. It might take a few minutes, but the goal is to coat every piece without crushing the popcorn.
How to Bake Amish Caramel Corn to Crispy, Golden Perfection
Alright, now that we’ve got our popcorn coated in that dreamy homemade caramel, it’s time to take things to the next level: baking. This part is what separates sticky, chewy caramel corn from the crisp, glossy kind that practically shatters in your mouth. And trust me, the difference is everything.
This recipe uses a low-and-slow baking method at 250°F to let the caramel set and harden without burning. It also gives you a chance to stir and evenly distribute the coating while it bakes. So grab your prepped baking sheets and let’s finish strong.
STEP 6: Spread Popcorn on Baking Sheets
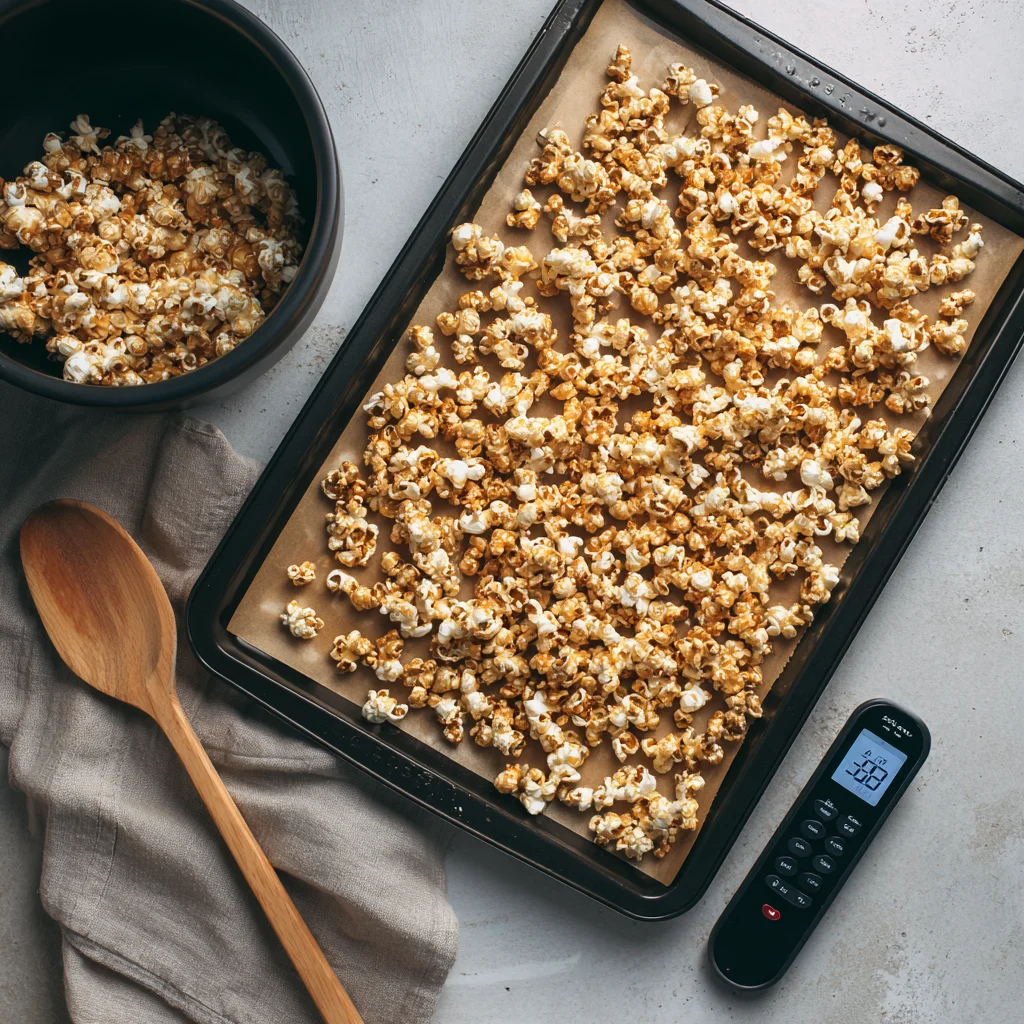
Once your popcorn is coated with caramel, pour it out onto the prepared baking sheets. You want it in a fairly even layer—not one giant pile—so it bakes uniformly.
It’s okay if the pieces are a little clumpy right now. The heat of the oven will help soften the caramel slightly, and you’ll be stirring it a few times to break things up and make sure every kernel gets its fair share of that golden goodness.
STEP 7: Bake Low and Slow (Don’t Skip This Step!)
Pop the baking sheets into your preheated 250°F oven, and set a timer for 15 minutes. This is the first of three stirring intervals during the 45-minute bake time.
Every 15 minutes, take the trays out and gently stir the popcorn with a spatula or wooden spoon. Try flipping sections from the bottom to the top to ensure even exposure to heat and caramel distribution. Then spread it back into a flat layer and return to the oven.
Repeat this process two more times, for a total bake time of 45 minutes.
Why does this matter so much? Because the gradual heat helps harden the caramel into that crispy texture you want, while also preventing any soggy or sticky spots. And stirring breaks up the clusters so you don’t end up with giant hunks of popcorn glued together.
STEP 8: Cool and Break Into Pieces
Once your caramel corn is baked to golden perfection, pull the trays out of the oven and let them cool completely on the pans. Don’t rush this part! As it cools, the caramel hardens and gives the popcorn that satisfying crunch.
After it’s fully cooled (this usually takes about 30 minutes), break it into smaller clusters and store it in an airtight container.
Tips for the Best Amish Caramel Corn
Here are a few little tips I’ve picked up over the years that make a big difference in your final batch:
Use fresh popcorn: Old popcorn can taste stale or chewy, even after baking. If you can, pop it the same day you make the caramel corn.
Don’t skip the baking soda: This is what gives the caramel its soft, foamy texture that spreads so easily. Without it, your caramel may turn out too thick or hard to coat.
Be generous with stirring: Stirring every 15 minutes while baking ensures even coating and prevents sticky clumps.
Let it cool completely before storing: Warm caramel corn will create condensation if sealed too soon, leading to sogginess. Wait until it’s 100% cool before packing it up.
Customize it: Add-ins like chopped pecans, cashews, or a drizzle of dark chocolate can take this classic recipe to new heights. Just make sure to add any extras after baking, once it’s cooled.
Perfect For Holidays, Gifts, and Make-Ahead Snacks
One of the reasons I always come back to this recipe is how versatile it is. Need something festive for Christmas treat bags? Done. Looking for a DIY hostess gift that’s not another cookie plate? This caramel corn wrapped in a cellophane bag with a ribbon is always a hit.
And let’s not forget snack prep! If you’re the kind of person who loves to have sweet treats around but doesn’t want to bake every week, this stores beautifully for up to 7 days in a tightly sealed container. I’ve even had readers tell me it freezes well, though to be honest, it never lasts that long in our house!
Creative Variations to Try
Want to put your own spin on the classic Amish caramel corn? Here are a few fun twists that work really well with this base recipe:
Caramel Nut Crunch: Add 1 cup of salted peanuts or chopped pecans before baking.
Spiced Fall Blend: Add ½ tsp of cinnamon and a pinch of nutmeg to the caramel mixture.
Chocolate Drizzle: Once cooled, drizzle melted dark or white chocolate over the top for an extra indulgent touch.
Holiday Sprinkle Popcorn: Stir in festive sprinkles after baking and cooling for a fun party treat.
Whether you’re sticking with the classic or experimenting with mix-ins, you really can’t go wrong. This recipe is forgiving, flexible, and endlessly snackable.
Amish Caramel Corn: FAQ and Final Thoughts
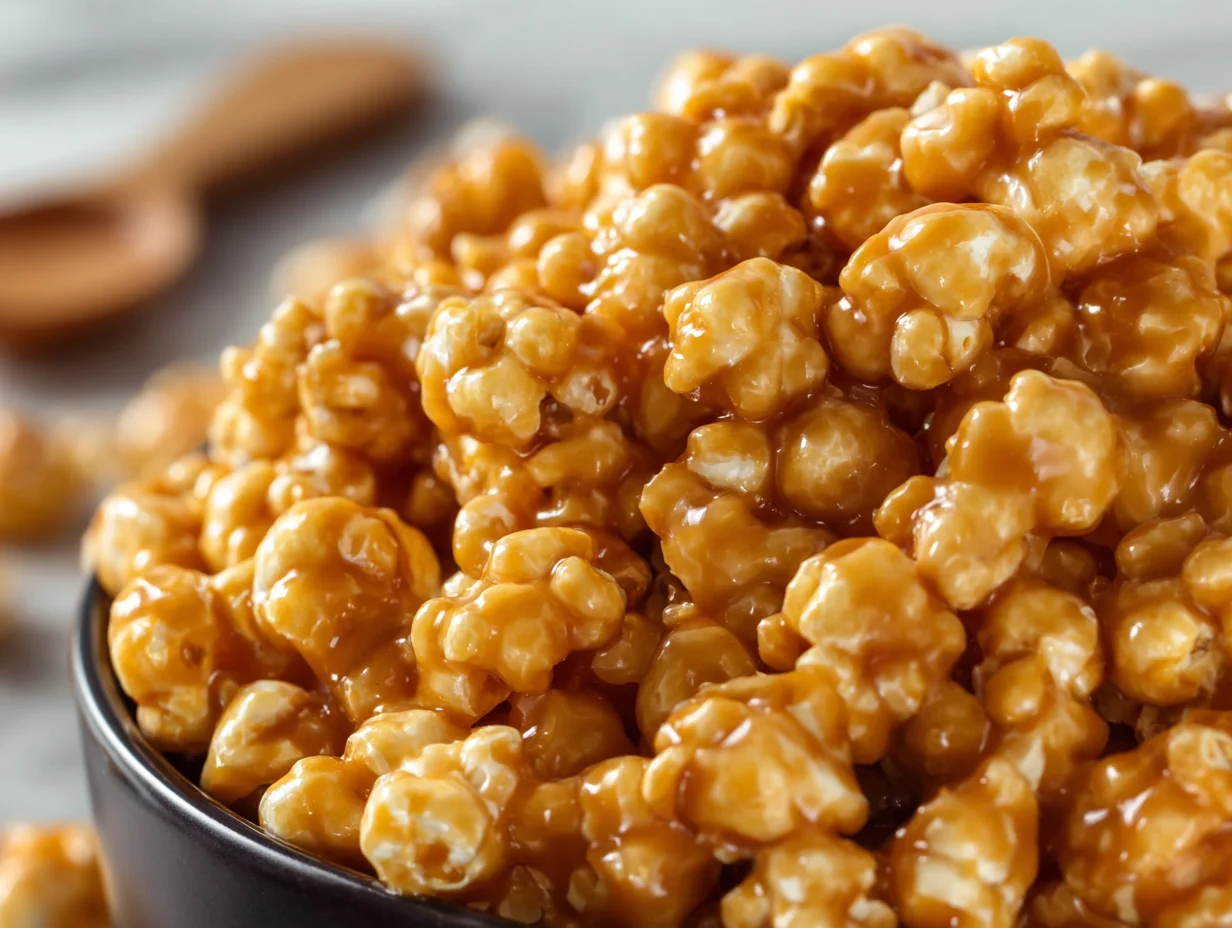
Now that you’ve got a golden tray (or two) of sweet, crunchy Amish Caramel Corn cooling on the counter, let’s wrap things up with answers to some of the most common questions people have about this classic treat. Whether it’s your first time making homemade caramel or you’re a seasoned popcorn pro, these quick tips will help you perfect your batch every single time.
FAQ: Your Caramel Corn Questions Answered
1. Can I use microwave popcorn for this recipe?
You can, but it’s not ideal. Most microwave popcorn comes salted and buttered, which can interfere with the caramel flavor and texture. For the best results, use plain, air-popped or stovetop-popped popcorn without any added seasonings.
2. What’s the best way to store caramel corn?
Once the caramel corn is completely cooled, store it in an airtight container or zip-top bag. It’ll stay fresh and crunchy for up to 7 days at room temperature. Avoid humidity—moisture is the enemy of crisp caramel corn.
3. Why did my caramel corn turn out chewy instead of crispy?
This usually happens when it wasn’t baked long enough, or if it was stored before cooling completely. Make sure to bake it for the full 45 minutes, stirring every 15 minutes, and let it cool fully before sealing.
4. Can I double this recipe?
Absolutely! This recipe doubles beautifully. Just make sure to use large enough mixing bowls and baking sheets, and rotate them during baking if your oven can’t fit them side-by-side. Doubling is perfect for party prep or gift giving.
5. Can I make it without corn syrup?
Corn syrup is key to preventing crystallization in the caramel, which keeps it smooth and glossy. While there are substitutions (like honey or maple syrup), they can change the texture and flavor. If you’re avoiding corn syrup, you may want to search for a specific no-corn-syrup recipe.
6. Is it safe to add nuts or chocolate to the recipe?
Yes! Nuts like pecans, cashews, or almonds can be mixed in before baking. For chocolate, wait until after the popcorn is baked and cooled, then drizzle melted chocolate over the top. Let it set before storing.
7. Can I freeze caramel corn?
Technically, yes—you can freeze it in a tightly sealed bag or container for up to 2 months. Just be sure it’s completely cooled before freezing. However, the texture may not be quite as crispy after thawing, so fresh is always best when possible.
Final Thoughts: Give This Classic Treat a Try
There’s something timeless about Amish Caramel Corn. It’s the kind of treat that doesn’t rely on fancy ingredients or complicated steps—just a little bit of patience, some good-quality popcorn, and that irresistible buttery caramel.
Whether you’re making it for a cozy night in, packaging it up as a thoughtful homemade gift, or just satisfying a serious sweet tooth, this recipe delivers every single time. And once you’ve made it once, you’ll see how easy it is to customize. You can go classic, add your own twist, or turn it into a signature snack for every season.
So go ahead—get popping! I’d love to hear how your batch turns out, and if you tried any fun add-ins or variations. Feel free to share your results in the comments, or even tag me if you post it online. Nothing makes me happier than knowing these recipes are being enjoyed in your homes, just like they are in mine.
Print
Amish Caramel Corn
- Author: Andrew Recipes
Description
Amish Caramel Corn is a timeless treat that combines the comforting crunch of popcorn with a rich, buttery caramel coating. This classic recipe delivers the perfect balance of sweet and salty, with a glossy, golden shell that crisps up beautifully in the oven. It’s ideal for family movie nights, gifting during the holidays, or simply satisfying a nostalgic sweet tooth.
Ingredients
12 cups popped popcorn, plain and unsalted
1 cup unsalted butter
2 cups light brown sugar, packed
½ cup light corn syrup
1 teaspoon salt
½ teaspoon baking soda
1 teaspoon vanilla extract
Instructions
Preheat your oven to 250°F and line two large baking sheets with parchment paper or a silicone baking mat.
Place the popped popcorn in a large mixing bowl. Make sure to remove any unpopped kernels.
In a medium saucepan over medium heat, melt the butter. Stir in the brown sugar, corn syrup, and salt. Bring the mixture to a gentle boil, stirring constantly.
Once it starts boiling, stop stirring and let it boil for 4 to 5 minutes undisturbed. This step helps develop the deep caramel flavor.
Remove the saucepan from heat and immediately stir in the baking soda and vanilla. The mixture will foam up slightly.
Quickly pour the caramel over the popcorn and stir to coat evenly. Work swiftly to ensure even coverage before the caramel begins to set.
Spread the coated popcorn onto the prepared baking sheets in an even layer.
Bake for 45 minutes, stirring every 15 minutes to ensure even baking and crispness.
Remove from the oven and allow to cool completely. Break into pieces and store in an airtight container.
Notes
The key to crisp, glossy caramel corn is baking it low and slow. This sets the caramel and gives the popcorn its signature crunch. Be sure to stir during baking to prevent clumping. This recipe stores well for up to a week in an airtight container, making it perfect for make-ahead snacks or gifts.

