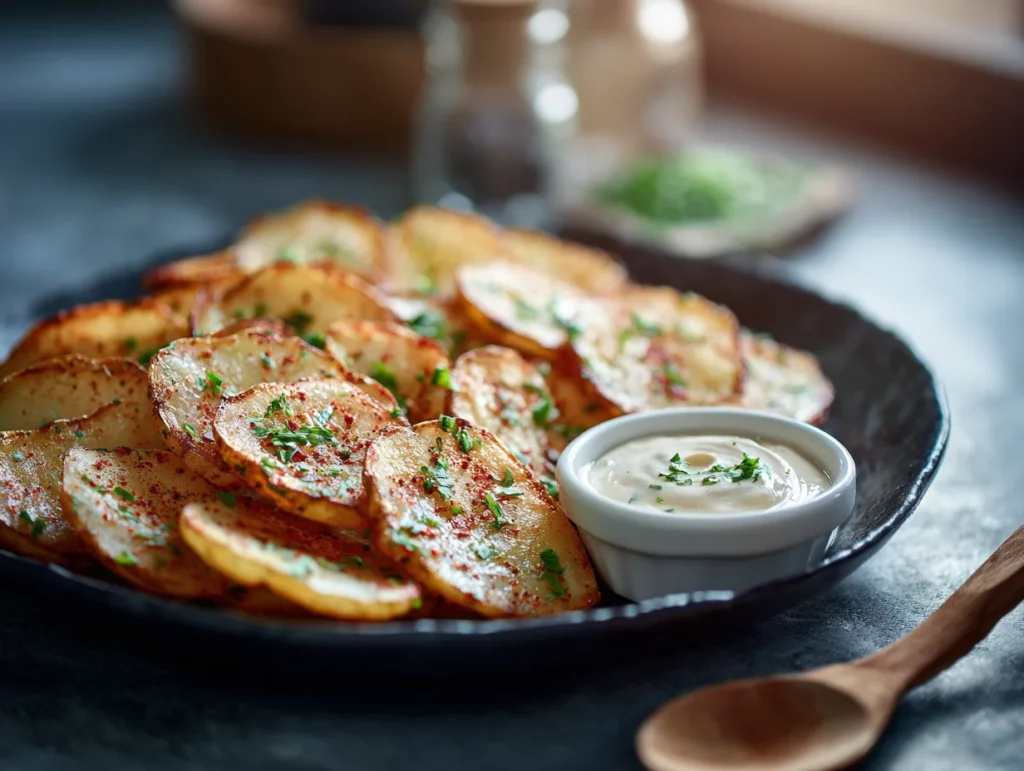
If you’ve ever found yourself staring into your pantry wondering what to whip up that’s simple, satisfying, and universally loved—let me stop you right there. Baked potato slices are about to become your new favorite go-to. I’m not exaggerating when I say these golden little rounds of happiness are dangerously addictive. With their crispy edges, tender centers, and perfectly seasoned flavor, they walk that perfect line between side dish and snack. Honestly, I’ve served them alongside grilled chicken and even just piled them on a plate with my favorite dipping sauce and called it dinner. No regrets.
There’s just something magical about taking a humble russet potato and transforming it into something that feels way fancier than it actually is. These potato slices come out of the oven looking like something you might see at a restaurant—except they’re made with just a few pantry staples you probably already have on hand. And don’t worry—there’s no deep-frying or complicated prep here. If you can slice a potato and turn on your oven, you’re golden. Literally.
Let me walk you through exactly how to make these baked potato slices from start to finish. They’re perfect for weeknight dinners, game day snacks, or as a base for your own creative toppings (loaded potato nachos, anyone?). And bonus—kids love them too!
Ingredients You’ll Need
To get started, here’s what you’ll need for this recipe:
3 large russet potatoes, scrubbed clean and sliced into ¼-inch rounds
2 tablespoons olive oil
½ teaspoon garlic powder
½ teaspoon paprika
Salt and black pepper, to taste
Chopped fresh parsley, for garnish (optional)
That’s it! Just a short and sweet ingredient list, and you’re on your way to crispy perfection.
STEP 1: PREHEAT YOUR OVEN
Start by preheating your oven to 400°F. This is the sweet spot for getting those potatoes beautifully browned and crisped without drying them out. Line a large baking sheet with parchment paper or lightly grease it with a little oil. You want to make sure nothing sticks because trust me—you’ll want every bit of that crispy goodness.
STEP 2: PREP THE POTATOES
Take your scrubbed russet potatoes and slice them into ¼-inch rounds. This thickness gives you the best of both worlds—crisp edges with soft, fluffy centers. If you have a mandoline, now is the time to use it. It makes quick work of slicing and ensures even pieces that cook at the same rate. If not, a sharp knife works just fine—just aim for consistency in thickness.
STEP 3: SEASON TO PERFECTION
Place your potato slices in a large mixing bowl. Drizzle them with 2 tablespoons of olive oil, then sprinkle on the garlic powder, paprika, salt, and black pepper. Toss everything together until the slices are evenly coated in the seasoning. I like to use my hands here to make sure every slice is well covered—it makes a difference.

STEP 4: LAY THEM OUT
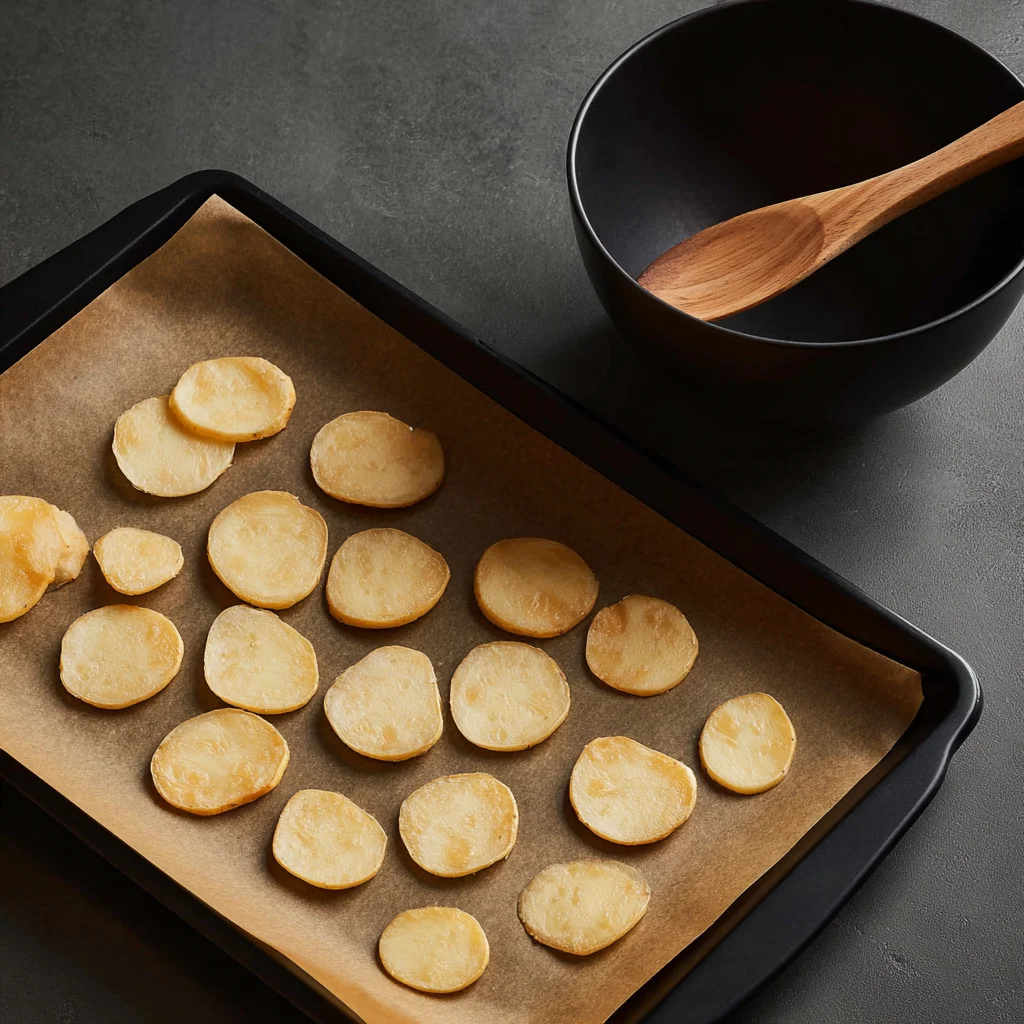
Arrange the slices in a single layer on your prepared baking sheet. This part is important—don’t overcrowd them or let them overlap. Give them a little space to breathe so they can crisp up properly. If your baking sheet isn’t big enough, use two trays or bake in batches. It’s totally worth it.
How to Bake Perfectly Crispy Potato Slices Every Time
Now that we’ve got our seasoned potato slices all laid out and ready to go, it’s time to bring them to life in the oven. If you’ve ever had soggy or unevenly cooked potatoes in the past, don’t worry—this method is all about getting that ideal crispy-on-the-outside, soft-on-the-inside texture. The best part? It’s easy, fast, and totally customizable.
Whether you’re serving these up as a fun appetizer, pairing them with a juicy burger, or just enjoying them straight from the tray (no judgment here), this next section covers everything you need to finish off your baked potato slices like a pro.
STEP 5: BAKE TO GOLDEN PERFECTION
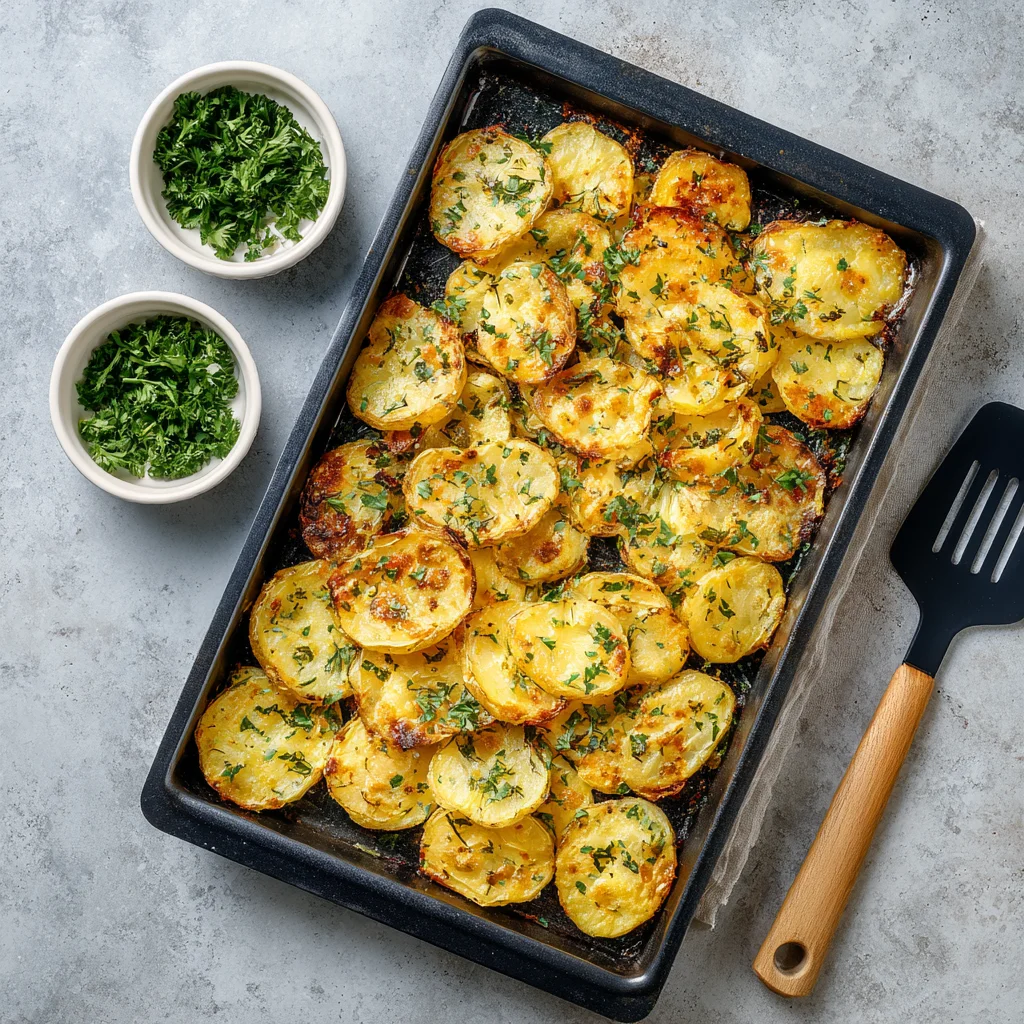
Slide the tray into your preheated 400°F oven and bake for 25 to 30 minutes, flipping the slices halfway through. This flip is key! It helps both sides get evenly golden and crispy. I usually set a timer for 15 minutes, flip them with a spatula or tongs, then pop them back in for another 10 to 15 minutes.
Keep an eye on them during the last 5 minutes—every oven is a little different, and depending on how thick your slices are, they might crisp up a bit faster or slower. You’re looking for that golden-brown color around the edges and a tender center when pierced with a fork.
STEP 6: GARNISH AND SERVE
Once your potato slices are baked to crispy, irresistible perfection, pull them out of the oven and let them cool for just a minute or two. Then, if you’d like, sprinkle them with freshly chopped parsley. It adds a pop of color and a fresh flavor that pairs beautifully with the warm spices.
Serve them warm, straight from the baking sheet (if your house is anything like mine, they won’t last long enough to make it to a serving platter).
Easy Tips for Potato Slice Success
Want to take your baked potato slices to the next level? Here are a few tried-and-true tips to make sure they turn out amazing every single time:
Use a mandoline for even slices. This might be my #1 tip. Even slices = even cooking. No one wants some undercooked rounds while others burn at the edges.
Don’t skip the flip. Turning the slices halfway through helps both sides get that golden, crispy finish.
Dry potatoes = crispy potatoes. After scrubbing your potatoes, pat them dry before slicing. Moisture can prevent them from crisping up.
Make them your own. This recipe is super flexible. Want a smoky flavor? Add a dash of smoked paprika. Craving a cheesy twist? Sprinkle grated Parmesan during the last 5 minutes of baking.
Try different potatoes. Russets are perfect because of their starch content, but Yukon Golds work too, especially if you prefer a creamier texture.
Serving Ideas and Dipping Sauce Pairings
Here’s where things get fun. These baked potato slices are basically a blank canvas for whatever flavors you love. They work well as:
A snack with dip. Try them with sour cream, chipotle mayo, ranch, or even guacamole.
A side dish. Serve next to burgers, grilled chicken, or steak. They add a crispy, satisfying touch to any meal.
A party appetizer. Top with melted cheese, bacon bits, and green onions for a mini loaded potato bite.
Simple Variations You Can Try
If you’ve made these once and loved them (which I’m confident you will), you might want to play around with some flavor variations. Here are a few of my favorites:
Spicy Kick: Add a sprinkle of cayenne or chili powder.
Cheesy Goodness: Top with shredded cheese during the last 5 minutes of baking. Let it melt and get bubbly.
Herby Twist: Mix in dried rosemary or thyme for an earthy, savory note.
Loaded Bites: Once baked, top with sour cream, bacon, and scallions for a loaded potato slice variation.
The base recipe is simple, and that’s what makes it so special—it’s endlessly adaptable.
Baked Potato Slices FAQ + Final Thoughts
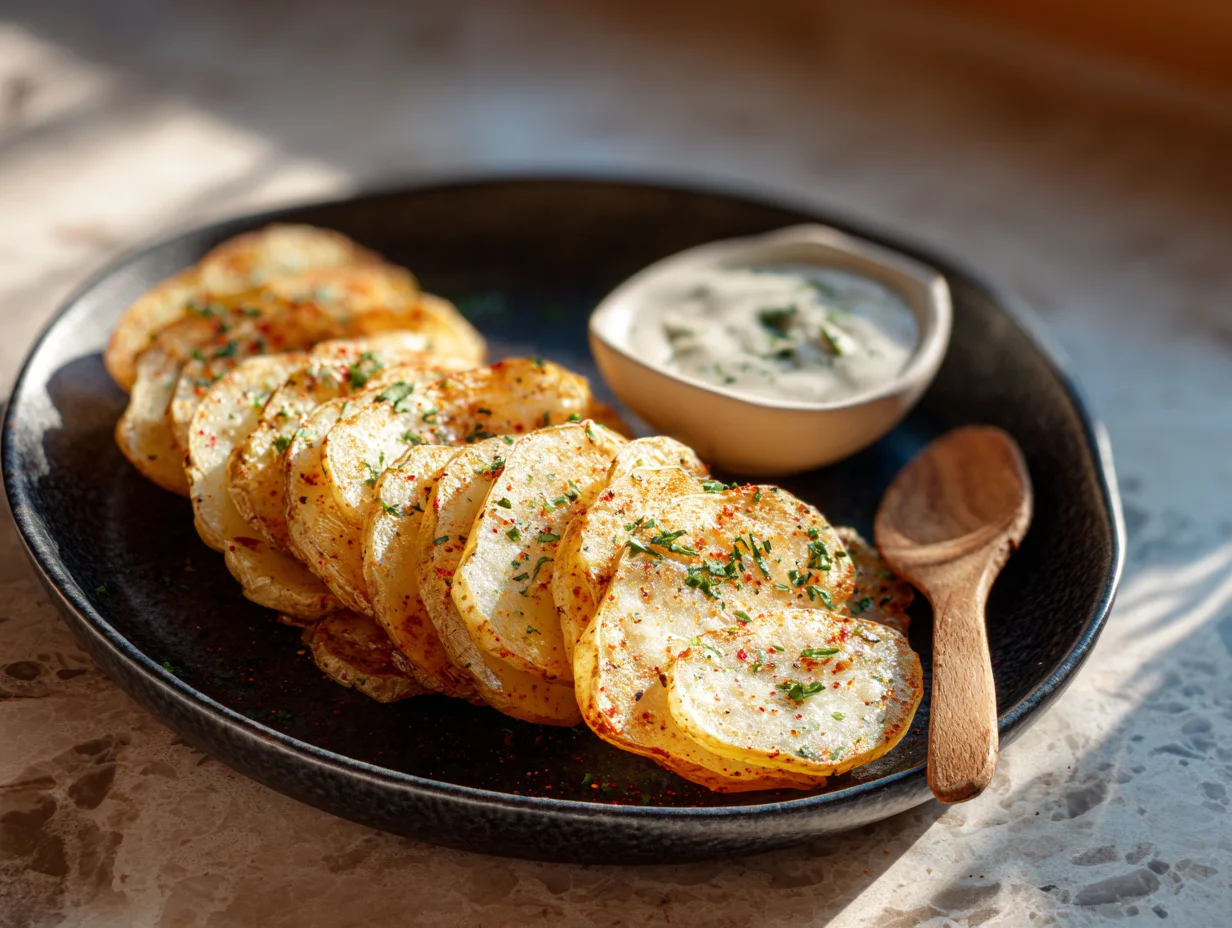
Now that you’ve got your golden, crispy baked potato slices hot from the oven, you might be wondering how to store them, reheat them, or maybe even take them to the next level. You’re not alone! These potato slices are such a hit in so many households that I’ve gotten a handful of repeat questions over time. So, let’s get into some of the most commonly asked questions, along with a few extra tips to make your potato game even stronger.
Frequently Asked Questions About Baked Potato Slices
1. Can I make these baked potato slices ahead of time?
Yes, absolutely! You can prep the potatoes ahead by slicing and seasoning them, then store them covered in the fridge for up to 24 hours before baking. Just be sure to give them a quick toss again before laying them on the baking sheet.
2. What’s the best way to reheat them?
To bring back that crispy texture, reheat the slices in a preheated oven at 375°F for 5-10 minutes, or pop them in an air fryer for a few minutes. Avoid microwaving if you can—it softens the crisp edges.
3. Can I use other types of potatoes?
Yes! Yukon Golds are a great option and have a buttery flavor, though they’ll be slightly less crisp than russets. Red potatoes work too, but they tend to hold their shape more and won’t get quite as crunchy.
4. Do I need to peel the potatoes first?
Nope! I actually prefer to leave the skins on. They add extra texture and nutrients, plus it saves time. Just give them a good scrub before slicing.
5. Why did my slices stick to the pan?
This usually happens if there’s not enough oil or if they weren’t spaced out enough. Make sure your baking sheet is well-greased or lined with parchment paper, and don’t let the slices overlap.
6. How thin should I slice the potatoes?
¼ inch thick is the sweet spot. Thinner slices may burn quickly, and thicker slices won’t crisp up as well. Use a mandoline if you want perfectly uniform cuts.
7. Can I freeze baked potato slices?
Technically yes, but they’re definitely best fresh. If you freeze them, reheat them in the oven or air fryer straight from frozen to regain some crispiness. Just know the texture may not be exactly the same.
Final Thoughts: Why You’ll Love These Baked Potato Slices Again and Again
There’s a reason I keep coming back to this recipe—it’s simple, versatile, and always a crowd-pleaser. Whether you’re cooking for your family on a busy weeknight or making snacks for a game day party, these crispy baked potato slices deliver every time. They’re quick to make, use ingredients you already have, and they pair with just about anything.
What I love most is how easily you can adapt them to suit your mood. Want something spicy? Toss in some cayenne. Craving comfort food? Add cheese and bacon. Going fancy? Try a truffle salt finish. Once you’ve got the basic method down, the possibilities are endless.
So, if you give this recipe a try, I’d love to hear how you served them! Did you go with a classic ranch dip or turn them into mini loaded potatoes? Share your take in the comments and let me know what flavor twists you’ve discovered.
Print
Baked Potato Slices
- Author: Andrew Recipes
Description
These baked potato slices are a simple yet satisfying side dish made with just a few pantry staples. Thinly sliced potatoes are oven-baked until golden, crisp around the edges, and tender in the center. Perfectly seasoned and versatile, they’re ideal for pairing with main dishes or serving as a snack or appetizer with your favorite dips.
Ingredients
3 large russet potatoes, scrubbed and sliced into ¼-inch rounds
2 tablespoons olive oil
½ teaspoon garlic powder
½ teaspoon paprika
Salt and black pepper to taste
Chopped fresh parsley for garnish (optional)
Instructions
Preheat the oven to 400°F. Line a large baking sheet with parchment paper or lightly grease it.
Place the potato slices in a large bowl. Add olive oil, garlic powder, paprika, salt, and pepper. Toss until the potatoes are evenly coated.
Arrange the potato slices in a single layer on the prepared baking sheet, making sure they don’t overlap.
Bake for 25 to 30 minutes, flipping the slices halfway through, until they are golden brown and crispy on the edges.
Remove from the oven and sprinkle with chopped parsley if desired. Serve warm.
Notes
For best results, use a mandoline or a sharp knife to ensure even slices. Russet potatoes work well due to their starch content, but Yukon Golds are a great alternative. You can customize the seasoning with herbs, Parmesan, or a sprinkle of chili powder for a spicy kick. These are best enjoyed fresh but can be reheated in the oven or air fryer to bring back the crispness.

