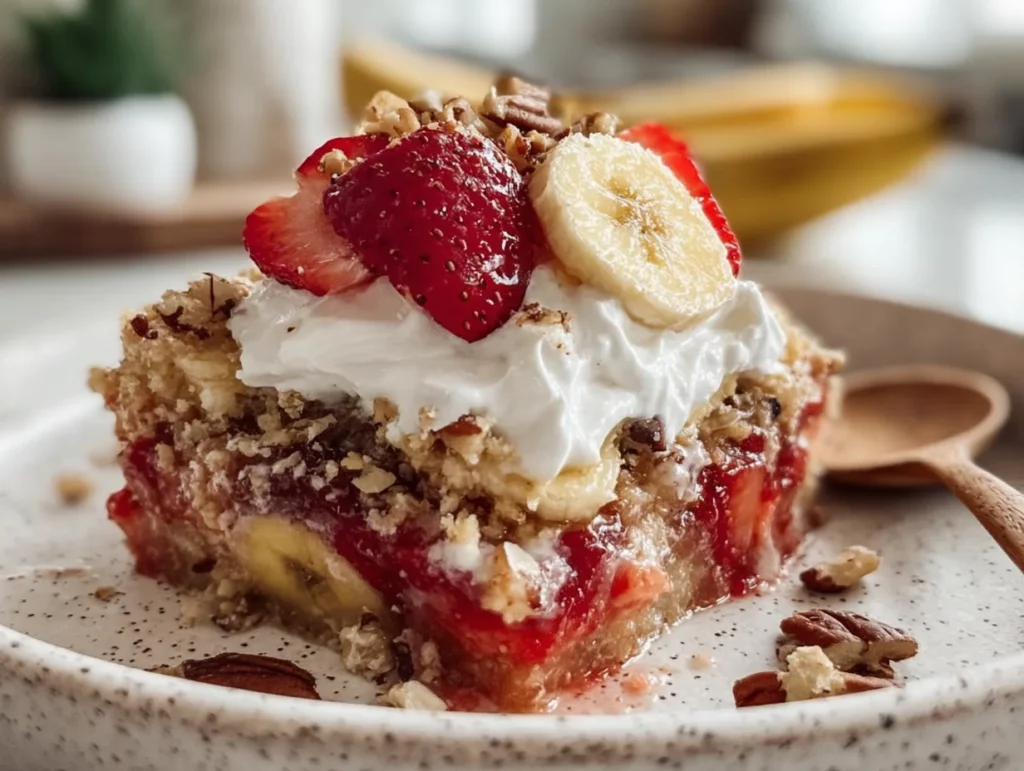
There’s just something magical about a banana split, isn’t there? Maybe it’s the layers of flavors—fruity, creamy, chocolatey, nutty—or maybe it’s the way it takes us back to those childhood moments at the ice cream parlor, carefully choosing toppings and racing the melting ice cream. Either way, that same charm is baked right into this Banana Split Dump Cake, and the best part? You don’t even need an ice cream scoop.
This dessert is the ultimate mash-up of convenience and flavor. No fancy mixing, no complicated steps—just layer, bake, and serve. The name might not sound glamorous, but this dump cake is anything but ordinary. It’s sweet, gooey, golden, and indulgent in all the right ways. And with a little scoop of whipped cream or ice cream on top? Heaven.
I love making this for potlucks or casual get-togethers because it’s one of those crowd-pleasers that disappears fast. It also makes the kitchen smell incredible—like a cross between fresh-baked cake and warm fruit pie. It’s a dessert that tastes like you spent hours making it, but really, you just dumped everything in a pan and let the oven do the work. Win-win, right?
Whether you’re reliving childhood memories or just looking for a super easy sweet to satisfy a crowd, this Banana Split Dump Cake delivers.
Ingredients You’ll Need:
1 can (20 oz) crushed pineapple, undrained
2 to 3 ripe bananas, sliced
1 can (21 oz) strawberry pie filling
1 box yellow cake mix
½ cup mini chocolate chips
½ cup chopped walnuts or pecans
1 cup unsalted butter, melted
Optional toppings: whipped cream, maraschino cherries, extra chocolate chips or nuts
STEP 1: Preheat and Prep
Start by preheating your oven to 350°F and lightly greasing a 9×13-inch baking dish. You can use non-stick spray or a little bit of butter. This helps ensure your dump cake comes out easily and doesn’t stick to the pan. Trust me—you don’t want to lose a single bite of that golden crust.

STEP 2: Layer the Pineapple and Bananas
Dump the undrained crushed pineapple into your prepared baking dish and spread it evenly across the bottom. This will be the juicy, tangy foundation of your cake.
Next, layer the sliced bananas over the pineapple. Go ahead and slice them evenly—about ¼-inch thick works great. If your bananas are extra ripe, that’s even better. They’ll melt into the other layers and create a naturally sweet flavor.
STEP 3: Add Strawberry Pie Filling
Open up your can of strawberry pie filling and gently spoon it over the bananas. Don’t mix it—just spread it out across the top to cover everything nicely. If you want to add a layer of fresh strawberries here, you totally can. It adds a little bit of bite and makes the cake feel even more like a fruit-forward treat.
STEP 4: Sprinkle on the Cake Mix
Here’s where the “dump” part really comes into play. Take your dry yellow cake mix and sprinkle it evenly over the fruit layers. Don’t stir it in. Just shake it gently across the top until the whole surface is covered. It might look a little powdery and weird at this stage, but don’t worry—it transforms in the oven.

STEP 5: Add Butter, Chocolate, and Nuts
Slowly drizzle the melted butter over the cake mix. The goal is to moisten as much of the dry mix as you can, but it’s okay if a few patches stay dry. That adds a little texture after baking.
Now comes the fun part—sprinkle the mini chocolate chips and chopped walnuts or pecans on top. These add crunch and richness, giving the cake that true banana split flavor profile.
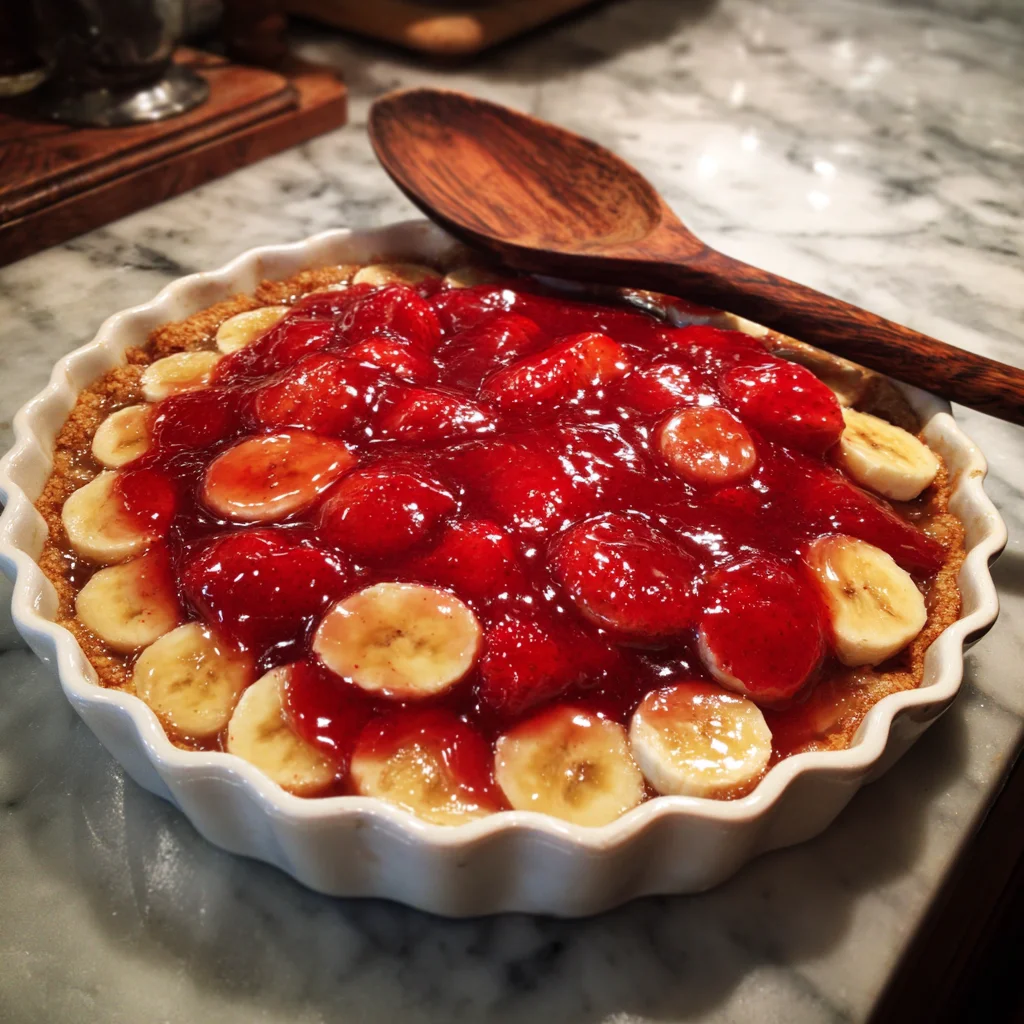
Bake, Serve, and Customize: Making the Perfect Banana Split Dump Cake
Alright, now that everything is layered up in your baking dish and ready to go, it’s time to let the oven work its magic. One of the best parts about this Banana Split Dump Cake is how it transforms during baking—those simple pantry ingredients melt together into a warm, gooey, golden-topped dessert that smells like pure comfort. Trust me, once you pull it out of the oven, everyone will be hanging around the kitchen asking, “What is that amazing smell?”
In this section, we’ll finish baking the cake, cover how to serve it, and go over a few easy variations and tips to help you get the best results every time.

STEP 6: Bake to Golden Perfection
Once everything is assembled and topped with chocolate chips and nuts, place your dish on the center rack of the oven. Bake at 350°F for 45 to 50 minutes, or until the top is golden brown and bubbly around the edges.
You’ll notice the fruit layer bubbling up a bit, and that’s a good sign—it means all the flavors are mingling together underneath that buttery cake topping. The chocolate chips will get slightly melty and toasty, while the nuts turn perfectly golden for just the right crunch.
Pro Tip: If the top looks like it’s browning too quickly before the 45-minute mark, you can loosely tent it with a piece of foil during the last 10-15 minutes to prevent over-browning.
STEP 7: Let It Cool (Just a Little)
Once your dump cake is done baking, pull it out of the oven and let it cool for at least 15 minutes. This gives the filling a chance to set slightly and makes it easier to scoop. It’s still best served warm, but not piping hot—unless you like your dessert lava-style.
How to Serve Banana Split Dump Cake
This is where you can really channel your inner sundae artist. The cake on its own is sweet and satisfying, but adding a few fun toppings will give it that true banana split vibe.
Here are some topping ideas to take it over the top:
Whipped cream: Dollop a little (or a lot) on top before serving.
Maraschino cherries: Pop one on top for a classic finish.
Vanilla or chocolate ice cream: For a truly indulgent dessert.
Extra chocolate chips or nuts: Sprinkle a few more on for texture and presentation.
And the best part? You can totally set this up as a mini “dump cake sundae bar” at parties. Serve the warm cake and let everyone top theirs however they like.
Make-Ahead and Storage Tips
This dump cake is best enjoyed the day it’s baked—when the bananas are freshest and the topping has that perfect blend of soft and crisp. But if you do have leftovers, here’s how to handle them:
Storage: Cover the dish tightly with foil or transfer leftovers to an airtight container. Store in the refrigerator for up to 3 days.
Reheating: Warm individual servings in the microwave for 20-30 seconds. Or, reheat the whole dish in a 300°F oven for about 15 minutes.
Freezing: Not recommended. Bananas don’t always hold up well when frozen and defrosted.
Easy Recipe Variations and Add-Ons
Want to switch things up? This recipe is super flexible. Here are a few ways to customize it:
Swap the fruit filling: Try cherry pie filling instead of strawberry for a more classic banana split flavor.
Add fresh strawberries: Mix in a handful of fresh sliced berries between the banana and pie filling layers for extra texture.
Use a different cake mix: Yellow cake is the go-to, but white cake or even chocolate cake mix would work for a richer dessert.
Nut-free option: Just leave out the walnuts or pecans if there are allergies, or replace them with crushed graham crackers for crunch.
And if you’re making this with kids, let them help layer the ingredients. It’s almost impossible to mess up, and they’ll love being part of the “dump and bake” process.
FAQ and Final Thoughts on the Ultimate Banana Split Dump Cake
By now, your house probably smells like a dream, and you’re wondering how something this easy can taste that good. That’s the magic of a dump cake—it’s low-effort, high-reward, and endlessly customizable. Whether you’re serving it warm out of the oven or sneaking a spoonful from the fridge the next day (guilty!), this dessert never disappoints.
Before we wrap up, let’s run through some frequently asked questions I often get about this recipe. These answers will help you troubleshoot, swap ingredients, or just make your dessert experience even smoother.
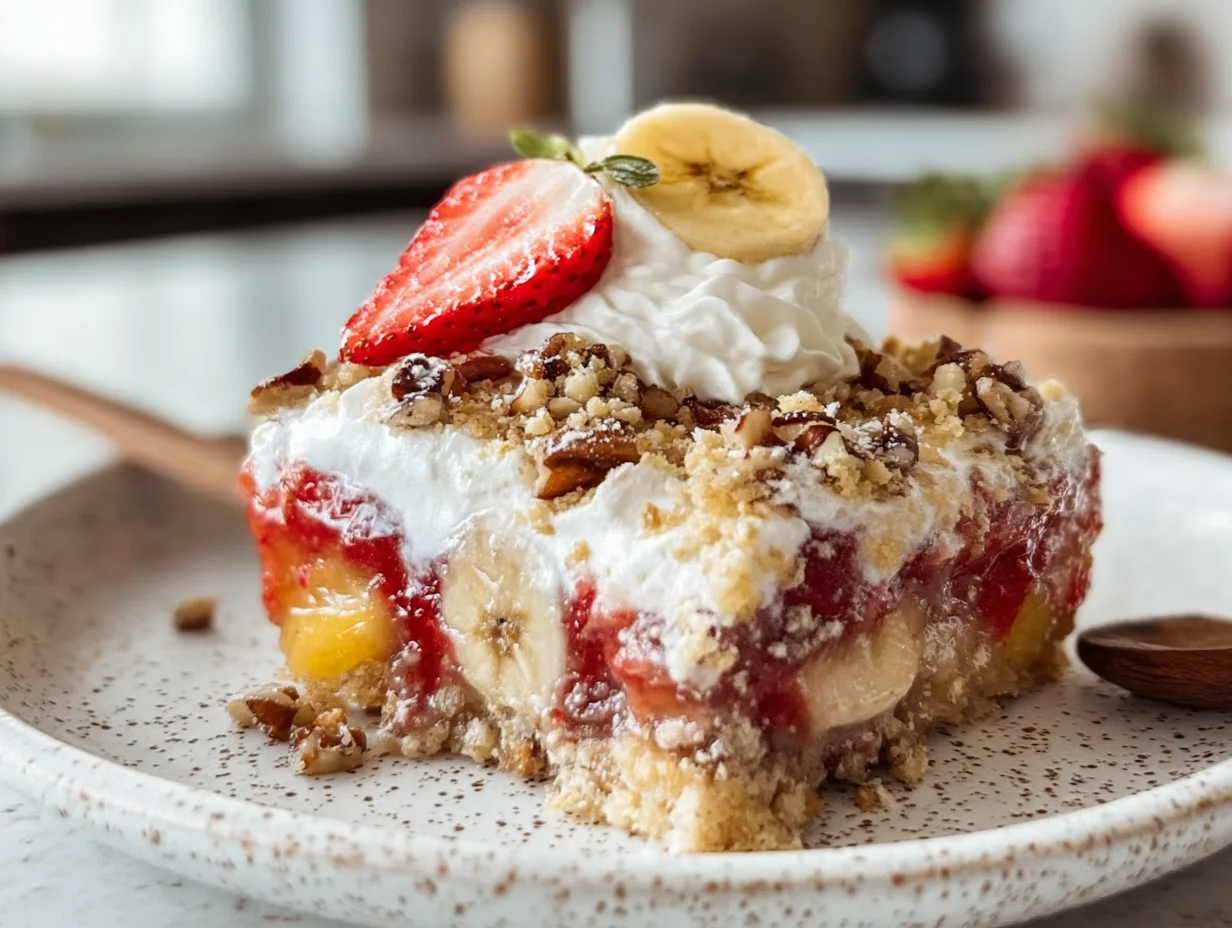
Frequently Asked Questions
1. Can I use fresh strawberries instead of pie filling?
Yes! If you’d prefer a fresher fruit taste, you can absolutely use fresh strawberries. Just be sure to slice them and toss them with a little sugar to help them soften and release juice during baking. Keep in mind, the texture will be slightly different than using pie filling.
2. What kind of cake mix works best?
Yellow cake mix is the go-to for that classic buttery flavor, but white cake mix also works great. If you’re a chocolate lover, you can try a chocolate cake mix for a richer twist—just note it will make the overall flavor more intense and slightly less fruity.
3. Do I have to use bananas?
The bananas are what make this a true banana split-inspired dessert, but if you’re not a fan or someone in your family has an allergy, you can skip them. The texture will be different, but the dish will still be sweet and delicious.
4. Can I make this dessert ahead of time?
This dump cake is best served warm and fresh out of the oven. However, you can make it a few hours in advance and keep it covered at room temperature. Reheat it gently before serving. Leftovers can be refrigerated for up to 3 days.
5. How do I keep the cake topping from being dry?
Make sure to drizzle the melted butter as evenly as possible across the dry cake mix. It helps to pour slowly and cover as much of the surface as you can. If you notice dry patches after baking, those can be spooned aside—or topped with ice cream to soften them up.
6. Can I make this recipe dairy-free?
Yes, you can! Use a dairy-free cake mix and swap the butter for a plant-based alternative like vegan buttery sticks or melted coconut oil. Just note that the flavor and texture might vary slightly.
7. What’s the best way to serve this for a party?
Scoop it warm into bowls and set up a toppings bar with whipped cream, sprinkles, cherries, extra chocolate chips, and nuts. It’s a fun and interactive way to serve dessert that guests of all ages will love.
Final Thoughts: A Simple Treat with Big Flavor
I’ve made this Banana Split Dump Cake more times than I can count, and it’s always a hit. It’s the kind of dessert that feels comforting and familiar, like a warm hug in a bowl. Whether you’re baking it for a family movie night, a birthday celebration, or a casual get-together with friends, it delivers that nostalgic flavor we all crave—without the fuss of scooping or assembling individual sundaes.
And honestly? The fact that it only takes a few minutes to throw together makes it even better. Dump cakes are proof that you don’t need to spend hours in the kitchen to make something everyone will rave about.
Print
Banana Split Dump Cake Recipe
- Author: Andrew Recipes
Description
This Banana Split Dump Cake brings all the nostalgic flavors of a classic banana split into an easy, oven-baked dessert. With layers of sweet fruit, rich chocolate, and buttery cake topping, it’s a low-effort treat that delivers big on taste. Perfect for potlucks, parties, or a fun family night, this dump cake captures the charm of an ice cream parlor favorite—no scooping required.
Ingredients
1 can (20 oz) crushed pineapple, undrained
2 to 3 ripe bananas, sliced
1 can (21 oz) strawberry pie filling
1 box yellow cake mix
½ cup mini chocolate chips
½ cup chopped walnuts or pecans
1 cup unsalted butter, melted
Optional toppings: whipped cream, maraschino cherries, extra chocolate chips or nuts
Instructions
1️⃣ Preheat the oven to 350°F and lightly grease a 9×13-inch baking dish.
2️⃣ Spread the crushed pineapple evenly across the bottom of the dish. Layer the sliced bananas over the pineapple.
3️⃣ Spoon the strawberry pie filling evenly over the bananas, spreading it gently to cover the surface.
4️⃣ Sprinkle the dry cake mix evenly over the fruit mixture without stirring. Make sure the entire top is covered.
5️⃣ Drizzle the melted butter slowly and evenly over the cake mix, trying to moisten as much of the dry mix as possible.
6️⃣ Top with mini chocolate chips and chopped nuts.
7️⃣ Bake for 45 to 50 minutes, or until the top is golden and bubbly. Let it cool for at least 15 minutes before serving.
Notes
Serve warm with whipped cream and a cherry on top for the full banana split effect. You can substitute the strawberry pie filling with cherry for a variation or add a layer of sliced fresh strawberries for extra texture. This dessert is best enjoyed the same day it’s baked but can be stored in the fridge and reheated. A scoop of vanilla or chocolate ice cream makes it even more indulgent.

