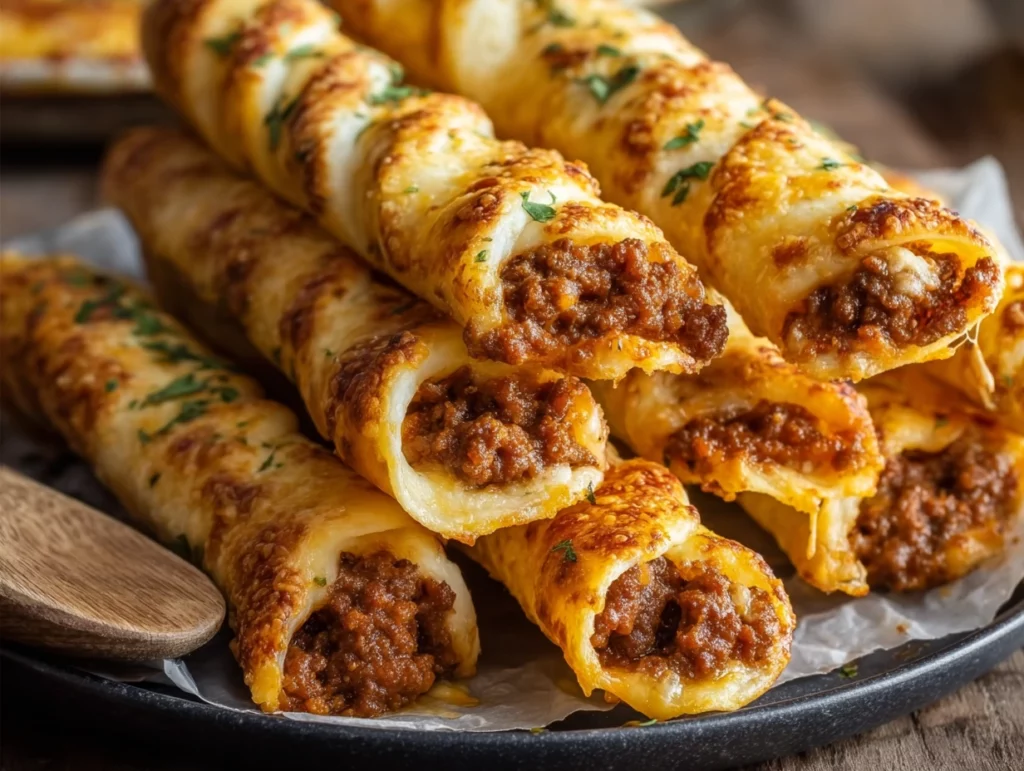
If there’s one thing my family never says no to, it’s a snack that combines cheese, carbs, and bold, zesty flavor. These Cheesy Taco Breadsticks are exactly that—and then some. Think of them as the ultimate mash-up between soft, buttery breadsticks and your favorite cheesy beef taco. They’re spicy, gooey, and utterly addictive in the best way possible.
I first whipped these up on a lazy Sunday when we had a fridge full of leftovers and a tube of pizza dough I forgot I bought. A few tweaks here and there, and suddenly I had this golden, cheesy, taco-inspired creation that disappeared in minutes. Now, they’re my go-to for everything from casual dinners to last-minute party snacks. They’re easy enough to make on a weeknight but special enough to serve at game day gatherings or birthday parties.
You only need a few basic ingredients and about 30 minutes to pull these together, which makes them perfect for those busy days when you want something homemade but don’t have time to get too fancy. Plus, they’re endlessly customizable—which I’ll talk more about later in the post.
So, let’s dive into the first part of this recipe and get your kitchen smelling like taco night with a cheesy twist!

Ingredients You’ll Need
1 pound ground beef
1 tablespoon taco seasoning
½ cup water
1 can refrigerated pizza dough
1½ cups shredded cheddar cheese
½ cup shredded mozzarella cheese
2 tablespoons butter, melted
1 teaspoon garlic powder
2 tablespoons chopped fresh cilantro (optional)
STEP 1: Preheat and Prep
First things first—go ahead and preheat your oven to 400°F (200°C). Line a baking sheet with parchment paper to make cleanup a breeze (trust me, melted cheese can be a sticky situation if you skip this step).
STEP 2: Cook the Taco Meat
Grab a skillet and set it over medium heat. Add your ground beef and cook it until browned, breaking it up as it cooks. Once it’s fully cooked through, drain off any excess grease to keep the breadsticks from getting soggy later.
Now sprinkle in your taco seasoning and pour in the ½ cup of water. Stir everything together and let it simmer for about 3–4 minutes, just until the mixture thickens up and clings nicely to the beef. You want it saucy, but not too wet—that way, it won’t make the dough soggy when you assemble everything.
STEP 3: Roll Out the Dough
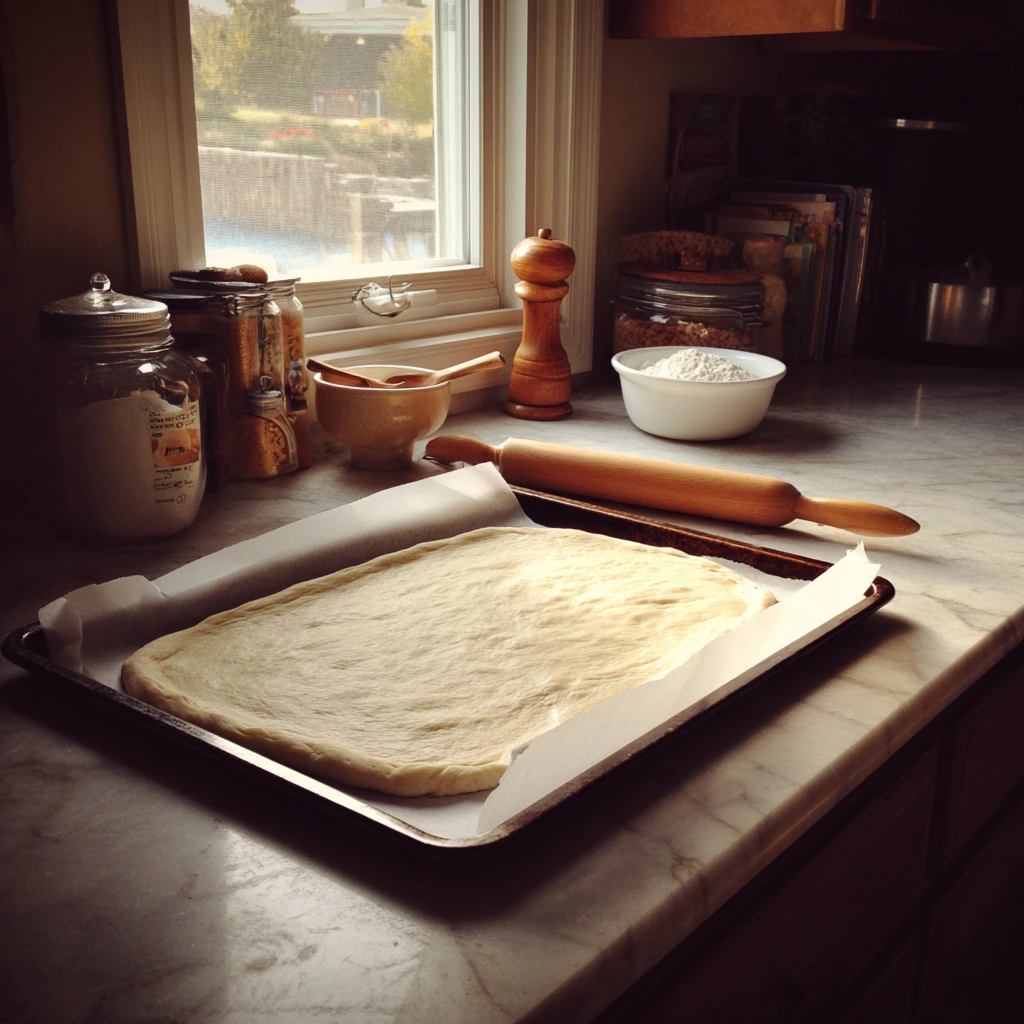
Now for the fun part! Unroll your refrigerated pizza dough onto the prepared baking sheet. Gently stretch or roll it into a large rectangle. Try to keep it even, but don’t stress if it’s not perfectly shaped—this recipe is super forgiving.
STEP 4: Add the Filling
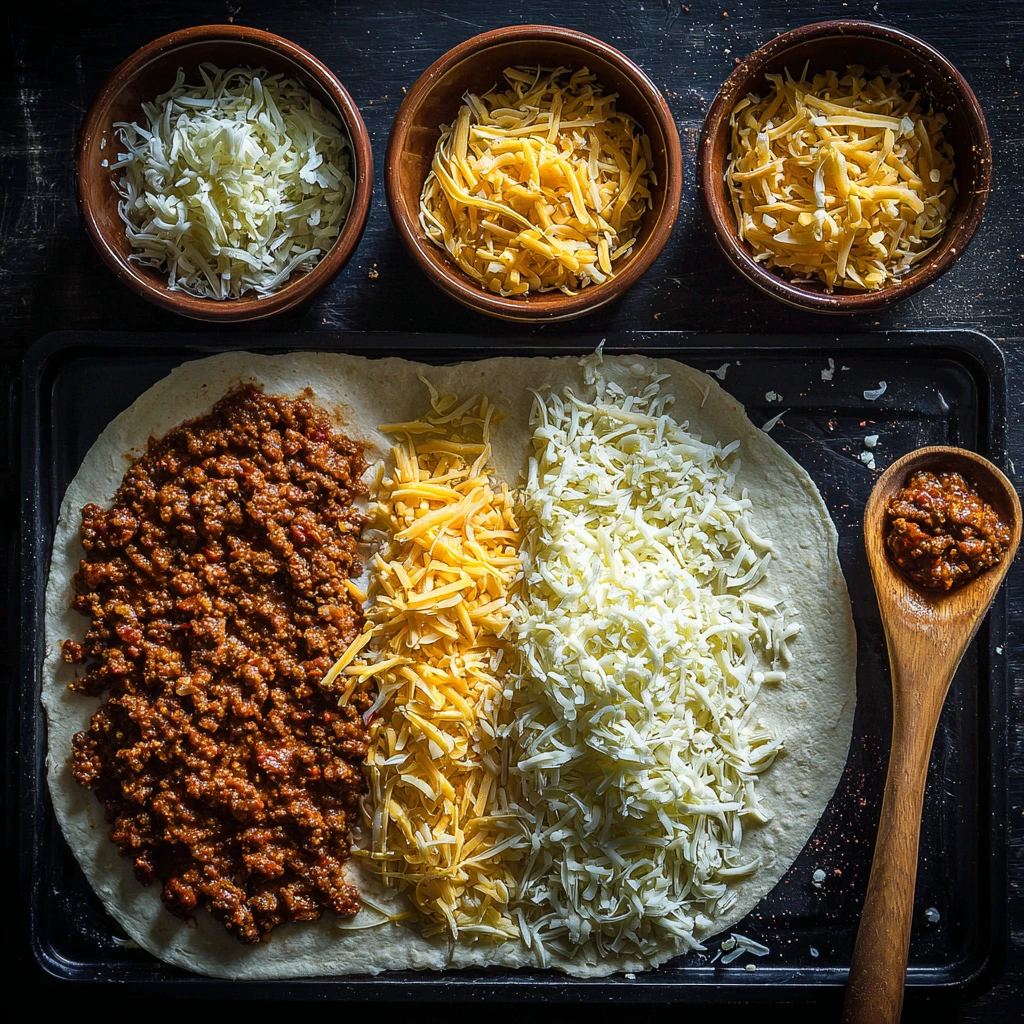
Once your dough is rolled out, spread the seasoned taco meat evenly over half of the dough. Make sure to leave a small border (about ½ inch) around the edges so the filling doesn’t spill out when you fold it over.
Next, sprinkle the shredded cheeses right over the meat. I love using a mix of cheddar and mozzarella—cheddar for the classic taco flavor, and mozzarella for that irresistible cheese pull.
STEP 5: Fold and Slice
Now, carefully fold the empty half of the dough over the filling to create a big sandwich. Gently press the edges together to seal everything in. Use a pizza cutter to slice the dough into strips—about 1 to 1.5 inches wide works well.
Once sliced, take each strip and give it a gentle twist. This not only looks cool, but it also helps some of that melty cheese and taco goodness peek through the edges for a perfect golden finish.
Cheesy Taco Breadsticks: A Deliciously Cheesy Twist You Can’t Resist
Welcome back! If you’re already dreaming about that cheesy taco goodness from Part 1, you’re not alone. We’ve already got our seasoned taco meat ready, the dough filled and sliced, and those twists just waiting to go golden in the oven.
Now it’s time to bring it all together with a buttery, garlicky finish and a quick bake that transforms simple ingredients into something seriously snack-worthy. Whether you’re serving these at a party, alongside a cozy family dinner, or just craving something cheesy and satisfying, these breadsticks are about to be your new favorite go-to recipe.
Let’s jump into the final steps, plus I’ve got a few extra tips and variations to make these even better (yes, it’s possible).
STEP 6: Add the Finishing Touches
Before your breadsticks go into the oven, we’re going to give them a little extra love. Brush the tops with melted butter—this helps the dough brown beautifully and adds that rich, craveable flavor.
Then, sprinkle the garlic powder over the top. It might seem like a small touch, but trust me, it brings that warm, garlicky kick that makes these feel like they came from your favorite pizzeria—only better.
STEP 7: Bake to Golden Perfection
Pop your breadsticks into the preheated oven and bake for 15–18 minutes. Keep an eye on them around the 15-minute mark—you’re looking for a deep golden brown color and fully cooked dough. The cheese will bubble, the tops will get just slightly crisp, and the smell coming from your oven? Pure magic.
If you twisted your breadsticks nice and tight, you might notice a few pockets where the cheese has melted out and crisped along the edges. Don’t worry—that’s actually the best part. Those crunchy, cheesy bits are gold.
STEP 8: Garnish and Serve
Once they’re out of the oven, you can add a sprinkle of chopped fresh cilantro if you’d like a pop of color and freshness. This step is totally optional, but I love how it brings a little brightness to the rich, cheesy flavors.
Let the breadsticks cool for just a couple of minutes before serving—though good luck keeping hands off them until then.
Tips to Make These Even Better
There’s so much room to play with this recipe depending on what you have on hand or what your family loves. Here are a few of my favorite tweaks:
Add a Kick: Toss some sliced jalapeños on top of the taco meat before folding the dough if you like heat.
Veggie Boost: Throw in a few tablespoons of black beans, corn, or diced red onion with the taco meat for more texture and flavor.
Spice it Up: Mix a pinch of cayenne or chili flakes into the melted butter before brushing for extra spice.
Change the Cheese: Pepper jack, Monterey Jack, or even a little crumbled queso fresco can be amazing additions if you want to switch it up.
Make it a Meal: Serve with a big green salad or some Mexican-style rice to turn these into a full dinner.
Perfect Dipping Sauce Ideas
While these Cheesy Taco Breadsticks are delicious on their own, dipping makes everything more fun. Here are a few sauces I always put out when I serve these:
Sour cream – plain or mixed with a little lime juice and taco seasoning
Guacamole – creamy, cool, and balances the spice
Salsa – chunky or smooth, you can’t go wrong
Nacho cheese dip – because more cheese is always a good idea
Make-Ahead and Leftover Tips
If you want to make these ahead of time, you totally can. Assemble the breadsticks, cover the tray with plastic wrap, and store them in the fridge for a few hours before baking. Just wait to brush on the butter until right before they go in the oven.
Leftovers can be stored in an airtight container in the fridge and reheated in the oven or air fryer to crisp them back up. Avoid the microwave if you can—it tends to make the dough a bit chewy.
Cheesy Taco Breadsticks: The Ultimate Cheesy Snack Wrap-Up
We’ve prepped, filled, twisted, and baked—and now we’re down to the final part of our Cheesy Taco Breadsticks journey. Whether you’re already planning to make them again or still deciding how to customize your first batch, this last section will answer your top questions and help you finish strong.
These breadsticks are the kind of recipe that never gets old. They’re simple enough to whip up on a weeknight, but tasty enough to impress anyone who takes a bite. Best of all, they’re super forgiving and adaptable—my favorite kind of recipe.
Before we close things out, let’s jump into some of the most frequently asked questions about this cheesy, taco-inspired snack.
FAQ: Your Cheesy Taco Breadstick Questions, Answered
1. Can I use a different type of dough instead of refrigerated pizza dough?
Absolutely. You can use homemade pizza dough or even crescent roll dough if that’s what you have on hand. Just make sure the dough is rolled out evenly and can fold over without tearing.
2. What other kinds of meat can I use besides ground beef?
Ground turkey, chicken, or even plant-based ground meat substitutes work great in this recipe. Just cook it the same way with taco seasoning and water.
3. How do I keep the breadsticks from getting soggy?
Be sure to drain any excess grease from the taco meat before adding it to the dough. Also, don’t overdo it with the water when seasoning the meat—it should be thick, not runny. This helps keep the dough from soaking up too much moisture.
4. Can I freeze Cheesy Taco Breadsticks?
Yes! Bake them completely, let them cool, then wrap individually and freeze. Reheat in a 375°F oven for about 10–12 minutes, or until heated through and crispy.
5. What’s the best way to reheat leftovers?
An oven or air fryer works best for maintaining that crispy texture. Reheat at 350°F for 5–8 minutes. The microwave will work in a pinch, but the breadsticks may lose their crispiness.
6. Can I make these ahead of time for a party?
Definitely. You can assemble the breadsticks earlier in the day, cover with plastic wrap, and refrigerate. Then just bake them fresh right before serving. They taste best warm from the oven.
7. What if I want to make them vegetarian?
You can leave out the meat altogether and load them up with seasoned black beans, corn, sautéed onions, and peppers. Use the same seasonings for flavor—you won’t miss the meat.
Conclusion: Time to Make Your New Favorite Snack
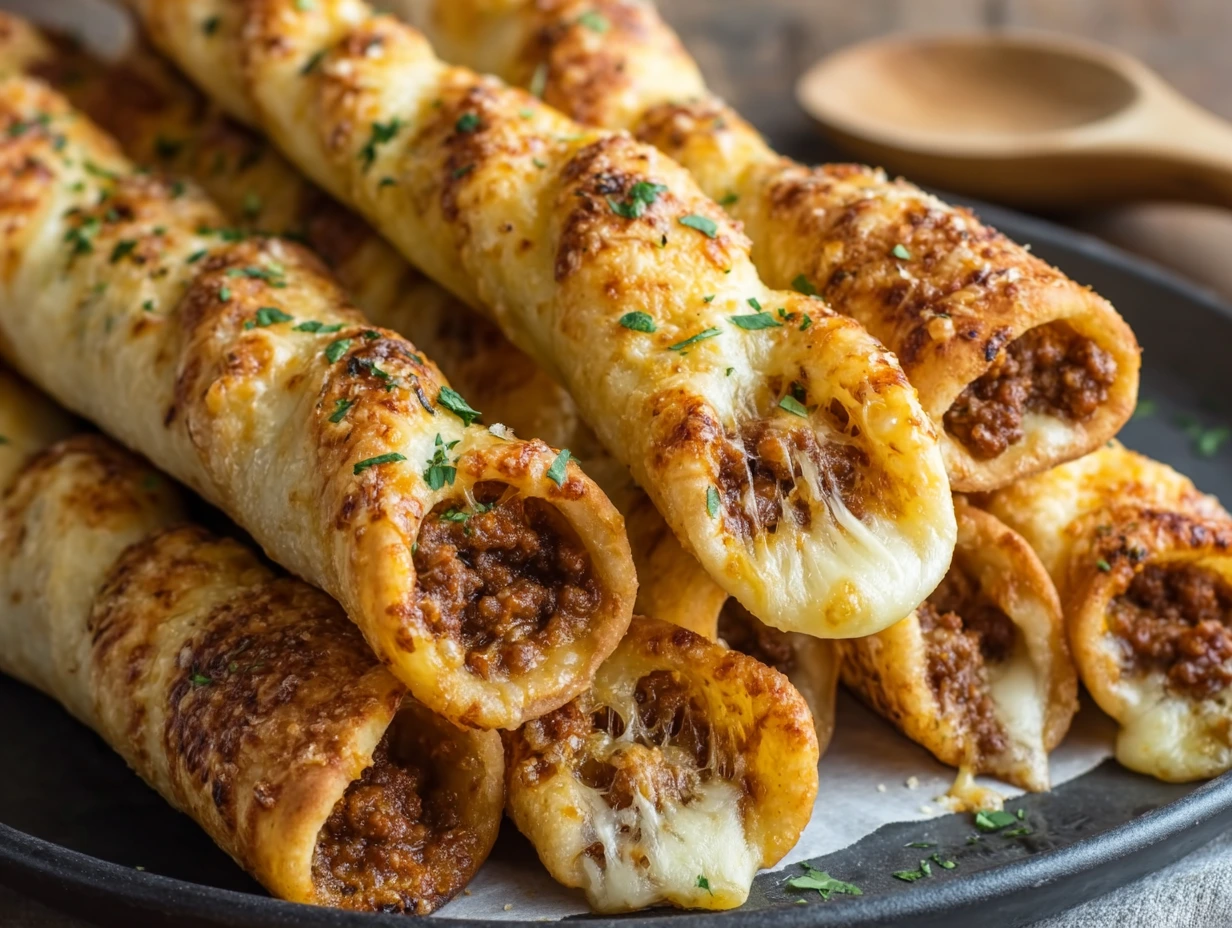
There’s something so satisfying about pulling a warm, golden breadstick apart and watching that melted cheese stretch between the layers. Add in bold taco flavors and a buttery, garlicky crust, and you’ve got a recipe that hits every craving in one bite.
Whether you’re making these for game day, a movie night, or just because the fridge is full of taco fixings, these Cheesy Taco Breadsticks are bound to become a repeat favorite. They’re fast, flexible, and fun—everything I love in a weeknight recipe.
Print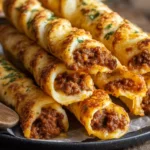
Cheesy Taco Breadsticks
- Author: Andrew Recipes
Description
Cheesy Taco Breadsticks are a savory, spicy twist on classic breadsticks, perfect for game day, parties, or a fun family dinner. Made with seasoned ground beef, melted cheese, and pizza dough, these breadsticks are a satisfying fusion of taco flavors and cheesy comfort.
Ingredients
1 pound ground beef
1 tablespoon taco seasoning
½ cup water
1 can refrigerated pizza dough
1½ cups shredded cheddar cheese
½ cup shredded mozzarella cheese
2 tablespoons butter, melted
1 teaspoon garlic powder
2 tablespoons chopped fresh cilantro (optional)
Instructions
Preheat your oven to 400°F (200°C) and line a baking sheet with parchment paper.
In a skillet over medium heat, cook the ground beef until browned. Drain excess fat, then stir in taco seasoning and water. Simmer for 3–4 minutes until the mixture thickens.
Unroll the pizza dough onto the prepared baking sheet. Stretch or roll it into a large rectangle.
Evenly spread the taco meat over half of the dough, leaving a small border around the edges. Sprinkle the cheddar and mozzarella cheeses over the meat.
Fold the dough over the filling to cover, and press the edges to seal. Slice into strips using a pizza cutter, then twist each strip slightly to expose some of the filling.
Brush the tops with melted butter and sprinkle with garlic powder.
Bake for 15–18 minutes or until golden brown and cooked through.
Sprinkle with chopped cilantro before serving, if desired.
Notes
You can customize these breadsticks with jalapeños, black beans, or chopped onions for extra flavor. Serve with salsa, sour cream, or guacamole for dipping. Leftovers can be stored in the fridge and reheated in the oven or air fryer for best texture.

