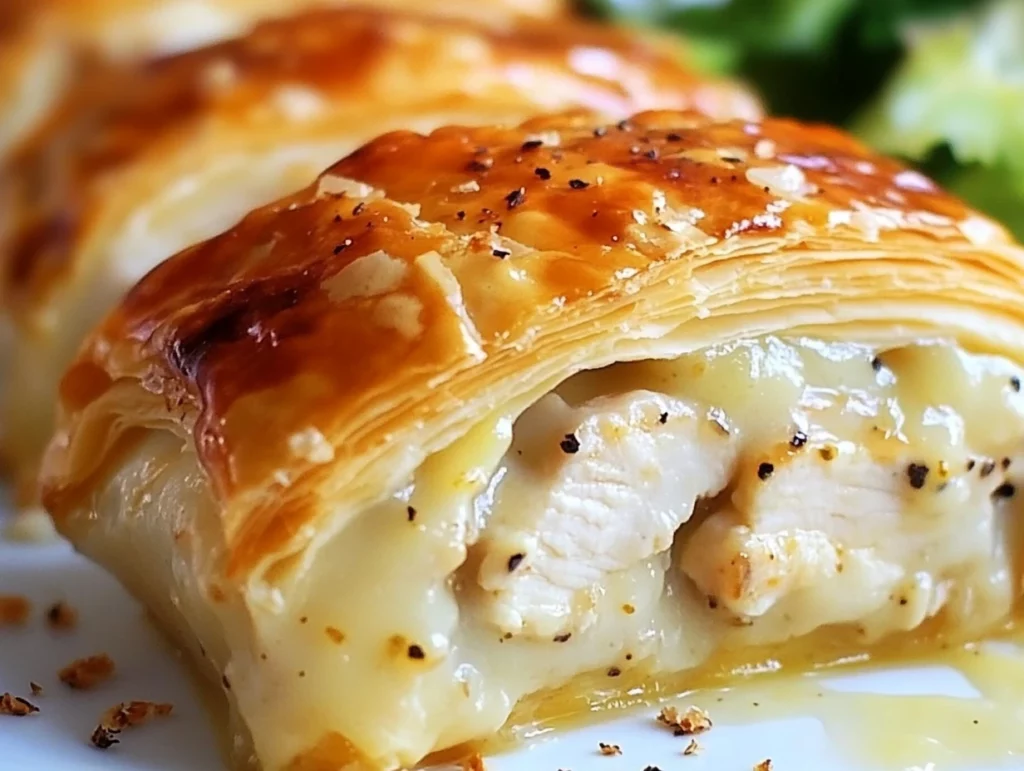
There’s something about a flaky, buttery crust wrapped around a rich, creamy filling that feels like a warm hug on a plate. And that’s exactly what Chicken Wellingtons bring to the table. Think of them as the sophisticated cousin of a classic chicken pot pie—tender chicken, a luxuriously creamy sauce, and a golden puff pastry shell that shatters with every bite. They’re the kind of dish that makes an ordinary evening feel like a special occasion.
Whether you’re planning a cozy date night, a holiday feast, or just want to elevate your weeknight dinner, this recipe delivers on flavor, comfort, and presentation. Plus, the beauty of these individual-sized Wellingtons is that they’re easier to serve than a big pie or casserole—each person gets their own delightful parcel of goodness!
Why You’ll Love This Recipe
- Flaky, Buttery Pastry – The puff pastry creates a crispy, golden shell that perfectly encases the creamy chicken filling.
- Rich & Creamy Filling – A velvety sauce with tender chicken and aromatic seasonings takes this to the next level.
- Make-Ahead Friendly – Prep these in advance and pop them in the oven when you’re ready!
- Impressive Yet Easy – Despite its fancy name, Chicken Wellington is surprisingly simple to make.
Ready to get started? Let’s dive into the ingredients and the first steps of this delectable dish.
Ingredients You’ll Need
Before we get cooking, let’s gather everything you need.
For the Creamy Chicken Filling:
- 4 Tbsp unsalted butter – For richness and depth of flavor.
- 1 small sweet onion, finely diced – Adds sweetness and texture.
- 5 cloves garlic, minced – Because everything is better with garlic!
- 4 Tbsp all-purpose flour – Helps thicken the creamy sauce.
- 1 cup chicken stock – The base of the sauce; adds umami and richness.
- 1 ½ Tbsp Better Than Bouillon chicken base – Intensifies the savory notes.
- 1 cup milk – Adds creaminess.
- 2 cups heavy cream – For that extra luxurious texture.
- ½ tsp dried Italian seasoning – A lovely blend of herbs to enhance the dish.
- ¼ tsp black pepper – For a subtle kick.
- 4 cups cooked chicken, diced into small pieces – Rotisserie chicken works beautifully here!
For the Pastry:
- 2 sheets puff pastry, thawed – Store-bought puff pastry saves time and effort!
- 1 large egg, beaten with a splash of water – This egg wash gives the pastry a beautiful golden sheen.
Step 1: Preheat & Prep
Before we get into the magic of cooking, set yourself up for success:
- Preheat your oven to 350°F (175°C).
- Line two baking sheets with parchment paper to prevent sticking and ensure even baking.

Step 2: Make the Creamy Chicken Filling
The heart of this dish is the luscious, velvety chicken filling. Here’s how to make it:
- Melt butter in a large skillet over medium heat. This sets the stage for the rich, flavorful sauce.
- Add the diced onions and sauté until soft and translucent—about 8-10 minutes. Stir occasionally to prevent browning.
- Toss in the garlic and cook for 30 seconds, just until fragrant. Garlic burns easily, so keep an eye on it!
- Sprinkle in the flour and stir continuously for about 1 minute. This helps cook out the raw flour taste and will thicken our sauce.
- Gradually whisk in the chicken stock and Better Than Bouillon, ensuring there are no lumps.
- Pour in the milk and heavy cream, stirring constantly. Add Italian seasoning and black pepper.
- Simmer the sauce for 3-5 minutes, stirring frequently, until it thickens to a smooth, creamy consistency.
- Remove from heat and mix in the diced chicken. This step helps the flavors meld together beautifully.
📌 Pro Tip: Let the filling cool slightly before assembling the Wellingtons. If the filling is too hot, it can make the puff pastry too soft and difficult to work with.

Step 3: Prepare the Puff Pastry
Puff pastry can be tricky, but a few simple tips will ensure it stays light and flaky!
- Lightly flour your work surface and roll out one sheet of puff pastry into a 12×12-inch square.
- Cut the pastry into 4 equal sections. These will be the little pockets that hold your creamy chicken filling.
- Scoop about ½ cup of the chicken filling into the center of each section.
📌 Pro Tip: Work quickly! Puff pastry softens fast, making it harder to handle. If needed, pop it in the fridge for a few minutes to firm up before sealing.
Bringing Chicken Wellingtons to Golden Perfection!
Now that we’ve prepped the creamy, flavorful chicken filling and cut the puff pastry into neat little squares, it’s time for the fun part—assembling, sealing, and baking these beauties to golden perfection! This is where the magic happens, and that first flaky bite will make every step worth it.

Step 4: Seal the Wellingtons
Getting a perfect seal on your Chicken Wellingtons ensures that none of that creamy filling escapes during baking. Here’s how to do it:
1️⃣ Dampen the edges of each puff pastry square with a little water. This acts as glue to help seal everything together.
2️⃣ Fold the pastry over the filling, creating either a rectangle or triangle shape. (Go with whatever shape feels easiest for you—both bake beautifully!)
3️⃣ Press the edges together firmly, making sure no gaps remain. If any filling spills out, gently push it back in before sealing.
4️⃣ Crimp the edges with a fork for a tight seal and a decorative touch. This step not only looks fancy but also ensures the filling stays neatly inside.
📌 Pro Tip: If the pastry feels too soft and sticky, pop it in the fridge for 10 minutes before sealing. Chilled dough is much easier to work with!
Step 5: Bake the Wellingtons
It’s time to turn these little pastry pockets into golden, crispy delights!
1️⃣ Transfer the sealed Wellingtons to your prepared baking sheets, spacing them at least 1-2 inches apart. Puff pastry expands as it bakes, so give them room!
2️⃣ Brush each Wellington with egg wash (a beaten egg mixed with a splash of water). This will give them that irresistible golden-brown finish.
3️⃣ Bake at 350°F (175°C) for 30-32 minutes, or until the pastry is golden brown, flaky, and crisp.
4️⃣ Let them rest for 5 minutes before serving. The filling will be piping hot straight out of the oven, so giving them a little time to cool helps everything settle.
📌 Pro Tip: If your Wellingtons aren’t browning evenly, move the baking sheet to a higher rack in the oven for the last 5 minutes.
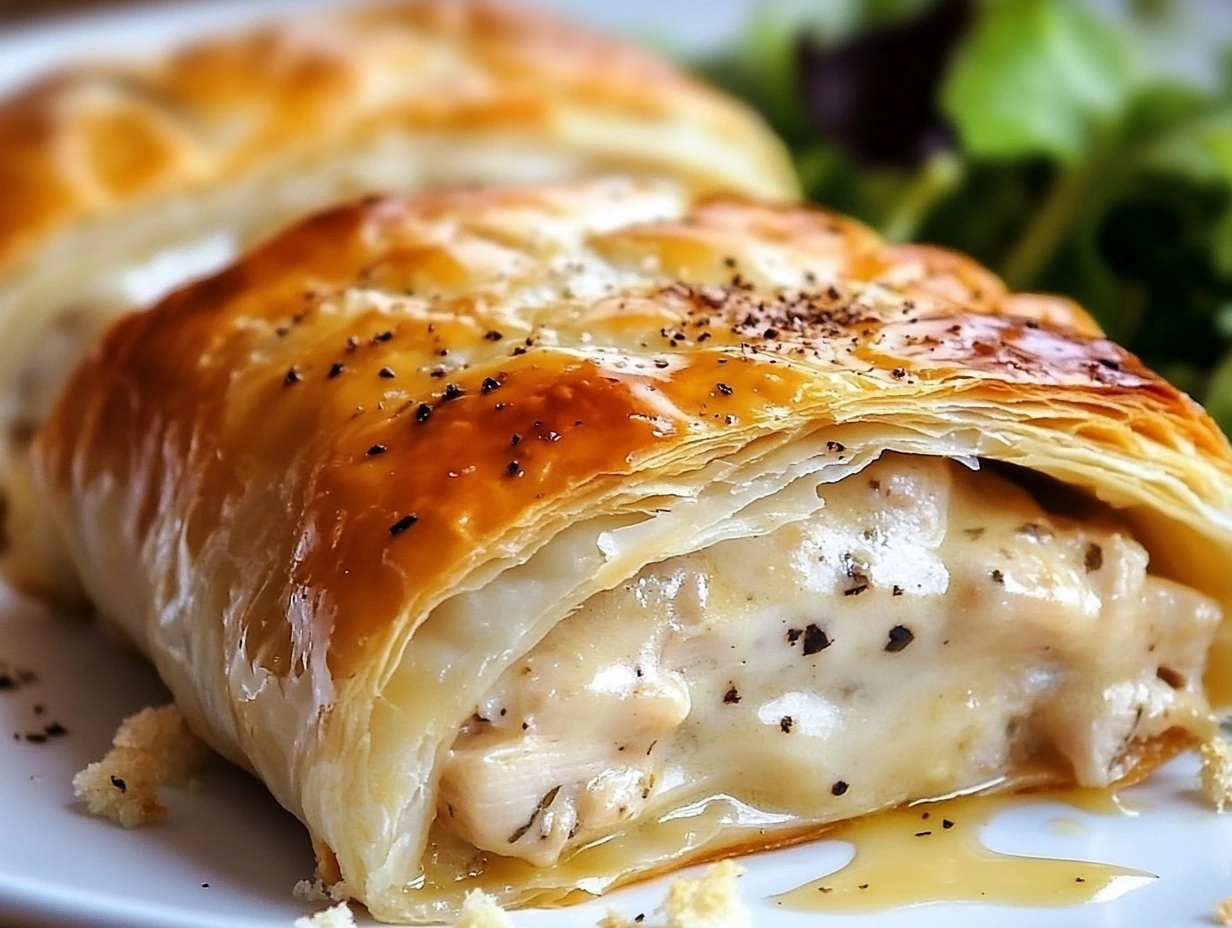
Step 6: Serve & Enjoy!
Your Chicken Wellingtons are now golden, crisp, and ready to be devoured! Serve them warm with your favorite sides.
Perfect Pairings:
- Garlic mashed potatoes – A creamy side that complements the rich filling.
- Roasted asparagus or green beans – Adds a fresh, crunchy contrast.
- A simple side salad – A light salad with a zesty vinaigrette balances the richness.
- A drizzle of extra sauce – If you have any leftover creamy sauce, serve it on the side for dipping!
📌 Pro Tip: Want a little extra flair? Garnish with freshly chopped parsley or thyme for a restaurant-quality presentation.
Make-Ahead & Storage Tips
One of the best things about this recipe is that you can prep ahead, making it perfect for busy weeknights or holiday dinners!
Make-Ahead Tips:
✔ Prepare the filling up to 2 days in advance and store it in the fridge. This allows the flavors to deepen! ✔ Assemble the Wellingtons and freeze them (unbaked) on a baking sheet. Once frozen, transfer them to an airtight container. When ready to bake, just add 5-7 extra minutes to the baking time (no need to thaw).
How to Store Leftovers:
✔ Store leftovers in an airtight container in the fridge for up to 3 days. ✔ Reheat in an oven at 300°F for 10-12 minutes to keep the pastry crispy. Avoid the microwave, as it can make the pastry soggy. ✔ Freeze baked Wellingtons for up to 1 month. Reheat from frozen at 325°F for 20 minutes.
Variations & Fun Twists
Want to put your own spin on Chicken Wellingtons? Here are a few fun ways to customize this recipe!
1. Mushroom Lovers’ Chicken Wellington
- Add sautéed mushrooms to the filling for extra depth and umami flavor.
2. Cheesy Chicken Wellington
- Mix ½ cup of shredded cheddar or gruyère cheese into the filling for a rich, melty upgrade.
3. Spicy Buffalo Chicken Wellington
- Replace the Italian seasoning with ½ tsp smoked paprika and add 2 Tbsp buffalo sauce for a spicy kick.
4. Herb & Spinach Chicken Wellington
- Stir ½ cup of chopped spinach and 1 Tbsp fresh thyme into the sauce for an herby twist.
5. Mini Party Wellingtons
- Cut the puff pastry into smaller squares and use less filling to create bite-sized appetizers—perfect for parties!
FAQs & Final Thoughts on Chicken Wellingtons
We’ve covered everything from making the creamy chicken filling to sealing and baking these golden, flaky Chicken Wellingtons to perfection. But before you roll up your sleeves and start cooking, let’s answer some frequently asked questions to ensure you get the best results every time!
Frequently Asked Questions (FAQ)
1. Can I use store-bought rotisserie chicken for this recipe?
Absolutely! Rotisserie chicken is a great time-saver. Just dice or shred it and mix it into the creamy filling. This shortcut makes the recipe even easier for a quick weeknight meal.
2. Can I make Chicken Wellingtons ahead of time?
Yes! You can assemble the Wellingtons and freeze them unbaked. When ready to bake, pop them straight into the oven (no need to thaw) and add about 5-7 extra minutes to the baking time.
3. What’s the best way to reheat leftovers without making them soggy?
The best method is the oven. Reheat at 300°F for 10-12 minutes to crisp up the pastry again. Avoid the microwave, as it can make the puff pastry soft and chewy instead of flaky.
4. Can I use homemade puff pastry instead of store-bought?
Yes, but keep in mind that homemade puff pastry requires extra effort and chilling time. If you love making things from scratch, go for it! Otherwise, store-bought puff pastry works just as well.
5. What sides go best with Chicken Wellingtons?
This dish is rich and creamy, so pairing it with something light and fresh is a great idea. Try:
✔ Roasted vegetables (asparagus, green beans, or carrots)
✔ A simple side salad with balsamic vinaigrette
✔ Garlic mashed potatoes for extra comfort
✔ Steamed rice or quinoa for a lighter option
6. Can I make a vegetarian version of this recipe?
Definitely! Instead of chicken, use sautéed mushrooms, spinach, and cheese for a delicious vegetarian twist. You can also swap in tofu or plant-based chicken substitutes for a meatless option.
7. My puff pastry didn’t turn golden brown. What went wrong?
Make sure you:
✔ Brush generously with egg wash before baking—this helps with browning.
✔ Use the middle oven rack for even heat circulation.
✔ Bake at the right temperature (350°F) and give it enough time—undercooked pastry won’t crisp up properly.

Chicken Wellingtons
- Author: Andrew Recipes
- Total Time: 50 minutes
Description
These savory, flaky Chicken Wellingtons are filled with tender chicken in a rich, creamy sauce and wrapped in golden, buttery puff pastry. A perfect comfort meal for special occasions or an elevated weeknight dinner!
Ingredients
For the Creamy Chicken Filling:
- 4 Tbsp unsalted butter
- 1 small sweet onion, finely diced
- 5 cloves garlic, minced
- 4 Tbsp all-purpose flour
- 1 cup chicken stock
- 1 ½ Tbsp Better Than Bouillon chicken base
- 1 cup milk
- 2 cups heavy cream
- ½ tsp dried Italian seasoning
- ¼ tsp black pepper
- 4 cups cooked chicken, diced into small pieces
For the Pastry:
- 2 sheets puff pastry, thawed
- 1 large egg, beaten with a splash of water (for egg wash)
Instructions
1️⃣ Preheat oven to 350°F (175°C). Line two baking sheets with parchment paper.
2️⃣ Prepare the creamy filling:
In a large skillet, melt butter over medium heat.
Add onions and sauté until soft and translucent (8-10 minutes).
Stir in garlic and cook for 30 seconds until fragrant.
Sprinkle in flour, stirring constantly for 1 minute to cook out the raw taste.
Gradually whisk in chicken stock and Better Than Bouillon, mixing until smooth.
Add milk, heavy cream, Italian seasoning, and black pepper. Simmer until the sauce thickens (3-5 minutes).
Remove from heat and mix 1 cup of the sauce with the diced chicken. Set aside to cool slightly.
3️⃣ Prepare the puff pastry:
On a floured surface, roll out one sheet of puff pastry into a 12×12-inch square.
Cut into 4 equal sections.
Place ½ cup of the chicken filling in the center of each section.
4️⃣ Seal the Wellingtons:
Dampen the edges of the pastry with water, then fold over the filling to form a rectangle or triangle.
Press the edges together and crimp with a fork to seal.
5️⃣ Bake the Wellingtons:
Arrange the filled pastries on the prepared baking sheets.
Brush the tops with egg wash for a golden finish.
Bake for 30-32 minutes, or until the pastry is golden brown and crispy.
6️⃣ Cool & serve: Let the Chicken Wellingtons rest for 5 minutes before serving. Enjoy warm!
Notes
- Make it cheesy! Add ½ cup shredded Gruyère or cheddar cheese to the filling for extra richness.
- Spice it up! A pinch of cayenne pepper or smoked paprika adds a subtle kick.
- Want extra crispiness? Brush the Wellingtons with a second layer of egg wash halfway through baking.
- Make-ahead tip: Assemble the pastries and freeze them before baking. Bake from frozen at 375°F for 40-45 minutes.
- Prep Time: 20 minutes
- Cook Time: 30 minutes
Nutrition
- Serving Size: 4-6

