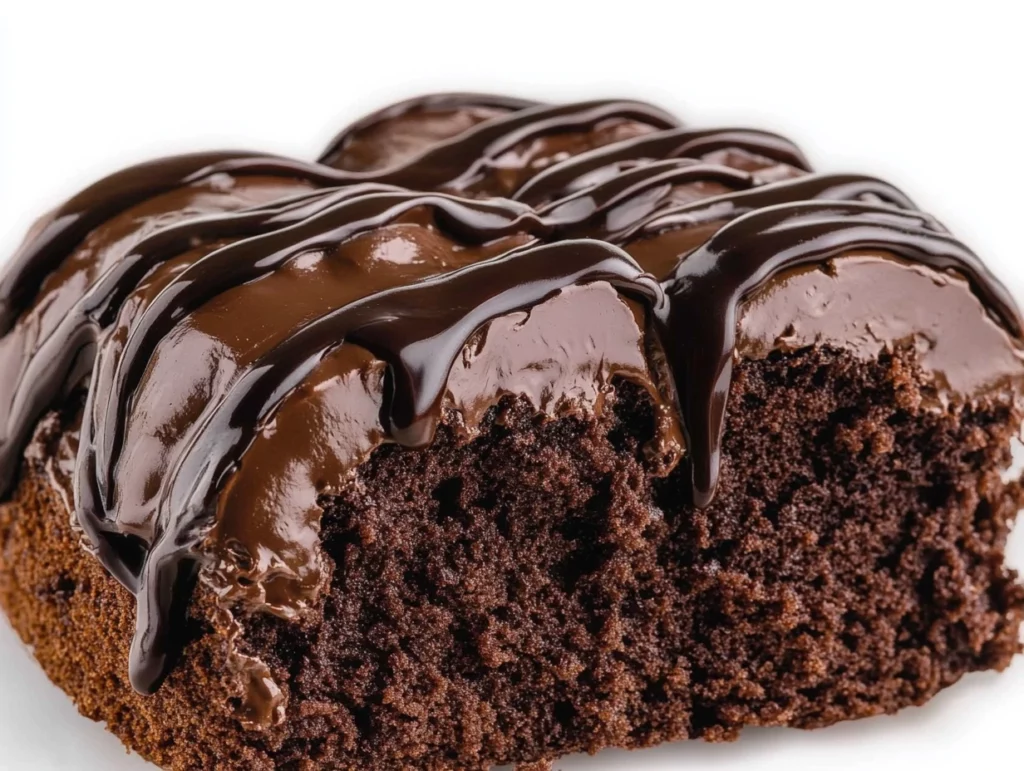
When it comes to indulging in a sweet treat, there’s something magical about combining the best of both worlds. Imagine the rich, fudgy texture of a brownie and the light, airy fluffiness of a cake, all in one bite. That’s exactly what this Chocolate Brownie Cake delivers. It’s the ultimate dessert for chocolate lovers, offering the perfect balance of moist cake and decadent chocolate flavor. Topped with a luscious ganache, this cake is guaranteed to satisfy any chocolate craving.
This dessert is one of those recipes that’s sure to impress without being overly complicated. I stumbled upon this cake during a gathering with friends when I was craving something rich but not too dense. The combination of a chocolate cake mix and brownie mix came together beautifully, and I’ve been making it ever since. It’s a crowd-pleaser every time, whether it’s a birthday, family celebration, or just because I want something extra sweet to enjoy with my afternoon coffee.
Ingredients for the Chocolate Brownie Cake
Before we dive into the step-by-step process, here’s a quick list of the ingredients you’ll need to make this chocolate masterpiece:
For the cake:
15.25 oz chocolate cake mix (I like using Betty Crocker for this)
18.3 oz fudge brownie mix
4 large eggs
1¼ cups water
1 cup vegetable oil (or canola oil)
½ cup mayonnaise
1 cup chocolate chips (semi-sweet, milk, or dark chocolate – your choice!)
For the ganache:
1 cup heavy whipping cream
2 cups chocolate chips (semi-sweet or dark chocolate)
Steps to Make the Chocolate Brownie Cake
Step 1: Preheat and Prepare the Ingredients
Start by preheating your oven to 350°F (175°C). While your oven is heating up, grab a large mixing bowl and combine the chocolate cake mix, fudge brownie mix, eggs, water, vegetable oil, and mayonnaise. Trust me, the addition of mayonnaise might sound a little strange, but it works wonders for the texture. It helps create a super moist cake that’s not too dense.
Once you’ve added all the ingredients to the bowl, take a whisk or spatula and mix everything together. You’ll want the batter to be smooth, with no lumps, so take your time stirring it all in.

Step 2: Fold in the Chocolate Chips
Now, here’s where the magic happens: fold in the chocolate chips. The choice of chocolate chips is totally up to you, whether you want a richer, more intense chocolate flavor with dark chocolate chips, or a more balanced sweetness with semi-sweet or milk chocolate. I personally love using semi-sweet chocolate chips because they give just the right amount of sweetness to balance the richness of the cake.
Make sure the chips are evenly distributed throughout the batter so you get a bit of chocolate in every single bite.
Step 3: Prepare the Bundt Pan
Next, lightly spray your 12-cup bundt pan with non-stick cooking spray. This will ensure the cake comes out easily once it’s baked. If you don’t have a bundt pan, you can use two 9-inch round cake pans instead. Just keep in mind that the baking time will be slightly different—usually around 30 to 35 minutes.
Pour the cake batter into the prepared bundt pan and spread it out evenly. The batter will be quite thick, so you might need to use a spatula to smooth it out.

Step 4: Bake the Cake
It’s time to pop the cake into the oven! Bake for about 45 to 50 minutes, but be sure to keep an eye on it. You’ll know it’s done when a toothpick inserted into the center of the cake comes out clean or with just a few moist crumbs. If the toothpick comes out with wet batter, give it a few more minutes in the oven.
Once the cake is baked to perfection, let it cool in the pan for about 10 to 15 minutes. Don’t rush this step—allowing it to cool a bit will help prevent the cake from breaking apart when you remove it from the pan.
Step 5: Remove the Cake from the Pan
After the cake has cooled slightly, carefully remove it from the bundt pan. To do this, gently run a knife around the edges to loosen the cake from the sides, and then flip the pan over onto a cooling rack. The cake should come out fairly easily if you’ve greased the pan well. Allow the cake to cool completely before moving on to the ganache.
Why This Cake is So Special
This cake is the best of both worlds: it’s fudgy like a brownie, but light and fluffy like a cake. The ganache on top? That’s the cherry on top of this already decadent dessert. I love how the chocolate chips in the batter melt into the cake, adding gooey pockets of chocolate throughout. If you’ve been looking for a cake that feels extra special without being too complicated, this is the one.
Finishing Touches – The Ganache and Final Steps
Now that your cake has cooled down and is looking all sorts of beautiful, it’s time to take it to the next level with a decadent ganache topping. The ganache will add a silky-smooth, glossy finish that complements the rich, fudgy cake perfectly. Plus, it’s super easy to make, and the result is totally worth the little bit of extra effort. Trust me, the ganache really elevates this cake from delicious to “wow!”
Making the Ganache
The key to a perfect ganache is simplicity. All you need is some heavy whipping cream and high-quality chocolate chips. You’ll be amazed at how something so simple can transform your cake into something that looks like it came from a bakery.
Step 1: Heat the Cream
Start by heating the heavy whipping cream. You can either do this in a small saucepan over medium heat or in the microwave. If you choose the microwave method, heat it for about 1 to 2 minutes, just until it’s steaming but not boiling. If it boils, it could affect the texture of the ganache, so make sure to keep a close eye on it.
Step 2: Make the Ganache
Once the cream is hot and steaming, pour it over the chocolate chips in a small heatproof bowl. Now, cover the bowl with a plate or lid to trap the heat. Let it sit for about 2 to 3 minutes. This step will allow the cream to soften the chocolate chips and get them ready to melt perfectly.
After the resting time, grab a whisk and stir the cream and chocolate together. You’ll see the chocolate begin to melt and the mixture turning into a smooth, glossy ganache. Keep whisking until all the chocolate is fully melted and the ganache is shiny and velvety.
Step 3: Pour the Ganache Over the Cake
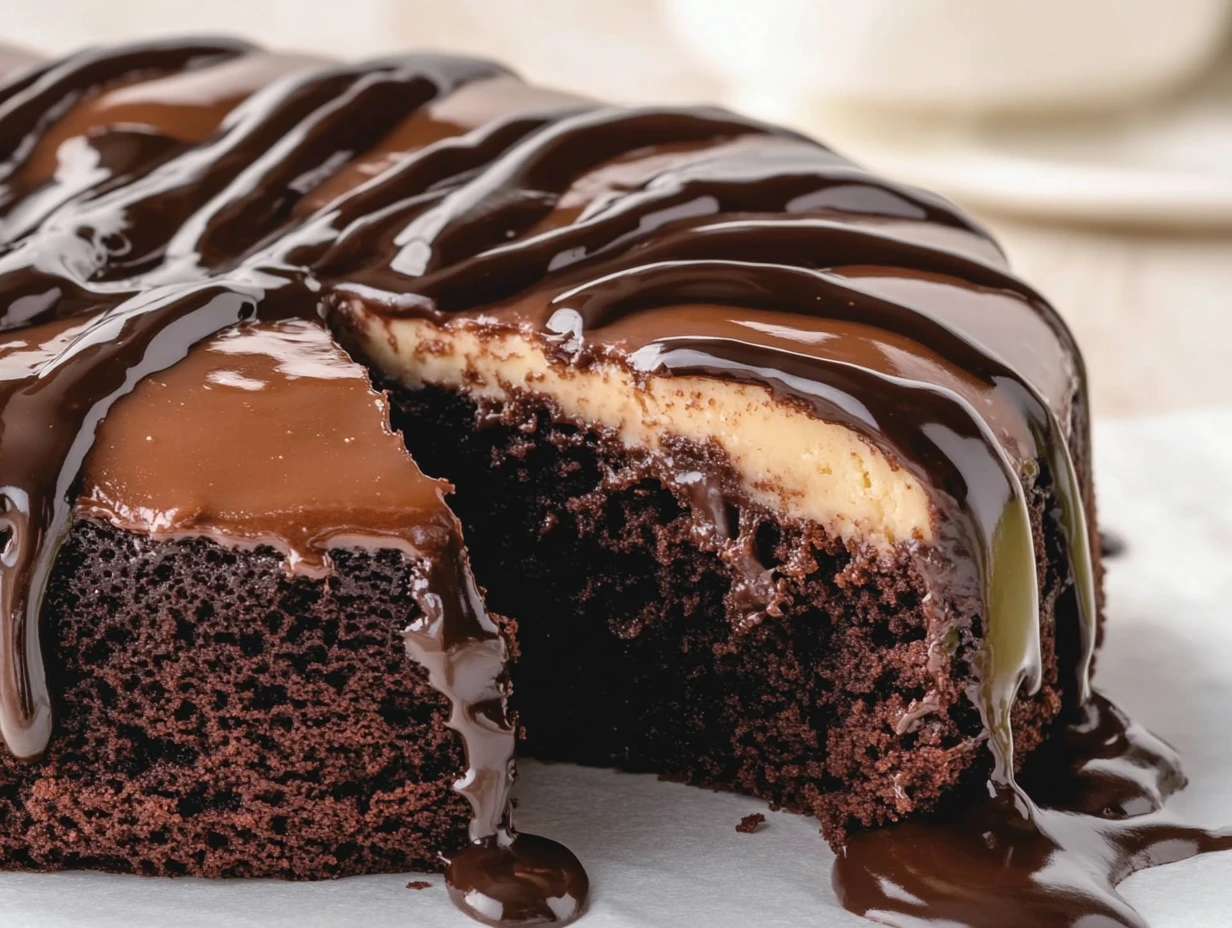
Now that the ganache is ready, it’s time to pour it over the cooled cake. Start by spooning or pouring the ganache in the center of the cake, then let it naturally drip over the sides. If you want a more dramatic look, you can even push the ganache over the edges gently with the back of a spoon, allowing it to cascade down the sides of the bundt cake.
The ganache will set as it cools, so it will eventually firm up into that perfect glossy finish. I recommend letting the ganache set for a little while before serving, as it gives the cake an even smoother, more polished look.
Optional Additions for Extra Flavor
While this Chocolate Brownie Cake is already a showstopper, there are a few little twists you can add to make it even more exciting. If you’re feeling adventurous, try adding some flavor or texture variations to the cake or ganache.
Sprinkle Some Sea Salt: A pinch of flaky sea salt on top of the ganache can add a lovely contrast to the sweetness of the cake. It might sound a little unusual, but trust me—it’s magical!
Add Nuts: For some added crunch and richness, consider folding chopped nuts (like walnuts or pecans) into the batter before baking. You could also sprinkle some on top of the ganache for a bit of texture.
Flavor the Ganache: To make the ganache even more exciting, try adding a splash of vanilla extract, espresso powder, or even a bit of liqueur like Kahlúa or Baileys to the cream before heating it. This can add a whole new layer of flavor that complements the chocolate beautifully.
Top with Whipped Cream or Berries: For a lighter touch, top your finished cake with a dollop of whipped cream or some fresh berries. The contrast between the rich ganache and the lightness of whipped cream or fresh fruit is simply irresistible.
Serving and Storing the Cake
Once your cake is topped with the luscious ganache, it’s ready to serve! This cake is perfect for gatherings, parties, or any occasion where you want to impress your guests. It’s decadent but not too heavy, so it’s a hit with almost everyone.
To store any leftovers, simply cover the cake with plastic wrap or store it in an airtight container. The cake will keep well at room temperature for 2 to 3 days, or you can refrigerate it for up to a week. If you do refrigerate it, just be sure to let it come to room temperature before serving for the best flavor and texture.
Why This Cake is Perfect for Every Occasion
This Chocolate Brownie Cake is the ultimate dessert for any chocolate lover. Whether you’re hosting a special event, celebrating a milestone, or simply want a rich treat to enjoy with your family, this cake is sure to impress. The combination of moist cake, rich brownies, and decadent ganache is unbeatable, and the best part is that it’s incredibly easy to make.
If you’re looking to make something that’s both comforting and luxurious, this cake has you covered. It strikes the perfect balance between indulgence and simplicity, making it ideal for both beginner bakers and experienced ones looking to impress.
FAQ and Conclusion
Now that you’ve made this delicious Chocolate Brownie Cake and enjoyed the magic of that ganache, I’m sure you have a few questions. Don’t worry, I’ve got you covered! In this section, I’ll address some of the most common questions I get about this cake, along with a few tips to make sure you achieve that perfect dessert every time.
FAQ About the Chocolate Brownie Cake
1. Can I make this cake ahead of time?
Yes, absolutely! This cake is great for making in advance. You can bake the cake a day or two ahead of time, and then store it at room temperature (or in the fridge if you prefer). When you’re ready to serve, just make the ganache, pour it over the cooled cake, and let it set. The cake stays moist and delicious for several days, so it’s perfect for meal prepping for a party or special event.
2. Can I use a different cake or brownie mix?
Of course! While I’ve used Betty Crocker chocolate cake and brownie mixes in this recipe, you can easily swap them for other brands or flavors. If you want to get creative, you could even use a red velvet cake mix combined with a fudge brownie mix for a unique twist. Just be sure to stick to the same amounts, and you should be good to go!
3. Can I make this cake without mayonnaise?
Yes, you can! The mayonnaise in the recipe helps add moisture and richness to the cake, but if you prefer, you can substitute it with sour cream or Greek yogurt. Both of these options will give you a similar creamy texture, and your cake will still turn out deliciously moist.
4. Can I use a different type of chocolate for the ganache?
Definitely! While semi-sweet and dark chocolate chips are the most common choices for ganache, you can use milk chocolate chips if you prefer a sweeter flavor. Some people also like to use chocolate with added flavors, like orange or mint, to create a unique twist. Just keep in mind that the type of chocolate will influence the overall flavor, so choose one that fits your taste preferences.
5. How can I tell if my cake is done baking?
The best way to check if your cake is done is to insert a toothpick into the center of the cake. If it comes out clean or with just a few moist crumbs, the cake is done. If it comes out with wet batter, let it bake for a few more minutes. Every oven is a little different, so don’t be afraid to check a couple of times to make sure it’s perfectly baked!
6. Can I freeze this cake?
Yes! This cake freezes really well. If you want to freeze it, I recommend doing so before adding the ganache. Once the cake has completely cooled, wrap it tightly in plastic wrap and then aluminum foil. It should last in the freezer for up to 3 months. When you’re ready to enjoy it, let it thaw at room temperature, then add the ganache and enjoy!
7. Can I make this cake in a different pan?
Absolutely! If you don’t have a bundt pan, you can use two 9-inch round cake pans or even a 9×13-inch rectangular pan. Just be sure to adjust the baking time since the shape and thickness of the cake will affect how long it takes to cook. Round cakes typically take around 30 to 35 minutes, and a 9×13 pan may take about 40 minutes. Check with a toothpick to ensure it’s done.
Conclusion: Your New Go-To Dessert
This Chocolate Brownie Cake is a perfect blend of rich, fudgy brownie texture and light, airy cake with a decadent ganache topping. It’s sure to become a favorite in your baking repertoire because it’s easy, delicious, and incredibly satisfying. Whether you’re making it for a birthday, special occasion, or just because you want something sweet, this cake is guaranteed to be a hit every time.
I hope this recipe inspires you to get in the kitchen and whip up something delicious! Don’t forget to share your results—whether it’s in a comment or on social media, I’d love to see how your cake turns out. And remember, this is one of those cakes that you can get creative with, so feel free to experiment with different flavors or toppings to make it your own.
Happy baking, and enjoy every decadent bite of your Chocolate Brownie Cake!
Print
Chocolate Brownie Cake
- Author: Andrew Recipes
Description
This indulgent dessert combines the rich, fudgy texture of brownies with the soft, light fluffiness of cake, creating a decadent treat that’s perfect for any chocolate lover. The ganache topping adds a luscious, glossy finish that enhances the already chocolaty goodness. Easy to prepare and always a hit, this cake is ideal for birthdays, gatherings, or a special occasion when you need a little extra sweetness.
Ingredients
For the cake:
Chocolate cake mix – 15.25 ounces (any chocolate cake mix, Betty Crocker works great)
Fudge brownie mix – 18.3 ounces
Large eggs – 4
Water – 1¼ cups
Vegetable oil (or canola oil) – 1 cup
Mayonnaise – ½ cup
Chocolate chips – 1 cup (semi-sweet, milk, or dark chocolate)
For the ganache:
Heavy whipping cream – 1 cup
Chocolate chips – 2 cups (semi-sweet or dark chocolate)
Instructions
Preheat your oven to 350°F.
In a large mixing bowl, combine the chocolate cake mix, brownie mix, eggs, water, vegetable oil, and mayonnaise. Stir the ingredients together until well combined. Once the batter is smooth, fold in the chocolate chips, ensuring they are evenly distributed throughout.
Lightly spray a 12-cup bundt pan with non-stick cooking spray. Pour the batter into the pan and spread it out evenly.
Bake for 45 to 50 minutes, or until a toothpick inserted into the center of the cake comes out clean or with just a few crumbs.
Allow the cake to cool in the pan for about 10 to 15 minutes. Afterward, carefully remove it from the bundt pan and place it on a cooling rack to cool completely.
Once the cake is fully cooled, prepare the ganache. In a small saucepan or microwave-safe container, heat the heavy whipping cream until it’s steaming.
Pour the hot cream over the chocolate chips in a small bowl. Cover the bowl with a plate for 2 to 3 minutes to trap the heat and soften the chocolate chips.
Whisk the mixture until it becomes a smooth, glossy ganache.
Pour the ganache generously over the cooled cake, allowing it to drizzle down the sides.
Notes
For a richer chocolate flavor, consider using dark chocolate chips for the ganache. The cake itself is already quite sweet, so dark chocolate offers a great contrast. If you don’t have a bundt pan, you can use two 9-inch round cake pans, but adjust the baking time accordingly. The cake is best served once the ganache has set and is slightly cooled for a smooth, glossy finish.

