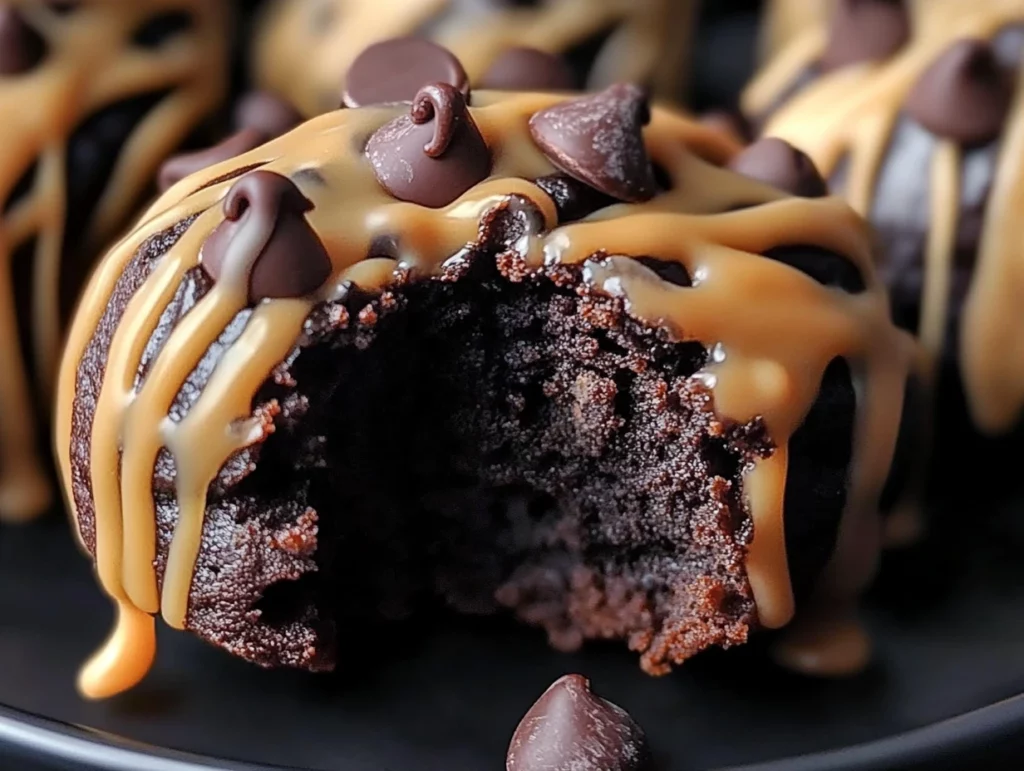
If you’re anything like me, there are days when you need something extra indulgent—something that’s not just a brownie or just cookie dough, but a combination of both. And that’s where these Chocolate Chip Cookie Dough Brownie Bombs come in. They’re rich, they’re fudgy, they’re creamy, and they’re coated in chocolate. Honestly, they might be a little dangerous because once you taste one, it’s pretty hard to stop at just that.
I first made these when I was trying to bring a little “wow” factor to a bake sale at my kids’ school. I wanted something that looked fun but didn’t require hours of complicated baking. The beauty of these brownie bombs is that they start with a boxed brownie mix—yes, that trusty little box sitting in your pantry—and with just a few extra steps, you end up with a dessert that looks like it came from a fancy bakery.
In this first part, I’ll walk you through making the brownie base and the edible cookie dough filling. Don’t worry, I’ve got plenty of tips to make sure everything turns out just right!
INGREDIENTS YOU’LL NEED
For the Brownie Base:
1 box of brownie mix (prepared according to package instructions)
For the Cookie Dough Filling:
½ cup unsalted butter, softened
½ cup brown sugar
¼ cup granulated sugar
2 tablespoons milk
1 teaspoon vanilla extract
1¼ cups all-purpose flour
1 cup mini chocolate chips
For the Coating:
2 cups chocolate candy melts, melted
Sprinkles (optional)
LET’S GET STARTED: MAKING THE BROWNIE BASE
STEP 1: PREPARE YOUR BROWNIES
First up, bake your brownies according to the instructions on the box. Every brand is a little different, but generally, you’ll need to combine the mix with oil, water, and eggs. Stir it all together until smooth, pour it into a greased pan, and bake until a toothpick comes out mostly clean—usually around 30-35 minutes.
Now here’s an important tip: Let those brownies cool completely. I know it’s tempting to rush this part (been there, done that), but if the brownies are even slightly warm, they’ll be too soft to handle later. I like to let mine cool right in the pan for a bit, then transfer to a wire rack for faster cooling.
Once your brownies are cool, cut them into small squares. You’ll want each piece big enough to wrap around the cookie dough balls. Roughly 2-inch squares work well, but you don’t have to be too exact here—just make sure they’re manageable for wrapping.

STEP 2: CREAM THE BUTTER AND SUGARS
In a mixing bowl, beat together ½ cup of softened unsalted butter, ½ cup of brown sugar, and ¼ cup of granulated sugar. Keep mixing until it’s light and fluffy. This usually takes about 2-3 minutes with a hand mixer on medium speed.
STEP 3: ADD THE WET INGREDIENTS
Once the mixture is nice and fluffy, add in 2 tablespoons of milk and 1 teaspoon of vanilla extract. Stir until everything is smooth and fully incorporated.

STEP 4: INCORPORATE THE FLOUR
Now it’s time to add the dry ingredient: 1¼ cups of all-purpose flour. Add it gradually, mixing just until the dough comes together. You don’t want to overmix here; you’re not making bread.
A QUICK SAFETY NOTE:
Because we’re not baking this cookie dough, it’s a good idea to heat-treat your flour to eliminate any potential bacteria. Simply spread it on a baking sheet and bake at 350°F for about 5 minutes. Let it cool before adding to your dough.
STEP 5: FOLD IN THE MINI CHOCOLATE CHIPS
Finally, fold in 1 cup of mini chocolate chips. At this point, you’ll have a creamy, safe-to-eat cookie dough that’s perfect for stuffing inside our brownies.
STEP 6: SHAPE THE COOKIE DOUGH BALLS
Scoop out about 1 tablespoon of cookie dough and roll it into a smooth ball. Set the balls aside on a parchment-lined tray or plate. Repeat until all the dough is used up. You should end up with approximately 20-24 cookie dough balls, depending on how generous your scoops are.
ASSEMBLING AND COATING YOUR BROWNIE BOMBS
Now that we have our fudgy brownie squares and those adorable little cookie dough balls ready, it’s time for the most fun part—putting it all together. This is where the magic really happens, and honestly, it’s pretty satisfying to see them come together into perfect little bites of dessert heaven.

WRAPPING THE COOKIE DOUGH IN BROWNIE
STEP 7: FLATTEN THE BROWNIE SQUARES
Take one of your cooled brownie squares and gently flatten it out with your hands. Don’t press too hard—you want it pliable enough to wrap around the cookie dough but not so thin that it tears. If your brownies are a little sticky, you can lightly dust your hands with powdered sugar to make handling easier.
STEP 8: ADD THE COOKIE DOUGH CENTER
Place one cookie dough ball right in the center of your flattened brownie. Carefully wrap the brownie around the dough ball, pressing the edges together to seal it completely. Gently roll it between your palms to smooth out any seams.
If your brownie is cracking a little, don’t worry—it’s pretty forgiving, and once we coat them in chocolate, no one will see those little imperfections.
STEP 9: REPEAT THE PROCESS
Continue this process with the remaining brownie squares and cookie dough balls. You should end up with a batch of perfectly round brownie bombs that are ready for their chocolate bath.
PREPARING THE CHOCOLATE COATING
STEP 10: MELT THE CHOCOLATE CANDY MELTS
Now it’s time to melt your 2 cups of chocolate candy melts. Follow the instructions on the package carefully. Usually, this involves microwaving the melts in 30-second intervals, stirring between each interval until smooth and fully melted.
TIP: Make sure not to overheat the chocolate or it can seize and become grainy. Slow and steady wins the race here.
STEP 11: SET UP YOUR DIPPING STATION
Before you start dipping, set up your station:
Line a baking sheet with parchment paper.
Have your melted chocolate ready.
Use a fork, toothpick, or dipping tool to help you dip the brownie bombs.
DIPPING THE BROWNIE BOMBS
STEP 12: DIP AND COAT
Using your dipping tool, gently lower a brownie bomb into the melted chocolate. Make sure it’s fully coated, then lift it out and gently tap off any excess chocolate.
Place the coated bomb onto your parchment-lined baking sheet. Repeat until all the brownie bombs are coated.
STEP 13: ADD SPRINKLES (OPTIONAL)
While the chocolate coating is still wet, you can sprinkle on some colorful sprinkles for a festive touch. This is totally optional but adds a nice pop of color, especially if you’re making these for a party or special occasion.
STEP 14: LET THEM SET
Once all your brownie bombs are dipped and decorated, pop the baking sheet into the refrigerator. Let them chill until the chocolate is fully set and firm. This usually takes about 30 minutes to an hour.
TIPS FOR SUCCESS
Use high-quality candy melts: They melt smoother and coat better.
Work in batches: If you’re making a large batch, only take a few brownie bombs out at a time to dip so they stay firm and easier to handle.
Don’t rush the chilling process: Giving the chocolate time to set properly ensures a clean, glossy finish.
FREQUENTLY ASKED QUESTIONS ABOUT CHOCOLATE CHIP COOKIE DOUGH BROWNIE BOMBS
I know that whenever I try a new recipe, a few questions always pop up. So, I’ve gathered some of the most common ones to help you make these brownie bombs like a pro!
How do I store the brownie bombs?
These brownie bombs can be stored in an airtight container in the refrigerator for up to one week. If you’d like to store them longer, you can freeze them for up to two months. Just let them sit at room temperature for about 10-15 minutes before serving so they soften up a bit.
Can I make these ahead of time?
Absolutely! These are perfect for making ahead since they hold up so well in the fridge or freezer. You can make them a few days before an event, and they’ll still taste freshly made.
Do I have to heat-treat the flour for the cookie dough?
Yes, it’s highly recommended. Since the cookie dough isn’t baked, heat-treating the flour kills any potential bacteria. Simply spread the flour on a baking sheet and bake at 350°F for 5 minutes. Let it cool completely before using.
Can I use homemade brownie batter instead of a boxed mix?
Definitely! If you have a favorite homemade brownie recipe, feel free to use it. Just make sure your brownies are sturdy enough to handle being shaped and wrapped around the cookie dough balls.
What if my chocolate coating isn’t smooth?
If your chocolate candy melts are too thick, try stirring in a small amount of vegetable shortening or coconut oil to thin it out. This will help the chocolate coat more smoothly and give a glossy finish.
Can I use regular chocolate chips instead of candy melts?
You can, but candy melts are generally easier to work with because they melt more smoothly and set up with a nice finish. If you use chocolate chips, be sure to temper the chocolate or add a little shortening to help with consistency.
How many brownie bombs does this recipe make?
You should get about 20 to 24 brownie bombs, depending on the size of your brownie squares and cookie dough balls.
FINAL THOUGHTS: A SWEET LITTLE SHOWSTOPPER
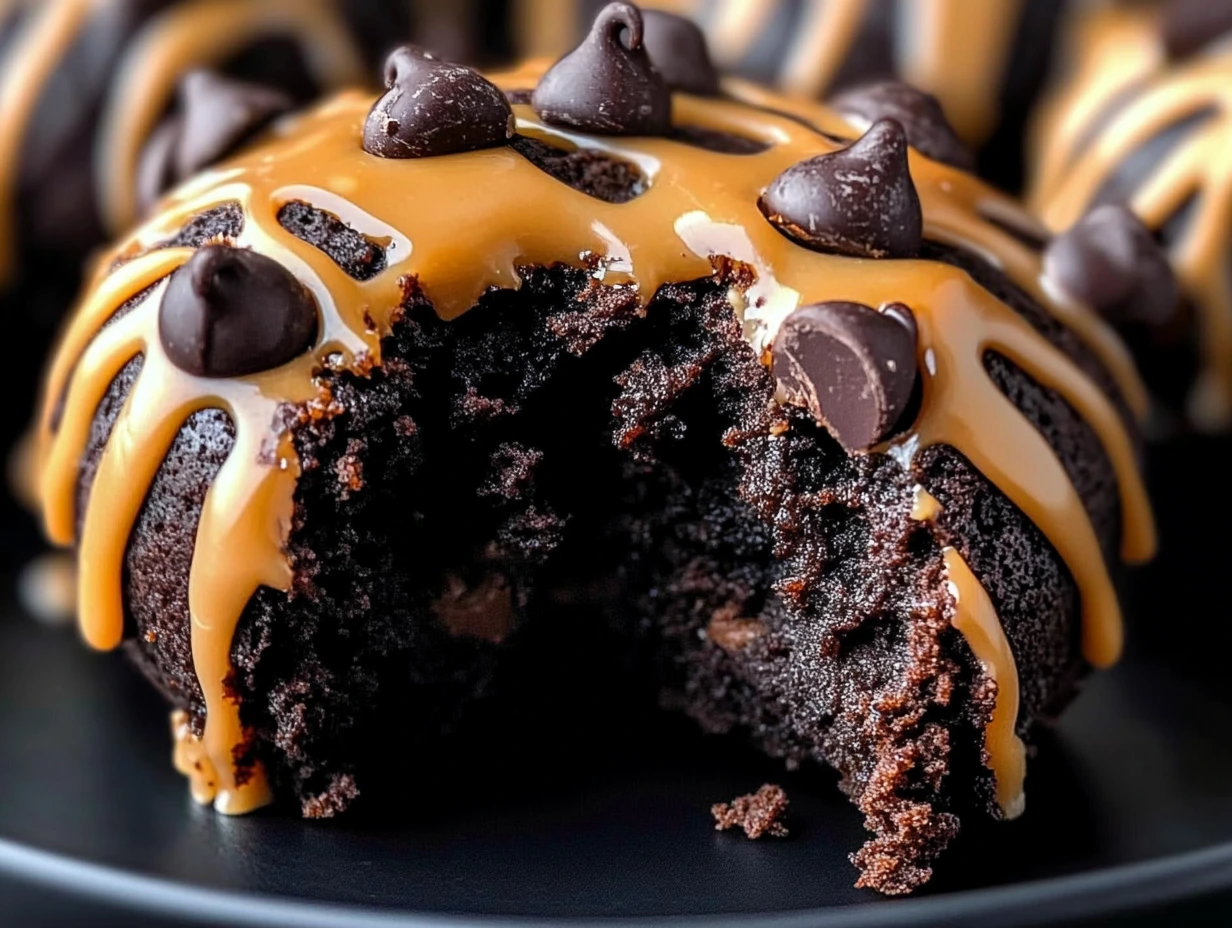
There’s just something magical about these Chocolate Chip Cookie Dough Brownie Bombs. They combine all the best parts of your favorite desserts into one perfect bite. The rich, fudgy brownie paired with creamy, sweet cookie dough, all wrapped up in a smooth chocolate shell—it’s the kind of dessert that makes people pause mid-bite and say, “Wow.”
I love making these for parties, bake sales, or just to have a special treat tucked away in the fridge. They’re fun to make, easy to store, and always a huge hit wherever they go.
Print
Chocolate Chip Cookie Dough Brownie Bombs
- Author: Andrew Recipes
Description
These indulgent brownie bombs combine rich, fudgy brownies with creamy, edible cookie dough centers, all coated in a smooth chocolate shell. A perfect no-bake treat after the brownies are prepared, these little bites are sure to satisfy any sweet tooth.
Ingredients
Brownie Base
1 box of brownie mix, prepared according to package instructions
Cookie Dough Filling
½ cup unsalted butter, softened
½ cup brown sugar
¼ cup granulated sugar
2 tablespoons milk
1 teaspoon vanilla extract
1¼ cups all-purpose flour
1 cup mini chocolate chips
Coating
2 cups chocolate candy melts, melted
Sprinkles (optional)
Instructions
Prepare the brownies according to the package instructions. Allow them to cool completely to room temperature. Once fully cooled, cut the brownies into small squares large enough to wrap around the cookie dough filling.
In a mixing bowl, beat together the softened butter, brown sugar, and granulated sugar until light and fluffy. Add the milk and vanilla extract, mixing until smooth. Gradually stir in the all-purpose flour until the dough comes together. Fold in the mini chocolate chips until evenly distributed.
Portion the cookie dough mixture into small balls, using about 1 tablespoon of dough for each ball. Roll them into smooth rounds and set aside.
Take one brownie square and gently flatten it in your hand. Place a cookie dough ball in the center, then carefully wrap the brownie around the dough, pressing the edges together to fully enclose the cookie dough inside the brownie. Repeat with the remaining brownie squares and cookie dough balls.
Melt the chocolate candy melts according to the package instructions until smooth and fluid. Using a fork or dipping tool, dip each brownie bomb into the melted chocolate, ensuring it is fully coated. Place the dipped bombs onto a parchment-lined baking sheet.
While the chocolate is still wet, sprinkle with your choice of sprinkles if desired. Refrigerate the brownie bombs until the chocolate coating is fully set and firm.
Notes
To ensure food safety, you can heat-treat the flour before using it in the cookie dough by spreading it on a baking sheet and baking at 350°F for about 5 minutes. These brownie bombs can be stored in the refrigerator for up to a week or frozen for longer storage. Allow them to sit at room temperature for a few minutes before serving for the best texture.

