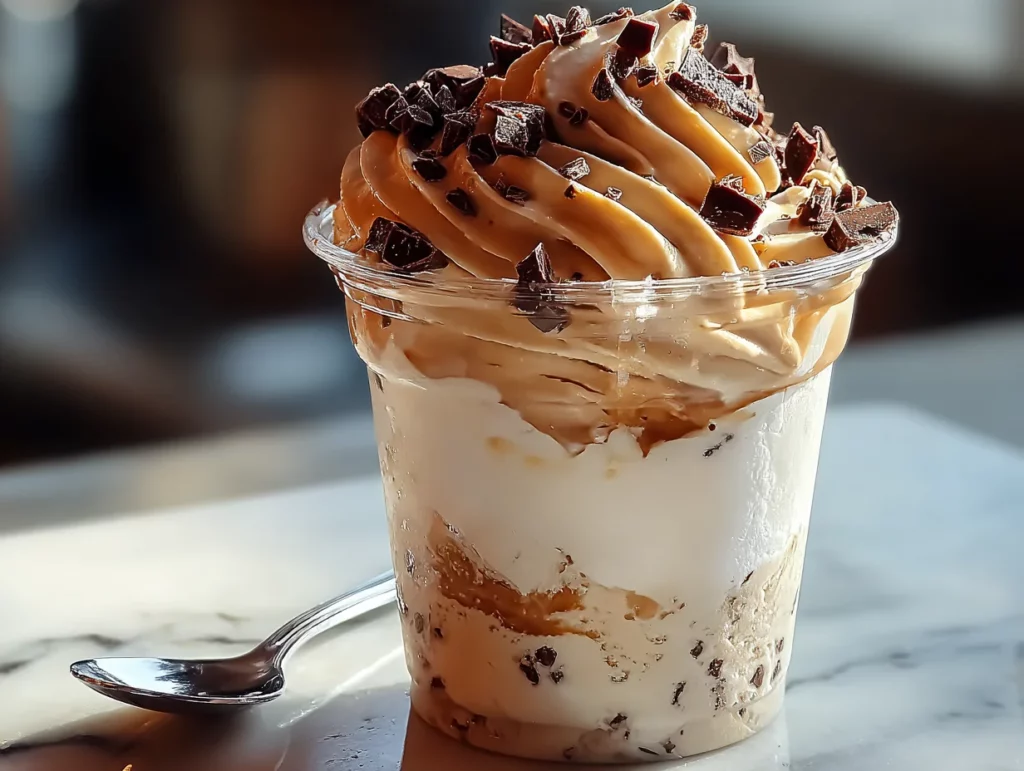
If you’re anything like me, coffee isn’t just a morning ritual—it’s a way of life. Whether it’s a hot mug first thing in the morning or an iced latte on a summer afternoon, I’ll take my caffeine any way I can get it. So when I first made this homemade coffee ice cream, it felt like I had discovered a sweet little secret that every coffee lover should know about.
This ice cream is the real deal. It’s not just a hint of coffee flavor—it’s bold, smooth, and incredibly creamy. Think of it as your favorite espresso drink turned into a luxurious frozen dessert. And the best part? You don’t need a long list of fancy ingredients or professional equipment. Just a little patience, a good espresso powder (or strong brewed coffee), and an ice cream maker. Trust me, once you try this, you may never go back to store-bought.
Why You’ll Love This Coffee Ice Cream
Let’s talk about why this recipe is such a standout:
Intense Coffee Flavor: Thanks to instant espresso powder or reduced brewed coffee, this ice cream has a deep, roasted richness that’s totally satisfying.
Custard Base: Made with egg yolks, cream, and milk, this base is smooth and silky—just the way premium ice cream should be.
Simple Ingredients: Everything in this recipe is likely already in your pantry or fridge.
Versatile Pairing Options: Serve it with chocolate sauce, cookies, or even a splash of Kahlúa for an adult twist.
Whether you’re looking for a dessert to serve after dinner or something indulgent to snack on in the middle of the afternoon (guilty!), this recipe is a guaranteed crowd-pleaser.
Let’s dive into how it’s made!

STEP 1: Gather Your Ingredients
Here’s what you’ll need to get started:
For the ice cream base:
2 cups heavy cream
1 cup whole milk
¾ cup granulated sugar
4 large egg yolks
1 tablespoon instant espresso powder (or strong brewed coffee, reduced)
1 teaspoon vanilla extract
Pinch of salt
These ingredients create a rich custard base that sets the stage for our bold coffee flavor.
STEP 2: Warm the Cream and Milk
Start by grabbing a medium saucepan. Pour in the heavy cream, whole milk, and a pinch of salt. Set it over medium heat and gently warm the mixture until you see steam rising. You don’t want it to boil—just a nice steamy simmer.
This warming process preps the mixture for tempering the eggs and helps everything come together smoothly.
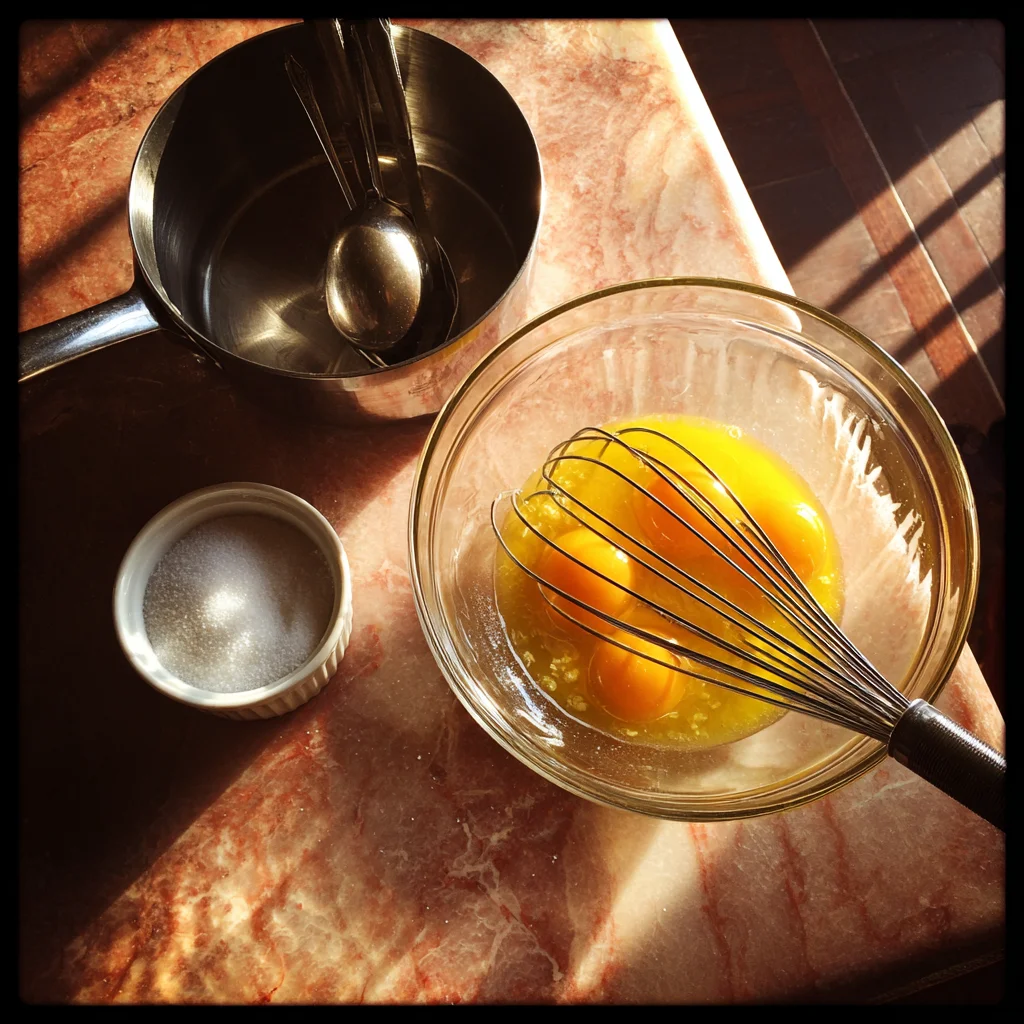
STEP 3: Whisk the Egg Yolks and Sugar
While your cream is heating, take a medium bowl and whisk together the egg yolks and granulated sugar. Keep whisking until the mixture becomes pale and slightly thick. This usually takes about 2–3 minutes.
Why do we do this? Whisking the yolks with sugar helps dissolve the sugar and create a custard with a smooth, glossy finish.
STEP 4: Temper the Eggs
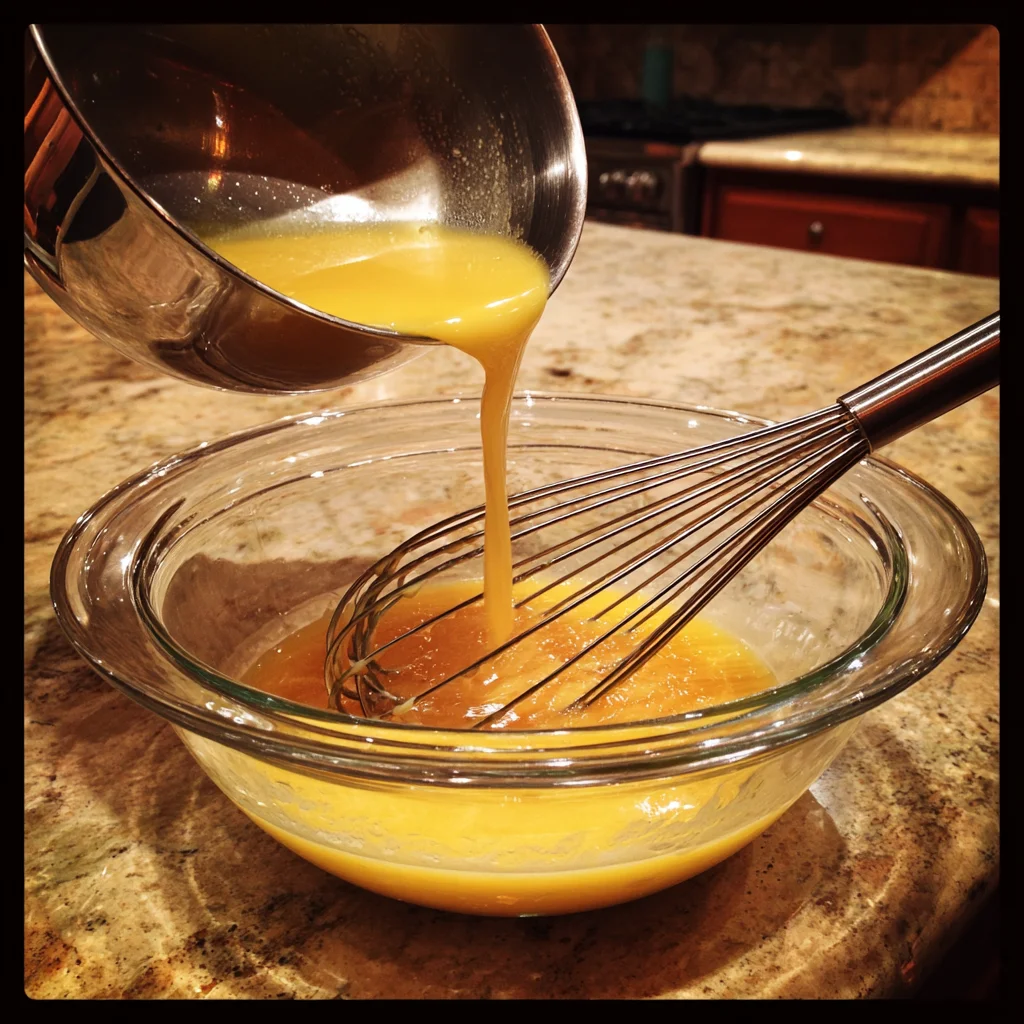
This next part sounds fancy, but it’s really just about not scrambling your eggs.
Slowly pour about half of the warm cream mixture into your egg yolks while whisking constantly. This is called tempering—it gently brings the eggs up to temperature without cooking them too quickly.
Once combined, pour the egg yolk mixture back into the saucepan with the remaining warm cream.
STEP 5: Cook the Custard
Now, reduce the heat to low and stir the mixture constantly with a wooden spoon or silicone spatula. You’ll want to keep this moving gently but steadily so the custard doesn’t stick to the bottom.
Cook the mixture until it thickens enough to coat the back of the spoon. This usually takes about 6–8 minutes. You’ll know it’s ready when you can run your finger across the spoon and the custard doesn’t immediately fill back in.
At this stage, things start smelling really good. That cream and sugar cooking together with the egg yolks is just… dreamy.
Rich & Creamy Homemade Coffee Ice Cream (Perfect for Coffee Lovers!)
In Part 1, we walked through creating the custard base—the heart and soul of any homemade ice cream. If you’ve followed along so far, your kitchen probably smells like a cozy café right now. The creamy texture is beginning to form, and we’re just about to add that irresistible espresso flavor that makes this recipe shine.
Ready to take things up a notch? Let’s finish this coffee ice cream with flavor, finesse, and a few helpful tips to make sure it turns out just right.
STEP 6: Add Espresso and Vanilla
Once your custard has thickened, remove the saucepan from heat.
Now it’s time for the magic ingredient: espresso. You have two options here:
Use 1 tablespoon of instant espresso powder, which dissolves easily and gives a bold, direct flavor.
Or, if you prefer brewed coffee, reduce it down to concentrate the flavor (about ¼ cup reduced to 1 tablespoon), cool it completely, and then stir it in.
Next, add 1 teaspoon of vanilla extract. This may seem like a small addition, but it rounds out the coffee flavor beautifully, giving the ice cream a warm, mellow finish.
Stir everything well until the espresso and vanilla are fully incorporated and the mixture is smooth.
STEP 7: Strain the Custard
Before you even think about chilling or churning, this step is non-negotiable if you want that ultra-smooth texture.
Strain the warm custard through a fine-mesh sieve into a clean bowl. This catches any bits of cooked egg or undissolved espresso and ensures the final texture is silky and luxurious.
Don’t skip this—it’s what separates a good homemade ice cream from a great one.
STEP 8: Chill the Mixture Thoroughly
Now that your custard is espresso-infused and silky smooth, let it cool down to room temperature. Once it’s no longer warm, cover the bowl with plastic wrap or a lid and refrigerate for at least 4 hours, or preferably overnight.
This chilling step isn’t just about temperature—it allows the flavors to meld and mature. Plus, a cold base churns better and faster, giving you a creamier final product.
STEP 9: Churn the Ice Cream
Once your custard is fully chilled, it’s time to bring out the ice cream maker.
Pour the mixture into your ice cream maker and churn it according to the manufacturer’s instructions. The time may vary, but generally, you’ll be churning for about 20–25 minutes, or until the ice cream reaches a soft-serve consistency.
At this point, the mixture will be light, airy, and full of those tiny ice crystals that make homemade ice cream so special.

If you’re feeling adventurous, this is also the stage where you can fold in extras:
Crushed chocolate-covered espresso beans
Flecks of dark chocolate
Swirls of fudge or caramel
But honestly? It’s incredible just as it is.
STEP 10: Freeze Until Firm
After churning, transfer the soft ice cream to a lidded container. I like using a loaf pan lined with parchment or a reusable ice cream tub. Smooth out the top and press a piece of plastic wrap directly against the surface to prevent ice crystals.
Place in the freezer for at least 4 hours, or until it’s firm enough to scoop.
Optional Tip: Add Coffee Liqueur for Flavor & Texture
If you like a slightly softer scoop or want to add an adult twist, stir in 1 tablespoon of Kahlúa or other coffee liqueur before churning. Not only does it enhance the coffee flavor, but alcohol lowers the freezing point slightly, helping your ice cream stay soft and creamy straight from the freezer.
Serving Suggestions
When you’re finally ready to scoop, this coffee ice cream is a dream all on its own. But if you’re in the mood to dress it up, here are a few favorite pairings:
Drizzle with hot fudge and sprinkle crushed Oreos on top
Serve with a shot of espresso for an affogato-style treat
Pair with a slice of chocolate cake or warm brownie
Top with whipped cream and a dusting of cocoa powder for a coffee shop feel
It’s decadent, cozy, and just the right balance of sweet and bold. Whether you’re serving guests or sneaking a scoop after dinner, this dessert is guaranteed to hit the spot.
Rich & Creamy Homemade Coffee Ice Cream (Perfect for Coffee Lovers!
We’ve steeped, stirred, chilled, and churned our way to a creamy coffee dream, and by now, your freezer is holding a container of homemade ice cream that tastes better than anything you could grab off the grocery store shelf. But before you dive spoon-first into that frozen treasure, let’s go over a few commonly asked questions to make sure your ice cream journey is smooth from start to finish.
Frequently Asked Questions
Can I make this without an ice cream maker?
Yes, you can! After chilling the custard base, pour it into a shallow container and place it in the freezer. Stir it every 30 minutes for about 3–4 hours until it reaches your desired consistency. While the texture won’t be quite as creamy as with a churned version, it’ll still be delicious.
Is it okay to use regular brewed coffee instead of espresso powder?
Absolutely. Just make sure to reduce the coffee to intensify the flavor and prevent the custard from becoming too watery. Start with ¼ cup strong brewed coffee and simmer it down to about 1 tablespoon. Let it cool completely before adding it to the custard.
How long does homemade coffee ice cream last in the freezer?
For best texture and flavor, enjoy your coffee ice cream within 2 weeks. Be sure to store it in an airtight, freezer-safe container and place plastic wrap or parchment directly on the surface to prevent ice crystals from forming.
Can I make this ice cream dairy-free?
You can try it! Substitute full-fat coconut milk or a barista-style oat milk for the dairy, and use a dairy-free creamer if needed. Keep in mind that the texture may be a bit different—less creamy and more icy—but still very tasty. Also, you’ll want to watch the custard carefully, as plant-based milks don’t thicken in exactly the same way.
What can I add for extra flavor or texture?
This ice cream is a great base for mix-ins. Some fun add-ins include:
Chopped chocolate or espresso beans
A swirl of fudge or caramel
Toffee bits or chocolate-covered almonds
Just stir them in right after churning for the best distribution.
Why does my ice cream turn icy after freezing?
Homemade ice cream can get icy if:
The custard wasn’t fully chilled before churning.
It wasn’t churned long enough.
It wasn’t stored properly.
Make sure your base is fully cold before churning, and always store in an airtight container with plastic wrap touching the surface.
Final Thoughts & Serving Ideas
I don’t know about you, but there’s something so satisfying about transforming simple pantry staples into something this luxurious. This homemade coffee ice cream hits all the right notes—it’s bold, silky, and not too sweet, with just enough espresso to give it that grown-up twist.
It’s the kind of dessert that impresses guests, satisfies late-night cravings, and honestly… feels like a tiny celebration in a bowl. Whether you serve it straight-up in a cone, dolloped between cookies for ice cream sandwiches, or scooped into an affogato, it’s guaranteed to become a new favorite.
If you give this recipe a try, I’d love to hear how it turned out for you! Did you stick to the classic version or mix in your own twist? Leave a comment, share your scoop, and let me know what flavor combo you’re dreaming of next.
Print
Coffee Ice Cream
- Author: Andrew Recipes
Description
A rich, creamy homemade coffee ice cream that delivers bold espresso flavor with a silky, smooth texture. Perfect for coffee lovers who enjoy their caffeine fix in dessert form, this recipe is easy to make and requires just a few ingredients.
Ingredients
For the ice cream base:
2 cups heavy cream
1 cup whole milk
¾ cup granulated sugar
4 large egg yolks
1 tablespoon instant espresso powder (or strong brewed coffee, reduced)
1 teaspoon vanilla extract
Pinch of salt
Instructions
In a medium saucepan, combine the heavy cream, whole milk, and salt. Warm over medium heat until it begins to steam, but do not let it boil.
In a separate bowl, whisk the egg yolks and sugar until the mixture is pale and slightly thickened.
Slowly pour about half of the warm cream mixture into the egg yolks while whisking constantly to temper the eggs.
Pour the egg mixture back into the saucepan with the remaining cream. Cook over low heat, stirring constantly with a wooden spoon or spatula, until the custard thickens enough to coat the back of the spoon.
Remove the saucepan from heat. Stir in the instant espresso powder and vanilla extract until fully dissolved and incorporated. If using brewed coffee instead, make sure it has been reduced and cooled before adding.
Strain the custard through a fine-mesh sieve into a clean bowl to remove any curdled bits or lumps. Let it cool to room temperature, then cover and chill in the refrigerator for at least 4 hours or overnight.
Once the mixture is thoroughly chilled, churn it in an ice cream maker according to the manufacturer’s instructions until it reaches a soft-serve consistency.
Transfer the churned ice cream to a lidded container and freeze for at least 4 hours or until firm.
Notes
For an extra kick, you can add a tablespoon of coffee liqueur like Kahlúa to the base before churning. This will also help keep the ice cream slightly softer. If you prefer a lighter texture, fold in some whipped cream after the mixture has chilled. This recipe offers a deep, roasted coffee flavor that pairs well with chocolate sauce, crushed cookies, or a sprinkle of cocoa powder.

