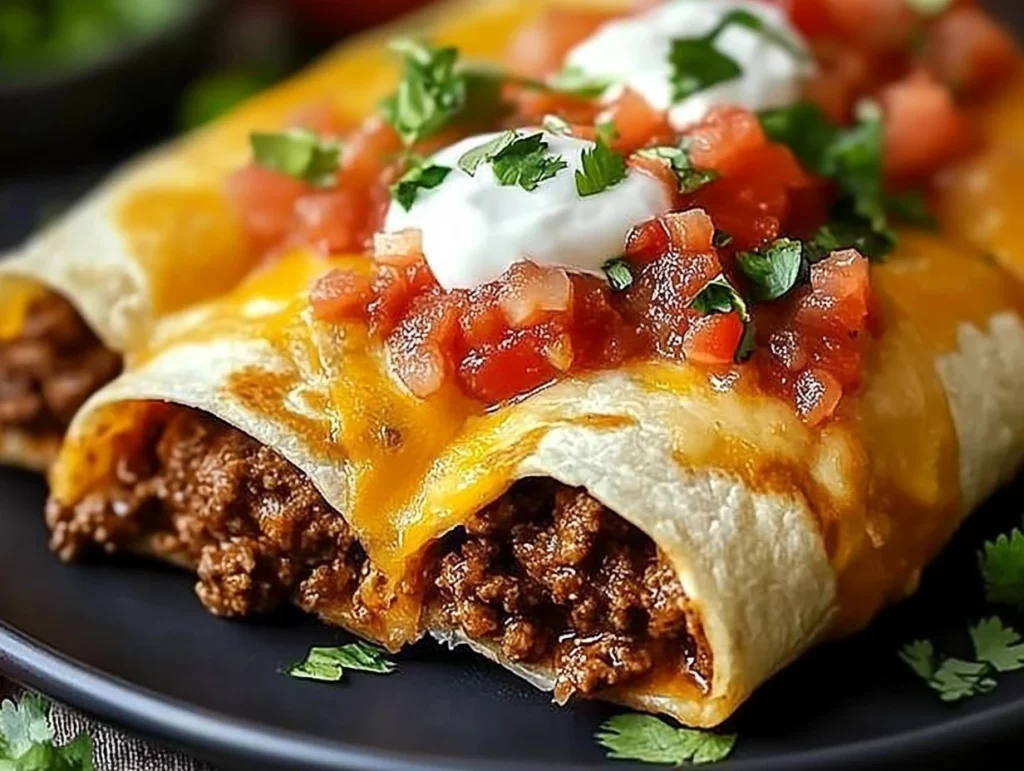
If there’s one thing I can always count on to make my family sit down at the dinner table without a fuss, it’s chimichangas. But let’s be real—deep frying is messy, greasy, and not exactly how I want to wrap up a busy day. That’s why these oven-baked beef and cheese chimichangas have become a total game changer in my kitchen. They deliver all the crispy, cheesy goodness you’d expect, but without the hassle of a frying pan full of oil.
I remember the first time I tried to recreate a restaurant-style chimichanga at home. Let’s just say it involved a splattered stove, a smoke detector, and a very patient spouse. That was enough motivation for me to find a better way—and this baked version delivers on every level. Not only are they ridiculously simple to throw together, but they also come out of the oven golden, crunchy, and packed with flavor.
Whether you’re planning a weeknight dinner or hosting a casual get-together with friends, these chimichangas are your new go-to. They’re hearty, customizable, and best of all—kid-approved. So let’s get right into it, because once you try these, I promise they’ll be making a regular appearance on your dinner rotation.
Ingredients You’ll Need:
1 pound ground beef
1 small onion, diced
2 cloves garlic, crushed
1 packet taco seasoning mix
1/3 cup water
1 cup shredded cheddar cheese
1 cup shredded Monterey Jack cheese
6 large flour tortillas
2 tablespoons melted butter or cooking oil
Sour cream, salsa, and chopped cilantro (for serving)
STEP 1: Preheat and Prep
Before you get started, preheat your oven to 400°F (200°C). This gives your oven time to heat while you prep everything else. Line a baking tray with parchment paper or lightly grease it to keep those chimichangas from sticking once they’re in the oven.

STEP 2: Cook the Beef Filling
Grab a large skillet and set it over medium heat. Toss in your ground beef, diced onion, and crushed garlic. Cook everything together until the beef is browned and the onions are soft and translucent. This usually takes about 6 to 8 minutes. Don’t forget to drain off any excess fat—nobody wants greasy chimichangas.
Next, add in the taco seasoning and water. Stir everything together and let it simmer for about 2 to 3 minutes until it thickens slightly. This step really locks in the flavor and keeps your filling from being too runny. Once it’s ready, take it off the heat and give it a few minutes to cool down slightly.
STEP 3: Mix in the Cheese
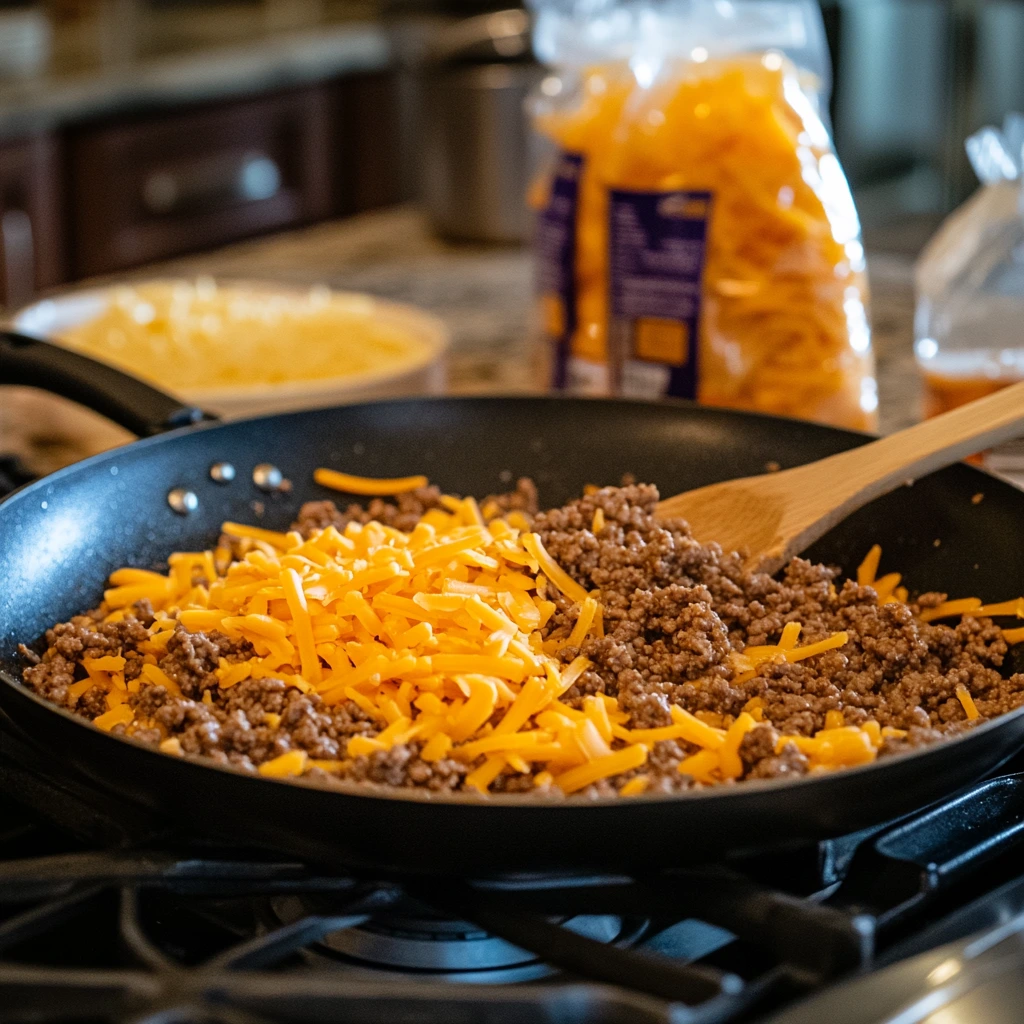
Here’s where things get really good. While your beef mixture is still warm—but not piping hot—stir in the shredded cheddar and Monterey Jack cheeses. They’ll start to melt and blend right into the meat, making that filling irresistibly cheesy. If you sneak a taste at this stage, I won’t blame you!
STEP 4: Warm and Fill Your Tortillas
To make folding easier and avoid tears, give your tortillas a quick warm-up. You can do this in the microwave for about 15-20 seconds, or wrap them in foil and pop them in the oven while it preheats.
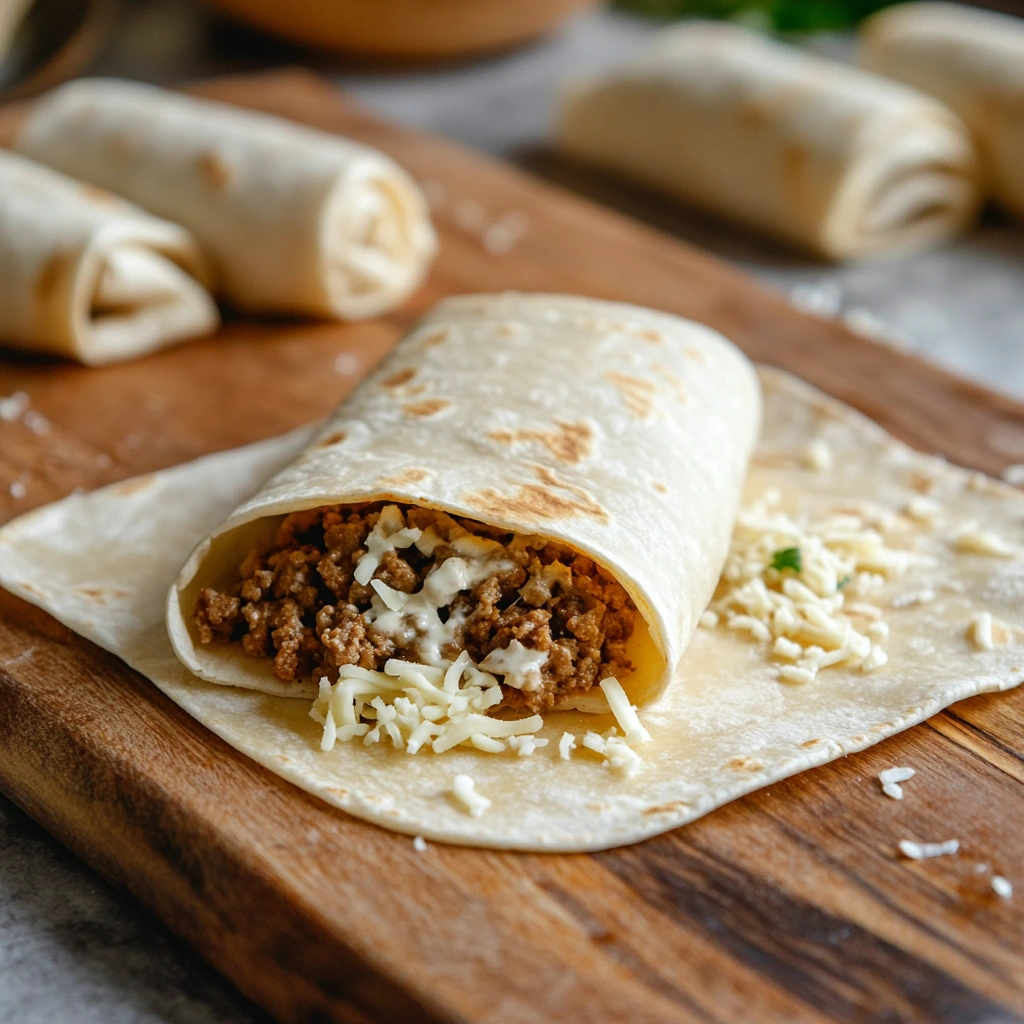
Spoon about 1/2 cup of the beef and cheese mixture into the center of each tortilla. Fold in the sides, then roll them up tightly just like you would a burrito. The goal is to seal in all that cheesy, beefy goodness so nothing leaks out while baking.
Crispy Oven-Baked Beef and Cheese Chimichangas: Finishing Touches and Tips for Perfection
Welcome back! If you’ve made it this far, you’re already well on your way to serving up some seriously delicious chimichangas. In Part 1, we covered the basics—prepping the beef and cheese filling, getting those tortillas wrapped up tight, and setting the stage for a golden, crispy finish.
Now it’s time to get these bundles of joy into the oven, crisp them up to perfection, and chat about some easy variations and tips to really make this recipe your own. Whether you’re a chimichanga newbie or a seasoned kitchen pro, these next steps are where the magic happens.
STEP 5: Bake to Crispy Perfection
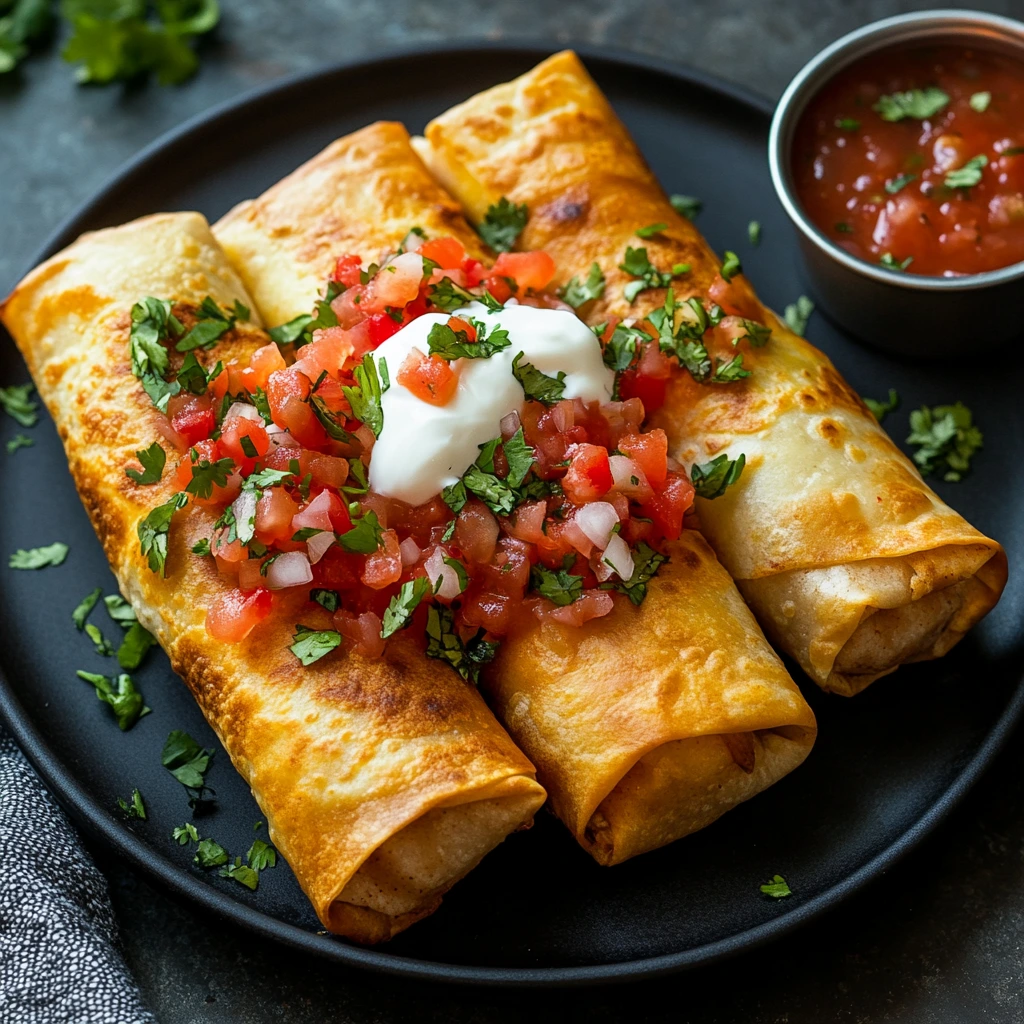
With your chimichangas rolled and ready, place them seam-side down on your prepared baking tray. This helps keep them sealed during baking. Give each one a generous brush with melted butter or cooking oil. Don’t skip this step—it’s the secret to getting that golden, crisp finish without needing to deep fry.
Slide your tray into the preheated 400°F (200°C) oven and bake for 20 to 25 minutes. Flip each chimichanga halfway through baking to make sure they brown evenly on both sides. The end result should be a beautifully crisp tortilla with bubbly, melted cheese inside and edges that have just the right amount of crunch.
If you’re someone who loves an extra-crispy bite (like me), here’s a pro tip: Turn on the broiler for the last 2 to 3 minutes of baking. Keep a close eye so they don’t burn, but that quick broil can really elevate the texture to restaurant-style quality.
Customize It Your Way
One of the best parts about this recipe is how easy it is to adapt. Here are a few fun twists to try if you want to mix things up:
Add Refried Beans or Rice: Mix in some refried beans or cooked Spanish rice with the beef for a heartier, more filling chimichanga.
Go Spicy: If your family loves heat, toss in a few diced jalapeños or a pinch of cayenne pepper with the beef mixture.
Switch the Protein: Not feeling ground beef? Try shredded rotisserie chicken, leftover pulled pork, or even a vegetarian version with black beans and sautéed veggies.
Cheese Options: While cheddar and Monterey Jack are classic, pepper jack, mozzarella, or even a smoky gouda can add a new layer of flavor.
How to Serve Your Chimichangas
These chimichangas are absolutely delicious on their own, but a few simple toppings can really take things to the next level. I like to set up a little DIY topping bar when I serve them—especially when we have friends over. Everyone can build their perfect plate!
Sour Cream: A must for that cool, creamy contrast.
Fresh Salsa or Pico de Gallo: Adds brightness and a pop of flavor.
Chopped Cilantro: For a fresh, herby finish.
Sliced Avocado or Guacamole: Because who doesn’t love a little avocado?
You could even go all-out and serve them with a side of Mexican rice, refried beans, or a simple salad tossed in lime vinaigrette. Whether it’s a busy weeknight or a relaxed Saturday gathering, these chimichangas fit the bill perfectly.
Leftovers? No Problem!
If you happen to have any chimichangas left (though that’s a big “if” at my house), they reheat beautifully. The best way to bring back that crispy texture is in the oven or an air fryer. Just pop them in at 350°F for 8 to 10 minutes, and they’ll come out hot and crunchy all over again. The microwave works in a pinch, but it does soften the tortilla.
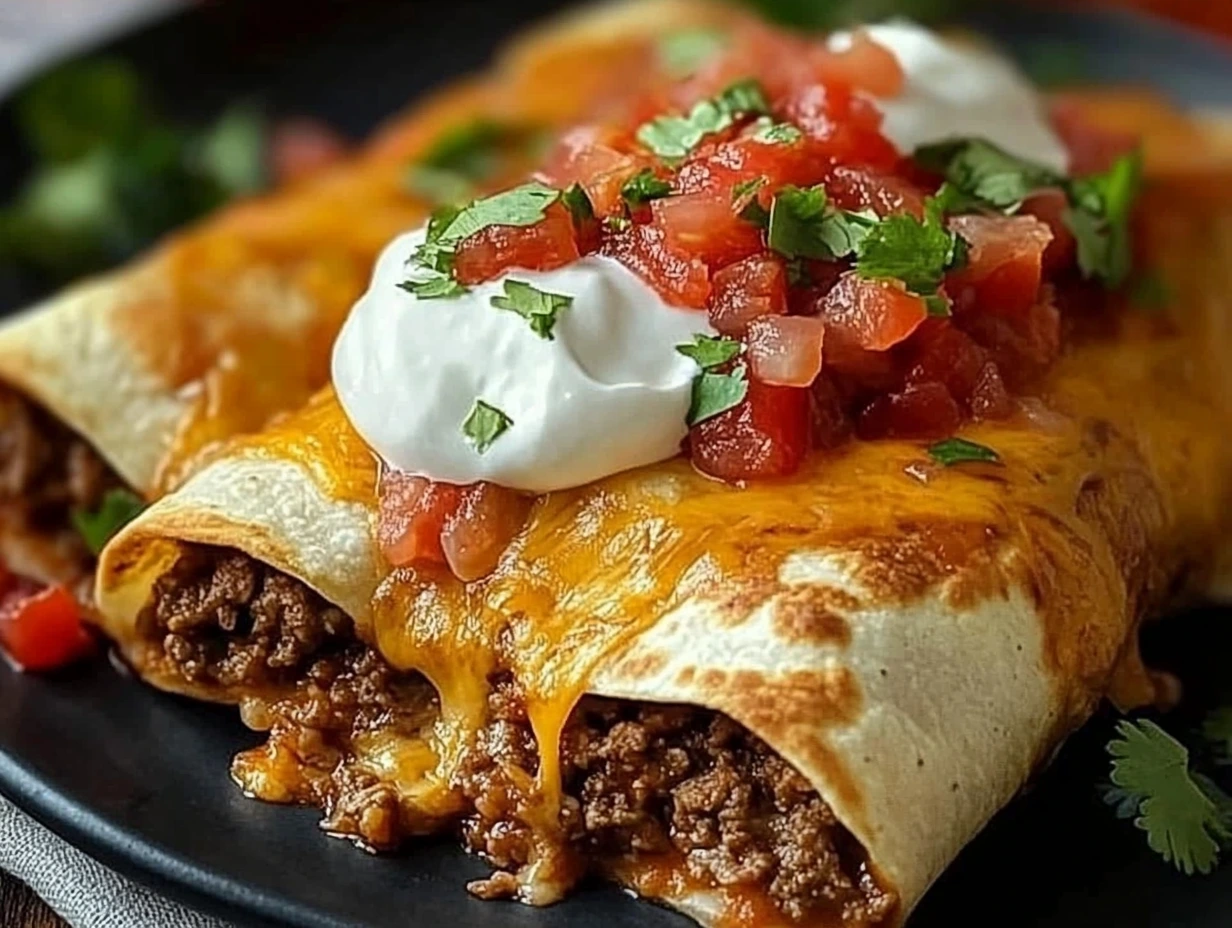
Crispy Oven-Baked Beef and Cheese Chimichangas: FAQs and Final Thoughts
So you’ve got your golden, crispy chimichangas fresh from the oven, the house smells amazing, and the toppings are ready to go—what’s next? In this final part, I’m answering some of the most common questions I get about these oven-baked chimichangas, plus sharing a few last thoughts to help you feel confident making them again and again.
Let’s dive into the FAQs!
Frequently Asked Questions
1. Can I make these chimichangas ahead of time?
Absolutely! You can prep and assemble the chimichangas earlier in the day and store them in the fridge until you’re ready to bake. Just make sure to brush them with butter or oil right before baking. You may need to add a couple of extra minutes to the baking time if they’re going in cold.
2. What’s the best way to reheat leftovers?
For the crispiest results, reheat them in the oven at 350°F for 8–10 minutes, or in an air fryer for about 5–7 minutes. The microwave works, but it’ll soften the tortilla.
3. Can I freeze chimichangas for later?
Yes, and they freeze really well! Assemble them, but don’t bake. Wrap each chimichanga tightly in foil or plastic wrap, then place in a freezer-safe bag. When ready to eat, thaw overnight in the fridge, then bake as directed (you may need to add a few minutes to the cook time).
4. How can I make this recipe vegetarian?
Swap the ground beef for a combo of black beans, sautéed peppers, onions, and corn. Add your favorite taco seasoning and follow the same steps. You can even throw in some cooked rice or quinoa for extra texture.
5. What tortillas work best for chimichangas?
Large, soft flour tortillas are ideal because they’re easy to fold and hold up well during baking. Corn tortillas tend to crack and are better suited for enchiladas or tacos.
6. Can I use a different kind of cheese?
Of course! Try pepper jack for a spicy kick, or mix in mozzarella for extra meltiness. Just make sure whatever cheese you use melts well and complements the beef seasoning.
7. Why are my chimichangas splitting open in the oven?
That usually happens if they’re overfilled or the tortillas weren’t warmed enough before rolling. Warming the tortillas makes them more pliable and easier to seal tightly.
Final Thoughts
These crispy oven-baked beef and cheese chimichangas have become a staple in my home, and I hope they find a regular spot in your kitchen too. They check every box—easy, delicious, satisfying, and totally customizable. Whether you’re feeding a crowd or just trying to get dinner on the table without breaking a sweat, this recipe is the kind you’ll come back to over and over.
If you try these out, I’d love to hear how they turned out for you! Did you stick with the classic beef and cheese combo, or did you put your own twist on it? Drop a comment, share your favorite toppings, or tell me how your family reacted—those stories are my favorite part of sharing recipes like this.
Print
Crispy Beef and Cheese Chimichangas
- Author: Andrew Recipes
Description
These Crispy Beef and Cheese Chimichangas are a mouthwatering Tex-Mex delight, oven-baked for a healthier twist on the traditional deep-fried version. Loaded with seasoned ground beef, melted cheddar and Monterey Jack cheeses, and wrapped in golden, crispy tortillas, they make a perfect meal for family dinners or casual entertaining.
Ingredients
1 lb ground beef
1/2 cup diced onion
2 cloves garlic, crushed
1 packet taco mix
1/2 cup water
1 cup grated cheddar cheese
1 cup grated Monterey Jack cheese
6 large flour tortillas
1/4 cup melted butter or cooking oil, for coating
Sour cream, for dipping
Salsa, for topping
Fresh chopped cilantro, for garnish
Instructions
Get your oven hot at 400°F (200°C). Put parchment on a baking tray or just grease it lightly.
Throw your beef, onion, and garlic in a big pan over medium heat. Cook until meat turns brown with no pink spots. Pour off any extra fat.
Add your taco mix and water. Let it bubble while stirring now and then for about 2-3 minutes until it gets a bit thick. Take it off the heat and cool it down a little.
Dump both cheeses into your meat mix and stir everything together.
Quickly warm up your tortillas so they don’t crack when you fold them.
Put about 1/2 cup of your meaty cheese mix in the middle of each tortilla. Tuck in the sides and roll them up tight like burritos.
Put your wrapped bundles seam-side down on your tray. Brush each one with plenty of melted butter or oil.
Stick them in the oven for 20-25 minutes. Flip them once halfway through cooking until they’re golden and crunchy.
Enjoy them hot with some sour cream, salsa, and fresh cilantro on top.
Notes
These chimichangas can be customized with beans, rice, or jalapeños for extra flavor. To save time, prepare the filling ahead of time and refrigerate until you’re ready to assemble and bake. They’re great served with a side of Mexican rice or a simple green salad.

