
There’s something pretty magical about taking a humble veggie and turning it into something so golden, crispy, and addictive that even the pickiest eaters can’t resist going back for seconds (and thirds). That’s exactly what happens with this crispy cauliflower recipe—and trust me, I’ve seen it disappear off the tray faster than a plate of fries at a game day party.
If you’ve been on the hunt for a go-to snack or side dish that checks all the boxes—easy, flavorful, a little indulgent but still wholesome—this one’s for you. It’s crispy on the outside, tender on the inside, and loaded with that savory, garlicky, cheesy flavor we all crave. Best part? You don’t need to deep fry anything. This cauliflower gets perfectly crunchy right in the oven, or in your air fryer if you’re short on time.
I started making this as a way to sneak more veggies into weeknight dinners, but now it’s just something we make because we love it. It’s especially great when friends are over—they always ask for the recipe!
Let’s get into it.
What Makes This Crispy Cauliflower So Good?
Before we dive into the actual steps, let’s talk about why this recipe works so well:
Texture perfection – Panko breadcrumbs give you that light, crispy coating that holds up beautifully in the oven or air fryer.
Flavor-packed – Parmesan, garlic powder, smoked paprika, and just the right amount of salt and pepper make each bite incredibly tasty.
Versatile – Serve it as a snack, side, or even toss it on top of a salad or grain bowl. You can also change up the spices to suit your mood or meal.
Quick and easy – Minimal prep, pantry-friendly ingredients, and about 30 minutes from start to finish.
Alright, let’s get that cauliflower ready.
Ingredients You’ll Need
1 medium head of cauliflower, cut into florets
3 tablespoons olive oil
½ cup panko breadcrumbs
¼ cup grated Parmesan cheese
1 teaspoon garlic powder
½ teaspoon smoked paprika
Salt and black pepper to taste
Optional Add-Ins:
Pinch of cayenne or red pepper flakes for heat
Nutritional yeast instead of Parmesan for a vegan version
Try spices like cumin, curry powder, or Italian seasoning for a flavor twist
STEP 1: Prep Your Oven or Air Fryer
Preheat your oven to 425°F (220°C). If you’re using an air fryer, set it to 400°F (200°C).
Line a baking sheet with parchment paper or lightly grease it. This prevents sticking and helps the cauliflower get that nice even browning.

STEP 2: Coat the Cauliflower
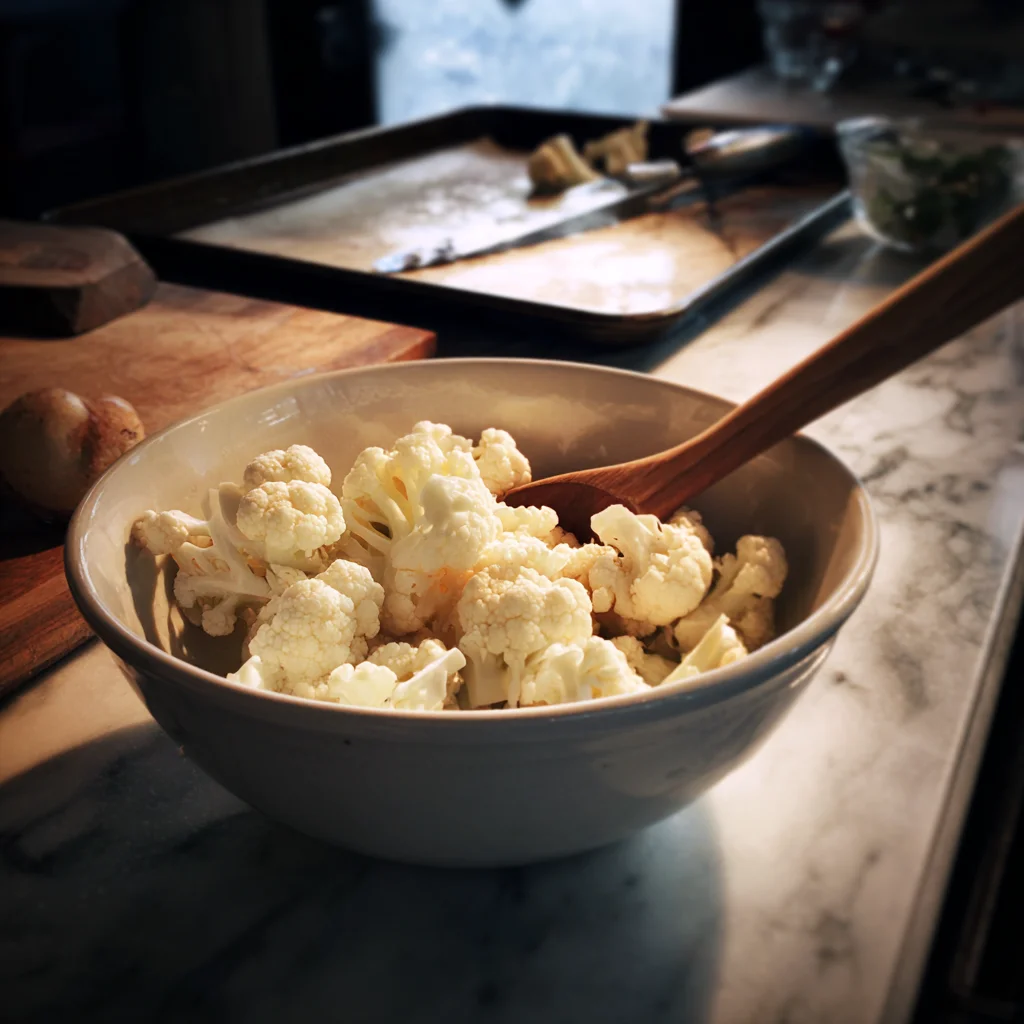
Start by placing your cauliflower florets in a large mixing bowl. Drizzle them with the olive oil, and toss to make sure every piece is coated. This is key—no dry spots here!
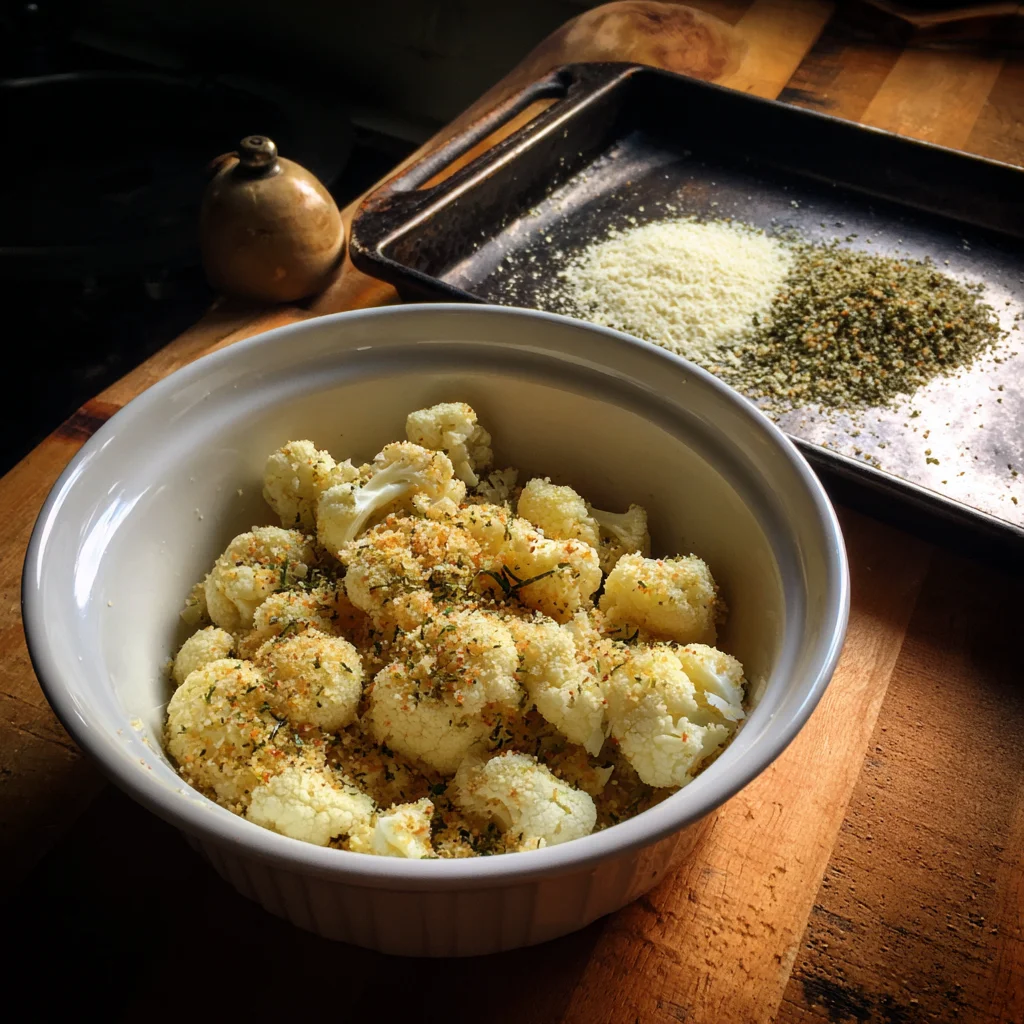
Now in a separate bowl, mix together your panko breadcrumbs, grated Parmesan, garlic powder, smoked paprika, salt, and black pepper. This blend is what gives the cauliflower its crispy, savory crust.
Sprinkle the breadcrumb mixture over the oiled florets. Toss again—gently, so you don’t knock off the coating—to make sure everything’s evenly coated.
STEP 3: Get Ready to Roast
Spread the coated cauliflower florets onto your prepared baking sheet in a single layer. Don’t overcrowd the pan—if the pieces are too close together, they’ll steam instead of crisp up. Give them space to breathe!
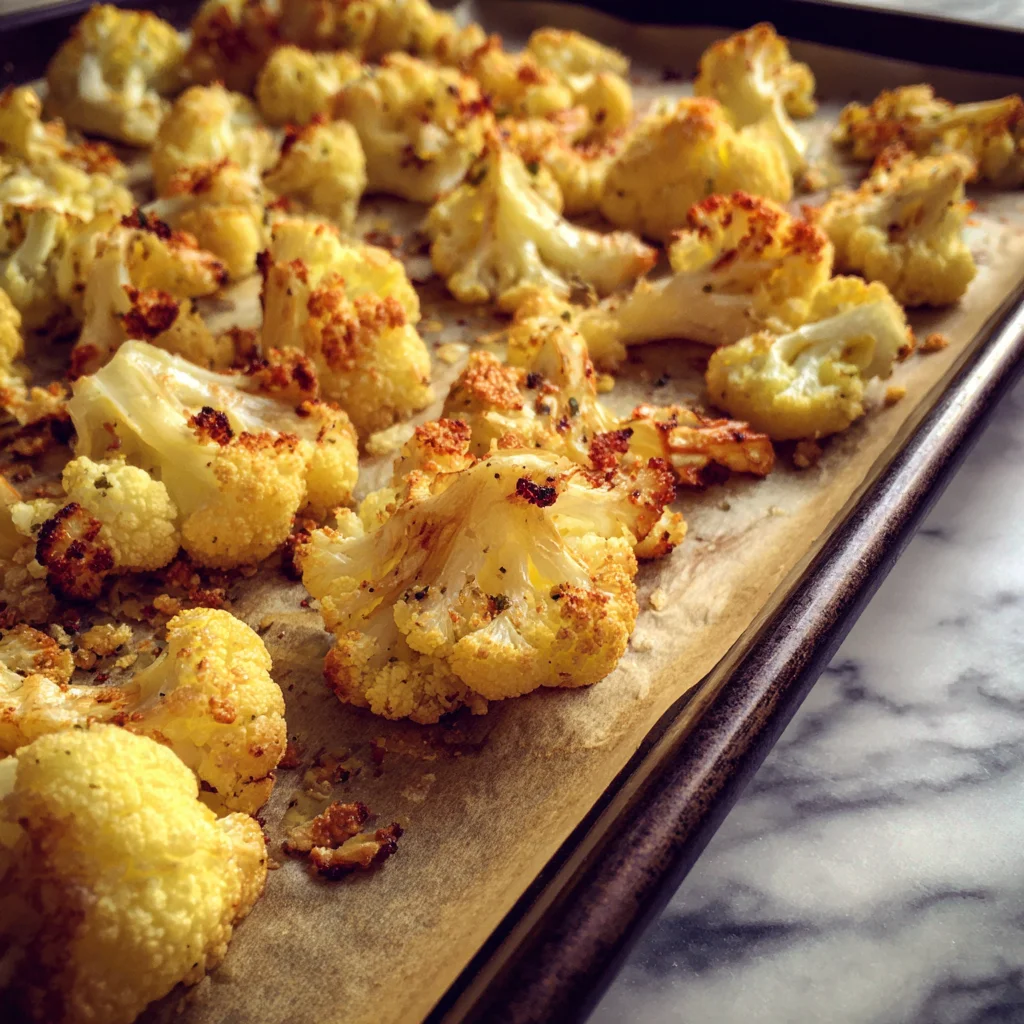
Slide the tray into the oven and roast for 25 to 30 minutes, flipping the florets halfway through to get that golden crunch on all sides.
Want It Even Crispier? Try the Air Fryer Method
If you’ve got an air fryer handy, you’re in luck. The air fryer takes things to the next level when it comes to crispiness.
Place the coated cauliflower in the air fryer basket in a single layer (you may need to work in batches). Cook at 400°F for 15 to 18 minutes, giving the basket a good shake around the halfway point.
How to Serve Crispy Cauliflower (Plus Tips and Variations You’ll Love)
By now, your kitchen is probably filled with that warm, savory aroma of roasted cauliflower, garlic, and Parmesan—and it’s so tempting to start snacking straight off the baking sheet. I don’t blame you. But before you dig in, let’s talk about all the delicious ways you can serve this crispy cauliflower, how to keep it crispy, and the little tweaks you can make to switch up the flavor.
I’ve made this recipe dozens of times, and every time I tweak something small—whether it’s the seasoning, how I serve it, or pairing it with a new dipping sauce. It’s super forgiving and can fit into just about any meal or mood.
Let’s finish the recipe and go over some of my favorite tips and variations.
STEP 4: Serve It Up Hot and Crispy
Once the cauliflower is beautifully golden and crisp on the edges, take it out of the oven (or air fryer) and let it cool for just a minute or two. Then transfer it to a serving plate or bowl.
You’ll want to serve this dish immediately. The longer it sits, the more it starts to soften—still tasty, but not quite as crisp. If you’re making it for guests, time it so it’s ready just before you eat.
Here are a few fun and tasty ways to serve it:
As a snack or appetizer – Serve with garlic aioli, ranch, spicy mayo, or a tangy yogurt dip.
In tacos – Stuff the crispy florets into warm tortillas with slaw, avocado, and a drizzle of lime crema.
On grain bowls – Add to a bowl of quinoa or farro with roasted veggies and tahini dressing.
As a side dish – Perfect with grilled chicken, baked fish, or a hearty veggie main.
STEP 5: Storing and Reheating Leftovers
Okay, if by some miracle you have leftovers, here’s how to store and reheat them while keeping as much of that crispy texture as possible.
To store:
Let the cauliflower cool completely before transferring it to an airtight container. Keep it in the fridge for up to 3 days.
To reheat:
Skip the microwave—it’ll make the coating soggy. Instead, pop the florets back in the oven or air fryer at 375°F for about 8–10 minutes, or until warmed through and crispy again.
Recipe Tips for the Crispiest Cauliflower Every Time
Here are a few tried-and-true tips that I’ve picked up through plenty of trial (and the occasional soggy error):
Don’t skimp on the oil. The olive oil helps the coating stick and promotes browning. Just don’t drench the florets—3 tablespoons is the sweet spot for one medium head.
Use panko, not regular breadcrumbs. Panko gives you that light, airy crunch that really takes this recipe to the next level.
Give the florets space. This is one of the most important tips—whether you’re roasting or air frying. If the pieces are too close, they’ll steam, not crisp.
Flip or shake halfway. Turning the cauliflower halfway through helps ensure every side gets crispy and browned.
Go bold with seasonings. Don’t be afraid to try new spice blends! This recipe is a great base, but you can really make it your own.
Flavor Variations to Try
This crispy cauliflower is delicious as-is, but you can easily switch up the flavor profile with a few small changes:
Spicy Buffalo Cauliflower: Toss the baked florets in Buffalo sauce just before serving.
Asian-Inspired: Swap Parmesan for sesame seeds and use garlic, soy sauce powder (or a sprinkle of five-spice) in the breadcrumb mix.
Italian Herb: Add dried basil, oregano, and a pinch of chili flakes to the coating mix.
Curry Style: Use curry powder and cumin in place of the smoked paprika for a warm, earthy flavor.
Make It Vegan
Want to keep things plant-based? No problem.
Just omit the Parmesan cheese or replace it with nutritional yeast. You’ll still get that cheesy, umami flavor, and the cauliflower will crisp up just the same.
Crispy Cauliflower FAQ + Final Thoughts
By now, you’ve roasted (or air-fried) your way to a bowl of golden, crispy cauliflower perfection—and hopefully, you’re already planning your next batch. Whether you’re serving it up for a weeknight dinner or bringing it to a potluck, this recipe is one of those reliable go-to dishes that never fails to impress.
But let’s be real—when you’re making a new recipe, especially one with a crunchy texture involved, there are always a few questions that pop up. That’s why I’ve pulled together some of the most common questions I’ve received (or asked myself!) about making crispy cauliflower at home.
Let’s get into it.

Frequently Asked Questions
1. Can I use frozen cauliflower instead of fresh?
Yes, you can use frozen cauliflower, but it’s not ideal. Frozen florets tend to release more moisture during cooking, which can make it harder to get that crispy texture. If you do use frozen, make sure to thaw and pat them very dry before coating and roasting.
2. What’s the difference between regular breadcrumbs and panko?
Panko breadcrumbs are larger and flakier than regular ones, which gives the cauliflower a lighter, crunchier coating. If you only have regular breadcrumbs, you can still use them, but the result won’t be quite as crispy.
3. Can I make this recipe gluten-free?
Absolutely. Just swap the panko breadcrumbs for a gluten-free version. There are plenty of options available now that still give you a great crunch.
4. How do I keep the cauliflower from getting soggy?
A few tips here: make sure the florets are completely dry before coating them, don’t overcrowd the baking sheet or air fryer basket, and always serve immediately. Reheating in the oven instead of the microwave also helps bring back some crispness.
5. What dipping sauces go well with crispy cauliflower?
There are so many good ones! Some of my favorites are garlic aioli, sriracha mayo, spicy yogurt dip, ranch, or even sweet chili sauce. It really depends on the flavor direction you’re going with your spices.
6. Can I make this recipe ahead of time?
This recipe is best enjoyed fresh out of the oven or air fryer. That said, you can prep the cauliflower and coating ahead of time and store them separately. When you’re ready to bake, just toss them together and roast.
7. How do I know when the cauliflower is done?
You’re looking for golden-brown edges and a crispy exterior. The cauliflower should be fork-tender on the inside. If you’re unsure, give one a little taste test around the 25-minute mark in the oven or 15-minute mark in the air fryer.
Final Thoughts: Your New Favorite Cauliflower Recipe
There’s a reason this crispy cauliflower has become a regular in my kitchen—it’s quick, it’s easy, and it hits that perfect balance of healthy and indulgent. Whether you’re serving it as a snack, side, or even the main event in a veggie-forward meal, it never disappoints.
Plus, once you’ve made it a few times, it becomes second nature. You’ll start experimenting with spice blends, sauces, and different ways to serve it—and that’s where the real fun begins.
If you try this recipe, I’d love to hear how it turned out! Did you add a little heat? Swap in your favorite spices? Drop your favorite variation in the comments or share your creation—it’s always fun to see how others make it their own.
Print
Crispy Cauliflower
- Author: Andrew Recipes
Description
This crispy cauliflower recipe transforms simple florets into golden, crunchy bites packed with flavor. Oven-roasted or air-fried, each piece delivers a satisfying contrast between a tender interior and a crisp, seasoned crust. Whether served as a side dish, snack, or plant-based appetizer, it’s a versatile option that’s both healthy and indulgent.
Ingredients
1 medium head of cauliflower, cut into florets
3 tablespoons olive oil
½ cup panko breadcrumbs
¼ cup grated Parmesan cheese
1 teaspoon garlic powder
½ teaspoon smoked paprika
Salt and black pepper to taste
Instructions
Preheat the oven to 425°F. Line a baking sheet with parchment paper or lightly grease it to prevent sticking.
In a large bowl, toss the cauliflower florets with olive oil until evenly coated. In a separate bowl, combine the panko breadcrumbs, Parmesan cheese, garlic powder, smoked paprika, salt, and black pepper. Sprinkle the breadcrumb mixture over the cauliflower and toss again until the florets are well coated.
Arrange the coated cauliflower on the prepared baking sheet in a single layer, making sure not to overcrowd the pan. Roast for 25 to 30 minutes, flipping once halfway through, until the cauliflower is golden brown and crispy on the edges.
For an even crispier result, use an air fryer. Set it to 400°F and cook the coated florets in a single layer for 15 to 18 minutes, shaking the basket halfway through.
Serve immediately as a standalone snack, with a dipping sauce like garlic aioli or spicy yogurt, or as a crispy topping for salads, grain bowls, or tacos.
Notes
For a vegan version, omit the Parmesan or replace it with nutritional yeast for a cheesy flavor. To add heat, mix a pinch of cayenne or crushed red pepper flakes into the breadcrumb mixture. This recipe can also be adapted with different spices like cumin, curry powder, or Italian seasoning to match a specific cuisine or flavor profile.

