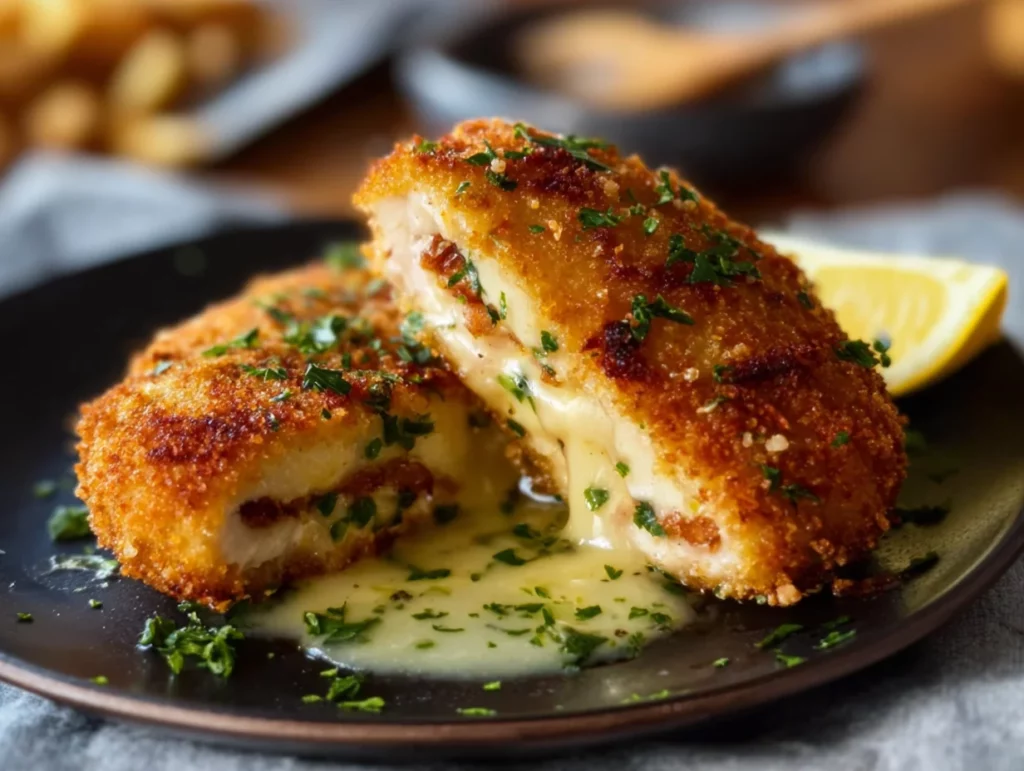
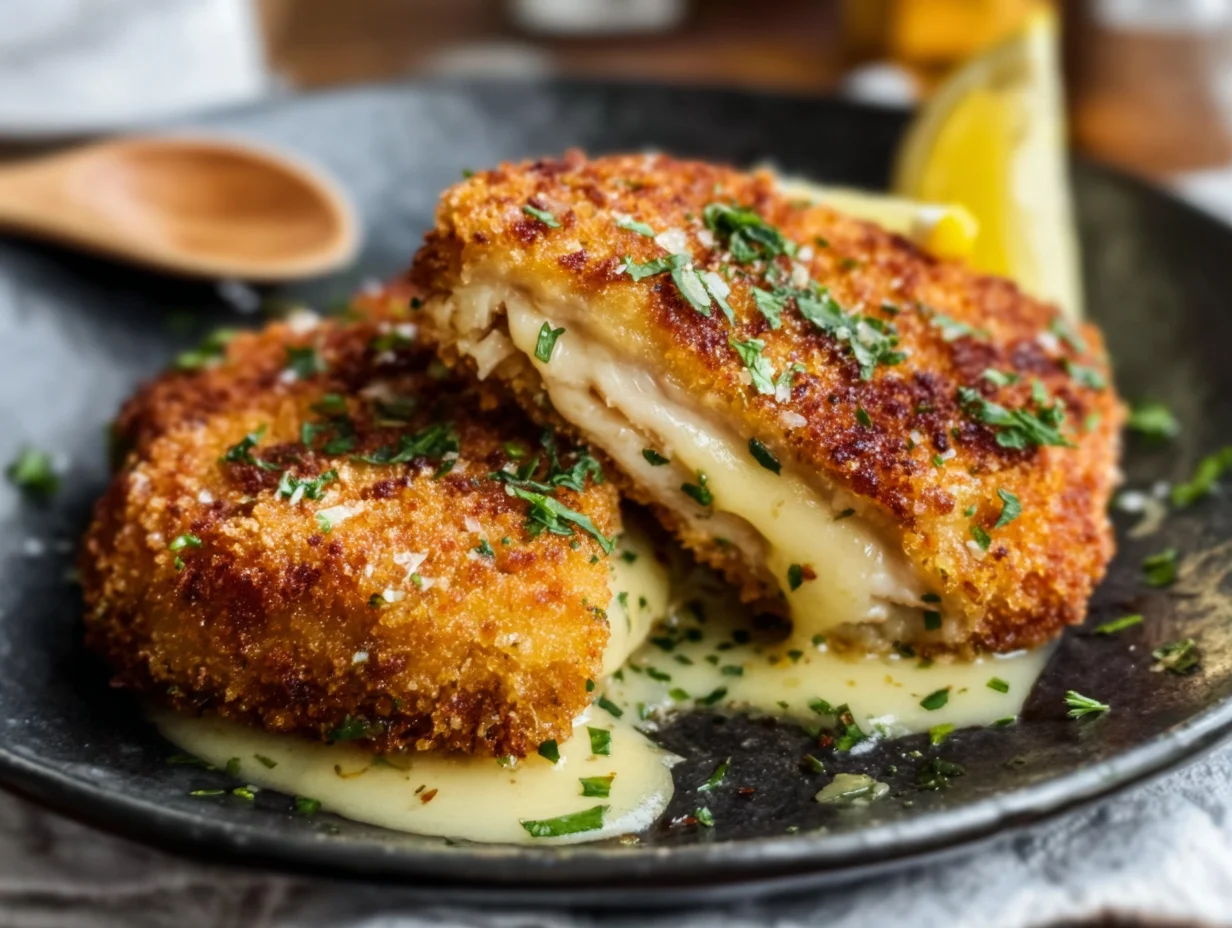
There’s something magical about a recipe that looks fancy enough to impress dinner guests but is still totally doable on a weeknight. That’s exactly what Easy Chicken Kiev is all about. Picture this: golden, crispy breading that gives way to juicy chicken, and then—here’s the best part—a gush of warm, garlicky herb butter spilling onto your plate the second you cut into it. It’s comfort food with a little drama, and honestly, that’s the best kind.
I’ve always loved dishes that surprise you in the middle, whether it’s a molten lava cake or a cheese-filled chicken breast. Chicken Kiev hits that sweet spot—it feels gourmet, but you don’t need a culinary degree to pull it off. In fact, the recipe we’re diving into today keeps things simple, approachable, and fuss-free, while still delivering the kind of flavor that makes you want to lick the plate clean.
What makes this version so special is the garlic-herb butter tucked inside the chicken. When it melts, it creates its own rich sauce, perfect for drizzling over mashed potatoes, rice, or even just soaking up with a crusty piece of bread. The crispy breading adds that perfect crunch, giving you layers of texture and flavor in every bite.
So, whether you’re planning a cozy dinner for two, a family meal that feels a little more special, or even a dish to impress at a gathering, this Easy Chicken Kiev won’t disappoint. Let’s walk through the first steps so you can see just how straightforward it really is.
Ingredients You’ll Need
Before we jump into the kitchen, here’s everything you’ll want to gather:
2 boneless, skinless chicken breasts
4 tablespoons unsalted butter, softened
2 cloves garlic, minced
1 tablespoon fresh parsley, finely chopped
½ teaspoon salt
¼ teaspoon black pepper
½ cup all-purpose flour
1 egg, beaten
1 cup breadcrumbs
Vegetable oil, for frying
That’s it—nothing fancy or hard to find. Just everyday ingredients that come together in the most delicious way.
Steps to Start Your Easy Chicken Kiev
Step 1: Make the Garlic-Herb Butter
In a small bowl, combine the softened butter, minced garlic, fresh parsley, salt, and black pepper. Stir it all together until smooth and evenly mixed. This is your flavor-packed filling, so don’t skimp on the garlic or herbs—it’s what makes the chicken come alive.
Once combined, shape the butter mixture into a small log. Wrap it tightly in plastic wrap and pop it into the freezer for about 20 to 30 minutes. Freezing is the trick here—it firms up the butter so it won’t leak out as soon as the chicken hits the heat.

Step 2: Prep the Chicken Breasts
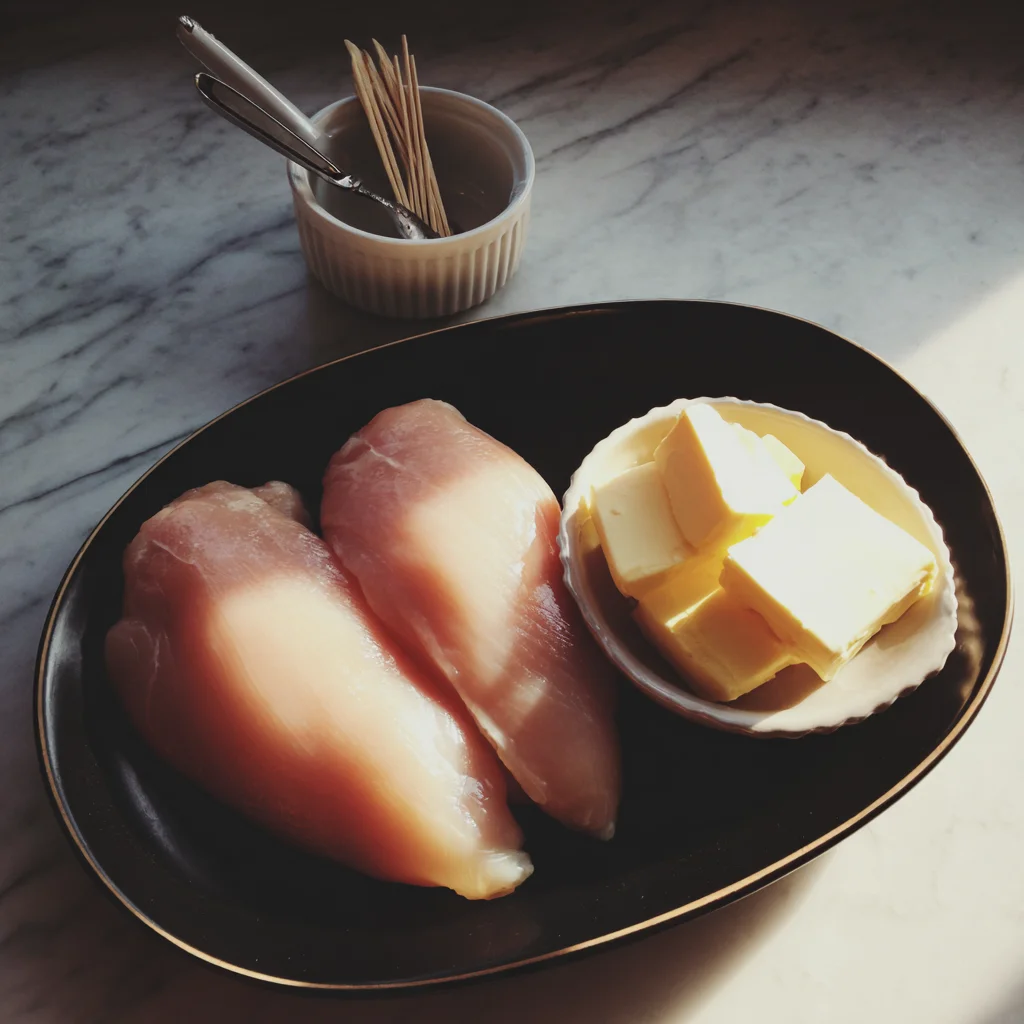
Take your boneless, skinless chicken breasts and, using a sharp knife, carefully cut a pocket into the side of each. The key is to make a deep enough pocket to hold the butter log but not cut all the way through—think of it like creating a little envelope inside the chicken.
This part may sound intimidating, but take it slow. Once you’ve done one, the second will feel much easier.
Step 3: Stuff the Chicken
By now, your garlic-herb butter should be firm enough to handle. Cut the log into two equal pieces and slip one inside each chicken pocket. Press the edges of the chicken together to seal the butter inside. If you’re worried about leakage, you can secure the opening with a couple of toothpicks.
This step is where the magic begins—you’re essentially locking in that buttery, garlicky goodness so it can melt later right inside the chicken
How to Coat, Fry, and Bake Chicken Kiev Like a Pro
Now that we’ve got our chicken stuffed with that glorious garlic-herb butter, it’s time to give it the crispy, golden crust that makes this dish so irresistible. The breading isn’t just for looks—it locks in the juices, keeps the butter from escaping too quickly, and adds that crunch we all crave in a comfort dish.
This part might look like the “fussy” stage of the recipe, but it’s actually very simple once you break it down. It follows the classic dredging method: flour, egg, breadcrumbs. Stick to that order, and you’ll end up with beautifully coated chicken that fries up perfectly golden. Let’s get into it.
Steps to Finish the Chicken Kiev
Step 4: Dredge the Chicken
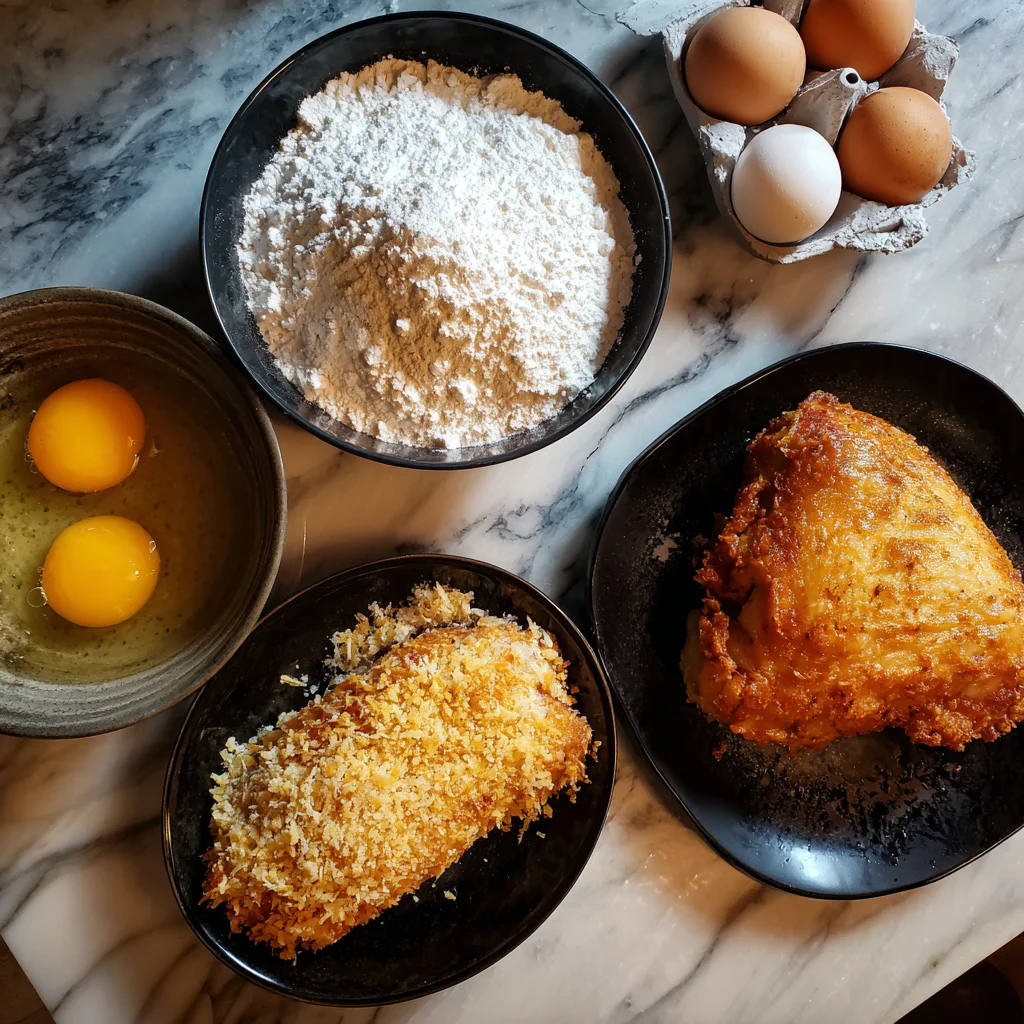
First, set up a little breading station with three shallow bowls: one with flour, one with the beaten egg, and one with breadcrumbs.
Take your stuffed chicken breasts and gently dredge each one in the flour. This thin coating helps the egg stick. Next, dip the floured chicken into the beaten egg, making sure it’s fully coated. Finally, roll it in the breadcrumbs, pressing lightly so they cling well.
Tip: If you want your Chicken Kiev extra crispy, swap regular breadcrumbs for panko. They fry up lighter and crunchier, giving that restaurant-style bite.
Step 5: Pan-Fry for a Golden Crust
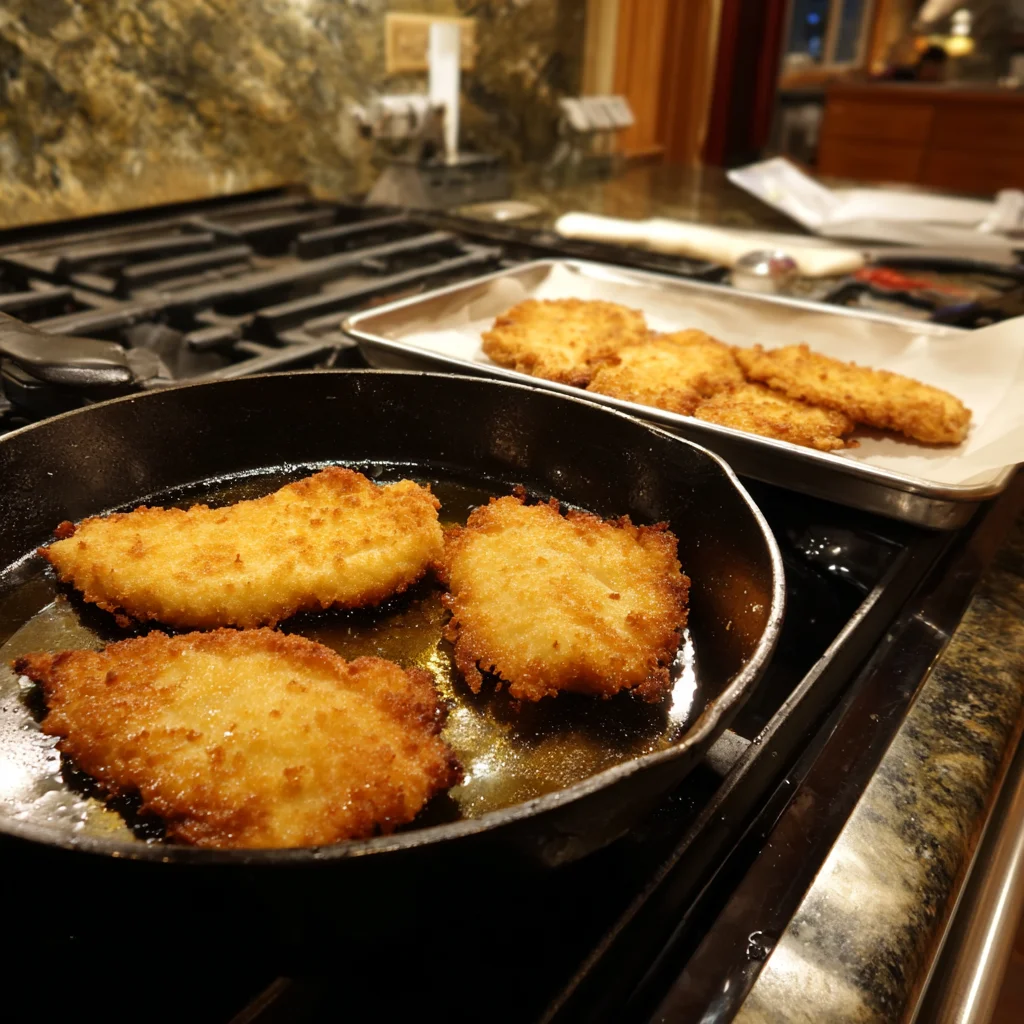
Heat a generous layer of vegetable oil in a skillet over medium heat. You don’t need to deep fry here—just enough oil to cover the bottom of the pan and crisp up the breading.
Once the oil is hot, carefully place your chicken in the skillet. Fry for about 4–5 minutes per side, until each side is golden brown. You’re not cooking the chicken all the way through yet—this step is just about building that beautiful crust.
Pro tip: Don’t overcrowd the pan. If you’re making more than two pieces, cook in batches so the oil stays hot and the crust crisps properly.
Step 6: Bake Until Perfectly Cooked
After searing, transfer the chicken breasts to a baking sheet. Pop them into a preheated oven at 375°F and bake for 15–20 minutes. You’ll know they’re ready when the internal temperature reaches 165°F.
This two-step method—pan-frying, then baking—ensures your chicken is fully cooked inside without burning the breading on the outside. It also gives that garlic butter inside time to melt slowly, so you’ll get that dramatic buttery “pour” when you slice in.
Step 7: Rest Before Serving
This last step is easy to skip, but it makes a big difference. Once your Chicken Kiev comes out of the oven, let it rest for about 5 minutes before serving. This allows the butter inside to settle slightly so it doesn’t all rush out the second you cut into it.
Extra Tips for Success
Seal well: Use toothpicks if needed to help close the chicken pocket and keep the butter inside. Just remember to remove them before serving.
Freeze the butter long enough: Soft butter will leak right out during cooking. Aim for at least 20–30 minutes in the freezer.
Add flavor twists: Try mixing in a squeeze of lemon juice, a pinch of dill, or even some chives into the herb butter for variety.
Pairing ideas: Chicken Kiev goes perfectly with mashed potatoes, roasted veggies, or a simple side salad. The buttery sauce is rich, so lighter sides balance things out beautifully.
Easy Chicken Kiev FAQs
Before you grab your fork and dig in, let’s clear up some of the most common questions people have about making Chicken Kiev at home. These quick answers will give you that extra bit of confidence in the kitchen and help ensure everything turns out just right.
Can I prepare Chicken Kiev ahead of time?
Yes! You can stuff and bread the chicken in advance, then keep it covered in the fridge for up to 24 hours before cooking. If you’re really planning ahead, you can even freeze the prepared, uncooked chicken breasts and cook them straight from frozen—just add a little extra baking time.
How do I keep the butter from leaking out?
Freezing the butter is the number one trick. Make sure it’s firm before stuffing the chicken. Also, seal the pocket edges tightly and, if needed, use toothpicks to keep everything in place. A solid breading layer also helps lock it in.
Can I bake Chicken Kiev without frying first?
You can, but you’ll miss out on that super-crispy crust. Frying before baking locks in the texture and color. If you prefer a lighter version, you can bake directly at 375°F for about 25–30 minutes, but the coating will be less crunchy.
What’s the best oil for frying Chicken Kiev?
A neutral oil with a high smoke point works best. Vegetable oil is the most common, but canola or sunflower oil will also do the trick. Avoid olive oil since it tends to burn at higher temperatures.
What can I serve with Chicken Kiev?
Mashed potatoes are the classic side since they soak up that buttery sauce beautifully. You can also serve it with rice, roasted vegetables, or even a simple green salad for something lighter.
Can I use chicken thighs instead of chicken breasts?
Chicken breasts are traditional since they’re easier to stuff and hold their shape well. You can try thighs, but they’ll be trickier to work with and may not seal as neatly.
Is Chicken Kiev kid-friendly?
Absolutely—kids love the crispy coating and juicy chicken. If your little ones aren’t into garlic, you can tone it down or swap in a plain herb butter for a milder flavor.
Conclusion: A Comfort Classic Made Simple
There you have it—Easy Chicken Kiev that’s crispy on the outside, juicy on the inside, and filled with that irresistible garlic-herb butter. While it may look like something you’d only order in a restaurant, this recipe breaks it down into simple, approachable steps anyone can master at home.
What I love most about this dish is how versatile it is. It feels special enough for a date night or dinner party, but it’s also comforting and family-friendly. Pair it with your favorite sides, let that buttery sauce spill over everything on the plate, and you’ve got a meal that always gets rave reviews.
If you try this recipe, I’d love to hear how it turned out for you. Did you stick with the classic version, or did you add your own twist with different herbs or seasonings? Share your experience in the comments—I can’t wait to see your delicious creations.
Print
Easy Chicken Kiev
- Author: Andrew Recipes
Description
Easy Chicken Kiev is a classic comfort dish made simple, featuring juicy chicken breasts filled with garlic-herb butter, then breaded and pan-fried until golden. The moment you cut into the crispy exterior, melted butter infused with parsley and garlic pours out, creating a rich and flavorful experience. It’s an impressive dish that’s surprisingly approachable for home cooks.
Ingredients
2 boneless, skinless chicken breasts
4 tablespoons unsalted butter, softened
2 cloves garlic, minced
1 tablespoon fresh parsley, finely chopped
½ teaspoon salt
¼ teaspoon black pepper
½ cup all-purpose flour
1 egg, beaten
1 cup breadcrumbs
Vegetable oil, for frying
Instructions
In a small bowl, mix the softened butter with garlic, parsley, salt, and pepper. Shape into a small log, wrap in plastic wrap, and freeze for 20 to 30 minutes until firm.
Using a sharp knife, carefully slice a pocket into the side of each chicken breast, being sure not to cut all the way through.
Once the butter is firm, cut it into two equal pieces and stuff one into each chicken breast. Press the edges of the pocket together to seal, using toothpicks if necessary.
Dredge each stuffed chicken breast in flour, dip in beaten egg, and then coat thoroughly with breadcrumbs.
Heat vegetable oil in a skillet over medium heat. Carefully place the chicken in the hot oil and cook for 4 to 5 minutes per side until golden brown. Transfer to a baking sheet.
Bake in a preheated oven at 375°F for 15 to 20 minutes, or until the chicken is fully cooked and the internal temperature reaches 165°F.
Let rest for a few minutes before serving to allow the butter to settle slightly.
Notes
Freezing the butter is key to keeping it from leaking out during cooking.
You can add a squeeze of lemon or a pinch of dill to the herb butter for extra flavor.
Serve with mashed potatoes or steamed vegetables to soak up the garlicky butter sauce.
For extra crispiness, use panko breadcrumbs instead of regular ones.

