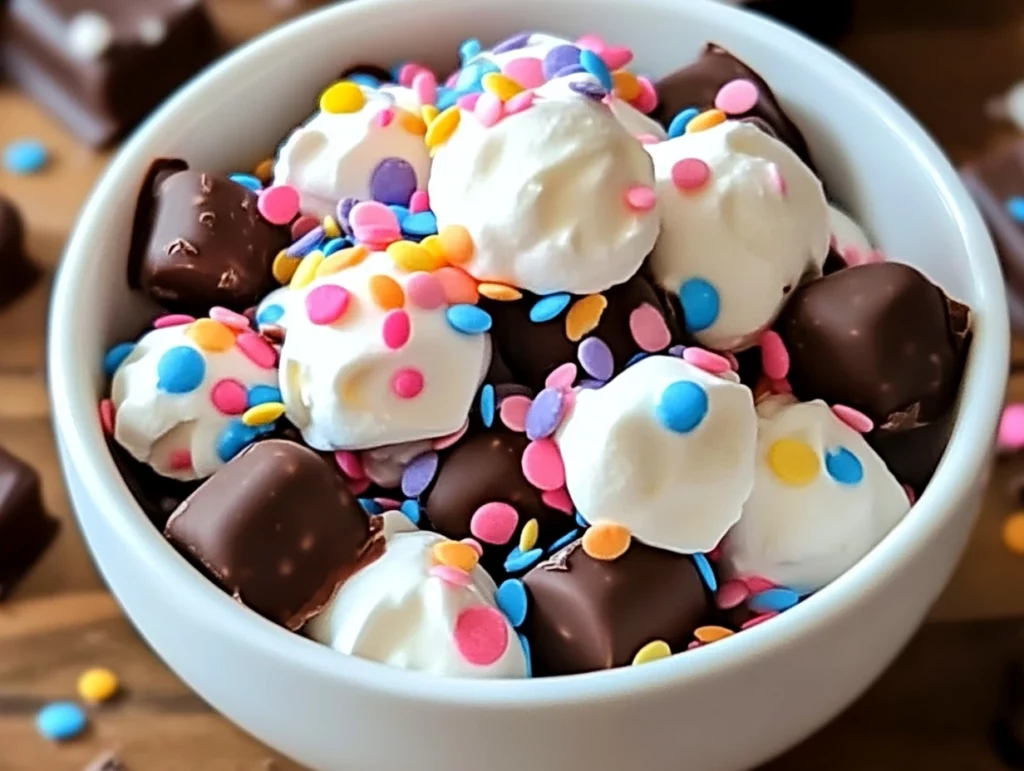
There’s something truly magical about a no-bake dessert that takes minimal effort but delivers big on flavor. That’s exactly what you get with this Easy Cool Whip Candy! These bite-sized chocolate-coated treats are light, creamy, and melt-in-your-mouth delicious. If you love the combination of fluffy Cool Whip and rich, smooth chocolate, this recipe is about to become your new favorite.
The best part? You only need a handful of ingredients, and there’s no baking required. Just mix, freeze, dip, and enjoy! Whether you’re making them for a party, holiday, or just because you have a sweet tooth, these candies are always a hit.
Now, let’s dive into how to make this effortless, irresistible treat.
What You Need to Get Started
Before we begin, here’s everything you’ll need:
- Cool Whip (8 oz container, thawed): This is the key ingredient that gives the candy its light and airy texture.
- Melting Chocolate (12 oz): You can use milk, dark, or white chocolate—whichever you prefer!
- Vanilla Extract (1 teaspoon, optional): A little extra flavor boost never hurts.
- Toppings (optional): Sprinkles, crushed nuts, or shredded coconut can be added for a fun decorative touch.
Once you have your ingredients ready, it’s time to start making these delicious little bites!
Step 1: Prepare the Cool Whip Mixture
First things first, line a baking sheet with parchment or wax paper. This will prevent the candies from sticking and make cleanup a breeze.
Next, scoop the Cool Whip into a large mixing bowl. If you’re using vanilla extract for extra flavor, stir it in now. The mixture will be soft and fluffy, making it easy to scoop later.

Step 2: Shape the Candy
Now for the fun part—creating those bite-sized pieces!
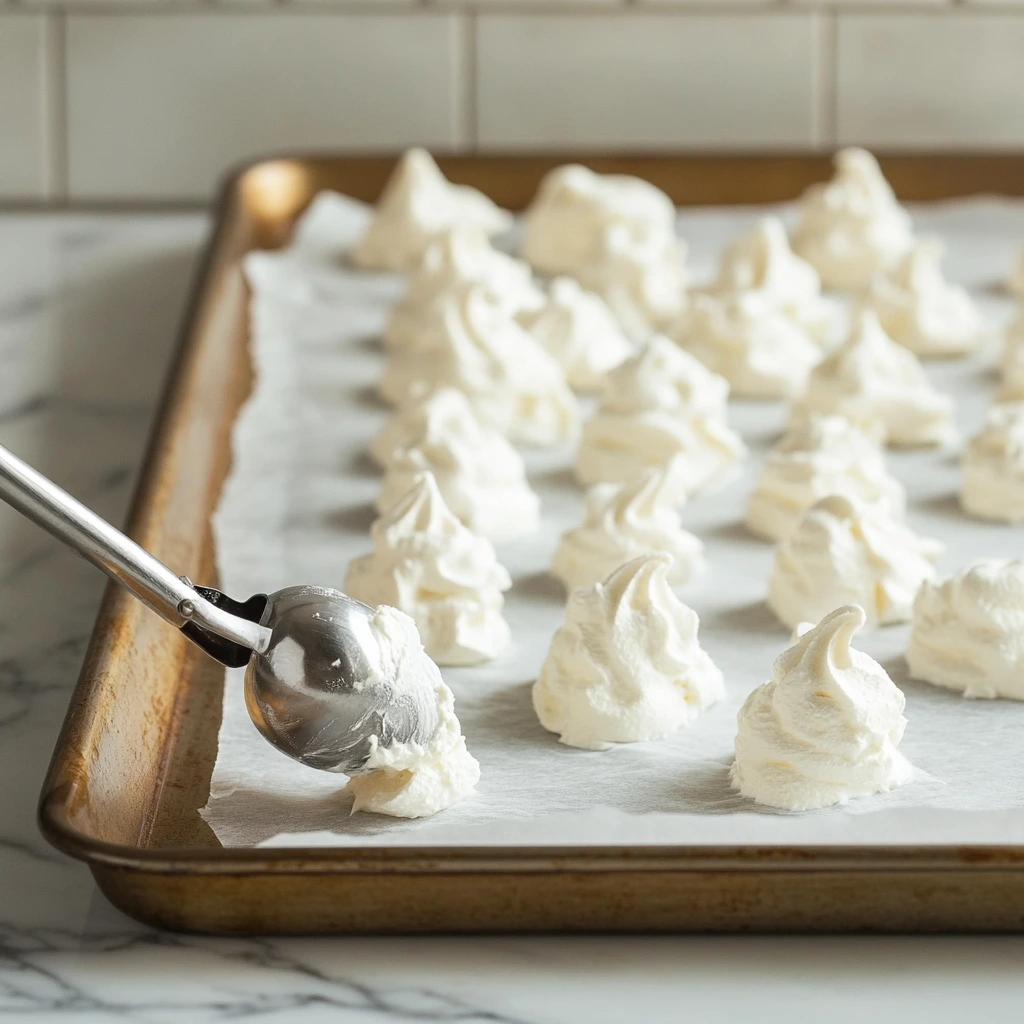
Using a small cookie scoop or spoon, drop dollops of Cool Whip onto the prepared baking sheet. Try to keep them similar in size for even freezing and coating later.
Once all the Cool Whip pieces are shaped, place the baking sheet in the freezer for at least one hour. You’ll want them to be completely solid before dipping them in chocolate.
While they freeze, let’s move on to the next step—melting the chocolate!
Step 3: Melt the Chocolate
While your Cool Whip pieces are freezing, it’s time to prepare the chocolate coating. Using melting chocolate ensures a smooth, glossy finish, but you can also use regular chocolate chips with a little coconut oil or shortening for easier melting.
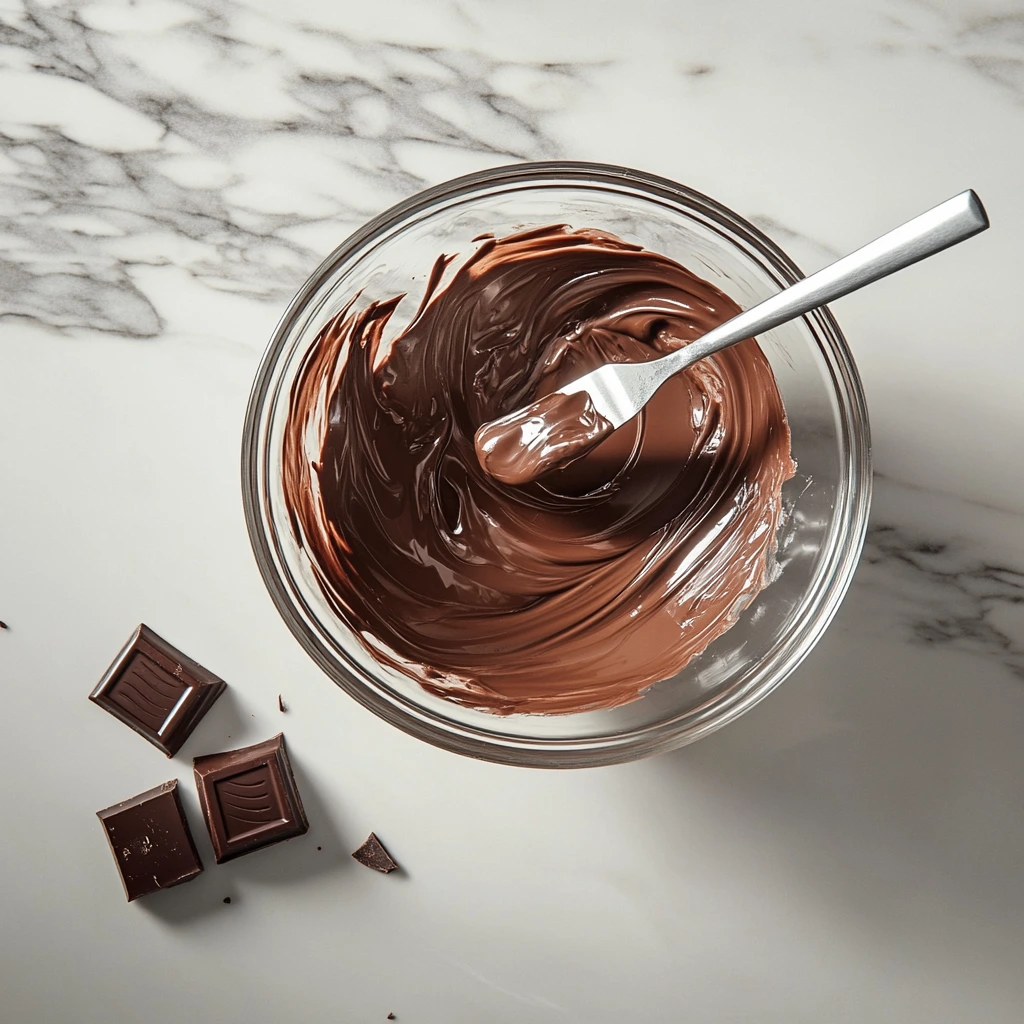
To melt the chocolate, place it in a microwave-safe bowl and heat it in 20–30 second intervals, stirring after each burst. This prevents the chocolate from burning and helps it melt evenly. Continue this process until the chocolate is completely smooth.
Once melted, let the chocolate cool slightly. You want it to be warm but not too hot, or it may melt the Cool Whip too quickly when dipping.
Step 4: Coat the Cool Whip Pieces
Now comes the exciting part—coating the frozen Cool Whip pieces in chocolate!
- Take the baking sheet out of the freezer and work quickly to prevent the Cool Whip from softening too much.
- Using a fork or dipping tool, carefully dip each frozen piece into the melted chocolate, ensuring it is fully coated. Let any excess chocolate drip off before placing it back on the parchment-lined baking sheet.
- If you’re adding sprinkles, crushed nuts, or shredded coconut, do it immediately while the chocolate is still wet so the toppings stick properly.
Since the Cool Whip pieces are frozen, the chocolate will begin to set quickly. If you notice the Cool Whip softening, place the candies back in the freezer for a few minutes before continuing.
Step 5: Chill and Serve
Once all the pieces are coated and topped (if desired), it’s time for the final chill. Place the tray back into the refrigerator or freezer and let the chocolate fully set—this should take about 15–20 minutes.
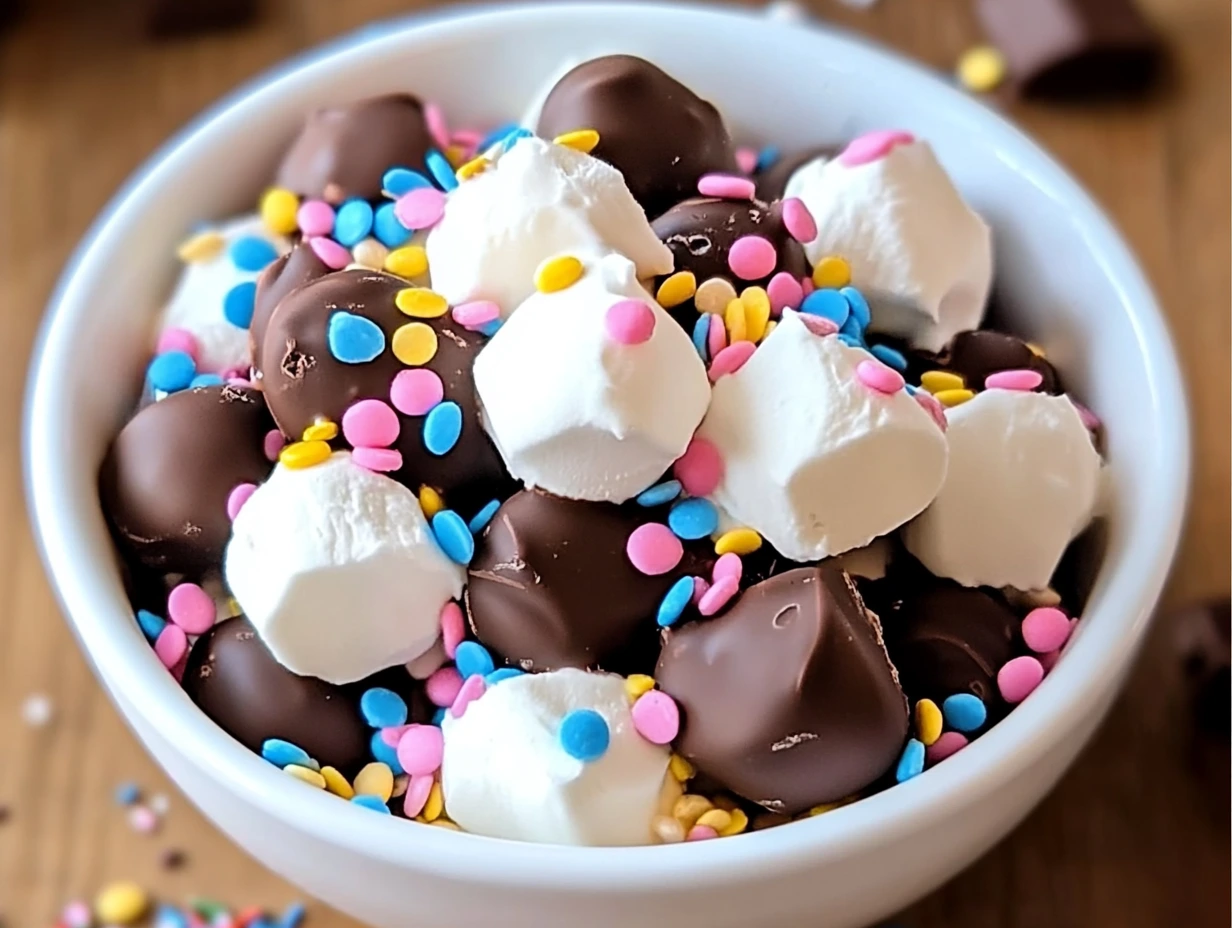
After that, your Easy Cool Whip Candy is ready to enjoy! These treats are best served cold to maintain their creamy texture, so keep them stored in an airtight container in the fridge or freezer. They’ll last up to a week, but chances are they’ll be gone long before that!
Frequently Asked Questions
Making Easy Cool Whip Candy is simple, but you may have a few questions along the way. Here are some of the most common ones to help you get the best results.
1. Can I use homemade whipped cream instead of Cool Whip?
Homemade whipped cream isn’t as stable as Cool Whip, so it may not hold up as well when frozen and dipped in chocolate. If you want to try it, make sure to whip it to stiff peaks and add a stabilizer like gelatin or cornstarch to help it hold its shape.
2. What kind of chocolate works best for this recipe?
Melting chocolate is ideal because it creates a smooth, glossy finish. However, you can also use chocolate chips with a little coconut oil or shortening to help them melt evenly. Choose milk, dark, or white chocolate based on your preference.
3. How do I prevent the chocolate from getting too thick?
If your melted chocolate seems too thick for dipping, try adding a teaspoon of coconut oil or vegetable shortening. This will help thin it out and make coating the candies easier.
4. How should I store these candies?
For the best texture, store them in an airtight container in the refrigerator or freezer. If you prefer a firmer texture, keep them frozen; if you like them slightly softer, refrigerate them instead.
5. Can I make these in advance?
Yes! These candies are perfect for making ahead. Since they last up to a week in the fridge or freezer, you can prepare them in advance for parties, holidays, or anytime you want a sweet treat ready to go.
6. Can I add flavors or mix-ins to the Cool Whip?
Absolutely! A few ideas include adding a little cocoa powder for a chocolate-flavored filling, mixing in crushed cookies for extra texture, or stirring in a flavored extract like peppermint or almond for a unique twist.
Final Thoughts
And that’s it! This Easy Cool Whip Candy recipe is proof that you don’t need a long list of ingredients or complicated steps to make something delicious. With just a little time and effort, you can create a batch of creamy, chocolatey candies that taste like they came straight from a candy shop.
Whether you make them for a special occasion or just as a fun treat to have on hand, these little bites are sure to disappear quickly. Give them a try, and let me know how they turn out! If you experiment with different flavors or toppings, I’d love to hear your creative twists. Enjoy!
Print
Easy Cool Whip Candy
- Author: Andrew Recipes
Description
This simple no-bake treat combines light, fluffy Cool Whip with rich chocolate for a melt-in-your-mouth experience. With just a few ingredients, you can create bite-sized candies perfect for any occasion.
Ingredients
- 1 (8 oz) container of Cool Whip, thawed
- 12 oz (340g) melting chocolate (milk, dark, or white chocolate)
- 1 teaspoon vanilla extract (optional, for extra flavor)
- Sprinkles, crushed nuts, or shredded coconut (optional, for decoration)
Instructions
1️⃣ Prepare the Cool Whip Mixture:
Line a baking sheet with parchment or wax paper.
Scoop the Cool Whip into a large mixing bowl. Stir in vanilla extract if using.
2️⃣ Shape the Candy:
Using a small cookie scoop or spoon, drop bite-sized dollops of Cool Whip onto the prepared baking sheet.
Freeze for at least 1 hour, or until firm and frozen solid.
3️⃣ Melt the Chocolate:
While the Cool Whip pieces freeze, melt the chocolate in a microwave-safe bowl. Heat in 20–30 second intervals, stirring after each, until smooth.
Let the melted chocolate cool slightly so it’s warm but not too hot.
4️⃣ Coat the Cool Whip Pieces:
Remove the frozen Cool Whip dollops from the freezer. Using a fork or dipping tool, dip each piece into the melted chocolate, ensuring full coverage.
Place back onto the parchment-lined baking sheet. Immediately add sprinkles, nuts, or coconut if desired.
5️⃣ Chill and Serve:
Refrigerate or freeze the candies until the chocolate is fully set, about 15–20 minutes.
Serve immediately or store in an airtight container in the refrigerator or freezer for up to 1 week.
Notes
✔️ Keep them cold: These candies melt quickly, so store them in the fridge or freezer until ready to eat.
✔️ Flavor variations: Add peppermint extract, orange zest, or a dash of cinnamon for a unique twist.
✔️ Different coatings: Try drizzling with caramel or using white chocolate for variety.

