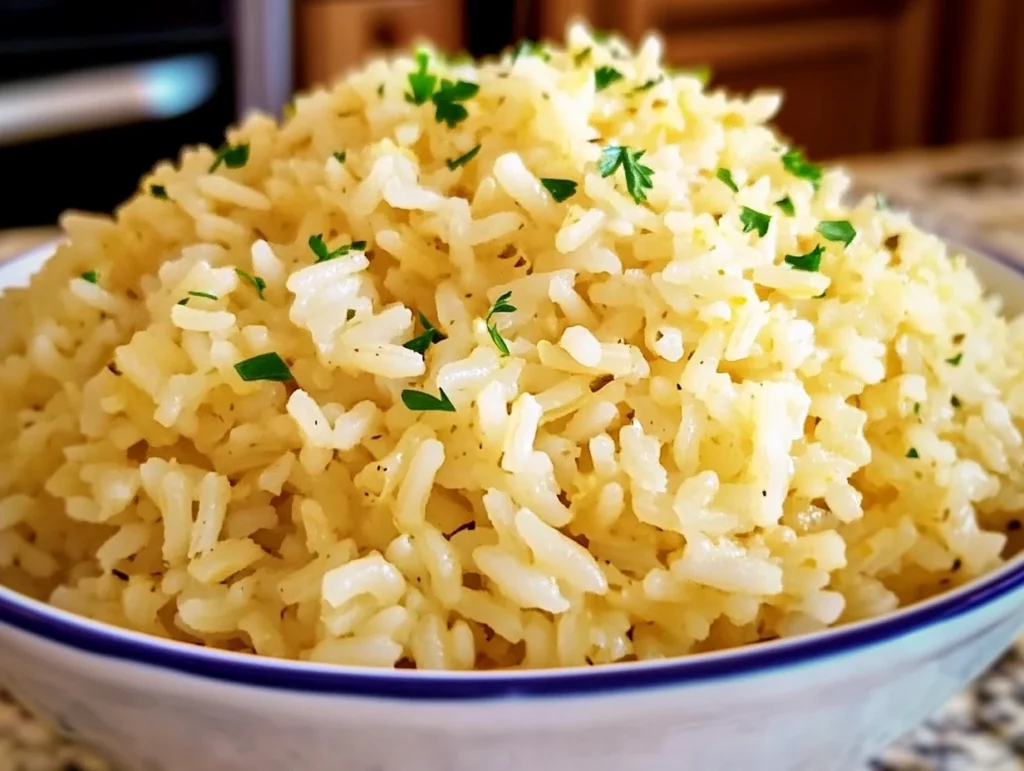
There’s something undeniably comforting about a bowl of warm, buttery rice infused with garlic and a hint of chicken flavor. It’s one of those humble side dishes that somehow manages to steal the show—even when you’ve got a perfectly cooked steak or a tray of roasted vegetables on the table. I still chuckle when I think back to the first time I made garlic butter rice for a family gathering: my cousin, who usually goes straight for the mashed potatoes, came back for thirds and practically licked the bowl clean. That little victory cemented this recipe in my regular rotation.
What I love most about this garlic butter rice is how effortlessly it comes together—and yet it tastes like you spent hours fussing over every detail. It only needs a handful of pantry staples: long-grain rice, good-quality butter, garlic, and a bit of bouillon for depth. From start to finish, it takes about 25 minutes, and you’ll find the aroma wafting through your kitchen irresistible.
In this first part, I’ll walk you through the essential setup and the initial steps. By the time you’ve melted your butter and toasted the rice, you’ll already be hooked on that nutty, golden fragrance. Grab your skillet, and let’s get started—this will be a side dish you’ll turn to again and again.

Steps
Melt the Butter
Place a large, heavy-bottomed skillet over medium heat. Add ¼ cup (½ stick) of unsalted butter. Allow it to melt completely, swirling the pan occasionally. You want the butter to foam and sizzle gently—that’s when it’s hot enough to toast the rice without burning.Toast the Rice
Once the butter is foaming, pour in ½ cup of long-grain white rice (make sure it’s not instant rice). Immediately stir continuously, using a wooden spoon or heatproof spatula. Keep the rice moving for about two minutes, or until each grain turns a delicate pale gold. This toasting step is the secret to developing that irresistible nutty flavor and ensuring the grains stay separate once cooked.Add Water and Bouillon
Pour in 1½ cups of water, then sprinkle in 2 teaspoons of chicken bouillon base (I like Better Than Bouillon for its rich, homemade taste). Stir briskly until the bouillon dissolves completely and the liquid turns a light chicken broth color. This instant infusion of savory goodness is what elevates plain rice to something extraordinary.Incorporate the Garlic
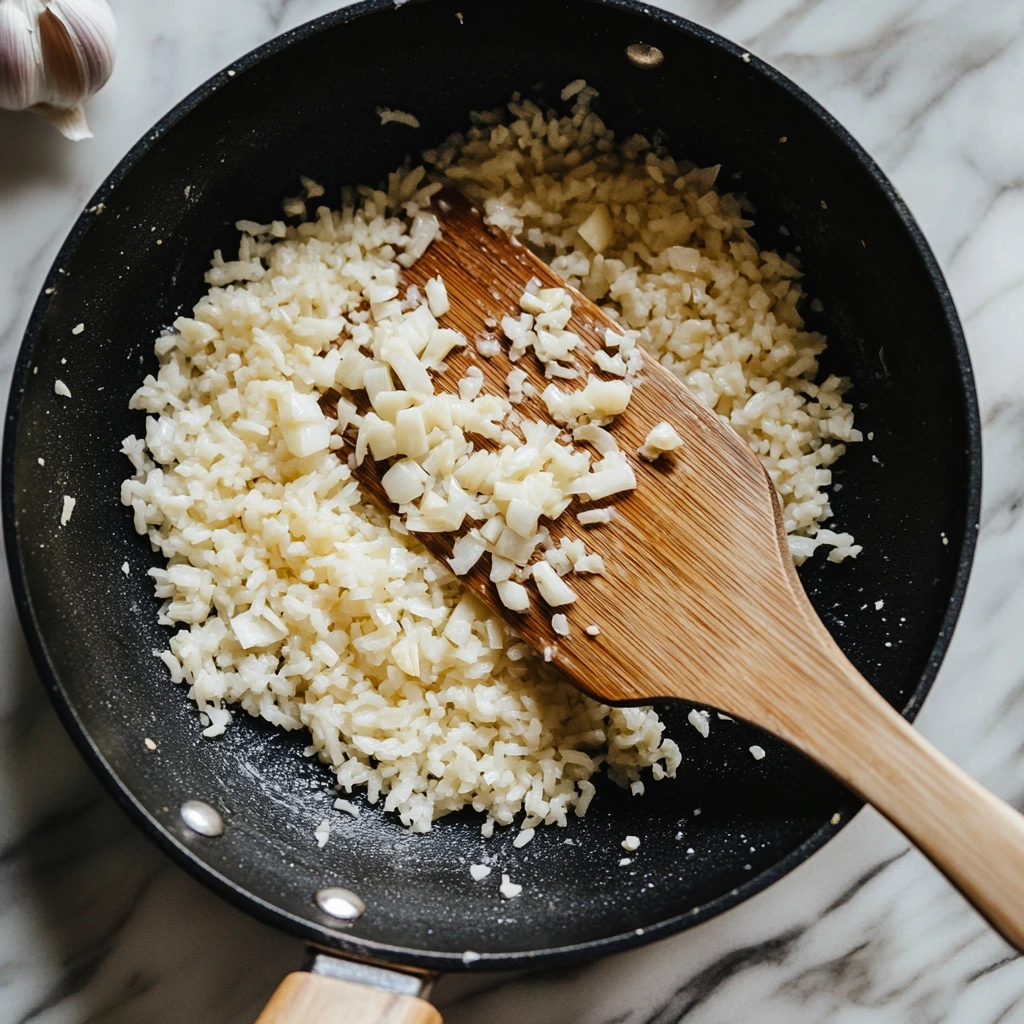
Reduce the heat just slightly and add 4 cloves of minced garlic. Stir well so the garlic pieces disperse evenly through the liquid. You’ll catch a whiff of that heady garlic aroma almost immediately—trust me, it’s mouthwatering. This is where the rice begins to soak up all that buttery, garlicky essence.
Simmering to Fluffy Perfection & Handy Tips
By now, your rice is nestled in that fragrant, buttery broth and the garlic has started to release its magic. In this section, we’ll bring everything together—slow-simmering the rice until it’s tender and perfectly separated—then explore a handful of variations and pro tips that will keep this dish feeling fresh every time you make it.
Steps
Bring to a Gentle Boil
Turn the heat up to medium-high and watch for tiny bubbles breaking the surface of the liquid. You want a gentle boil—nothing so vigorous that the rice grains float around chaotically. This steady simmer allows the rice to absorb the buttery broth slowly, ensuring each grain cooks evenly.Cover and Reduce Heat
As soon as you see that first rolling bubble, reduce the heat to its lowest setting. Cover the skillet with a tight-fitting lid. This traps steam and heat, creating the perfect environment for the rice to finish cooking without losing moisture.Let It Simmer—Undisturbed
Resist the urge to lift the lid or stir. Let the rice simmer for 15 to 20 minutes. During this time, the grains will plump up, soak in all the garlicky butter goodness, and develop that melt-in-your-mouth texture we love. The exact timing depends on your stove and skillet—start checking at 15 minutes if your heat runs hot, but don’t open the lid until then.Rest and Fluff
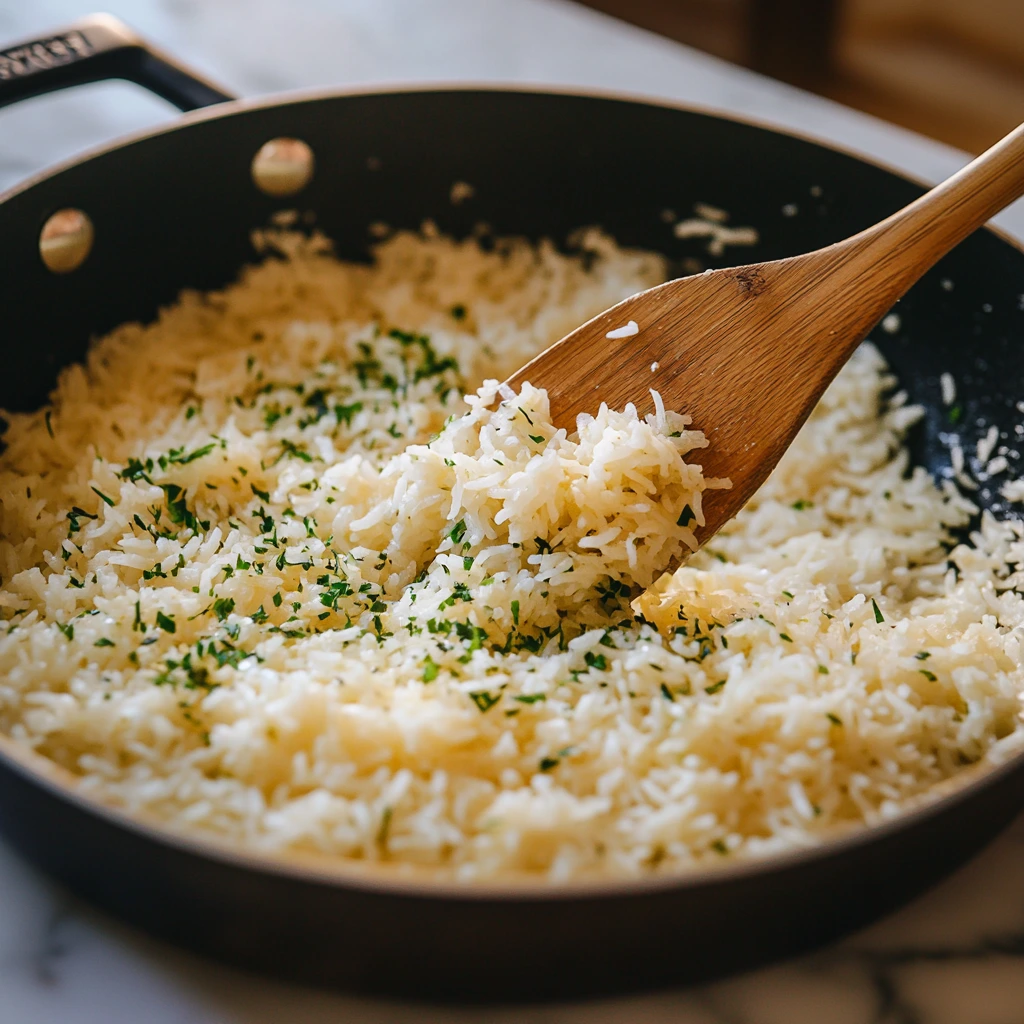
Once the liquid is fully absorbed (tilt the skillet slightly to confirm there’s no pooling broth), remove the pan from heat. Keep it covered and let it rest for 5 minutes. This final steam bath allows any stubborn grains to finish cooking gently and helps you achieve that textbook “fluffy rice” look. After resting, remove the lid and use a fork to fluff the rice—gently separate the grains, encouraging any remaining steam to escape.
Pro Tips & Variations
Vegetarian Swap
To make this dish vegetarian (or simply boost the veggie flavor), substitute the chicken bouillon base with 2 teaspoons of vegetable bouillon or replace the water and bouillon altogether with 1½ cups low-sodium vegetable broth. The rice will soak up those subtle vegetable notes beautifully.Add Fresh Herbs
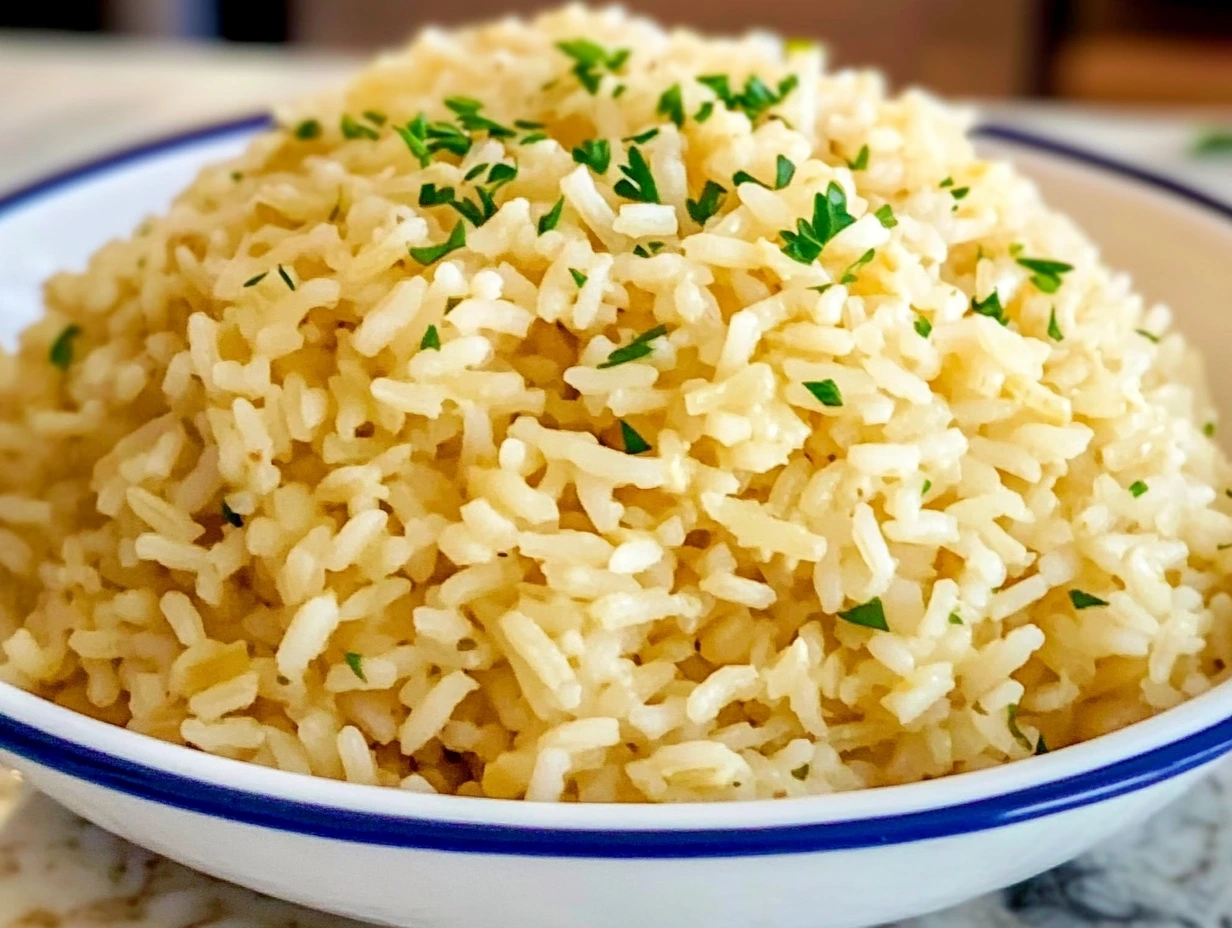
Just before serving, stir in a handful of chopped parsley or sliced scallions. The bright green flecks add color and a fresh, slightly peppery counterpoint to the rich butter and garlic.Nuttier Flavor
If you’re a fan of deeper, nuttier notes, after toasting the rice for those initial two minutes, let it brown an extra 30 seconds to a minute—just until the edges darken slightly. Watch carefully to avoid burning. This gives the rice a toasted aroma reminiscent of pilaf.Infuse Additional Aromatics
For a more complex flavor, add a bay leaf or a sprig of fresh thyme when you pour in the liquid. Remember to fish it out before fluffing!Make It a Skillet Meal
Turn this side dish into a one-pan dinner by stirring in 1 cup of cooked, shredded chicken or a can of drained, rinsed beans during the resting phase. The residual steam will warm the protein without overcooking the rice.Storage & Reheating
Leftovers store beautifully in an airtight container in the fridge for up to 4 days. To reheat, sprinkle a tablespoon of water or broth over the rice, cover loosely, and microwave in 30-second intervals, stirring in between. The added moisture revives that just-cooked texture.Make-Ahead Shortcut
If you’re pressed for time, you can prepare the rice through Step 3 (the simmer) in advance. Cool completely, then refrigerate. When ready to serve, reheat in a skillet with a knob of butter, fluffing as it warms.
FAQ Section
1. Can I substitute brown rice for long-grain white rice?
Yes, but keep in mind brown rice takes longer to cook—usually around 40–45 minutes of simmering. You’ll need closer to 2¼ cups of water or broth for that nuttier, whole-grain version. Start checking for doneness after about 40 minutes, then let it rest covered for 10 minutes before fluffing.
2. My rice turned out mushy—what went wrong?
Mushy rice almost always means too much liquid or stirring during cooking. Make sure you’re using precisely 1½ cups of water (or broth) for ½ cup of white rice, and resist the temptation to lift the lid (or stir) while it simmers. If your heat is too high, the liquid can evaporate too quickly or bubble over. A gentle simmer is key.
3. Can I use instant or “quick-cook” rice instead?
Instant rice isn’t ideal here because it’s already been partially cooked and dried; it won’t absorb the garlic-butter broth the same way. If that’s all you have on hand, reduce the sauté time (step 2) to just 30 seconds, then follow the package directions for liquid ratio—though flavor and texture won’t be quite the same.
4. How do I store and freeze leftovers?
Store cooled rice in an airtight container in the refrigerator for up to 4 days. To freeze, portion it into freezer-safe bags or containers, removing as much air as possible, and freeze for up to 2 months. Thaw overnight in the fridge, then reheat with a splash of water or broth in a covered skillet until warmed through.
5. What’s the best way to add vegetables or protein?
For vegetables, stir in quick-cooking options like peas, corn, or diced bell peppers during the last 5 minutes of simmering. For protein, shredded rotisserie chicken or cooked beans work wonderfully—toss them in during the 5-minute resting stage so they warm gently without overcooking.
6. How can I adjust the garlic intensity?
For a milder garlic flavor, reduce to 2 cloves of minced garlic or add them toward the end of cooking so they don’t mellow as much. If you’re a garlic fiend, boost to 6 cloves or sneak in a pinch of garlic powder alongside the fresh garlic for an extra punch.
Conclusion
There you have it—an effortlessly elegant garlic butter rice that elevates any meal, from casual weeknight dinners to holiday feasts. With just a stick of butter, a handful of garlic, and some pantry staples, you’ll impress family and friends with minimal effort. Remember: precise measurements and a gentle simmer are your secret weapons for perfectly fluffy, flavorful rice every time.
I hope this guide makes you feel confident the next time you reach for the skillet. Give it a whirl, experiment with the herb and protein suggestions, and don’t be shy about sharing your favorite tweaks in the comments below. After all, the best recipes are the ones we make our own! Happy cooking, and may your rice always be buttery, garlicky, and utterly irresistible.
Print
Garlic Butter Rice
- Author: Andrew Recipes
Description
A rich and savory side dish where tender long-grain rice is bathed in melted butter, infused with garlic and boosted by chicken bouillon for a deep, comforting flavor. Ideal alongside roasted meats, grilled vegetables or as a base for a simple skillet meal.
Ingredients
¼ cup (½ stick) unsalted butter
½ cup long-grain white rice (not instant)
1½ cups water
2 teaspoons chicken bouillon base (such as Better Than Bouillon)
4 garlic cloves, minced
Instructions
In a large skillet over medium heat, melt the butter until it begins to foam. Add the rice and stir continuously for about two minutes, until each grain is lightly coated and turns a pale golden color.
Pour in the water, then add the chicken bouillon base, stirring until it has fully dissolved into the liquid. Stir in the minced garlic so it’s evenly distributed throughout the skillet.
Increase heat to bring the mixture to a gentle boil. Once bubbling, reduce the heat to low, cover the skillet with a tight-fitting lid, and let the rice simmer undisturbed for 15 to 20 minutes, until all the liquid has been absorbed and the rice is tender.
Remove from heat and let stand, covered, for five minutes. Fluff with a fork before serving to separate the grains and release any remaining steam.
Notes
For a vegetarian version, substitute vegetable bouillon or use 1½ cups low-sodium vegetable broth in place of water and bouillon. A handful of chopped parsley or scallions stirred in just before serving adds a bright, fresh finish. Leftovers reheat well; add a splash of water or broth when warming to restore moisture. If you’d like a nuttier taste, toast the rice in the butter for an extra minute before adding the liquid.

