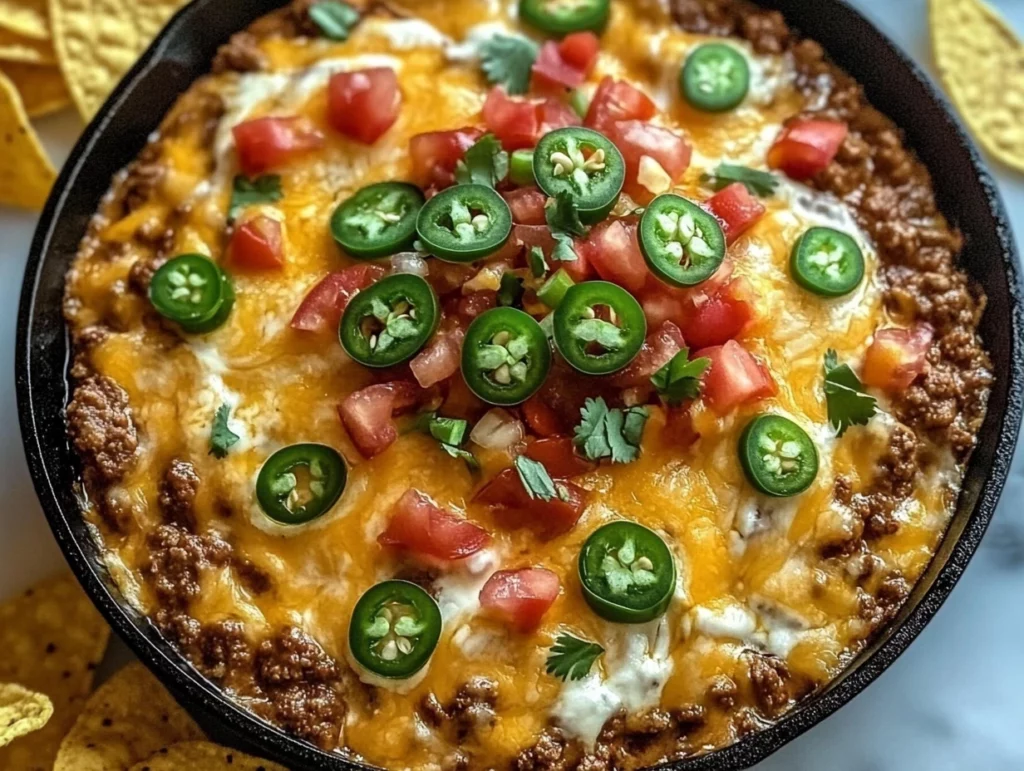
If there’s one thing I know for sure, it’s that a warm, cheesy dip can fix just about anything—especially one that’s packed with meat, beans, and bold Tex-Mex flavors. This Meaty Texas Trash Dip is my go-to appetizer when I need something that’s hearty enough to satisfy a crowd but easy enough to whip up without breaking a sweat. Whether it’s game day, a birthday bash, or just a Friday night hangout, this dip always disappears in record time.
I first came across a version of Texas Trash Dip years ago at a potluck, and I remember thinking, “Why have I never made this before?” But of course, I had to put my own twist on it—starting with the addition of seasoned ground beef to give it a meaty, satisfying edge that makes it more of a meal than just a dip. Trust me, this isn’t the kind of appetizer you nibble at politely. This is the kind you dig into like it’s your last meal on earth.
So, grab a bag of tortilla chips (or two—you’re going to need them), and let’s dive into the first part of this crave-worthy recipe.
Ingredients You’ll Need
Meat Base
450g ground beef
1 packet taco seasoning mix
60ml water
Creamy Base
225g cream cheese, softened
240g sour cream
450g canned refried beans
120ml salsa
115g canned diced green chiles, drained
Seasonings
225g shredded Mexican cheese blend, divided
1/2 teaspoon garlic powder
1/2 teaspoon onion powder
Optional Garnishes
Sliced green onions
Diced tomatoes
Sliced jalapeños
Chopped cilantro
STEP-BY-STEP: Let’s Start Cooking
Step 1: Preheat and Prep
Start by preheating your oven to 175°C (350°F). Lightly grease a 23×23 cm baking dish—this ensures nothing sticks and gives your dip those beautifully crispy, bubbly edges that everyone fights over.
Step 2: Cook the Beef
In a medium skillet over medium heat, brown 450g of ground beef until it’s fully cooked and no longer pink. Make sure to drain off any excess fat—this keeps the dip rich but not greasy.

Step 3: Add Taco Seasoning
Sprinkle in your taco seasoning mix and pour in the 60ml of water. Stir it all together and let it simmer for a few minutes. You want the liquid to reduce slightly so the beef is nicely coated and full of flavor.
At this point, your kitchen’s going to smell amazing—and that’s just the beginning.
Mixing It All Together
Step 4: Create the Creamy Base
Now for the magic. In a large mixing bowl, combine the softened cream cheese, sour cream, refried beans, salsa, diced green chiles, half of your shredded cheese, garlic powder, and onion powder. Stir until everything is creamy and smooth.
Pro tip: Let the cream cheese sit at room temp for about 30 minutes before mixing. It’ll blend much easier and give you that velvety texture you’re after.
Step 5: Fold in the Beef
Take your seasoned beef and gently fold it into the creamy bean mixture. You want everything to be well combined but not overmixed. The goal is to keep that rich, meaty texture intact while making sure every bite has a little bit of everything.

Step 6: Spread and Top
Take your beefy, cheesy mixture and spread it evenly into the greased 23×23 cm baking dish. Make sure to smooth out the top so it bakes evenly.
Now sprinkle the remaining shredded Mexican cheese blend across the top. This layer is what gives you that golden, slightly crispy crust that everyone scoops up first. Don’t skimp here—you want that full cheese pull experience.
Step 7: Bake to Bubbly Perfection
Pop the dish into your preheated 175°C (350°F) oven and bake for 25 to 30 minutes. You’ll know it’s ready when the cheese is melted and lightly golden, and the edges are bubbling away like molten queso.
This is one of those times where patience really pays off. The top gets beautifully toasted while everything underneath turns into one warm, cohesive, ultra-satisfying dip.
How to Serve Texas Trash Dip Like a Pro
The moment it comes out of the oven, you’ll want to garnish it quickly while the cheese is still hot and melty. Here are a few of my favorite toppings to make it look (and taste) extra special:
Sliced green onions – For a little crunch and bite
Diced tomatoes – Adds freshness and a pop of color
Sliced jalapeños – Crank up the heat, if you dare
Chopped cilantro – A fresh herb finish that ties it all together
You don’t have to go crazy here—just a few sprinkles across the top makes a big difference in presentation. And don’t forget the dippers! This hearty dip is best served hot with:
Tortilla chips (the sturdier, the better)
Pita chips for a slightly different twist
Sliced bell peppers or cucumbers for a fresh, crunchy option
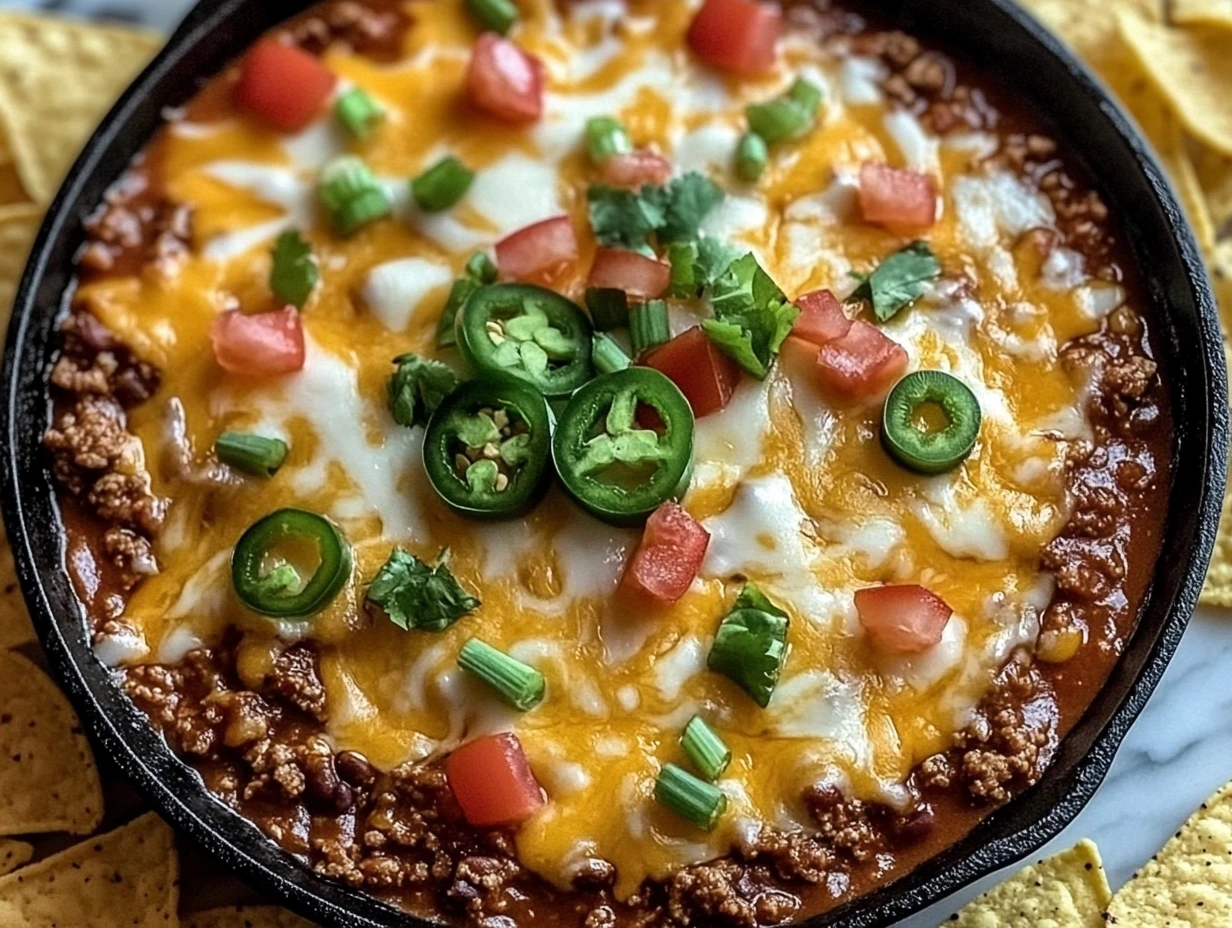
Tips and Tricks for the Best Texas Trash Dip
Over the years, I’ve made this dip more times than I can count, and I’ve picked up a few tricks along the way to make it even better—and more adaptable to different occasions.
1. Make It Ahead
You can fully assemble the dip the night before and store it covered in the fridge. Just add a few extra minutes to your baking time if it’s coming straight from cold.
2. Craving More Heat?
Swap in a spicier salsa, use hot diced green chiles, or mix in chopped jalapeños with the creamy base. You can even drizzle hot sauce on top just before serving for a little extra fire.
3. Don’t Skip the Drain
Make sure to drain your beef well after cooking—no one wants an oily dip. It helps keep the texture rich and creamy without being greasy.
4. Cheese It Up
Feel free to add more cheese if you’re a true cheese lover. Monterey Jack, cheddar, or even pepper jack can all work beautifully. You can also layer extra cheese between the creamy base and the topping for more gooey goodness in every bite.
5. Customize the Mix
Want to sneak in some veggies? Corn, black beans, or even chopped bell peppers can all be stirred into the mixture. Just keep it balanced so the texture stays scoopable.
Meaty Texas Trash Dip: FAQs and Final Thoughts
By now, your kitchen smells like a Tex-Mex dream, and your Meaty Texas Trash Dip is probably bubbling away in the oven—or maybe already sitting on the table being devoured. Whether you’re serving it at a party or enjoying it straight from the baking dish (no judgment here), this dip is always a winner.
Before we wrap things up, I want to answer a few of the most common questions I get about this recipe. Whether you’re making it for the first time or the fifth, these quick tips and answers can help you get the most out of every cheesy, beefy bite.
FAQ: Your Texas Trash Dip Questions, Answered
1. Can I make this dip without meat?
Absolutely. You can leave out the ground beef entirely for a vegetarian version, and it will still be incredibly flavorful and satisfying. If you want a little extra texture, try adding some black beans or corn instead.
2. Can I use ground turkey or chicken instead of beef?
Yes! Ground turkey or ground chicken works well here—just make sure to season it well and cook off any excess moisture so it doesn’t make the dip watery.
3. Can I make this ahead of time?
Definitely. You can fully assemble the dip up to 24 hours ahead and refrigerate it until you’re ready to bake. When baking from cold, add an extra 5–10 minutes to the bake time to ensure it heats through completely.
4. How should I store leftovers?
Store any leftovers in an airtight container in the fridge for up to 3 days. You can reheat individual portions in the microwave or warm the entire dish back up in the oven at 175°C (350°F) until hot and bubbly.
5. Can I freeze this dip?
While you can freeze it, the texture may change slightly due to the cream cheese and sour cream. If you do freeze it, let it thaw in the fridge overnight and then reheat it in the oven. It’s best enjoyed fresh or refrigerated rather than frozen.
6. What are the best dippers for this dip?
Tortilla chips are the classic go-to, but you can also serve it with pita chips, corn chips, pretzel crisps, or even fresh veggie sticks like bell peppers, carrots, or cucumber slices.
7. Can I double the recipe for a larger crowd?
Yes, this recipe scales up easily. Just use a larger baking dish or divide it between two pans. Keep an eye on baking time—larger pans may take a few extra minutes to cook through evenly.
Final Thoughts: Don’t Be Surprised When It Vanishes
This Meaty Texas Trash Dip is the kind of recipe that earns repeat requests. Once you’ve made it, don’t be shocked if you find yourself being “volunteered” to bring it to every get-together, tailgate, or family gathering from now on.
It checks all the boxes: creamy, cheesy, meaty, and loaded with flavor. Plus, it’s a total crowd-pleaser with minimal effort—just how we like it.
If you give this recipe a try, I’d love to hear how it went! Did you spice it up? Add some toppings? Devour it straight from the dish? Drop your version in the comments, share it with your friends, and let’s keep the party going.
Print
Meaty Texas Trash Dip
- Author: Andrew Recipes
Description
This Meaty Texas Trash Dip is a warm, cheesy, and ultra-satisfying appetizer loaded with seasoned ground beef, creamy beans, and melty cheese. It’s a hearty crowd-pleaser that’s perfect for game day, potlucks, or any time you want a bold, Tex-Mex-style dip to share.
Ingredients
Meat Base
450g ground beef
1 packet taco seasoning mix
60ml water
Creamy Base
225g cream cheese, softened
240g sour cream
450g canned refried beans
120ml salsa
115g canned diced green chiles, drained
Seasonings
225g shredded Mexican cheese blend, divided
1/2 teaspoon garlic powder
1/2 teaspoon onion powder
Optional Garnishes
Sliced green onions
Diced tomatoes
Sliced jalapeños
Chopped cilantro
Instructions
1️⃣ Preheat the oven to 175°C (350°F) and lightly grease a 23×23 cm baking dish.
2️⃣ In a skillet over medium heat, brown the ground beef until it’s fully cooked and no longer pink. Drain off any excess fat.
3️⃣ Add the taco seasoning mix and 60ml water to the cooked beef. Stir and simmer for 2–3 minutes until the liquid is reduced and the meat is well coated.
4️⃣ In a large bowl, mix together the softened cream cheese, sour cream, refried beans, salsa, diced green chiles, half of the shredded cheese, garlic powder, and onion powder. Stir until the mixture is smooth and evenly combined.
5️⃣ Fold the seasoned beef into the creamy bean mixture, making sure everything is well distributed.
6️⃣ Spread the mixture evenly into the prepared baking dish. Sprinkle the remaining cheese over the top.
7️⃣ Bake for 25 to 30 minutes, or until the dip is hot and bubbly around the edges and the cheese is lightly golden on top.
8️⃣ Remove from the oven and add your choice of garnishes. Serve hot with tortilla chips, pita chips, or fresh vegetables.
Notes
This dip can be made a day in advance and refrigerated—just bake it a bit longer if starting from cold. For a spicier kick, use hot salsa or add chopped jalapeños to the mix. It’s also great with black olives or a drizzle of hot sauce on top.

