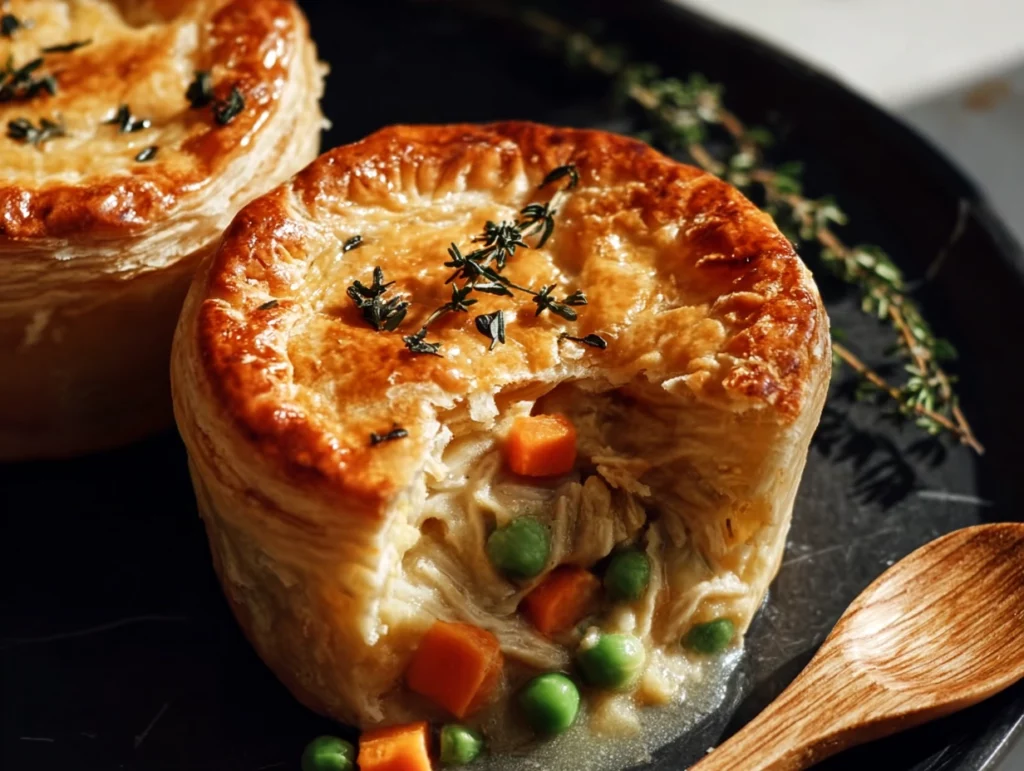
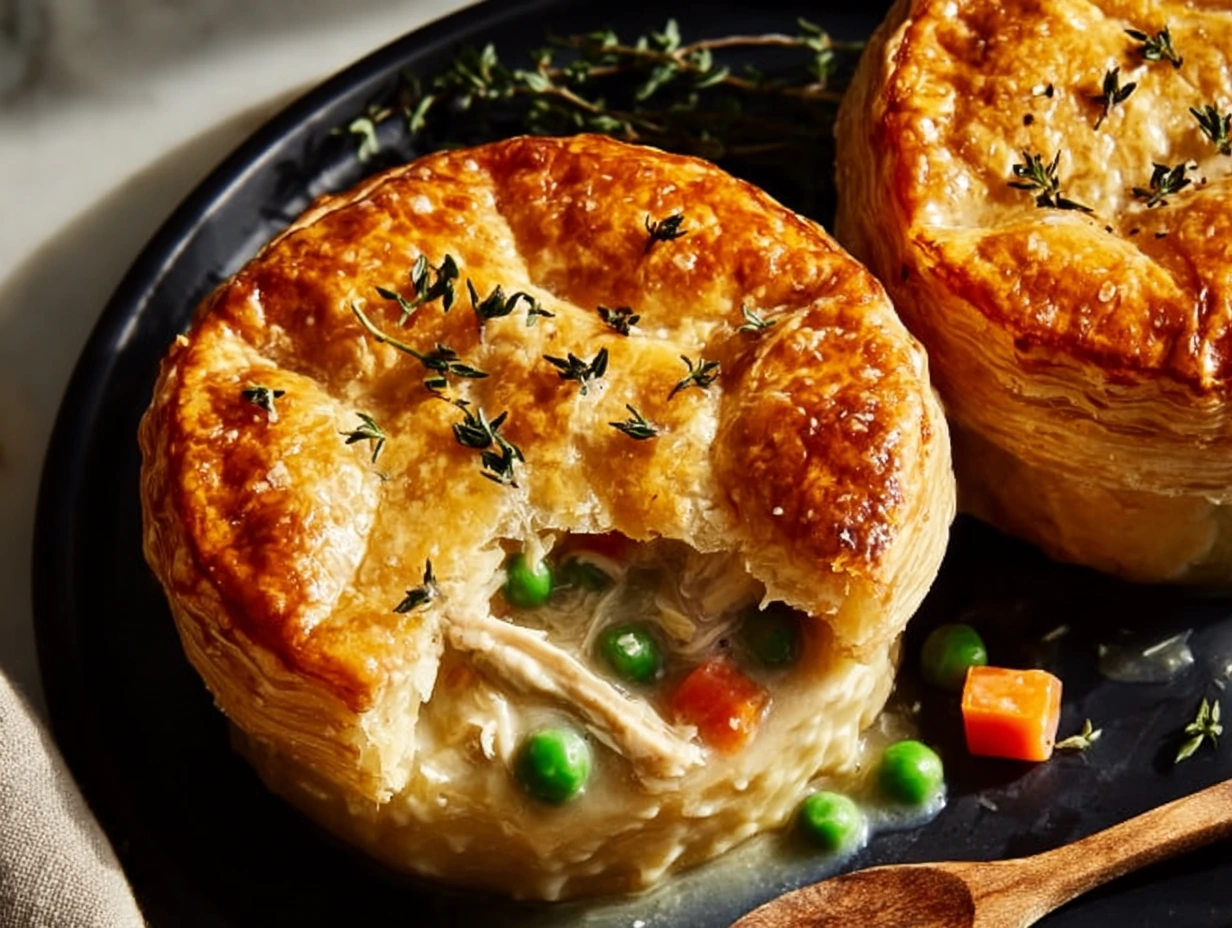
There’s something undeniably comforting about a warm chicken pot pie—creamy filling, flaky crust, and all the nostalgia of home-cooked dinners. But when life gets hectic, I don’t always have the time (or energy) for a full-sized pie. That’s where these mini chicken pot pies swoop in to save dinner time! Not only do they bake in about 25 minutes, but they’re also perfectly portioned, so everyone can grab their own—and there’s no fighting over who gets the crunchy edge pieces.
I first discovered bite-sized pot pies on an impromptu weekend gathering. I wanted something cozy but easy to whip up for a small crowd. Using a package of refrigerated pie crusts and leftover chicken from a roast, I prepped these in under 15 minutes. The result? Golden-topped, creamy pockets of joy that disappeared before I even poured the last glass of wine. Ever since, these minis have become my go-to weeknight hero and party pleaser.
In this first part of the recipe, we’ll assemble the pastry shells and build the creamy chicken-vegetable filling. By the time you’re done, your kitchen will smell like Sunday dinner—even if it’s a random Tuesday. Ready to get started? Let’s dive in.

STEPS
Prep the Oven & Muffin Tin
Preheat your oven to 375°F (190°C).
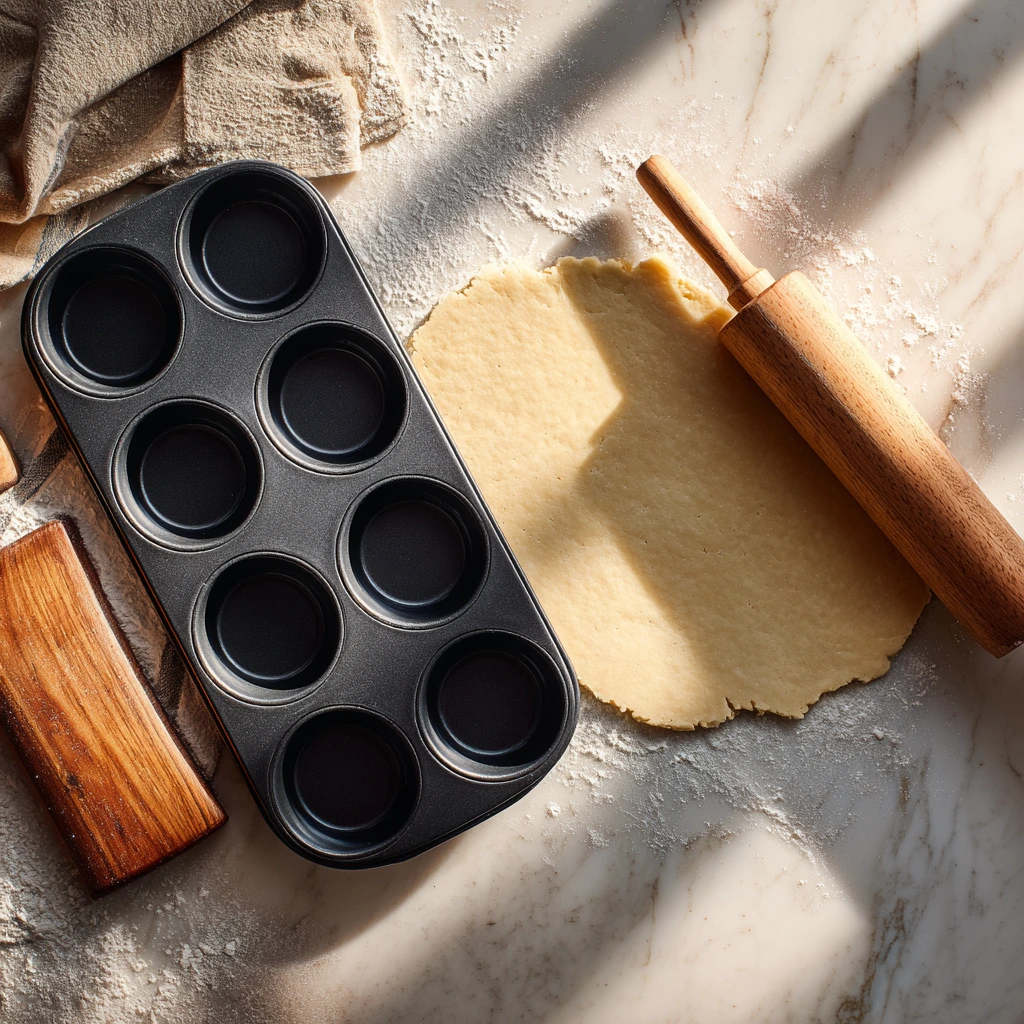
Lightly grease a standard 12-cup muffin tin with nonstick spray or a thin brush of butter. This ensures our mini shells will slip right out once they’re baked to golden perfection.
Form the Pastry Shells
Unroll one package of refrigerated pie crust on a lightly floured surface.
Using a round cutter (or a drinking glass) slightly larger than your muffin wells—about 4 inches in diameter—cut out four circles.
Gently press each circle into a greased muffin well, making sure the dough reaches up the sides evenly. Don’t worry about perfection here; the rustic look is part of the charm.
Place the prepared tin in the fridge while you tackle the filling. Chilling the dough briefly helps prevent soggy bottoms once the filling goes in.
Sauté Your Aromatics
In a medium skillet over medium heat, melt 2 tablespoons of unsalted butter.
Add ½ cup finely chopped yellow onion and sauté until it turns translucent—about 3 to 4 minutes. You’ll know it’s ready when the kitchen fills with that sweet onion aroma.
Stir in 2 cloves of minced garlic and cook for another 30 seconds until fragrant. Tip: keep an eye on it so the garlic doesn’t brown too much, which can introduce a bitter note.
Build the Roux
Sprinkle 2 tablespoons of all-purpose flour evenly over the softened onions and garlic.
Stir constantly with a wooden spoon or silicone spatula for about one minute. You’re creating a light roux, which will thicken the filling just right—creamy but not gluey.
Incorporate Liquids
Slowly pour in 1 cup of chicken broth, whisking as you go to prevent any lumps from forming.
Once the broth is fully incorporated, pour in ½ cup of milk or half-and-half. Continue whisking until the mixture comes to a gentle simmer.
Let it cook for 2 to 3 minutes, stirring occasionally, until it thickens to a gravy-like consistency.
Season & Add Chicken
Season the sauce with salt and freshly ground black pepper to taste. Remember, your chicken broth might already contain some salt, so taste before over-salting.
Fold in 2 cups of diced cooked chicken and 1 cup of mixed frozen vegetables (peas, carrots, and corn). Stir until every piece is coated in that silky sauce.
Fill the Pastry Shells
Remove the muffin tin from the refrigerator.
Using a spoon, carefully divide the chicken-vegetable filling among the four chilled crusts, filling each almost to the top. A small ice cream scoop works beautifully here for even portions.
Top with Decorative Dough
Roll out any leftover dough and cut out four smaller circles (about 2½ inches across) or use cookie cutters to create fun shapes—leaves, stars, or hearts.
Gently place each mini “lid” over the filling, pressing the edges together to seal. You can crimp the edges with a fork for a classic look or leave them plain for a rustic finish.
Apply Egg Wash
In a small bowl, beat one egg with a teaspoon of water until smooth.
Using a pastry brush, lightly coat each pie top with the egg wash. This step ensures that gorgeous, golden-brown sheen once they hit the oven.
Bake to Golden Perfection
Slide the muffin tin onto the center rack of your preheated oven.
Bake for 20–25 minutes, or until the crust is puffed and deeply golden on top. Keep an eye on them around the 18-minute mark—oven temperatures can vary, and you want that perfect color.
Rest & Remove
As soon as they’re out of the oven, let the mini pot pies rest in the tin for about 5 minutes. This brief cooldown helps the filling set and makes removal a breeze.
Gently wiggle a small offset spatula around the edges, then lift each pie out and transfer to a wire rack or serving platter.
Before we dig in, here are a few of my favorite shortcuts and flavor boosts to make these even more special:
Herb Infusion: Stir 1 teaspoon of chopped fresh thyme or parsley into the filling just before spooning it into the crusts. Thyme adds warmth, while parsley brightens the whole dish.
Cheesy Twist: Sprinkle 2 tablespoons of grated sharp cheddar over the filling, then top with your dough lid. As it bakes, the cheese melts into the meat and veggies for an indulgent surprise.
Biscuit Top Swap: No pie crust? No problem. Use your favorite biscuit dough instead—canned or homemade. The biscuits will puff up into a rustic, cobbler-style topping.
Make-Ahead & Freeze: Assemble the pies in a freezer-safe container, cover tightly, and freeze flat. When you’re ready, bake them from frozen, adding about 5 extra minutes to the baking time.
Protein Variations: Swap the chicken for diced turkey (great for Thanksgiving leftovers) or cooked ham for a salty twist. You can even use shredded beef for a mini shepherd’s pie vibe.
Frequently Asked Questions
1. Can I assemble these mini pot pies ahead of time?
Absolutely! You can prepare and assemble the pies up to the point of baking, then cover the muffin tin tightly with plastic wrap and refrigerate for up to 24 hours. When you’re ready, brush with egg wash and bake as directed, adding an extra 2–3 minutes if the shells have chilled thoroughly.
2. What’s the best way to reheat leftovers?
To keep the crust crisp, reheat in a 350°F (175°C) oven for about 10–12 minutes, or until the filling is heated through. Avoid the microwave unless you’re in a real rush—it softens the pastry.
3. My filling seemed too runny—what went wrong?
Most likely the roux (butter + flour) didn’t cook long enough, or the sauce didn’t simmer until thickened. Next time, let the flour cook for a full minute before adding liquids, then simmer the sauce until it coats the back of a spoon.
4. Can I use fresh vegetables instead of frozen?
Yes! Just sauté them with the onions until they’re tender (about 5–7 minutes) before proceeding with the flour. Fresh veggies may release more water, so be sure your sauce has thickened fully before folding in the chicken.
5. How do I prevent soggy bottoms?
Chilling the crusts before filling helps, as does ensuring your filling isn’t piping hot when it goes into the dough. You can also bake the empty shells for 3–4 minutes (“blind bake”) before filling, then continue with the recipe.
6. What other proteins work well in these minis?
Shredded turkey or leftover Thanksgiving bird is a classic swap. Diced ham or even cooked sausage can add a savory twist. For a vegetarian version, leave out the meat and stir in extra mushrooms or hearty beans.
7. Is there a dairy-free or gluten-free adaptation?
For dairy-free: replace butter with olive oil or vegan margarine, and use a plant-based milk. For gluten-free: choose a store-bought gluten-free pie crust or make your own, and swap in a gluten-free flour blend for the roux.
Conclusion
There you have it—bite-sized chicken pot pies that feel like a hug in pastry form, yet come together in under 40 minutes. Whether you’re feeding a family of four, hosting a casual gathering, or simply craving a cozy solo dinner, these minis fit the bill. Don’t be surprised if they disappear faster than you can say “pass the napkins.”
Print
Easy Mini Chicken Pot Pies
- Author: Andrew Recipes
Description
Flaky pastry shells cradle a creamy mixture of tender chicken and garden vegetables, making these bite-sized pot pies perfect for weeknight dinners or casual gatherings. Their individual portions allow for quick baking and a delightful presentation, and they’re just as easy to customize with your favorite add-ins.
Ingredients
Cooked chicken, diced, 2 cups
Mixed vegetables (frozen peas, carrots, and corn), 1 cup
Yellow onion, finely chopped, ½ cup
Garlic, minced, 2 cloves
Unsalted butter, 2 tablespoons
All-purpose flour, 2 tablespoons
Chicken broth, 1 cup
Milk or half-and-half, ½ cup
Salt and freshly ground black pepper to taste
Refrigerated pie crusts, 1 package (enough for at least 4 rounds)
Egg, beaten (for egg wash)
Instructions
Begin by preheating the oven to 375 °F and lightly greasing a standard muffin tin. Roll out the refrigerated pie crust on a lightly floured surface and cut out four circles slightly larger than the muffin wells. Gently press each circle into a greased well and set aside.
In a medium skillet over medium heat, melt the butter and sauté the chopped onion until translucent. Stir in the minced garlic and cook until fragrant. Sprinkle the flour over the vegetables and stir constantly for about one minute to form a roux.
Slowly pour in the chicken broth while whisking to prevent lumps, then stir in the milk. Bring the mixture to a gentle simmer and cook until it thickens, about two to three minutes. Season with salt and pepper, then fold in the diced chicken and mixed vegetables until evenly coated. Remove the filling from heat.
Spoon the chicken-vegetable mixture into each prepared crust, filling almost to the top. Use any remaining dough to cut four smaller circles or decorative shapes and place them over the filling. Brush the tops with the beaten egg to achieve a golden crust.
Bake for 20 to 25 minutes or until the pastry is puffed and deep golden. Allow the mini pot pies to rest in the tin for five minutes before carefully removing. Serve warm.
Notes
To add herbal depth, stir chopped fresh thyme or parsley into the filling before baking. For a shortcut, use leftover roasted chicken or a rotisserie breast. These mini pies freeze well: assemble in a freezer-safe container, freeze flat, then bake from frozen adding an extra five minutes to the baking time. Swap in biscuit dough for a more rustic topping or sprinkle grated cheddar over the filling just before sealing the crust for a cheesy twist.

