
If you’re anything like me, there’s one dessert that always hits the spot—rich, gooey, and utterly chocolatey brownies. And not just any brownies… I’m talking about those deeply fudgy ones with a shiny, crackly top and chewy, almost caramelized edges that melt in your mouth. Sound like your kind of treat? Then you’re in the right place.
These Fudgy Chocolate Brownies are my go-to recipe whenever I need a dessert that feels like a warm hug in the form of chocolate. Whether it’s a last-minute get-together, a family movie night, or just one of those days when only a dense, chocolaty square will do—this recipe has your back. Trust me, once you make these, you’ll never reach for the box mix again.
I still remember the first time I baked these brownies—I had a serious chocolate craving (you know the kind), and I wanted something better than what I usually made. I tinkered with a few recipes, swapped in brown sugar for some added moisture and chew, and added a handful of chocolate chunks for good measure. The result? Pure chocolate bliss.
Let’s get into how you can make these bakery-worthy brownies right at home with just a few pantry staples and simple steps.
Why You’ll Love These Fudgy Chocolate Brownies
Rich, deep chocolate flavor thanks to a combo of melted chocolate and cocoa powder
Perfect fudgy texture with just the right balance of gooey center and firm edges
Shiny, crackly top that gives that bakery-style look
Easy to make—no mixer required, just a saucepan and a bowl
Versatile—add nuts, chocolate chips, or even swirl in peanut butter
Ingredients You’ll Need
Here’s everything you’ll need to get started:
1 cup unsalted butter
8 oz semi-sweet chocolate (chopped or chips)
1 ¼ cups granulated sugar
¾ cup brown sugar
4 large eggs
1 teaspoon vanilla extract
¾ cup all-purpose flour
½ cup unsweetened cocoa powder
½ teaspoon salt
½ cup chocolate chips or chunks (optional, but highly recommended!)
STEP 1: Prep Your Pan and Oven
First things first—preheat your oven to 350°F (175°C). Then, line a 9×13-inch baking pan with parchment paper. This makes lifting out the brownies a breeze and keeps cleanup minimal. If you don’t have parchment, a light grease with butter or non-stick spray will do the trick.
STEP 2: Melt the Butter and Chocolate
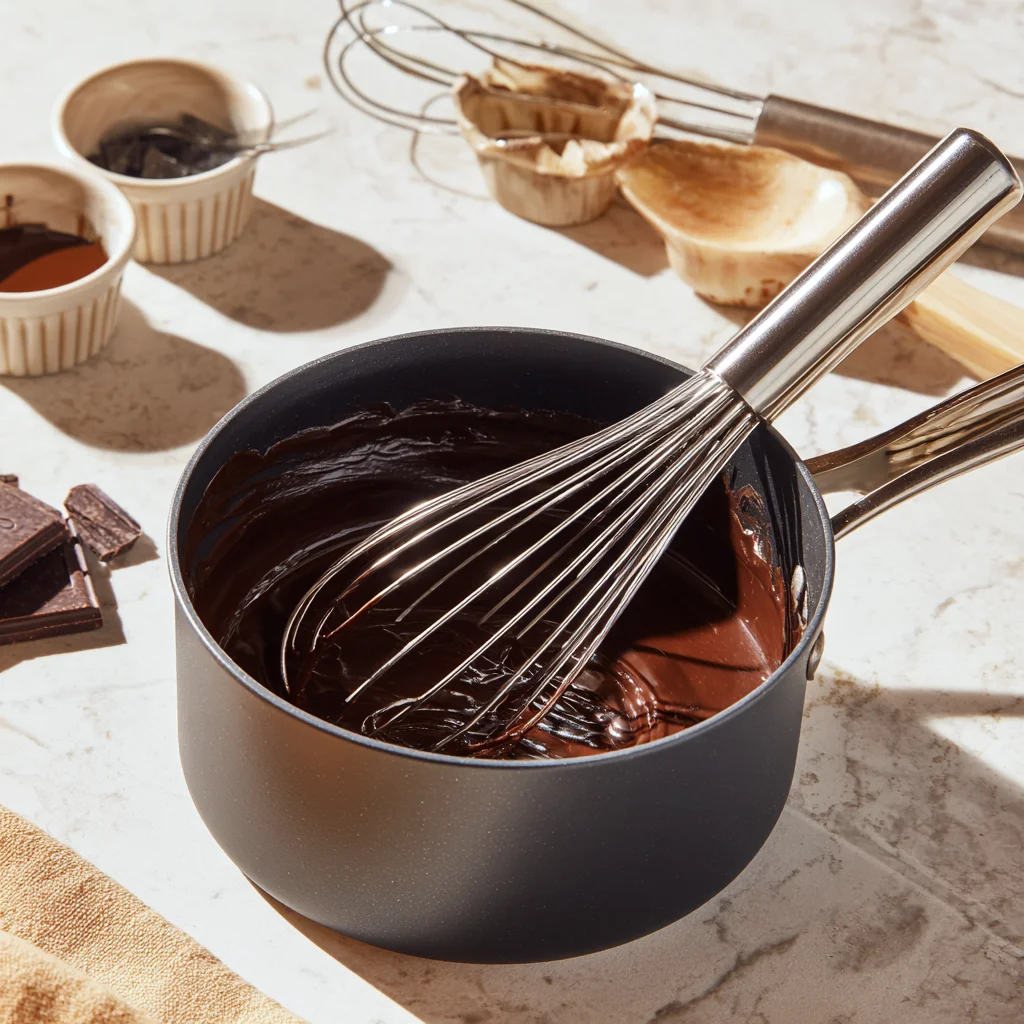
Grab a medium saucepan and melt the butter and semi-sweet chocolate together over low heat. Stir constantly until it’s smooth and fully combined. This step creates the base of that fudgy texture we’re after. Once melted, take it off the heat and let it cool just a bit—about 5 minutes should do.
Pro tip: Using chopped chocolate instead of chips gives a silkier melt, but either works great.

STEP 3: Whisk in the Sugars
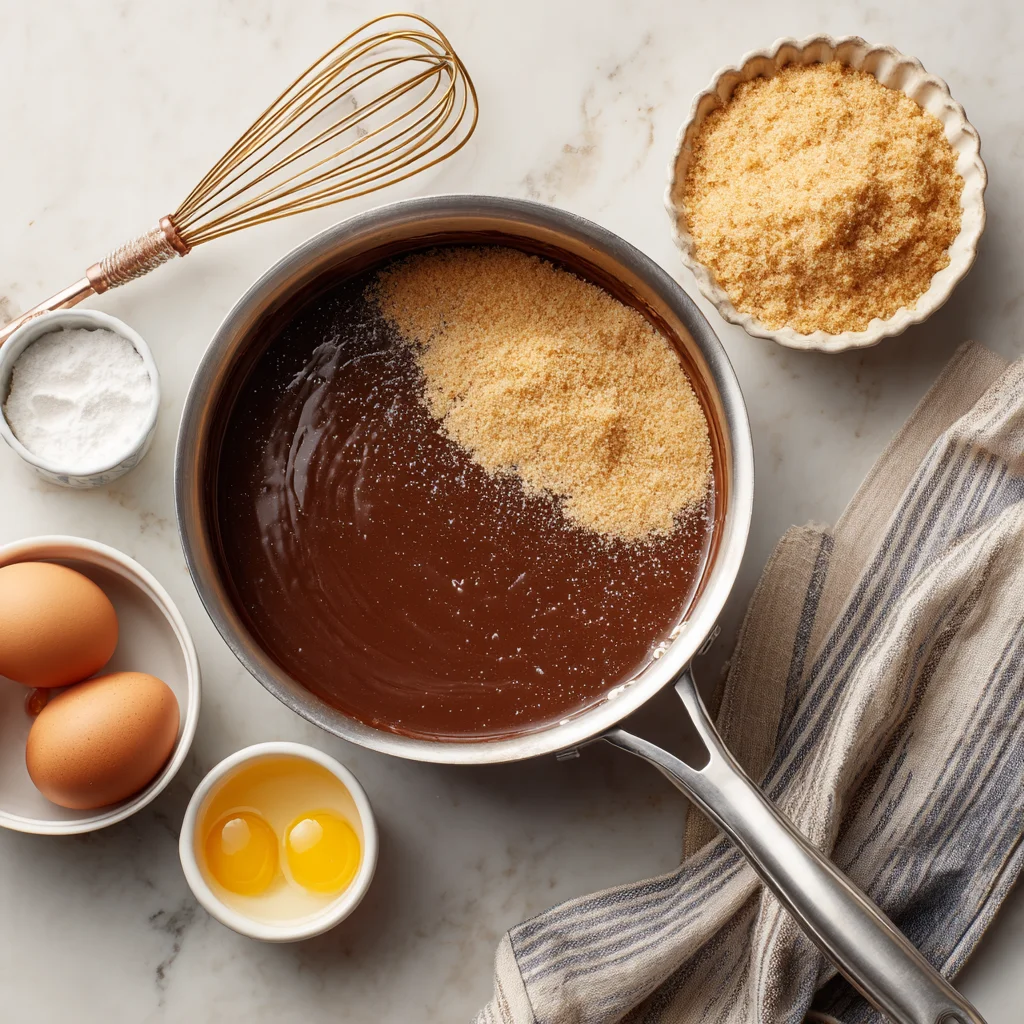
To your slightly cooled chocolate mixture, whisk in the granulated sugar and brown sugar until smooth and glossy. This not only sweetens the brownies but also contributes to that beautiful crackly top. The mix should start to look thick and luscious here—resist the urge to dive in with a spoon!
STEP 4: Add Eggs and Vanilla
Next, crack in your eggs one at a time, whisking well after each addition. This ensures the eggs emulsify into the batter properly, which helps develop structure without losing that fudgy bite. Stir in the vanilla extract for a touch of depth and warmth.
By now, your batter should be glossy, thick, and incredibly rich—almost pudding-like.
STEP 5: Fold in Dry Ingredients
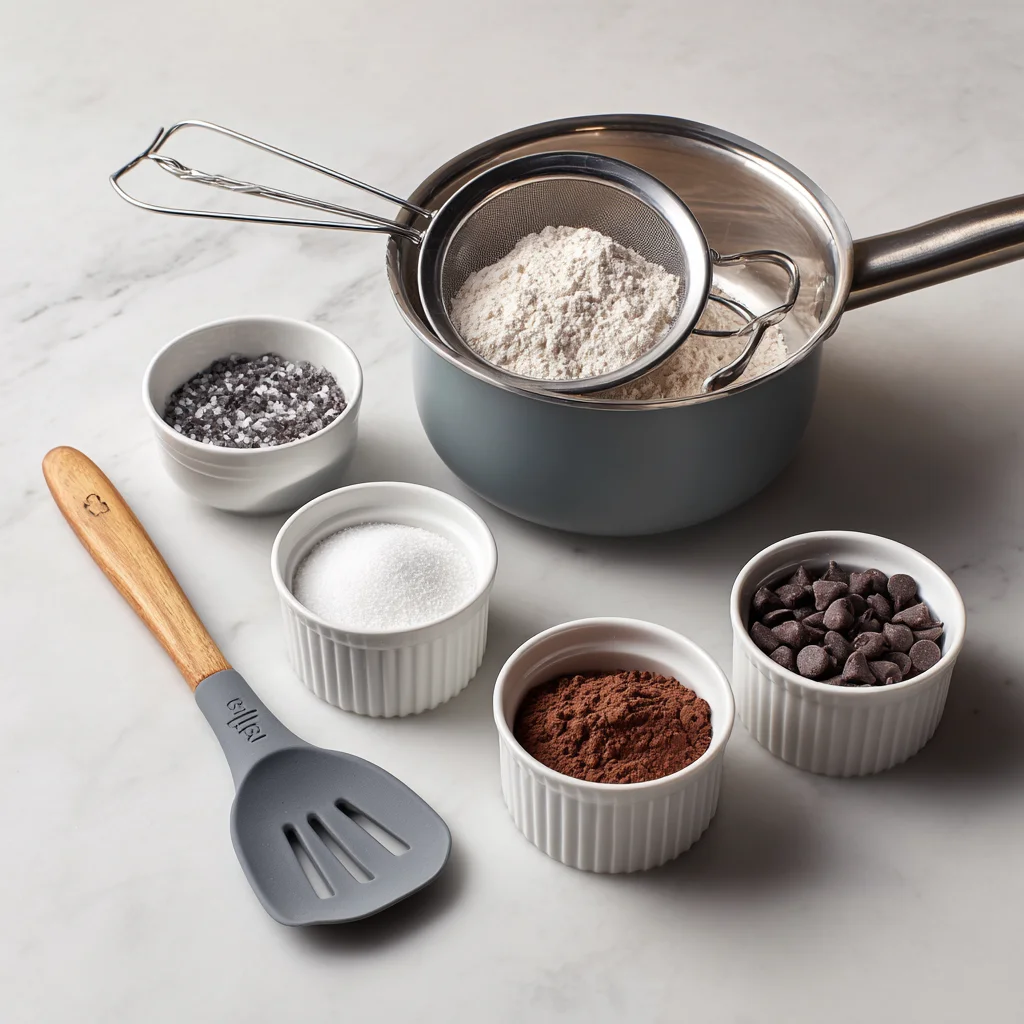
Sift together the flour, unsweetened cocoa powder, and salt, then gently fold the dry mixture into your wet ingredients. Be careful not to overmix here—just stir until you see no streaks of flour.
Tip: Overmixing can lead to cakier brownies, and we’re aiming for fudgy perfection.
STEP 6: Stir in Extra Chocolate (Optional, but Delicious)
If you’re a true chocolate lover (like me), go ahead and fold in about ½ cup of chocolate chips or chunks at this point. They’ll melt slightly into the batter as the brownies bake, giving you pockets of warm, gooey chocolate in every bite.
How to Bake and Perfect Your Fudgy Chocolate Brownies
Alright, now that we’ve got our batter prepped and loaded with all that chocolatey goodness, it’s time to get these brownies into the oven. This is the part where everything comes together—the rich aroma starts filling your kitchen, and you just know something amazing is happening in that pan.
Whether you’re baking for a special occasion or just because you need a little chocolate fix (hey, no judgment here), this step is key to getting that ideal fudgy texture. Let’s walk through the rest of the process, and I’ll share some of my favorite tips to make sure your brownies come out perfect every single time.
STEP 7: Pour and Smooth the Batter
Once your batter is fully mixed and loaded with chocolate chunks (if using), pour it into your prepared 9×13-inch baking pan. Use a spatula to spread it evenly all the way to the edges. The batter is thick—that’s a good sign. It means we’re on the right track for chewy, dense brownies.
Tip: Tap the pan gently on the counter a couple of times to remove any air bubbles and level the surface.
STEP 8: Bake Until Just Set
Place the pan in your preheated oven and bake for 30 to 35 minutes. This is where things can make or break the final texture.
For ultra-fudgy brownies, check them at the 30-minute mark. Insert a toothpick into the center—it should come out with a few moist crumbs but no wet batter. If you prefer your brownies a little more set or slightly cakier (but still rich), leave them in for another 3 to 5 minutes.
Remember: Every oven is different, so if yours runs a little hot or cold, adjust the baking time slightly. And always go by the texture of the toothpick test over the timer.
STEP 9: Cool Completely Before Slicing
This might be the hardest part—waiting. But trust me, letting your brownies cool in the pan is absolutely worth it. It gives them time to set up so you can get those nice, clean slices. If you try cutting into them too soon, you’ll get a gooey mess (which, let’s be honest, still tastes amazing—but won’t be pretty).
Once cooled, lift the brownies out using the edges of the parchment paper and transfer them to a cutting board. Use a sharp knife to slice them into squares or rectangles—whatever suits your vibe. If you want really clean edges, wipe the knife with a damp paper towel between each cut.

TIPS TO ELEVATE YOUR BROWNIES
Now that you’ve got the basics down, here are a few of my favorite tips and variations to customize your brownies and take them to the next level:
Add a Hint of Coffee Flavor
Adding 1 teaspoon of instant espresso powder to the batter enhances the chocolate flavor without making the brownies taste like coffee. It’s a little trick I use when I want a richer, deeper chocolate taste.
Go Nuts (Literally)
If you’re a fan of crunch, fold in ½ cup of chopped walnuts or pecans with the chocolate chips. The combination of chewy and crunchy is unbeatable.
Swirl in Something Extra
Try swirling in peanut butter, Nutella, or caramel sauce on top of the batter before baking. Use a butter knife to drag the swirl gently across the top for a marbled effect that’s as pretty as it is delicious.
Mini Brownie Bites
Want to turn these into bite-sized treats? Use a mini muffin tin and bake for about 12-15 minutes. Perfect for parties, potlucks, or just popping one whenever you walk by the kitchen.
Serving Ideas
These brownies are amazing straight from the pan, but they’re next-level when you warm them slightly and serve with:
A scoop of vanilla ice cream
A drizzle of chocolate or caramel sauce
A sprinkle of sea salt on top for contrast
STORAGE TIPS
Brownies are one of those desserts that store really well—if they last that long! Here’s how to keep them fresh:
At room temperature: Store in an airtight container for up to 4 days. They’ll stay soft and chewy.
In the fridge: If you want a slightly firmer texture, refrigerate them for up to a week.
In the freezer: Wrap individual slices in plastic wrap, then store in a freezer bag for up to 3 months. Thaw at room temperature or microwave for 15-20 seconds to bring them back to life.
Tip: If you freeze them, consider doing it uncut so they retain moisture better. Then slice once you’re ready to serve.
WHY THESE BROWNIES WORK
Let’s break down why this recipe consistently delivers that fudgy, indulgent texture:
Butter + chocolate base: This combo gives richness and fat, which leads to a soft, gooey middle.
Brown sugar: Adds moisture and chewiness, plus a slight caramel undertone.
No leavening agents: No baking soda or baking powder means the brownies stay dense, not airy.
Just the right flour ratio: Too much flour = cakey. This recipe uses just enough to bind, without drying.
Fudgy Chocolate Brownies FAQ & Final Thoughts
If you’ve made it this far, you’re probably just a few minutes (or bites) away from enjoying what I truly believe are some of the best homemade brownies out there. But before we wrap things up, I want to answer a few of the most frequently asked questions that pop up when people are baking brownies—especially the rich, fudgy kind like these.
Whether you’re a first-time baker or a seasoned pro, a few simple tweaks and techniques can make all the difference. Let’s dive into those brownie questions.
FREQUENTLY ASKED QUESTIONS
1. How do I know when fudgy brownies are done baking?
The key sign that your brownies are done is when a toothpick inserted into the center comes out with a few moist crumbs—not raw batter, but also not completely clean. Start checking around the 30-minute mark. If you overbake, you’ll lose that gooey texture.
2. Can I use a smaller baking pan?
Yes, you can, but keep in mind that using a smaller pan (like an 8×8 or 9×9) will result in thicker brownies and a longer bake time. You’ll likely need to add 8–10 more minutes to the baking time. Just keep an eye on them and use the toothpick test.
3. Can I make these brownies gluten-free?
Absolutely. Just swap the all-purpose flour for a 1:1 gluten-free flour blend (make sure it contains xanthan gum). The texture may be slightly different, but they’ll still be rich and fudgy.
4. How do I get clean brownie slices?
Let the brownies cool completely before slicing. Use a sharp knife, and wipe it clean between each cut. For even cleaner edges, chill the brownies in the fridge for about 30 minutes before slicing.
5. Why don’t these brownies have baking powder or baking soda?
Because we’re going for fudgy not cakey. Leaving out leavening agents keeps the brownies dense and rich instead of light and fluffy.
6. Can I double the recipe?
Yes, this recipe doubles well. Just use a larger baking dish (like a half-sheet pan) and adjust the baking time. Be sure to check for doneness in the center, as it may take an extra 10–15 minutes.
7. How can I add other flavors or mix-ins?
These brownies are a great base for customization. You can stir in nuts, toffee bits, white chocolate chips, or even a pinch of cinnamon or chili powder for a spiced twist. Just don’t add too much liquid or it could affect the texture.
Final Thoughts: Brownie Bliss Is Just One Bake Away
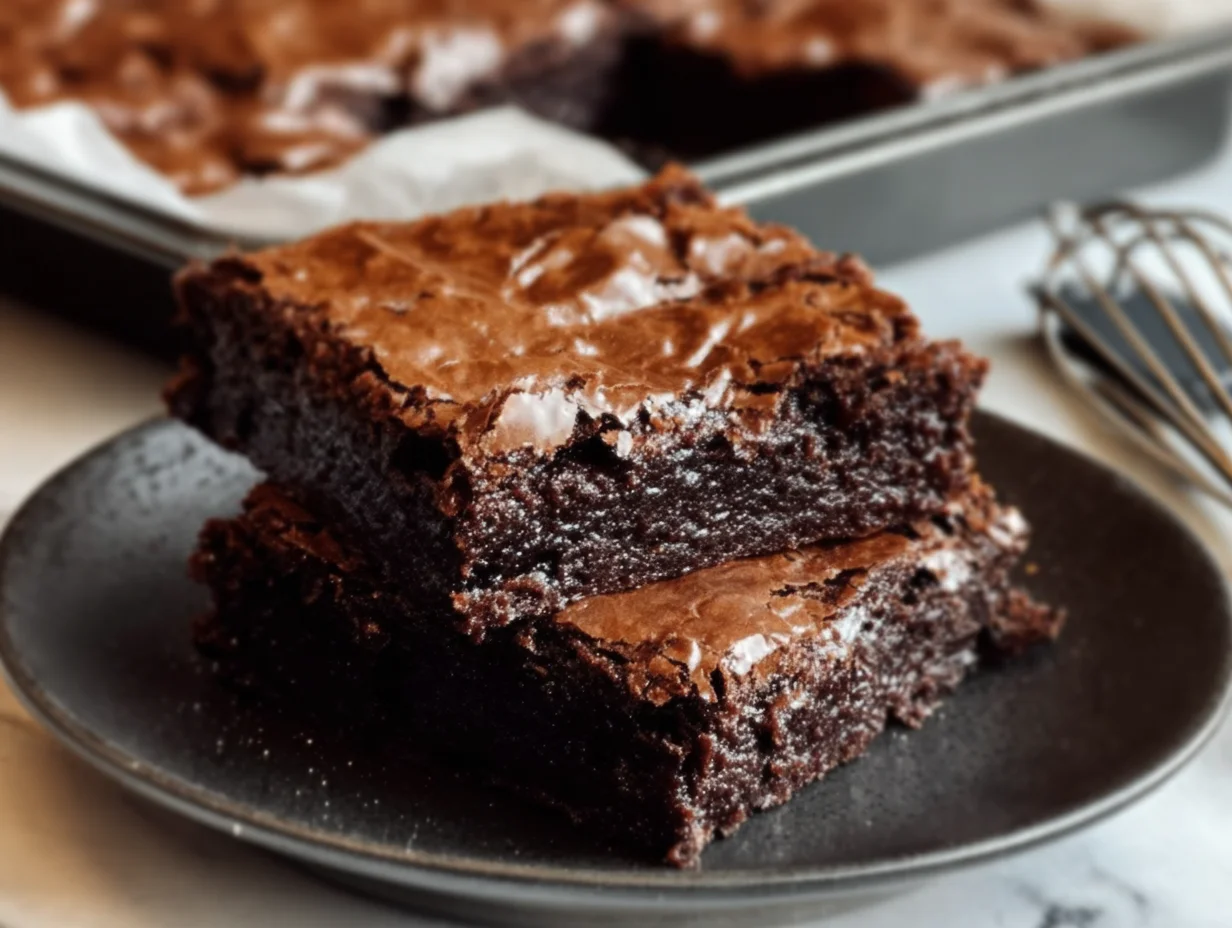
There’s something incredibly satisfying about making your own brownies from scratch—and not just any brownies, but the kind that make your eyes close a little when you take that first bite. These Fudgy Chocolate Brownies strike the perfect balance between chewy edges and a soft, gooey center. And let’s not forget that glossy, crackly top that just begs to be photographed (or devoured straight from the pan).
I hope this recipe becomes one of your go-tos just like it is for me. It’s reliable, customizable, and always delivers. Whether you’re baking for a crowd, sharing with your family, or just treating yourself to a cozy night in, these brownies are a win every single time.
If you try this recipe, I’d love to hear how it turned out! Did you go full classic, or did you add your own twist? Drop a comment, share your tips, or tell me what flavor combo you tried—I’m always looking for new brownie inspiration.
Print
Fudgy Chocolate Brownies
- Author: Andrew Recipes
Description
These fudgy chocolate brownies are rich, dense, and intensely chocolatey with a crackly top and chewy edges. Perfect for satisfying any chocolate craving, they strike the ideal balance between gooey center and firm bite. Whether served warm with a scoop of ice cream or eaten straight from the pan, these brownies never disappoint.
Ingredients
1 cup unsalted butter
8 oz semi-sweet chocolate, chopped or chips
1 ¼ cups granulated sugar
¾ cup brown sugar
4 large eggs
1 teaspoon vanilla extract
¾ cup all-purpose flour
½ cup unsweetened cocoa powder
½ teaspoon salt
½ cup chocolate chips or chunks (optional)
Instructions
Preheat the oven to 350°F. Line a 9×13-inch baking pan with parchment paper or lightly grease it.
In a medium saucepan over low heat, melt the butter and chopped chocolate together, stirring until smooth. Remove from heat and let it cool slightly.
Whisk in the granulated sugar and brown sugar until combined. Add the eggs one at a time, mixing well after each addition. Stir in the vanilla extract.
Sift in the flour, cocoa powder, and salt. Gently fold the dry ingredients into the wet mixture until just combined. Do not overmix.
Fold in the additional chocolate chips or chunks if using.
Pour the batter into the prepared pan and smooth the top.
Bake for 30 to 35 minutes, or until a toothpick inserted in the center comes out with a few moist crumbs but no wet batter.
Allow the brownies to cool in the pan before slicing into squares.
Notes
For extra fudgy brownies, remove them from the oven closer to the 30-minute mark. For a cakier texture, bake a few minutes longer.
To enhance the chocolate flavor, add a teaspoon of instant espresso powder to the batter.
Store brownies in an airtight container at room temperature for up to 4 days or refrigerate for longer shelf life.
Brownies can also be frozen for up to 3 months and thawed at room temperature or warmed in the microwave.

