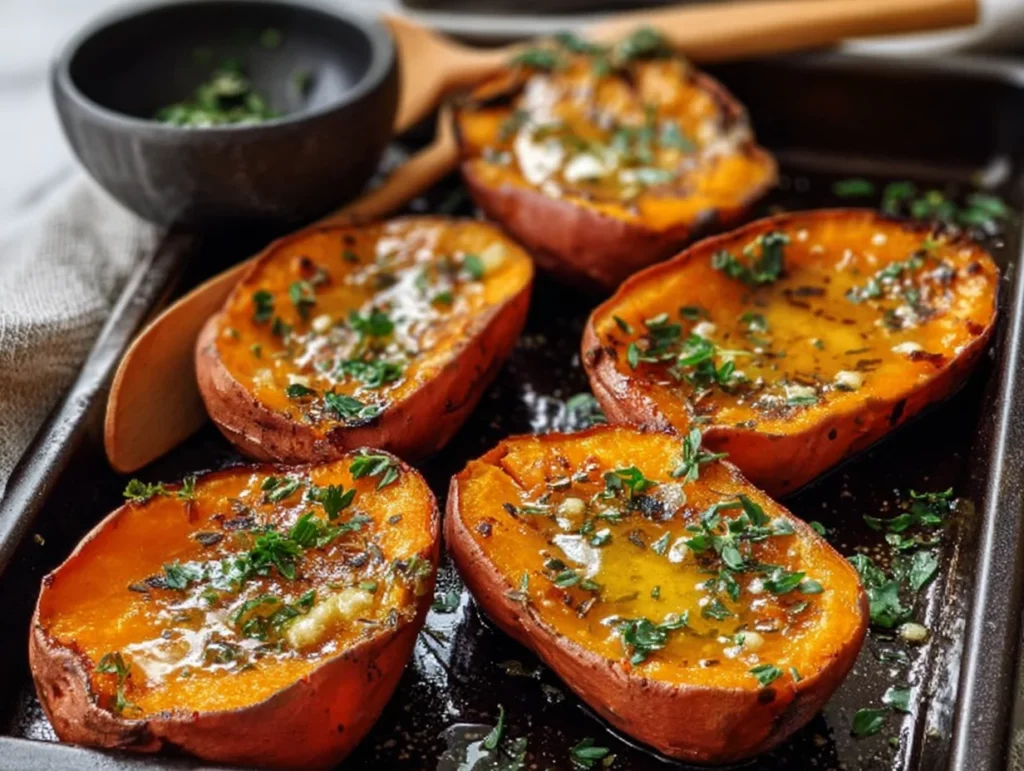
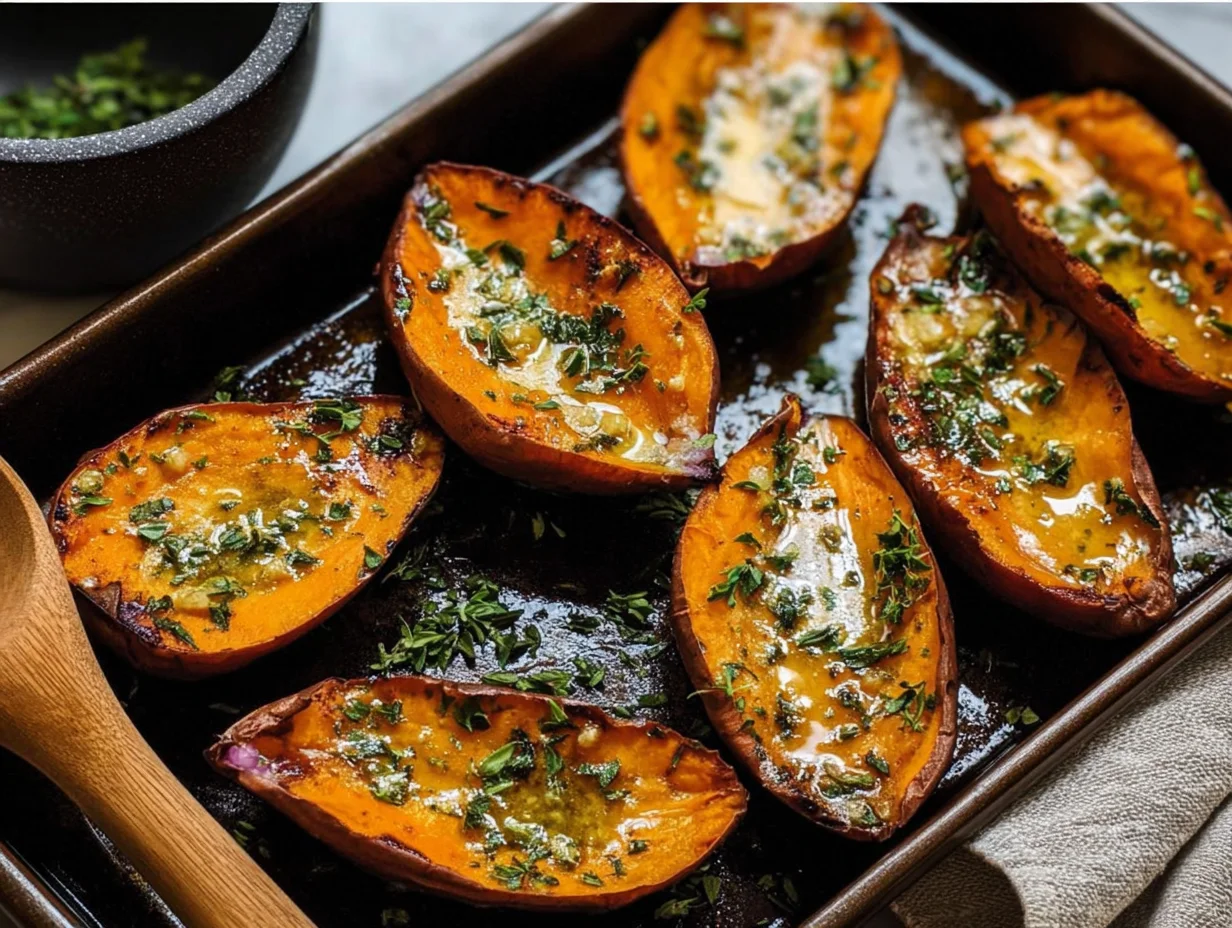
There’s something incredibly comforting about a tray of roasted sweet potatoes fresh out of the oven—the crispy edges, that deep golden color, and the way the natural sugars caramelize just enough to balance the savory flavors. These Garlic Butter Roasted Sweet Potatoes are one of my favorite go-to side dishes for that very reason. They’re simple, reliable, and packed with flavor, making them the perfect addition to weeknight dinners or festive holiday tables.
I started making these as a way to jazz up a plain baked sweet potato, and now they’re a staple in our home. They hit all the right notes—sweet, buttery, garlicky, and a little herby thanks to a sprinkle of thyme. What I really love, though, is how little effort they take. A few pantry staples, a quick chop, and your oven does the rest. Whether you’re serving these alongside a roasted chicken or adding them to a grain bowl, they elevate any meal with minimal work.
And if you’re anything like me and appreciate a recipe that feels fancy without requiring a culinary degree, you’re going to love this one. Let’s dive right into how to make these crispy, buttery bites of heaven.
Ingredients You’ll Need
Before we jump into the steps, let’s take a quick look at what you’ll need. The ingredient list is wonderfully short, but each item adds something special:
2 large sweet potatoes, peeled and cut into 1-inch cubes
3 tablespoons unsalted butter, melted
2 cloves garlic, minced
1 tablespoon olive oil
½ teaspoon salt
½ teaspoon black pepper
1 teaspoon chopped fresh thyme (or ½ teaspoon dried thyme)
Fresh parsley for garnish (optional)
That’s it! Just a handful of ingredients, but they work together so well that you won’t believe how flavorful the results are.
STEP-BY-STEP INSTRUCTIONS
Step 1: Preheat the Oven
Start by preheating your oven to 400°F (200°C). Lining your baking sheet with parchment paper not only helps prevent sticking but also makes cleanup a total breeze—which I always appreciate on a busy weeknight.
Step 2: Mix Up the Garlic Butter Coating
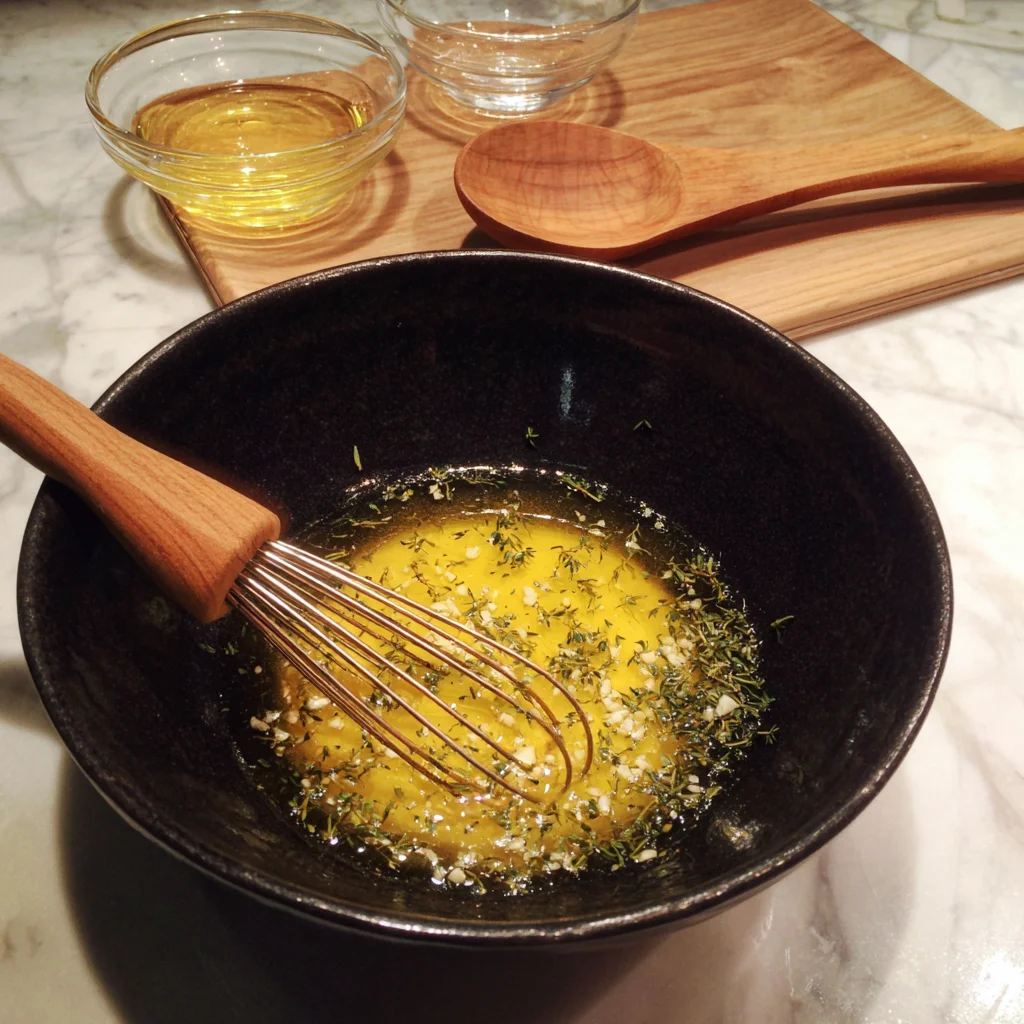
In a large mixing bowl, combine the melted butter, olive oil, minced garlic, salt, pepper, and thyme. Give it a good whisk until everything is nicely blended. This mixture is where all the magic happens—it’s buttery, garlicky, and herb-infused, which will coat the sweet potatoes beautifully and enhance their flavor during roasting.
If you’re feeling a little extra, this is a great moment to brown your butter before mixing it in. It adds a deep, nutty richness that takes the flavor up a notch.

Step 3: Toss the Sweet Potatoes
Add your cubed sweet potatoes to the bowl with the garlic butter mixture. Toss everything together until the sweet potatoes are well coated. You want every cube to be glossy and seasoned from edge to edge.
A quick tip here: try to cut the sweet potatoes into even 1-inch cubes. Uniform pieces will roast more evenly and give you that irresistible mix of crispy edges and soft, tender centers.
Step 4: Spread on a Baking Sheet
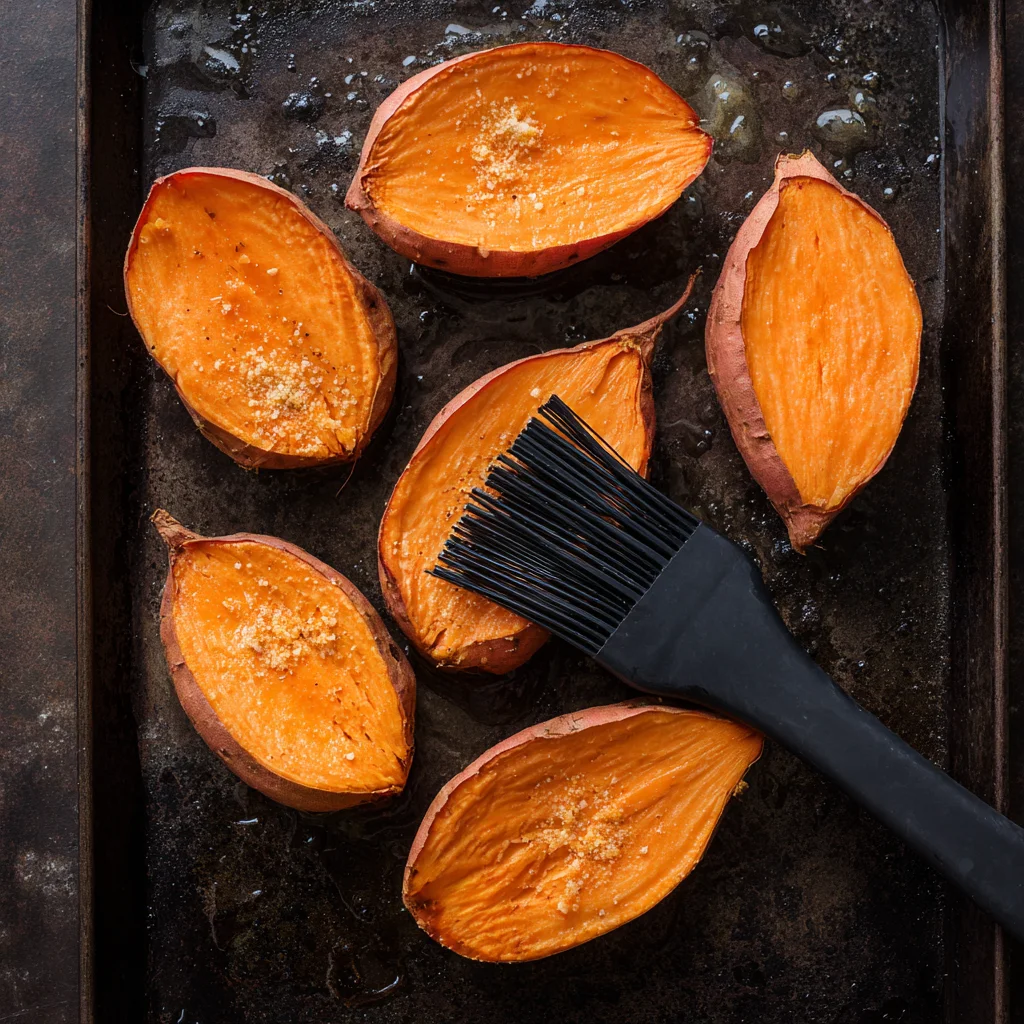
Transfer the coated sweet potato cubes to your prepared baking sheet. Spread them out in a single layer, making sure they’re not too crowded. This part is key—overcrowding the pan causes the potatoes to steam instead of roast, and we’re after those golden, crispy bits.
How to Roast Sweet Potatoes to Golden, Garlicky Perfection
Now that we’ve prepped our sweet potatoes and coated them in that dreamy garlic butter mixture, it’s time to pop them in the oven and let the magic happen. This part is all about letting the heat do its job—caramelizing the edges, softening the centers, and infusing every bite with flavor. And trust me, the aroma alone is worth the wait.
Roasting is one of the easiest and most rewarding cooking methods out there. When done right, it transforms simple vegetables into something downright irresistible. With sweet potatoes, that transformation is especially noticeable. The natural sugars start to caramelize, the edges crisp up beautifully, and the garlic butter seeps into every crevice. Let’s get into the final steps.
Step 5: Roast to Crispy, Caramelized Goodness
Place the baking sheet into your preheated oven and roast for 30 to 35 minutes, flipping the sweet potatoes about halfway through the cooking time.
Flipping them helps to ensure both sides get that golden-brown finish. I like to use a spatula to gently turn them—this keeps the coating intact and minimizes breakage. You’ll know they’re done when the edges are crisp, and the insides are tender enough to pierce easily with a fork.
If you like an extra crispy finish (who doesn’t?), you can roast them for an additional 5 minutes or switch the oven to broil mode for 1-2 minutes at the very end—just keep a close eye so they don’t burn.
Step 6: Garnish and Serve
Once the sweet potatoes are out of the oven, you can sprinkle on a little fresh parsley for a pop of color and freshness. This is totally optional, but I find it adds a nice contrast to the rich, buttery flavor.
Now they’re ready to serve! These roasted sweet potatoes pair beautifully with roasted chicken, steak, grilled fish, or even as a warm topping on a hearty salad. You really can’t go wrong.
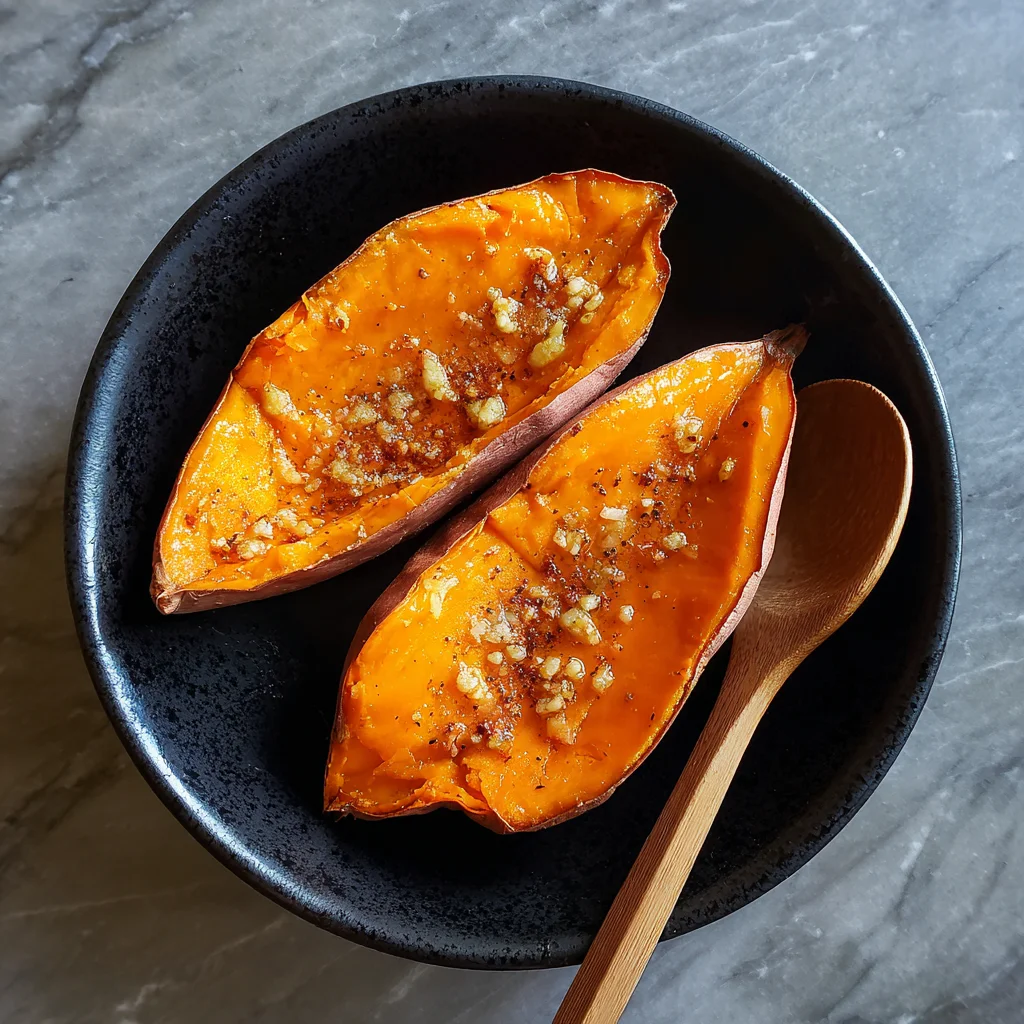
TIPS FOR THE BEST GARLIC BUTTER ROASTED SWEET POTATOES
There’s beauty in how simple this recipe is, but a few small tweaks can make a big difference. Here are my top tips to take these sweet potatoes to the next level:
Brown the butter for a richer flavor: If you have a few extra minutes, melt the butter in a small saucepan over medium heat until it turns golden brown and smells nutty. It adds a deep, almost caramel-like flavor that’s incredible with sweet potatoes.
Don’t skip the parchment paper: It keeps the potatoes from sticking, helps them roast evenly, and makes cleanup a breeze.
Avoid overcrowding the pan: This might be the #1 tip for roasting anything. Crowded pans lead to steaming instead of roasting, which means soggy sweet potatoes instead of crispy ones.
Add a pinch of spice: A sprinkle of smoked paprika, chili flakes, or even a dash of cayenne can add a gentle kick and balance the sweetness. Perfect if you’re serving them with something rich or creamy.
Make it ahead: These sweet potatoes hold up surprisingly well! Store leftovers in an airtight container in the fridge for up to 3 days. To reheat, pop them in the oven or toss them in a hot skillet to bring back that crispy texture.
RECIPE VARIATIONS TO TRY
While the classic garlic butter version is my personal favorite, this recipe is easy to customize based on your preferences or what you have on hand. Here are a few ideas:
Maple Garlic Butter: Add 1 tablespoon of pure maple syrup to the butter mixture for a slightly sweeter twist that works beautifully for holiday meals.
Rosemary Instead of Thyme: Swap out the thyme for fresh rosemary if you’re looking for a stronger herbaceous flavor. It pairs especially well with roasted meats.
Parmesan Finish: Right after roasting, sprinkle a little grated Parmesan over the hot sweet potatoes. It melts slightly and adds a salty, savory kick.
Lemon Zest: A light sprinkle of lemon zest before serving can brighten up the entire dish and cut through the richness.
This flexibility is one of the reasons I keep coming back to this recipe. It works as a blank canvas, and you can adjust the flavor profile to suit your meal or mood.
Garlic Butter Roasted Sweet Potatoes: Your Questions Answered
Before we wrap up this deliciously simple recipe, let’s cover a few common questions that come up when making roasted sweet potatoes. Whether you’re cooking them for the first time or planning to add them to your weekly meal prep rotation, these tips and answers will help you get the best results every time.
FREQUENTLY ASKED QUESTIONS
1. Can I use pre-cut sweet potatoes from the store?
Yes! Pre-cut sweet potatoes are a great time-saver. Just make sure they’re cut into roughly 1-inch cubes so they roast evenly. If the pieces are smaller or thinner, reduce the roasting time slightly and keep an eye on them to prevent burning.
2. How do I keep roasted sweet potatoes crispy after cooking?
To keep them crispy, let them cool slightly on the baking sheet before transferring them to a serving dish. Avoid covering them with foil, which traps steam and softens the edges. If you’re reheating, use the oven or a skillet instead of the microwave for the best texture.
3. What’s the best way to store leftovers?
Store any leftover roasted sweet potatoes in an airtight container in the fridge for up to 3 days. For best results, reheat them in the oven at 375°F until warmed through and crispy again—usually about 10-15 minutes.
4. Can I make this recipe vegan?
Absolutely. Just swap the unsalted butter for a plant-based butter or additional olive oil. You’ll still get that rich, garlicky flavor, and the potatoes will crisp up just as beautifully.
5. Are roasted sweet potatoes healthy?
Yes! Sweet potatoes are packed with fiber, vitamins A and C, and antioxidants. Roasting them with a bit of healthy fat like olive oil or butter makes them satisfying and flavorful, without needing heavy sauces or toppings.
6. Can I add other vegetables to the pan?
You can, but choose veggies with a similar roasting time, like carrots or parsnips. Keep everything spaced out on the pan to avoid steaming, and toss the additional vegetables in the same garlic butter mixture for consistent flavor.
7. What main dishes do these pair well with?
These garlic butter roasted sweet potatoes are super versatile. They pair wonderfully with roasted chicken, grilled steak, pork chops, or even a simple fried egg. I also love tossing them into grain bowls with quinoa, arugula, and a drizzle of tahini dressing.
Final Thoughts: A Simple Side That Shines Every Time
There’s something so satisfying about a recipe that’s easy to make, uses simple ingredients, and still manages to impress. These Garlic Butter Roasted Sweet Potatoes check all those boxes. With just a few pantry staples and minimal prep, you get a dish that’s crispy, buttery, and loaded with flavor in every bite.
What I love most is how adaptable this recipe is. Whether you’re sticking to the classic garlic and thyme combo or adding your own spin with spices or herbs, it’s hard to go wrong. Plus, they reheat like a dream, making them a perfect make-ahead option for busy nights or holiday gatherings.
Print
Garlic Butter Roasted Sweet Potatoes
- Author: Andrew Recipes
Description
Garlic Butter Roasted Sweet Potatoes are a simple yet flavorful side dish that pairs beautifully with just about any main course. Roasting brings out the natural sweetness of the potatoes, while the garlic butter adds a rich, savory layer. Crisp on the edges and soft on the inside, they’re an easy crowd-pleaser for both weeknight meals and holiday spreads.
Ingredients
2 large sweet potatoes, peeled and cut into 1-inch cubes
3 tablespoons unsalted butter, melted
2 cloves garlic, minced
1 tablespoon olive oil
½ teaspoon salt
½ teaspoon black pepper
1 teaspoon chopped fresh thyme or ½ teaspoon dried thyme
Fresh parsley for garnish (optional)
Instructions
Preheat the oven to 400°F (200°C) and line a baking sheet with parchment paper for easy cleanup.
In a large bowl, whisk together the melted butter, olive oil, minced garlic, salt, pepper, and thyme. Add the sweet potato cubes and toss to coat evenly.
Spread the sweet potatoes out in a single layer on the prepared baking sheet, making sure they are not overcrowded to allow for proper roasting.
Roast for 30 to 35 minutes, tossing once halfway through, until the sweet potatoes are golden brown and fork-tender.
Remove from the oven and sprinkle with freshly chopped parsley if desired before serving.
Notes
For a deeper flavor, try browning the butter before mixing it with the garlic and herbs. You can also add a pinch of smoked paprika or chili flakes for a touch of heat. These roasted sweet potatoes are excellent served alongside roasted chicken, grilled meats, or tossed into a salad for added texture and flavor. Leftovers store well in the refrigerator and can be reheated in the oven or skillet to bring back their crispiness.

