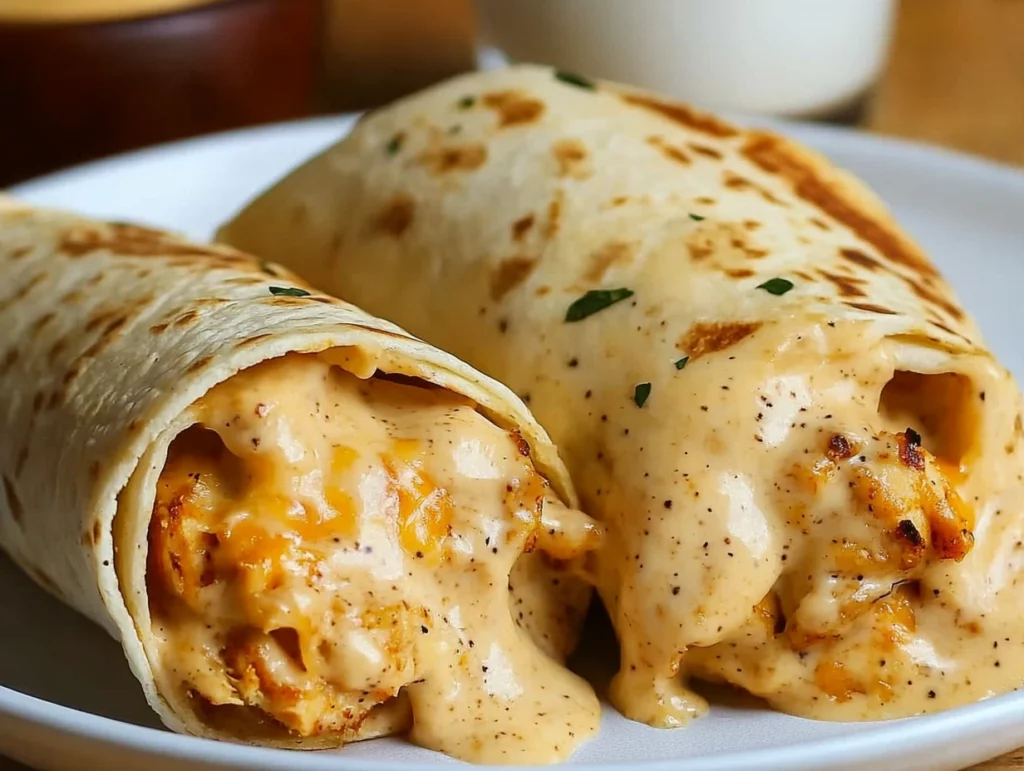
There’s something magical about recipes that come together quickly but still feel like a warm hug on a plate. That’s exactly what these Cheesy Garlic Chicken Wraps deliver—creamy, garlicky goodness wrapped up in a golden, crispy tortilla. Whether you need a quick dinner after a busy day, a hearty lunch, or even a late-night snack, these wraps have you covered.
I still remember the first time I whipped these up on a chilly evening when dinner inspiration was nowhere to be found. I had some leftover rotisserie chicken in the fridge, a block of cream cheese that was begging to be used, and a few tortillas. Fifteen minutes later, I was sinking my teeth into one of the most satisfying wraps I’d ever made. Since then, these wraps have become a staple in our meal rotation—and I promise, they’re about to be one in yours too!
WHY YOU’LL LOVE THESE CHEESY GARLIC CHICKEN WRAPS
Quick and Easy: Perfect for busy weeknights or lazy weekends.
Versatile: Swap out cheeses, add a little spice, or toss in extra veggies.
Comforting Flavor: Creamy, cheesy filling paired with tender, seasoned chicken and a punch of garlic.
Meal Prep Friendly: Make ahead and reheat for an easy grab-and-go meal.
Now let’s dive right into how to make these irresistible wraps!
INGREDIENTS YOU’LL NEED
Before we get cooking, here’s a quick list of everything you’ll need:
2 cups chicken, cooked and torn or chopped
1 1/2 cups grated cheddar or mozzarella cheese
1/4 cup softened cream cheese
2 tablespoons melted butter
3 cloves finely chopped garlic
1/4 cup sour cream
1 teaspoon garlic powder
1 teaspoon Italian herbs
4 large tortillas
Salt and pepper as needed
Chopped fresh parsley for topping (optional)
STEP 1: PREP THE GARLIC BUTTER BASE
Start by grabbing your favorite large skillet. Pour in the melted butter and toss in the finely chopped garlic. Let that cook for about 1-2 minutes over medium heat. You’ll know it’s ready when the kitchen starts filling with that delicious garlicky aroma. Be careful not to brown the garlic too much—you want it fragrant, not bitter.

STEP 2: SEASON AND WARM THE CHICKEN
Once the garlic is perfectly fragrant, add your cooked chicken to the skillet. If you’re using leftover rotisserie chicken, this step couldn’t be easier. Sprinkle in the garlic powder, Italian herbs, and a pinch of salt and pepper. Stir everything together and let it heat through for a couple of minutes. The goal here is to make sure the chicken is nice and warm and fully coated in that buttery garlic mixture.
STEP 3: MAKE THE CHEESY FILLING
While the chicken is soaking up all that flavor, it’s time to get the cheese mixture ready. In a separate medium-sized bowl, combine the softened cream cheese, sour cream, and half of the grated cheddar or mozzarella (or a mix of both if you’re feeling fancy). Stir until the mixture is smooth and creamy—it should spread easily.
STEP 4: COMBINE THE FILLINGS
Now, take your warm, seasoned chicken and gently fold it into the cheese mixture. Stir until everything is evenly combined. This is where the magic happens—the warmth of the chicken will soften the cream cheese mixture even more, creating a rich, creamy filling that’s absolutely packed with flavor.
HOW TO ASSEMBLE AND COOK THE PERFECT CHEESY GARLIC CHICKEN WRAPS
Alright, now that we’ve got that rich, creamy filling all mixed up and ready to go, it’s time for the fun part—assembling and cooking our Cheesy Garlic Chicken Wraps! This is where everything comes together into golden, melty perfection.
STEP 5: FILL THE TORTILLAS
Lay out your tortillas on a clean, flat surface. Divide the chicken and cheese mixture evenly among the tortillas, spooning it into the center of each one. You don’t want to overfill them—about a generous scoop per tortilla works perfectly.
Once the filling is in place, sprinkle the remaining grated cheese over the top. This extra layer of cheese ensures every bite is as gooey and flavorful as the last.
STEP 6: FOLD AND ROLL
Now it’s time to wrap them up! Start by folding in the sides of the tortilla, then roll it up tightly from the bottom, making sure all that delicious filling stays securely inside. A tight roll helps prevent any of that cheesy goodness from escaping while cooking.
STEP 7: TOAST TO GOLDEN PERFECTION
Heat a clean skillet or non-stick pan over medium heat. Once it’s hot, place the wraps seam-side down into the skillet. Let them cook for about 2-3 minutes on each side, or until they’re beautifully golden and slightly crispy.
If you’re making several wraps at once, you may want to cook them in batches to ensure they all get that perfect, even browning. And don’t rush this step—the slow toasting brings out the best texture and flavor!
STEP 8: GARNISH AND SERVE
Once all the wraps are toasted and ready, transfer them to a serving plate. If you like, sprinkle some freshly chopped parsley on top for a pop of color and a hint of freshness. Now they’re ready to serve!
TIPS FOR THE BEST CHEESY GARLIC CHICKEN WRAPS
Use Pre-Cooked Chicken: Leftover rotisserie chicken works beautifully here and cuts down your prep time significantly.
Adjust the Cheese Blend: Cheddar gives you a sharper, more pronounced flavor, while mozzarella delivers extra meltiness. Use what you love—or a mix of both!
Control the Garlic: If you’re a garlic lover (like me), feel free to add an extra clove or two. If you prefer it milder, stick with the three cloves or even reduce it slightly.
Add Some Heat: For a spicy twist, toss a few chopped jalapeños or a splash of hot sauce into the filling mixture.
Keep the Skillet Medium: Cooking the wraps over medium heat gives you that golden exterior without burning the tortillas before the filling heats through.
VARIATIONS TO TRY
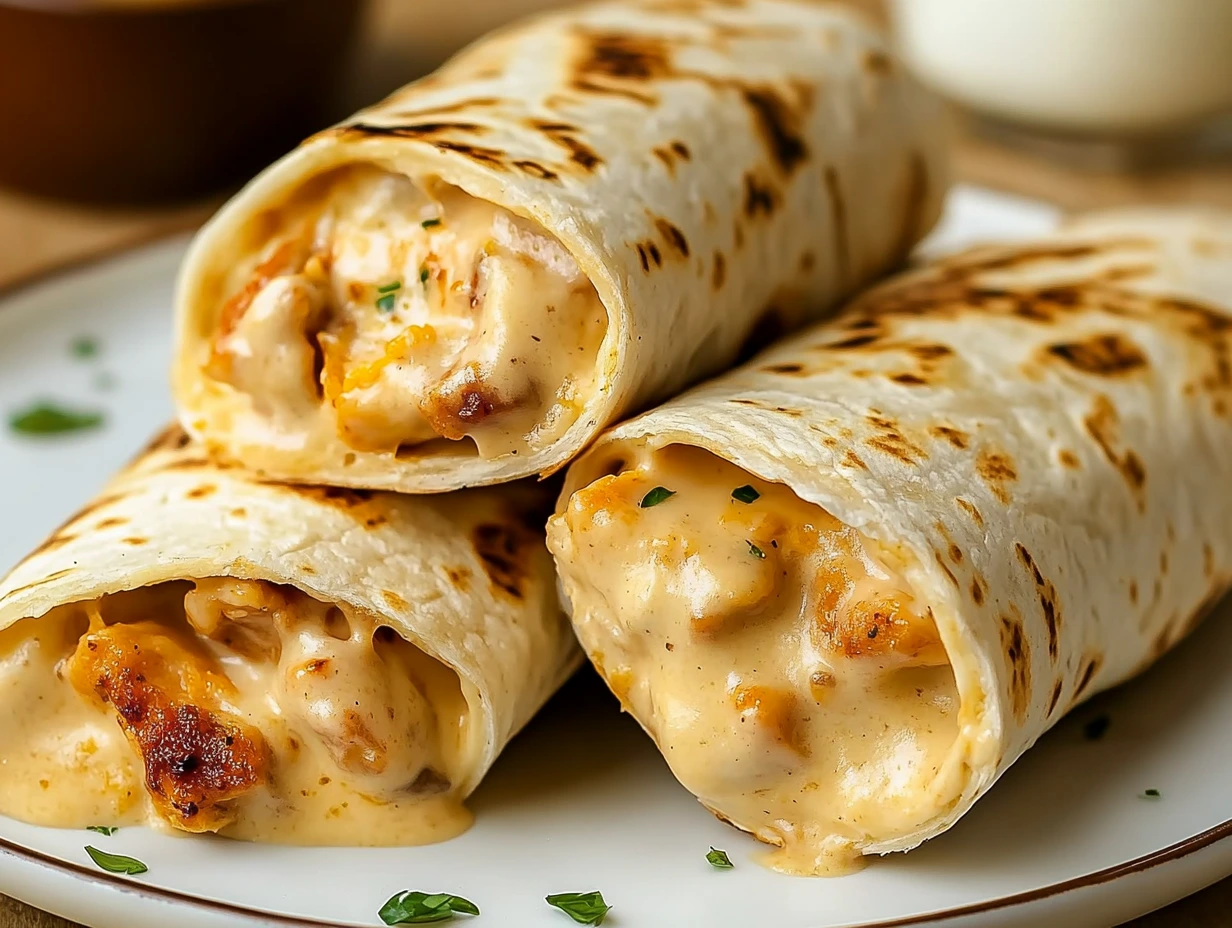
One of the things I absolutely love about this recipe is how adaptable it is. Once you get the base down, you can easily switch things up to match your cravings or whatever you’ve got on hand:
Buffalo Style: Add a few tablespoons of buffalo sauce to the chicken mixture and serve with ranch or blue cheese dressing on the side.
Southwest Flare: Mix in some black beans, corn, and a bit of cumin for a Tex-Mex inspired wrap.
Veggie Packed: Toss in sautéed spinach, mushrooms, or bell peppers to sneak in some extra veggies.
BBQ Chicken Wraps: Replace the Italian herbs with a smoky BBQ seasoning and add a drizzle of your favorite BBQ sauce.
WHY THESE WRAPS ARE GREAT FOR MEAL PREP
Another reason these Cheesy Garlic Chicken Wraps are always in my back pocket is how well they work for meal prep. You can fully assemble the wraps, store them in an airtight container in the fridge, and simply toast them up when you’re ready to eat. They reheat beautifully and make lunch or dinner a total breeze.
And if you’re freezing them, just wrap each one tightly in plastic wrap or foil, store in a freezer-safe bag, and pull them out as needed. A quick warm-up in the skillet or oven, and you’ve got a hot, homemade meal ready to go.
CHEESY GARLIC CHICKEN WRAPS FAQ: YOUR QUESTIONS ANSWERED
Before you head off to make these cheesy, melty wraps, let’s go over a few of the most common questions I get about this recipe. Hopefully, these tips help you feel even more confident in the kitchen!
1. Can I use uncooked chicken for this recipe?
For the best results and quickest prep, I recommend using cooked chicken. If you only have raw chicken, simply cook it first—either by boiling, baking, or sautéing—then shred or chop it before adding it to the skillet with the garlic butter.
2. What’s the best type of tortilla to use?
I like using large flour tortillas because they hold the filling well and toast up beautifully. However, you can absolutely use whole wheat, spinach, or even low-carb tortillas based on your preference.
3. Can I make these wraps ahead of time?
Yes! You can assemble the wraps ahead of time and store them in the fridge for up to 2 days before cooking. When you’re ready, just toast them in the skillet as directed. They also freeze very well if you want to prep them even further in advance.
4. How do I reheat leftover wraps?
The best way to reheat these wraps is in a skillet over medium heat until warmed through and crispy again. You can also use an oven or toaster oven for a few minutes. Microwaving works in a pinch but may leave the tortilla a little soft.
5. Can I use different cheeses?
Absolutely! While cheddar and mozzarella are great options, you can experiment with Monterey Jack, Pepper Jack, provolone, or even a blend of several cheeses for added flavor.
6. What can I serve with these wraps?
These wraps pair perfectly with a simple green salad, roasted veggies, or even a cup of soup. If you’re looking for something a little heartier, some seasoned fries or a pasta salad would also be delicious.
7. How can I make this recipe spicier?
To turn up the heat, add a bit of hot sauce to the cheese mixture, stir in some diced jalapeños, or use Pepper Jack cheese. You can easily adjust the spice level to your taste.
WRAPPING IT UP: TIME TO MAKE CHEESY GARLIC CHICKEN WRAPS
There you have it—a quick, easy, and oh-so-satisfying recipe that’s sure to become a family favorite. These Cheesy Garlic Chicken Wraps check all the boxes: flavorful, creamy, perfectly seasoned, and incredibly versatile. Whether you stick to the original recipe or mix in your own favorite variations, you really can’t go wrong.
I hope you give these wraps a try the next time you’re looking for a simple but delicious meal. And if you do, I’d love to hear how they turn out for you! Feel free to drop a comment with your own creative twists or any questions you might have.
Happy cooking, and enjoy every gooey, cheesy bite!
Print
Cheesy Garlic Chicken Wraps
- Author: Andrew Recipes
Description
Cheesy Garlic Chicken Wraps are a savory and comforting meal that comes together quickly with tender chicken, creamy cheese filling, and aromatic garlic. Wrapped in warm tortillas and lightly toasted, these wraps make a perfect lunch, dinner, or even a satisfying snack. The combination of cream cheese, sour cream, and melted cheddar or mozzarella delivers a rich, gooey texture in every bite.
Ingredients
2 cups chicken, cooked and torn or chopped
1 1/2 cups grated cheddar or mozzarella cheese
1/4 cup softened cream cheese
2 tablespoons melted butter
3 cloves finely chopped garlic
1/4 cup sour cream
1 teaspoon garlic powder
1 teaspoon Italian herbs
4 large tortillas
Salt and pepper as needed
Chopped fresh parsley for topping
Instructions
Pour the melted butter into a skillet and cook the chopped garlic for about 1-2 minutes until fragrant.
Add the cooked chicken to the skillet. Season with garlic powder, Italian herbs, salt, and pepper, and heat through.
In a separate bowl, combine the softened cream cheese, sour cream, and half of the grated cheese. Mix until smooth and creamy.
Add the warm seasoned chicken to the cheese mixture and stir well to combine.
Divide the chicken and cheese mixture evenly among the tortillas. Sprinkle the remaining grated cheese over the filling. Fold in the sides and roll the tortillas up tightly.
Place the wraps seam-side down in a hot skillet and cook for 2-3 minutes on each side until golden and crispy.
Top with chopped fresh parsley if desired and serve warm.
Notes
You can easily swap the type of cheese based on preference or what you have on hand. For extra flavor, try adding a little hot sauce or chopped jalapeños to the filling. These wraps also reheat well, making them great for meal prep or leftovers.

