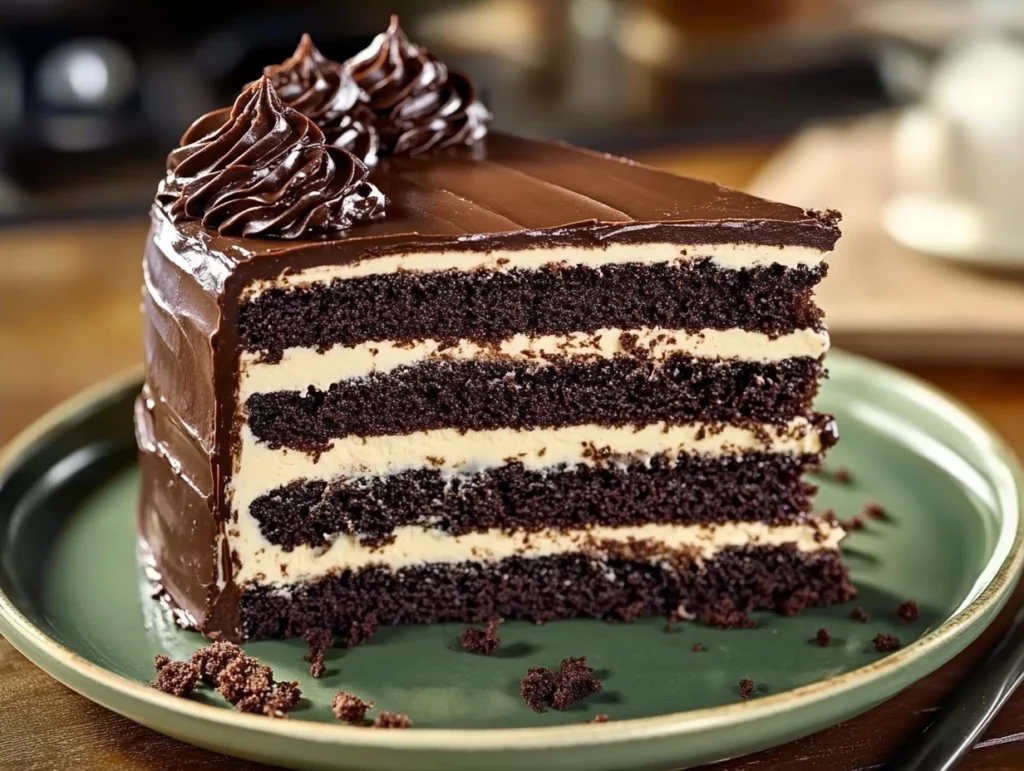
There’s something about a rich, moist, chocolate cake that just makes life better. And when you take that already perfect cake and layer it with a silky cream cheese filling, then slather the whole thing in a decadent chocolate cream cheese buttercream—well, let’s just say, you’ve officially reached dessert heaven. Whether you’re celebrating a birthday, a holiday, or just the end of a long week, this Hershey’s Chocolate Cake with Cream Cheese Filling is the indulgence you didn’t know you needed.
I’ve made my fair share of chocolate cakes, and this one? It’s hands down a winner. It’s soft, melt-in-your-mouth delicious, and packed with deep chocolate flavor thanks to Hershey’s cocoa. Plus, the contrast between the rich cake and the smooth, tangy cream cheese filling is simply irresistible. Ready to bake the best chocolate cake of your life? Let’s do this!
HOW TO MAKE HERSHEY’S CHOCOLATE CAKE
INGREDIENTS YOU’LL NEED
This recipe is broken down into three parts: the cake, the cream cheese filling, and the frosting. Here’s everything you need:
For the Chocolate Cake:
- 2 cups sugar
- 1 ¾ cups all-purpose flour
- ¾ cup Hershey’s Cocoa
- 1 ½ teaspoons baking powder
- 1 ½ teaspoons baking soda
- 1 teaspoon salt
- 2 eggs
- 1 cup milk
- ½ cup vegetable oil
- 2 teaspoons vanilla extract
- 1 cup boiling water
For the Cream Cheese Filling:
- 1 cup cream cheese, softened
- ½ cup powdered sugar
- 1 teaspoon vanilla extract
For the Chocolate Cream Cheese Buttercream:
- ½ cup butter, softened
- ½ cup cream cheese, softened
- ¾ cup Hershey’s Cocoa
- 4 cups powdered sugar
- 2 teaspoons vanilla extract
- 2-4 tablespoons milk (as needed)
STEP 1: PREPARE YOUR BAKING PANS
First things first—preheat your oven to 350°F (175°C). This ensures that when the batter is ready, your oven is at the perfect temperature for baking. Grease and flour two 9-inch round baking pans to prevent the cakes from sticking.
STEP 2: MIX THE DRY INGREDIENTS
In a large mixing bowl, whisk together the sugar, all-purpose flour, Hershey’s cocoa, baking powder, baking soda, and salt. This step makes sure the leavening agents are evenly distributed, so you don’t end up with a lopsided cake.

STEP 3: ADD THE WET INGREDIENTS
Now, add the eggs, milk, vegetable oil, and vanilla extract. Using an electric mixer, beat everything on medium speed for about 2 minutes. The batter should start looking smooth and glossy.

STEP 4: INCORPORATE THE BOILING WATER
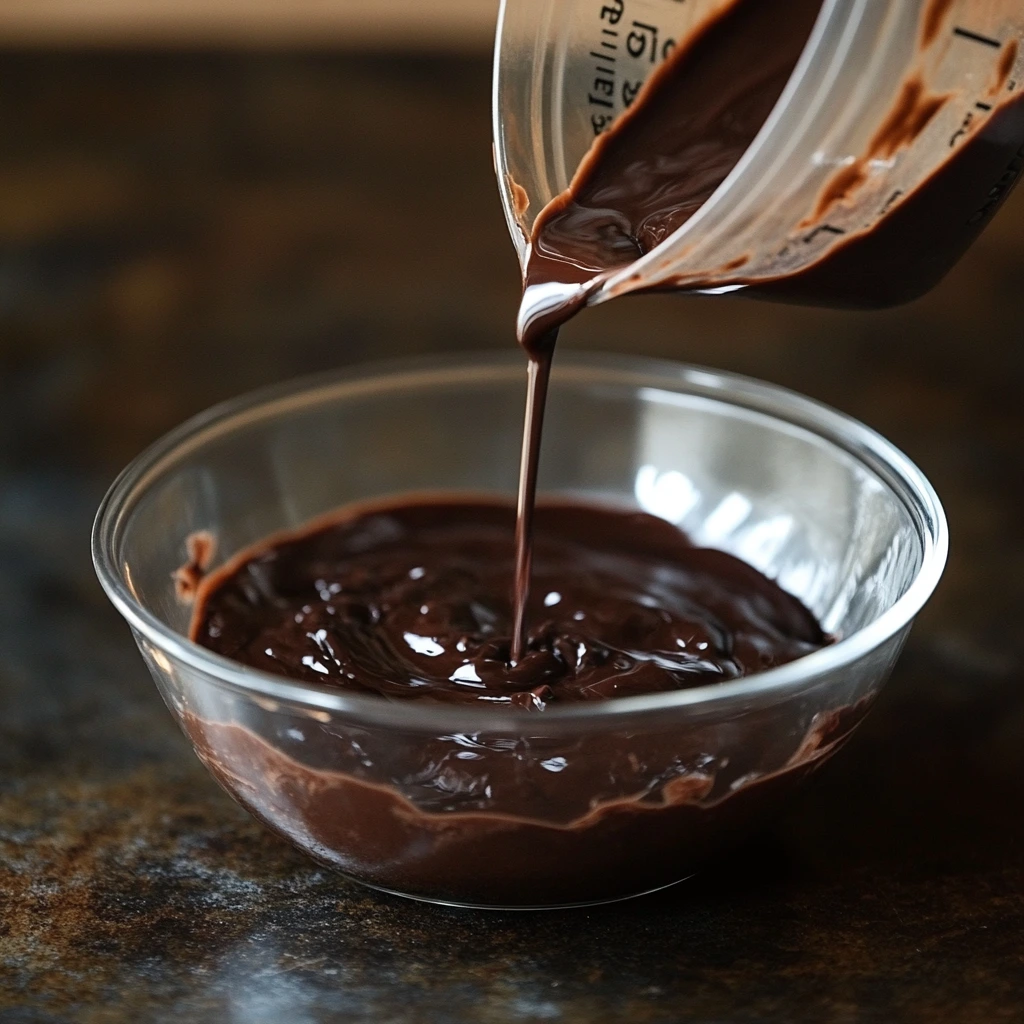
Here’s the game-changing step—stir in 1 cup of boiling water. Yes, the batter will look thin, but that’s exactly what makes this cake ultra-moist and tender. Don’t skip this!
STEP 5: BAKE TO PERFECTION
Pour the batter evenly into the prepared cake pans and bake for 30-35 minutes or until a toothpick inserted into the center comes out clean. Let the cakes cool in the pans for 10 minutes before transferring them to wire racks to cool completely.
CREAM CHEESE FILLING & CHOCOLATE CREAM CHEESE BUTTERCREAM
Now that you have two beautiful chocolate cake layers cooling, it’s time to take this dessert to the next level. A rich cream cheese filling and a luscious chocolate cream cheese buttercream frosting will transform this cake into a masterpiece. The contrast between the tangy cream cheese and the deep chocolate flavors is what makes this cake truly unforgettable. Let’s get started!

HOW TO MAKE THE CREAM CHEESE FILLING
This cream cheese filling is smooth, slightly tangy, and adds the perfect balance to the rich chocolate cake.
STEP 1: GATHER YOUR INGREDIENTS
You’ll need just three simple ingredients for the filling:
- 1 cup cream cheese, softened
- ½ cup powdered sugar
- 1 teaspoon vanilla extract
STEP 2: BEAT UNTIL SMOOTH
In a medium mixing bowl, beat the softened cream cheese using an electric mixer until it’s completely smooth and lump-free. Add in the powdered sugar and vanilla extract, then continue beating until the mixture is creamy and well combined. The consistency should be thick enough to spread but still light and fluffy.
Once done, set it aside while you prepare the frosting.
HOW TO MAKE CHOCOLATE CREAM CHEESE BUTTERCREAM
This chocolate cream cheese buttercream is rich, smooth, and has the perfect amount of sweetness to complement the cake.
STEP 1: GATHER YOUR INGREDIENTS
- ½ cup butter, softened
- ½ cup cream cheese, softened
- ¾ cup Hershey’s Cocoa
- 4 cups powdered sugar
- 2 teaspoons vanilla extract
- 2-4 tablespoons milk (as needed)
STEP 2: BEAT THE BUTTER AND CREAM CHEESE
In a large mixing bowl, beat the softened butter and cream cheese together until light and fluffy. This step helps create a smooth base for the frosting.
STEP 3: ADD COCOA AND SUGAR
Gradually add the cocoa powder and powdered sugar, beating well after each addition. The mixture will become thick, so don’t worry if it looks dry at first.
STEP 4: ADD VANILLA AND MILK
Stir in the vanilla extract, then gradually add the milk one tablespoon at a time until you reach your desired frosting consistency. If you prefer a thicker frosting, add less milk; for a creamier consistency, add more.
Now that you have both the cream cheese filling and the chocolate cream cheese buttercream ready, it’s time to assemble the cake!
HOW TO ASSEMBLE THE CAKE
This is where the magic happens! Cutting and layering the cake properly ensures every bite is balanced and packed with flavor.
STEP 1: CUT THE CAKE LAYERS
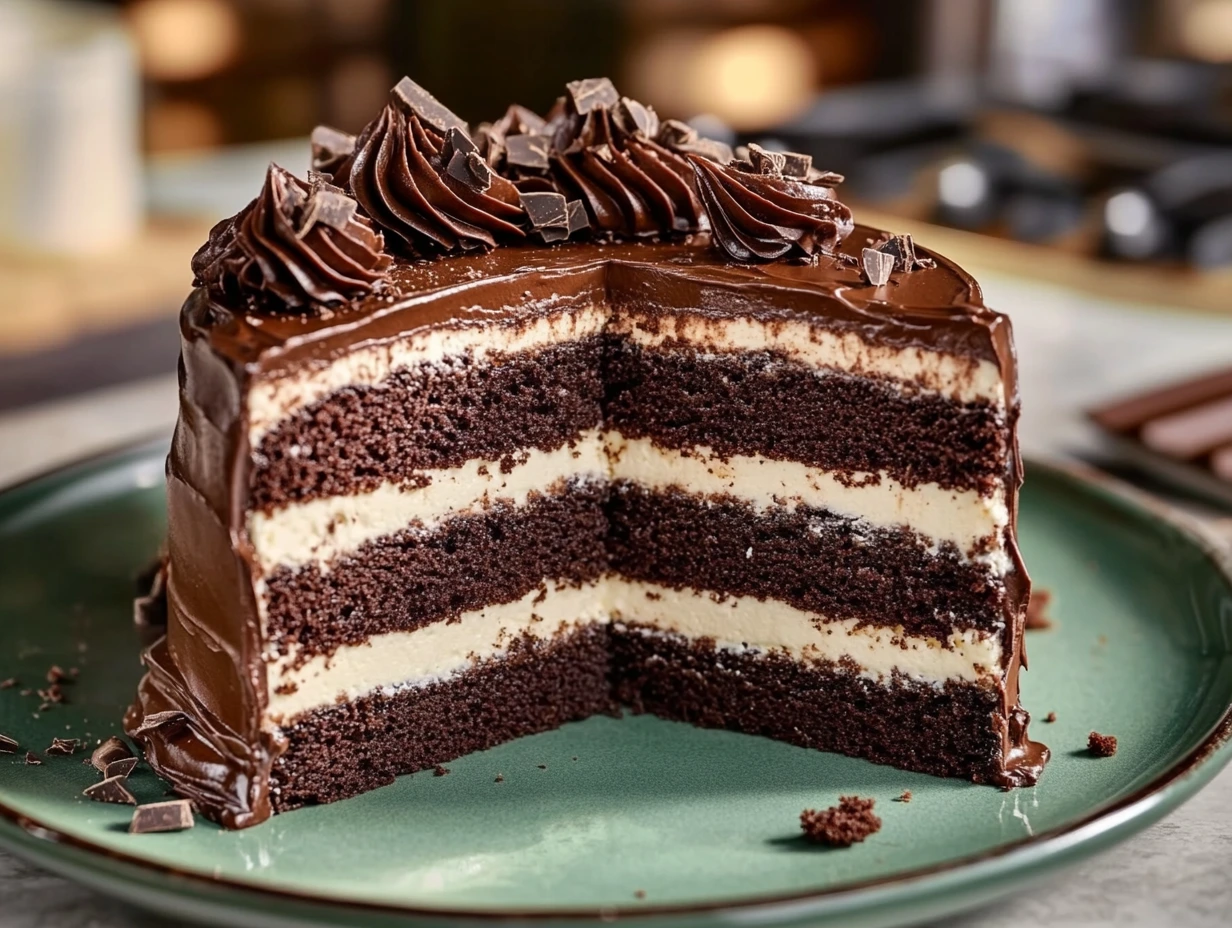
Once the cakes have completely cooled, use a long serrated knife to carefully slice each cake horizontally, creating four thin cake layers. If you prefer a thicker cake with only two layers, you can skip this step, but the extra layers make a stunning presentation.
STEP 2: LAYER WITH CREAM CHEESE FILLING
Place one cake layer on a serving plate. Spread one-third of the cream cheese filling evenly over the top. Repeat this process with the next two layers, ending with the fourth cake layer on top.
STEP 3: FROST THE CAKE
Using an offset spatula, spread a thin crumb coat of the chocolate cream cheese buttercream over the entire cake. This helps trap any loose crumbs, giving the final layer of frosting a smooth finish.
After applying the crumb coat, refrigerate the cake for 15-20 minutes to allow it to set. Then, spread the remaining frosting over the cake, covering it completely.
DECORATE AND SERVE
Now for the fun part—decorating! While this cake is stunning on its own, a few finishing touches can take it over the top.
- Chocolate Shavings: Use a vegetable peeler to shave chocolate curls over the cake.
- Sprinkles: Add festive sprinkles for a fun touch.
- Fresh Berries: Strawberries or raspberries add a pop of color and a fresh contrast to the richness of the cake.
Once decorated, slice and serve! This cake is best enjoyed at room temperature, allowing the flavors to fully develop.
FREQUENTLY ASKED QUESTIONS & FINAL TIPS
By now, you’ve mastered the art of making this decadent Hershey’s Chocolate Cake with Cream Cheese Filling. But before you dive in and enjoy every bite, let’s go over some common questions and expert tips to ensure your cake turns out perfect every time.
FREQUENTLY ASKED QUESTIONS
1. CAN I MAKE THIS CAKE AHEAD OF TIME?
Yes! You can bake the cake layers a day in advance. Wrap them tightly in plastic wrap and store them at room temperature or in the refrigerator. The frosting and cream cheese filling can also be made a day ahead and stored in an airtight container in the fridge. Just bring everything to room temperature before assembling.
2. HOW DO I GET A SMOOTH FINISH ON THE FROSTING?
For a perfectly smooth buttercream finish, apply a thin crumb coat first and chill the cake for about 15-20 minutes. Then, use an offset spatula or a bench scraper to spread the final layer of frosting evenly. If needed, warm your spatula slightly for an extra-smooth finish.
3. CAN I USE A DIFFERENT FROSTING?
Absolutely! If you prefer a classic chocolate buttercream without cream cheese, you can substitute it. A whipped ganache or a simple chocolate glaze also works well for a different texture.
4. HOW SHOULD I STORE LEFTOVER CAKE?
Since the cake contains a cream cheese filling, it should be stored in the refrigerator. Cover it with plastic wrap or place it in an airtight container. It will stay fresh for up to 4 days. Before serving, let the cake sit at room temperature for 20-30 minutes for the best texture and flavor.
5. CAN I FREEZE THIS CAKE?
Yes! If you want to freeze the cake, wrap the unfrosted cake layers tightly in plastic wrap and store them in an airtight container for up to 3 months. Thaw overnight in the refrigerator before assembling and frosting. If freezing a fully frosted cake, place it in the freezer for about an hour to firm up, then wrap it in plastic wrap and store for up to 1 month.
6. CAN I USE A DIFFERENT TYPE OF COCOA POWDER?
This recipe is specifically designed to work with Hershey’s Cocoa, which is a natural cocoa powder. If you use Dutch-processed cocoa, the acidity levels will be different, which may affect the cake’s rise and texture. Stick with Hershey’s Cocoa for the best results.
7. HOW CAN I MAKE THIS CAKE EVEN MORE CHOCOLATEY?
For an extra chocolatey twist, stir in ½ cup of chocolate chips into the cake batter before baking. You can also add a drizzle of chocolate ganache over the frosted cake for an indulgent finish.
FINAL TIPS FOR THE PERFECT CAKE
- Measure Ingredients Correctly: Baking is a science! Use a kitchen scale or level off your measuring cups to ensure accuracy, especially for the flour and cocoa powder.
- Use Room Temperature Ingredients: Eggs, butter, and cream cheese should all be at room temperature for smooth mixing and even baking.
- Don’t Overmix the Batter: Once the wet and dry ingredients are combined, mix just until incorporated. Overmixing can lead to a dense cake.
- Check for Doneness Properly: A toothpick inserted into the center should come out with a few moist crumbs, but not wet batter. If needed, bake for an additional 2-3 minutes.
- Chill the Cake Before Slicing: For clean and even slices, refrigerate the cake for about 30 minutes before cutting. This helps the layers stay intact and prevents the frosting from smearing.
Hershey’s Chocolate Cake with Cream Cheese Filling
- Author: Andrew Recipes
- Total Time: 1 hour 30 minutes
Description
This Hershey’s Chocolate Cake is a rich, moist, and decadent dessert filled with a luscious cream cheese layer and topped with chocolate cream cheese buttercream. Perfect for birthdays, celebrations, or any time you crave a slice of indulgence!
Ingredients
For the Chocolate Cake:
- 2 cups sugar
- 1 3/4 cups all-purpose flour
- 3/4 cup Hershey’s Cocoa
- 1 1/2 teaspoons baking powder
- 1 1/2 teaspoons baking soda
- 1 teaspoon salt
- 2 eggs
- 1 cup milk
- 1/2 cup vegetable oil
- 2 teaspoons vanilla extract
- 1 cup boiling water
For the Cream Cheese Filling:
- 1 cup cream cheese, softened
- 1/2 cup powdered sugar
- 1 teaspoon vanilla extract
For the Chocolate Cream Cheese Buttercream:
- 1/2 cup butter, softened
- 1/2 cup cream cheese, softened
- 3/4 cup Hershey’s Cocoa
- 4 cups powdered sugar
- 2 teaspoons vanilla extract
- 2–4 tablespoons milk (as needed)
Instructions
1️⃣ Preheat oven to 350°F (175°C). Grease and flour two 9-inch round baking pans.
2️⃣ Make the Cake Batter: In a large mixing bowl, whisk together sugar, flour, cocoa powder, baking powder, baking soda, and salt.
3️⃣ Mix Wet Ingredients: Add eggs, milk, vegetable oil, and vanilla extract. Beat on medium speed for 2 minutes.
4️⃣ Incorporate Boiling Water: Stir in the boiling water slowly (batter will be thin). Pour the batter evenly into the prepared cake pans.
5️⃣ Bake: Bake for 30-35 minutes, or until a toothpick inserted in the center comes out clean. Let cakes cool for 10 minutes, then remove from pans and cool completely on wire racks.
6️⃣ Prepare the Cream Cheese Filling: Beat together cream cheese, powdered sugar, and vanilla extract until smooth and creamy.
7️⃣ Make the Chocolate Cream Cheese Buttercream: Beat butter and cream cheese until light and fluffy. Gradually add cocoa powder and powdered sugar, beating well. Stir in vanilla extract and add milk (1 tablespoon at a time) until the frosting reaches the desired consistency.
8️⃣ Assemble the Cake:
Cut each cooled cake layer horizontally to create four thin layers.
Place one cake layer on a serving plate and spread 1/3 of the cream cheese filling over the top.
Repeat with the remaining cake layers and filling.
Frost the entire cake with chocolate cream cheese buttercream.
9️⃣ Decorate and Serve: Garnish with chocolate shavings, sprinkles, or fresh berries if desired. Slice and enjoy!
Notes
- Store cake covered in the refrigerator for up to 5 days.
- Let the cake sit at room temperature for 15-20 minutes before serving for the best texture.
- Prep Time: 20 minutes
- Cook Time: 30-35 minutes
Nutrition
- Serving Size: 12

