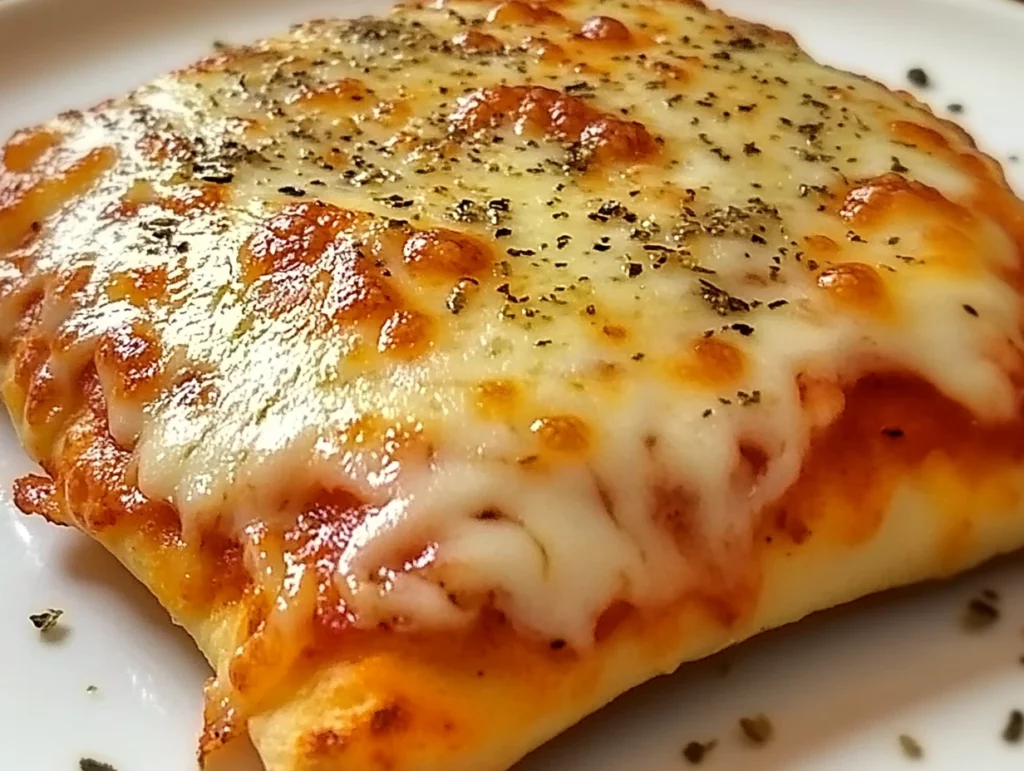
If there’s one thing I know for sure, it’s that handheld foods are always a hit—especially when they involve melty cheese and warm, golden dough. These Homemade Pizza Pockets are my go-to for everything from after-school snacks to casual hangouts with friends. They’re quick, customizable, and incredibly satisfying.
And the best part? They come together in under 30 minutes using just a few simple ingredients. Whether you’re using crescent roll dough or classic pizza dough, you’ll end up with soft, cheesy pockets filled with your favorite pizza flavors. Think of them like the love child of a classic slice and a savory turnover—how could that ever be a bad idea?
This recipe has become one of those “make-it-once-and-you’ll-make-it-forever” types around our house. The first time I tried it, it was purely out of desperation—I had leftover pizza sauce, a bit of shredded mozzarella, and a tube of crescent rolls on the brink of expiring. It was a kitchen experiment that quickly turned into a family favorite. Now, we always keep those basic ingredients on hand, just in case a pizza pocket craving hits (which is more often than I care to admit).
Let’s get into the how-to so you can make these little pockets of joy for yourself!
Ingredients You’ll Need
→ Dough
1 can (about 250–300 g) refrigerated crescent roll dough or pizza dough
→ Filling
120 ml pizza sauce
100 g shredded mozzarella cheese
50 g pepperoni slices, or your choice of toppings (cooked sausage, diced mushrooms, bell peppers, etc.)
→ Seasoning
0.25 teaspoon garlic powder
0.25 teaspoon Italian seasoning
→ Finishing
Olive oil or melted butter, for brushing
Parmesan cheese, for sprinkling

STEP-BY-STEP INSTRUCTIONS
Step 1: Preheat the Oven and Prep Your Baking Sheet
Start by preheating your oven to 190°C (375°F). Line a baking sheet with parchment paper or give it a light coat of oil or nonstick spray. This makes cleanup way easier—trust me on this.
Step 2: Roll Out the Dough
On a lightly floured surface, roll out your chosen dough. If you’re using crescent roll dough, separate it into the triangles it’s scored into. If you’re working with pizza dough, roll it into a rectangle and cut it into eight equal pieces (you can do squares or rectangles—whatever shape you prefer, as long as they fold over nicely).
Pro tip: If you’re using crescent dough, try to keep the rolling minimal so you don’t lose that signature flakiness. You just want to even things out, not flatten the soul out of it.

Step 3: Add the Sauce and Toppings
Spoon 1 to 2 teaspoons of pizza sauce onto each dough piece, but don’t go overboard—too much sauce will cause leaks. Leave a little border around the edges to help them seal properly.
Next, sprinkle on the shredded mozzarella, then add your choice of toppings. Pepperoni is a classic, of course, but this is where you can get creative. Leftover cooked sausage, sautéed mushrooms, diced bell peppers, or even some spinach work beautifully here.
Step 4: Season the Filling
Before sealing them up, give the filling a quick flavor boost with a sprinkle of garlic powder and Italian seasoning. It’s a small step that makes a big difference. These little bursts of flavor help the pockets taste like they came from your favorite pizza place—except you made them in your kitchen with zero hassle.
How to Bake and Finish the Perfect Pizza Pockets (Plus Pro Tips!)
Now that we’ve got the filling in place and the pockets loaded with all the deliciousness, it’s time to bring it all together and pop them in the oven. This part is where the magic really happens—those cheesy insides meet golden, crispy outsides, and suddenly your kitchen smells like a neighborhood pizzeria.
If you’re someone who’s ever had trouble with stuffed dough recipes leaking, don’t worry—I’ve got a few tried-and-true tips to help you seal them up like a pro. From brushing on the perfect finishing glaze to making sure your cheese doesn’t ooze out mid-bake, this next section covers everything you need to get those pockets just right.
Let’s jump back into the steps and finish up these golden little beauties!

Step 5: Seal the Pockets
Now it’s time to fold each piece of dough over to form a neat little pocket. If you’re using crescent triangles, fold one side over the filling to make a triangle and pinch the edges. If you’re working with rectangles or squares, just fold one side over to match the opposite edge and press down.
To make sure everything stays tucked inside, press the edges firmly with the tines of a fork. Go all the way around if needed. This not only helps with sealing but gives the edges a cute, crimped look that makes them feel even more homemade.
Pro tip: If you spot any thin spots in the dough after folding, lightly brush a bit of olive oil or melted butter over them. This helps prevent leaks and adds a little extra golden color in those areas.
Step 6: Brush and Sprinkle
Place the sealed pizza pockets on your prepared baking sheet, giving each one a bit of breathing room (you don’t want them crowding each other during baking).
Brush the tops of each pocket lightly with olive oil or melted butter. This helps create that golden, flaky crust that’s just as satisfying to look at as it is to bite into. Then, give each one a sprinkle of Parmesan cheese for a little salty, crispy finish that’s honestly irresistible.
Step 7: Bake Until Golden
Pop the tray into your preheated oven and bake for 12 to 15 minutes, or until the dough turns a beautiful golden brown and the cheese inside is bubbling.
Every oven is a little different, so start checking around the 12-minute mark. You want a nicely browned exterior—soft in the center, but crisp and flaky on the outside.
When they’re done, pull them out and let them rest on the tray for a few minutes. I know it’s tempting to dive right in, but letting them cool slightly gives the cheese time to set so you won’t burn your mouth (we’ve all been there).
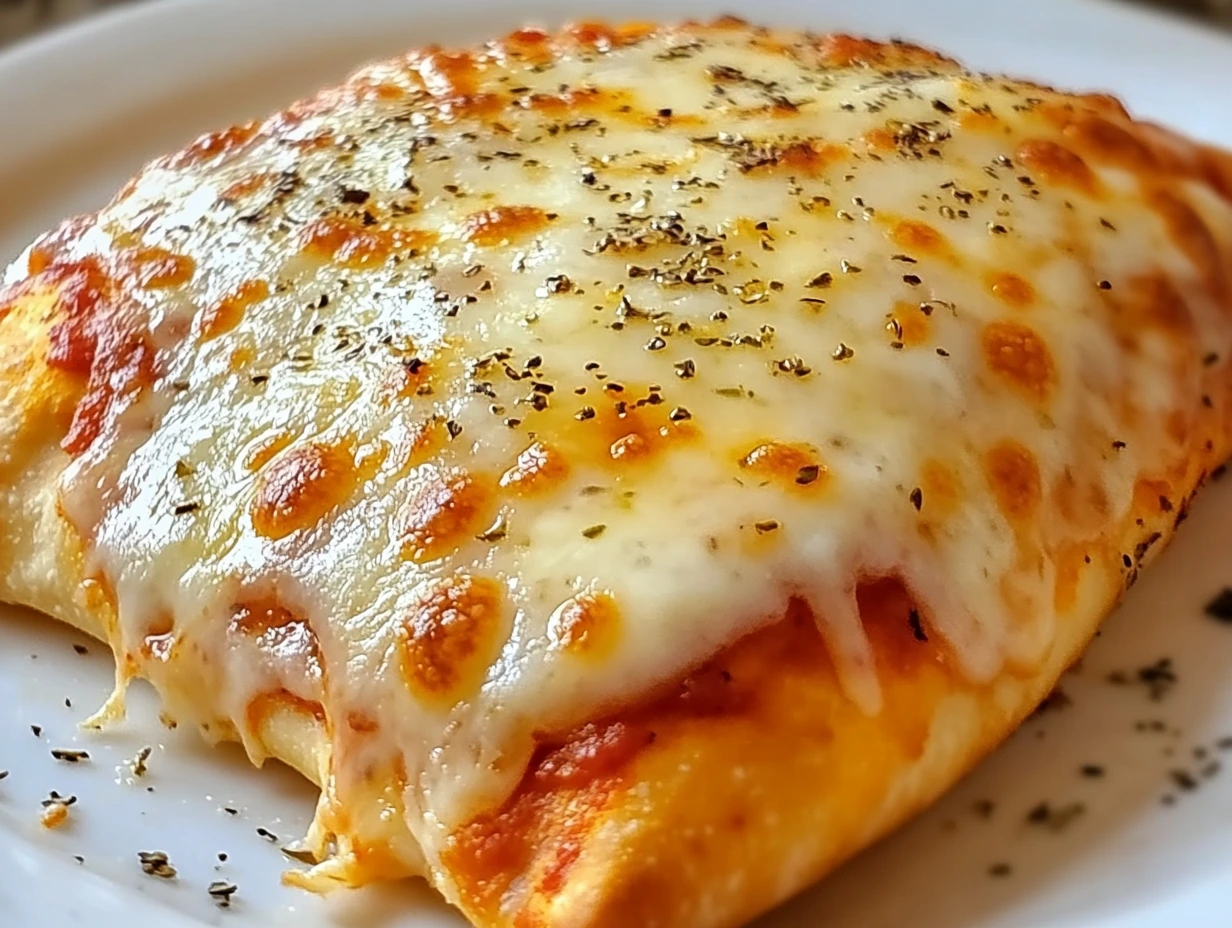
TIPS FOR PERFECT PIZZA POCKETS
Here are a few helpful things I’ve learned along the way to make these pockets even easier and more delicious:
Don’t overstuff: I know it’s tempting, but adding too much filling will make it harder to seal and more likely to burst during baking. A little goes a long way when the cheese melts.
Keep fillings dry: If you’re using vegetables like mushrooms or bell peppers, cook them first to remove excess moisture. This keeps the dough from getting soggy.
Cheese on top of sauce: Layering the mozzarella over the sauce (instead of under it) helps seal in the flavor and prevent the sauce from soaking into the dough.
Try dipping sauces: While these are amazing on their own, I love serving them with extra pizza sauce, ranch, or even garlic butter on the side for dipping.
Reheat like a pro: If you have leftovers (rare, but it happens!), reheat them in a toaster oven or oven at a low temp (around 160°C) to bring back that crispiness. Avoid the microwave if you can—it tends to make the dough a bit chewy.
FAQ + Final Thoughts on the Best-Ever Homemade Pizza Pockets
By now, your kitchen probably smells amazing, and if you’ve already taken a bite (or three), you know just how satisfying these pizza pockets can be. They’re simple, fast, and crowd-pleasing—pretty much everything you want in a go-to recipe. But before we wrap up, I wanted to answer a few common questions I often get when making or sharing these.
Whether it’s about swapping ingredients, storing leftovers, or freezing them for later, these tips should help you feel confident every step of the way.
FREQUENTLY ASKED QUESTIONS
1. Can I make these pizza pockets ahead of time?
Absolutely! You can prep them earlier in the day and keep them in the fridge (unbaked) for a few hours. When you’re ready, just pop them in the oven as directed. If baking straight from the fridge, add 1–2 extra minutes to the baking time.
2. Can I freeze these pizza pockets?
Yes! After baking, let them cool completely, then wrap them individually in foil or parchment paper and store in a freezer-safe bag. Reheat in a toaster oven or standard oven at 180°C (350°F) for about 10–12 minutes, or until heated through and crispy again.
3. What other fillings work well?
So many! You can try cooked sausage, ham and pineapple, sautéed mushrooms, spinach and ricotta, or even make them buffalo-style with shredded chicken and hot sauce. Just keep the fillings pre-cooked and not too wet.
4. Can I use homemade dough instead of store-bought?
Of course! If you have a favorite pizza dough recipe, go for it. Just roll it out and cut into individual sections as directed. The baking time may vary slightly depending on how thick your dough is, so keep an eye on them around the 12-minute mark.
5. How do I prevent leaks while baking?
Be sure not to overfill, and always leave a border around the edge of the dough when adding sauce and toppings. Press those edges firmly with a fork and brush any thin spots with a little oil to help create a stronger seal.
6. What dipping sauces go well with these?
Pizza sauce is the obvious choice, but you can also serve them with ranch, garlic butter, marinara, or even a creamy pesto. Kids love having a few options to choose from!
7. Can I make these vegetarian or vegan?
Definitely. For vegetarian, just skip the meat and load up on veggies. For vegan, use plant-based cheese and a dough that doesn’t contain dairy (many store-bought pizza doughs are naturally vegan, but always check the label).
WRAPPING IT UP: WHY YOU’LL KEEP COMING BACK TO THIS RECIPE
I’ve made these pizza pockets more times than I can count, and they never get old. They’re the kind of recipe that fits just about every situation: busy weeknight dinners, game-day snacks, picky-eater lunches, or even something fun to make with the kids on the weekend. You can stick to the classic pepperoni-and-cheese combo or switch things up based on whatever leftovers are hanging out in the fridge.
What really makes this recipe a winner, though, is the balance of ease and flexibility. You don’t need a long list of ingredients, and you don’t need much time. Just a few pantry staples, some dough, and about 30 minutes, and you’ve got something that feels both homemade and just a little indulgent.
Print
Irresistibly Easy Homemade Pizza Pockets
- Author: Andrew Recipes
Description
These homemade pizza pockets are a fun, handheld twist on classic pizza flavors. Golden, flaky dough envelopes gooey mozzarella, savory pepperoni (or your favorite toppings), and zesty tomato sauce. Ready in under 30 minutes, they’re perfect for lunchboxes, snack time, or a casual gathering with friends.
Ingredients
→ Dough
1 can (about 250–300 g) refrigerated crescent roll dough or pizza dough
→ Filling
120 ml pizza sauce
100 g shredded mozzarella cheese
50 g pepperoni slices or alternative toppings such as cooked sausage, diced mushrooms, or bell peppers
→ Seasoning
0.25 teaspoon garlic powder
0.25 teaspoon Italian seasoning
→ Finishing
Olive oil or melted butter, for brushing
Parmesan cheese, for sprinkling
Instructions
Preheat the oven to 190 °C and prepare a baking sheet by lining it with parchment paper or lightly greasing it for easy cleanup.
On a lightly floured surface, roll out the dough. If using crescent roll dough, separate it into the pre-scored triangles. If using pizza dough, divide and cut it into eight equal rectangles.
Spoon one to two teaspoons of pizza sauce onto each piece of dough, leaving a small border around the edges. Top with shredded mozzarella and your choice of pepperoni or other toppings.
Sprinkle garlic powder and Italian seasoning evenly over the filling. Fold the dough over to create a sealed pocket and press the edges firmly with the tines of a fork.
Brush the tops of each pocket with olive oil or melted butter and finish with a light dusting of Parmesan cheese. Arrange them on the prepared baking sheet.
Bake for 12 to 15 minutes, or until the dough is golden brown and the cheese inside has fully melted.
Allow the pizza pockets to cool for a few minutes before serving, and offer extra pizza sauce on the side for dipping.
Notes
Use a rolling pin sparingly on crescent dough to preserve its flaky layers.
Feel free to customize fillings—swap pepperoni for diced ham and pineapple, or go veggie with spinach and roasted red peppers.
Brush a little extra oil on any seams that look thin to prevent leaks during baking.
Serve warm for the best melty-cheese experience; leftovers can be reheated in a toaster oven to retain crispness.

