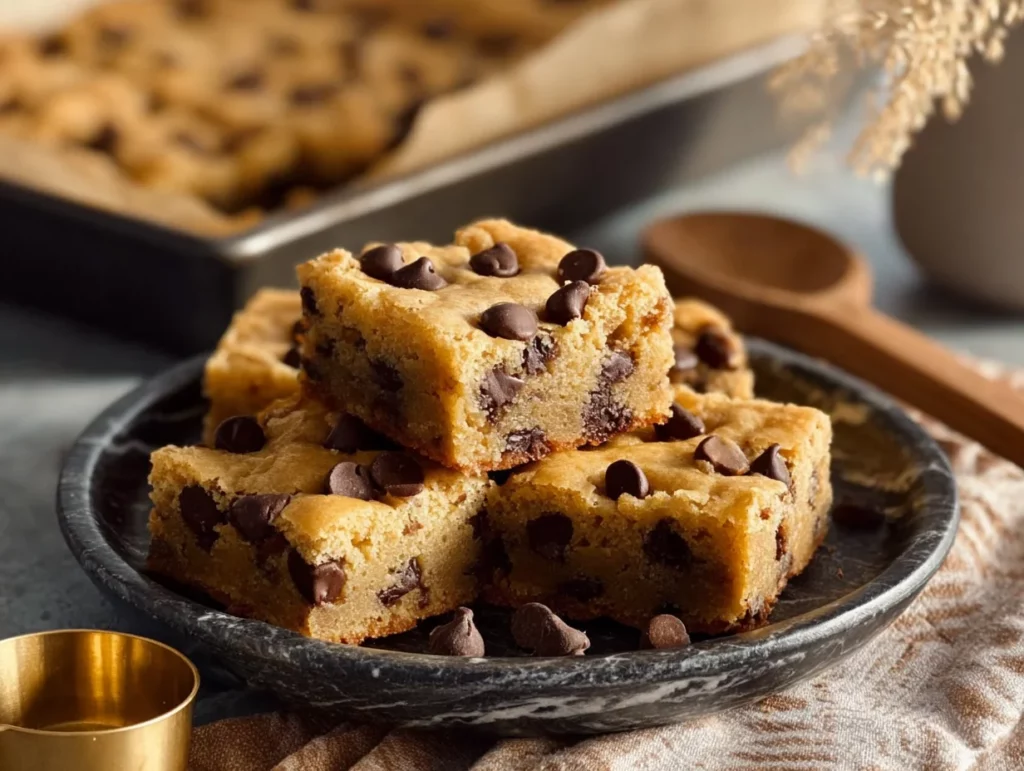
There are days when I absolutely crave something sweet and chocolatey—but the thought of scooping out cookie dough or cleaning up a mound of dishes? Not happening. That’s exactly why these Lazy Chocolate Chip Cookie Bars have become my go-to dessert on busy nights, lazy weekends, or anytime I just want a quick and easy treat with all the cozy vibes of homemade cookies.
These bars are everything you love about classic chocolate chip cookies: soft, buttery centers, golden-brown edges, and of course, plenty of melty chocolate chips. But here’s the best part—they come together in one bowl. That’s right. No stand mixer, no chilling, and no scooping. Just mix, bake, slice, and enjoy. It’s the kind of recipe that feels like cheating—but in the best possible way.
I first whipped these up on a weeknight when I was craving something sweet but had zero motivation to roll dough. I tossed everything into a bowl, popped it into the oven, and 25 minutes later I was slicing into thick, golden bars that tasted like something straight from a bakery. Ever since then, this recipe has lived in my “save me” file—and trust me, it’s earned that spot.
Let’s get started!
Ingredients You’ll Need
½ cup unsalted butter, melted
1 cup brown sugar, packed
1 large egg
1 teaspoon vanilla extract
1 cup all-purpose flour
½ teaspoon baking powder
¼ teaspoon salt
1 cup chocolate chips (semi-sweet, milk, or your favorite kind)
Simple, pantry-friendly ingredients that you probably already have on hand—another reason why these cookie bars are such a win.
STEP-BY-STEP INSTRUCTIONS
Step 1: Prep Your Pan and Oven
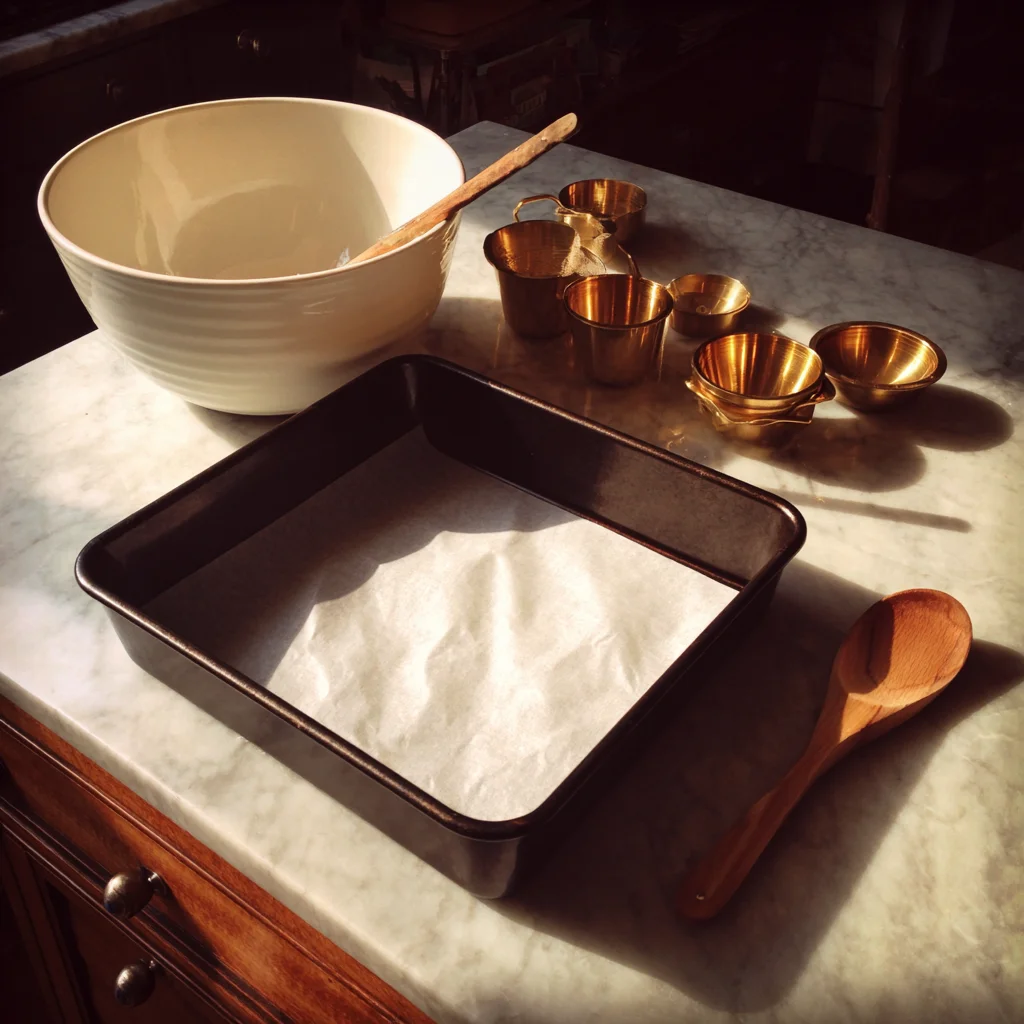
Preheat your oven to 350°F. You’ll want to line an 8×8-inch baking pan with parchment paper (for easy lift-out) or lightly grease it with nonstick spray. Either method works great, so just go with whatever’s easier for you.
Step 2: Mix the Wet Ingredients
In a medium mixing bowl, whisk together the melted butter and brown sugar until smooth. You don’t need a mixer here—a simple whisk or spoon does the trick. The brown sugar gives these bars that signature chewy, rich flavor we all love.
Next, add in the egg and vanilla extract, and stir until everything is fully combined. The batter will look glossy and smooth.

Step 3: Add the Dry Ingredients
Now it’s time to add the dry ingredients. Stir in the flour, baking powder, and salt. Mix just until everything is combined—don’t overmix, or you’ll lose some of that soft, tender texture.
Step 4: Fold in the Chocolate Chips
Once your dough comes together, gently fold in the chocolate chips. You can use semi-sweet (classic), milk chocolate (extra sweet), or even a mix. If you want to get fancy, toss in a handful of white chocolate chips or some chopped nuts too.
At this point, the dough should be thick and a little sticky—exactly what we want.
Step 5: Spread and Bake
Spread the dough evenly into your prepared pan, smoothing out the top with a spatula or the back of a spoon. Bake in the preheated oven for 20 to 25 minutes, or until the top is golden brown and a toothpick inserted in the center comes out with a few moist crumbs.
Resist the urge to overbake—these bars continue to set as they cool, and you want that perfectly soft, slightly gooey center.
Lazy Chocolate Chip Cookie Bars: The Easiest Way to Bake Your Cravings Away
Welcome back to Part 2 of this easy-peasy baking adventure! If you’ve already got your Lazy Chocolate Chip Cookie Bars in the oven, you’re probably starting to smell that buttery, chocolatey goodness filling your kitchen. It’s the kind of smell that makes everyone peek their head around the corner and ask, “What are you making?”
Now that we’ve mixed, folded, and baked our cookie bars, let’s talk about the finishing touches—how to cool, slice, store, and maybe even freeze them for later. (Though let’s be honest, they probably won’t last that long.) I’ll also share a few simple tips and fun variations to take these bars to the next level without adding much effort.
Step 6: Cool Before Slicing
As tempting as it is to dive right in the second they come out of the oven, you’ll want to give the bars at least 15 minutes to cool in the pan. This short rest time helps them set up and makes slicing so much easier. The edges will firm up, and the center will settle into that perfectly soft and chewy texture.
If you’re impatient (been there), you can even pop the pan into the fridge for 10 minutes to speed up the process. Just make sure they’ve cooled enough that they won’t fall apart when you lift and cut them.
Step 7: Slice and Serve
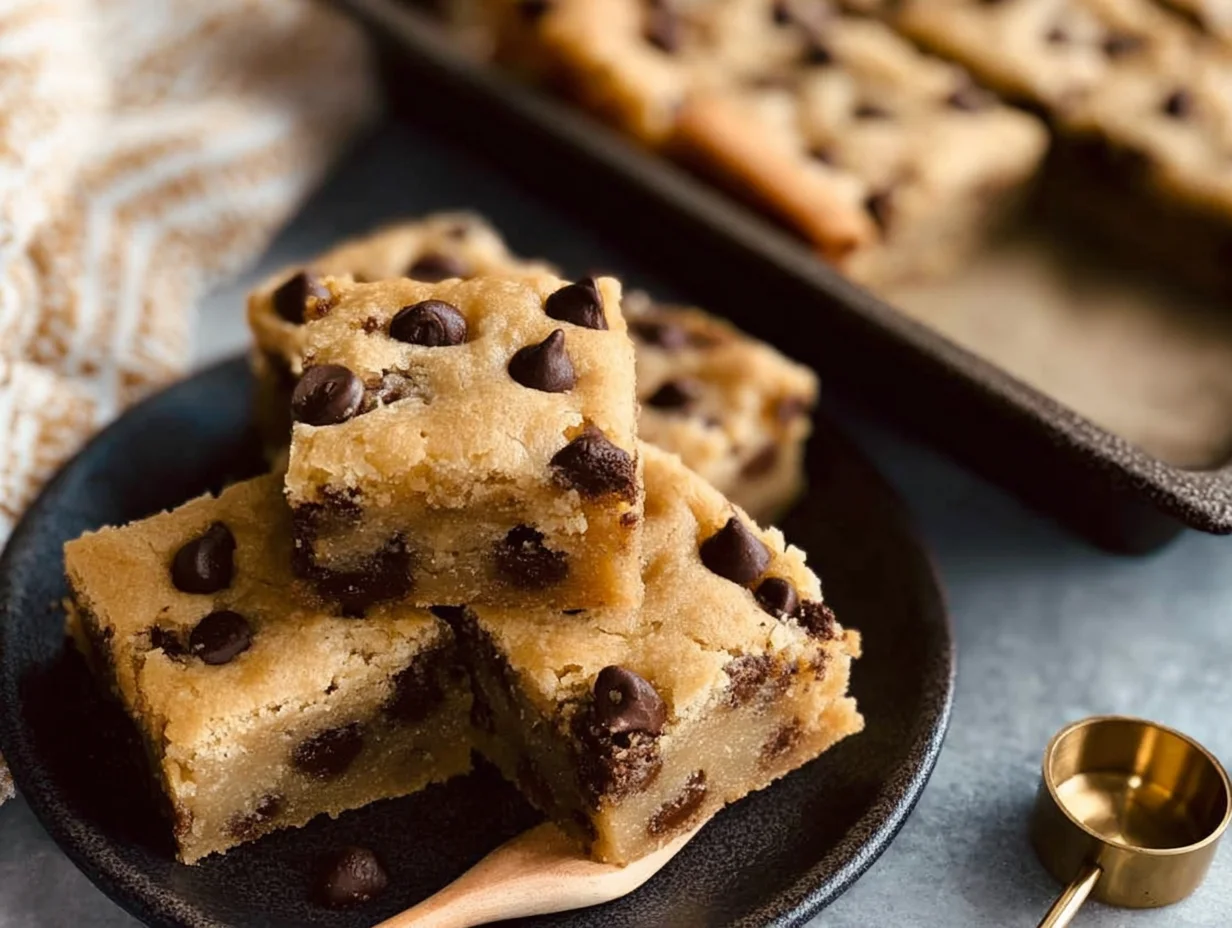
Once cooled, lift the bars out of the pan using the parchment paper, or just cut them directly in the pan if you didn’t use a liner. Slice into 9 squares (or more if you like smaller bites), and serve them warm or at room temperature.
They’re delicious on their own, but if you’re feeling extra, serve them with a scoop of vanilla ice cream or a drizzle of chocolate sauce. Talk about comfort food!
TIPS TO MAKE THESE COOKIE BARS EVEN BETTER
One of the best things about this recipe is how easy it is to customize. Whether you’re using up pantry staples or adding your own twist, these ideas are low-effort and high-reward:
1. Switch Up the Chocolate
Dark chocolate chips add a richer flavor if you prefer something less sweet.
Milk chocolate makes them extra melty and indulgent.
A mix of chocolate chips (semi-sweet, white, milk) adds some variety in every bite.
2. Add Some Crunch
Fold in ½ cup of chopped walnuts, pecans, or even toasted coconut for added texture. It gives a nice contrast to the gooey softness of the bars.
3. Swirl in Something Extra
Add a few tablespoons of peanut butter, Nutella, or cookie butter to the top of the batter before baking and gently swirl it in with a knife. It looks beautiful and adds a whole new layer of flavor.
4. Make it Festive
Want to dress these up for a holiday or party? Stir in some seasonal candies, colored sprinkles, or mini M&M’s. These bars are a blank canvas—you can make them fit any occasion.
STORAGE AND MAKE-AHEAD TIPS
These cookie bars aren’t just easy to make—they’re also easy to store, which is great if you’re baking ahead or saving leftovers (if there are any!).
Room Temperature:
Store them in an airtight container for up to 3 days. They’ll stay soft and chewy.
Refrigerator:
They’ll keep a bit longer—up to 5 days—if you store them in the fridge. Just let them come to room temperature before serving, or warm them in the microwave for 10-15 seconds.
Freezer:
Yes, these bars freeze beautifully! Wrap individual squares in plastic wrap, then place them in a freezer-safe zip-top bag or container. They’ll keep for up to 2 months. When you’re ready to eat, let them thaw at room temperature or warm in the microwave.
A FEW TROUBLESHOOTING TIPS
Even simple recipes can throw us a curveball now and then. Here’s how to avoid the most common pitfalls:
Bars too dry or cakey? You might have overbaked them. Check at the 20-minute mark and look for lightly golden edges and a slightly underdone center. They’ll firm up as they cool.
Too gooey to cut? Let them cool longer. They need time to set before slicing, especially if you like them extra soft.
Edges too crispy? Try lining your pan with parchment paper. It helps distribute heat more evenly and prevents over-browning.
Lazy Chocolate Chip Cookie Bars: The Easiest Way to Bake Your Cravings Away
We’ve mixed, baked, cooled, and sliced—now it’s time to wrap up this Lazy Chocolate Chip Cookie Bar journey with a few helpful answers to questions I get asked all the time about this recipe. Whether it’s about substitutions, storage, or just how to make them even more irresistible, I’ve got you covered.
FREQUENTLY ASKED QUESTIONS
1. Can I double this recipe?
Absolutely! If you’re baking for a crowd or just want more bars (who doesn’t?), you can easily double the ingredients and bake them in a 9×13-inch pan. Just increase the baking time slightly—start checking around the 28–32 minute mark. You’ll still be looking for that golden top and soft center.
2. Can I use salted butter instead of unsalted?
Yes, you can substitute salted butter if that’s what you have on hand. Just reduce the added salt in the recipe to a pinch (or about 1/8 teaspoon) to balance the flavor. It won’t change the texture, just keep the saltiness in check.
3. Can I use white sugar instead of brown sugar?
You can, but it will change the flavor and texture a bit. Brown sugar adds moisture and that chewy, rich taste we love in cookie bars. If you only have white sugar, the bars will be a bit lighter and crispier, but still tasty.
4. How do I know when they’re done baking?
Start checking at 20 minutes. The edges should be golden and slightly pulled away from the pan. A toothpick inserted in the center should come out with a few moist crumbs, not wet batter. Remember, they’ll continue to cook and set as they cool, so don’t wait for a completely dry toothpick.
5. Can I add mix-ins or toppings?
Definitely! These bars are super flexible. Try crushed pretzels, caramel bits, mini marshmallows, or even a sprinkle of flaky sea salt on top before baking. Just be careful not to overload the batter—you still want it to bake evenly.
6. Do these bars need to be refrigerated?
Nope! They’re perfectly fine stored at room temperature in an airtight container for a few days. Refrigerating them can extend their shelf life a bit, but it’s not necessary unless your kitchen is particularly warm.
7. Can I make these gluten-free?
Yes! Just use a 1:1 gluten-free flour blend that’s meant for baking. Make sure it contains xanthan gum or another binding agent, or add ¼ teaspoon if your blend doesn’t include it. The texture will be slightly different, but still chewy and delicious.
FINAL THOUGHTS: EASY BAKING WINS EVERY TIME
There’s something so satisfying about a recipe that checks all the boxes: fast, easy, minimal cleanup, and completely delicious. These Lazy Chocolate Chip Cookie Bars are one of those back-pocket desserts that you’ll find yourself making again and again—whether it’s for a casual weeknight treat, a last-minute gathering, or just because you deserve something sweet.
The beauty of this recipe is in its simplicity. No mixer. No chill time. Just melt, mix, and bake. It’s perfect for those of us who love homemade cookies but don’t always have the energy for the full cookie routine.
So the next time you’re hit with a cookie craving and don’t feel like scooping dough, remember this recipe. Try it once, and I promise—it’s going to become a regular in your baking rotation.
Print
Lazy Chocolate Chip Cookie Bars
- Author: Andrew Recipes
Description
These Lazy Chocolate Chip Cookie Bars are the perfect solution when you’re craving homemade cookies but don’t feel like scooping dough or washing extra dishes. Everything comes together quickly in one bowl, and the result is a buttery, soft, golden-brown cookie bar with gooey chocolate chips in every bite. It’s comfort baking with minimal effort and maximum payoff.
Ingredients
½ cup unsalted butter, melted
1 cup brown sugar, packed
1 large egg
1 teaspoon vanilla extract
1 cup all-purpose flour
½ teaspoon baking powder
¼ teaspoon salt
1 cup chocolate chips
Instructions
Preheat your oven to 350°F and line an 8×8-inch baking pan with parchment paper or lightly grease it.
In a mixing bowl, whisk together the melted butter and brown sugar until smooth and combined. Add the egg and vanilla extract, and stir until fully incorporated.
Add the flour, baking powder, and salt to the wet mixture. Stir until just combined, being careful not to overmix. Fold in the chocolate chips.
Spread the dough evenly into the prepared pan. Bake for 20 to 25 minutes or until the top is golden and a toothpick inserted into the center comes out with a few moist crumbs.
Let the bars cool in the pan for at least 15 minutes before slicing into squares. Serve warm or at room temperature.
Notes
Use semi-sweet, milk, or even white chocolate chips depending on your preference. For an extra twist, stir in chopped nuts or a spoonful of peanut butter. These bars store well in an airtight container for up to 3 days, and they freeze beautifully for longer storage.

