
If you’re looking for a treat that’s simple to make yet packed with flavor, this lemon loaf is the answer. It’s one of those recipes that’s both easy and impressive, making it perfect for any occasion – from a cozy afternoon snack to a special gathering. Imagine the bright citrus scent filling your kitchen as you bake this moist, tender loaf, with that refreshing zing of lemon in every bite. The beauty of this lemon loaf lies in its simplicity. Fresh lemon juice and zest infuse the loaf with vibrant citrus flavors, and the Greek yogurt keeps it moist and soft, making it nearly impossible to stop at just one slice. Plus, the tangy lemon glaze on top adds that perfect finishing touch!
This recipe is a go-to in my kitchen, and I’m sure it’ll become a favorite in yours as well. Whether you’re sipping tea or enjoying a cup of coffee, a slice of this lemon loaf is sure to brighten your day. Let’s get started on this deliciously zesty treat that’s as easy to make as it is to enjoy.
Ingredients You’ll Need
Before you begin, gather all your ingredients. The combination of everyday pantry staples and fresh ingredients like lemons will come together perfectly. Here’s what you’ll need:
For the Lemon Loaf:
1 1/2 cups all-purpose flour
1 teaspoon baking powder
1/2 teaspoon baking soda
1/4 teaspoon salt
3/4 cup granulated sugar
2 large eggs
1/2 cup plain Greek yogurt (or sour cream)
1/2 cup unsalted butter, melted and slightly cooled
2 tablespoons fresh lemon juice
1 tablespoon lemon zest
1 teaspoon vanilla extract
For the Lemon Glaze:
1 cup powdered sugar, sifted
2–3 tablespoons fresh lemon juice
Step-by-Step Instructions to Make Lemon Loaf
Step 1: Prepare Your Oven and Pan
Start by preheating your oven to 350°F (175°C). Greasing the pan and lining it with parchment paper will make sure your loaf comes out easily once it’s done. A 9×5-inch loaf pan works perfectly for this recipe. The parchment paper is key here – it’s the trick to getting that perfect, undisturbed slice when you’re ready to serve.

Step 2: Mix the Dry Ingredients
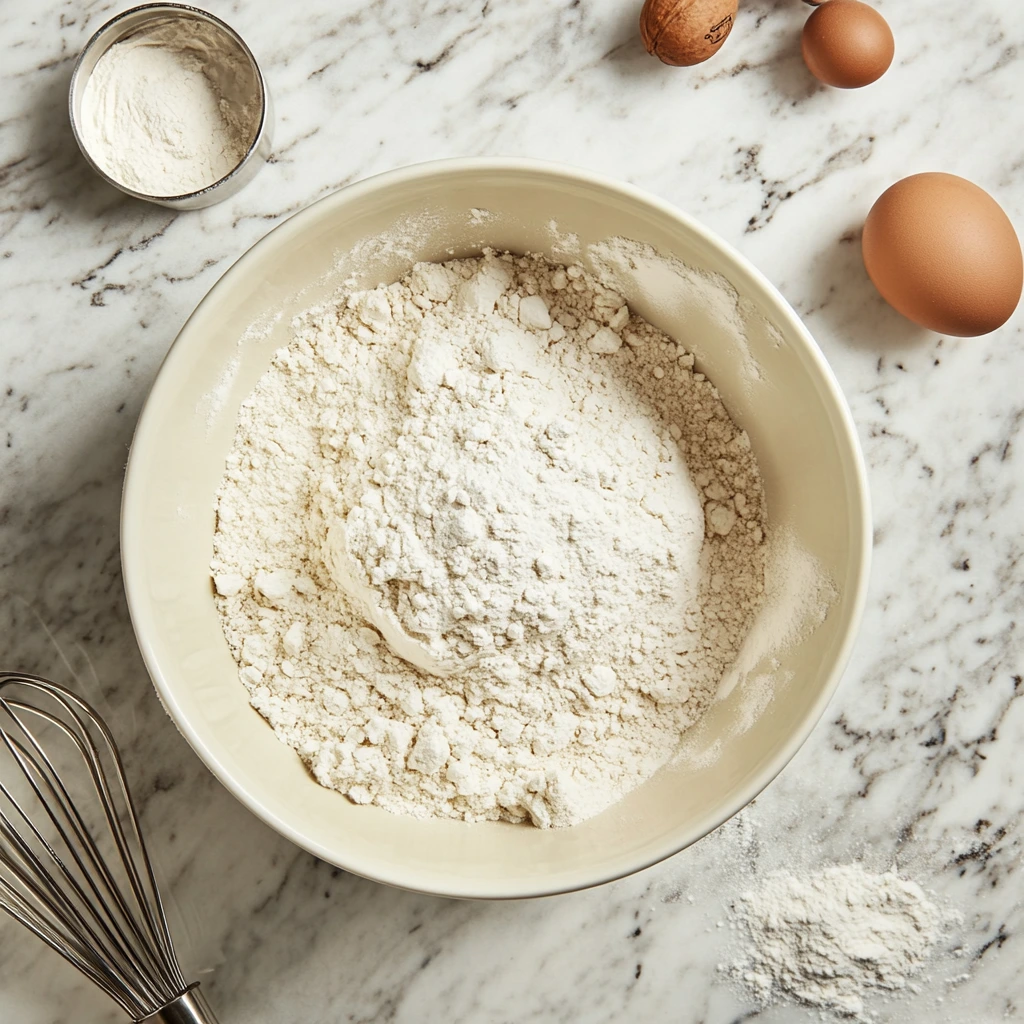
In a medium bowl, whisk together the all-purpose flour, baking powder, baking soda, and salt. It’s important to sift the flour and mix these dry ingredients well, so they’re evenly distributed. This will give the loaf the perfect rise and help ensure the texture is light and fluffy. Once everything is combined, set this bowl aside for now.
Step 3: Combine the Wet Ingredients
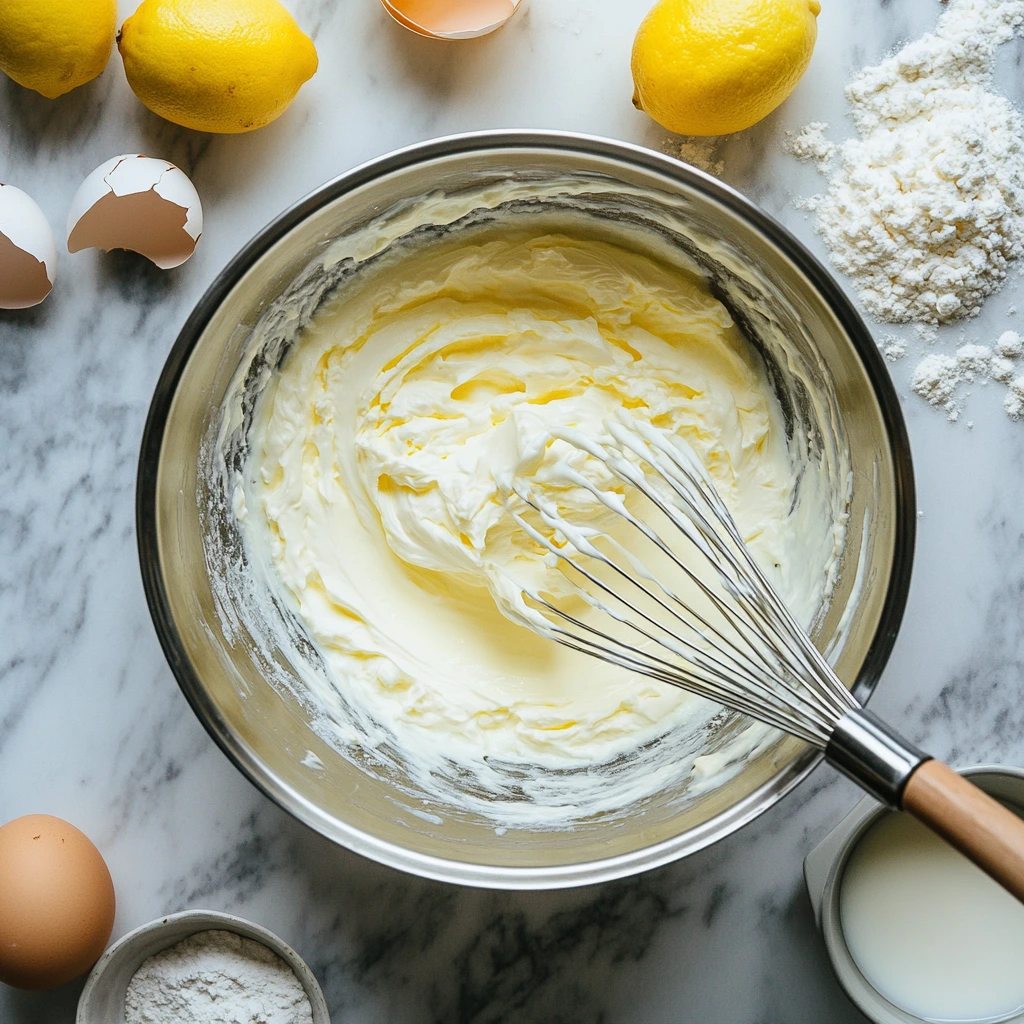
In a larger bowl, whisk together the granulated sugar, eggs, and Greek yogurt until the mixture is smooth. The Greek yogurt (or sour cream) is going to add that rich, tender texture that makes this loaf so moist. Next, gently whisk in the melted butter, fresh lemon juice, lemon zest, and vanilla extract. This combination will infuse the loaf with a bright, fresh lemon flavor and provide that perfect balance between tangy and sweet.
Step 4: Combine Wet and Dry Ingredients
Now, it’s time to bring everything together. Slowly fold the dry ingredients into the wet mixture. Be gentle here – you don’t want to overmix, as that can lead to a dense loaf. Just fold the dry ingredients in until everything is incorporated. You’ll notice the batter is thick and creamy, just what you want for a perfect loaf.
Step 5: Bake the Loaf
Pour the batter into your prepared loaf pan, smoothing the top with a spatula. Pop it into your preheated oven and bake for 45–55 minutes. The baking time can vary slightly depending on your oven, so it’s best to start checking around the 45-minute mark. To test if it’s done, insert a toothpick into the center of the loaf – if it comes out clean, you’re good to go! Once the loaf is ready, let it cool in the pan for 10 minutes before transferring it to a wire rack to cool completely.
The smell of the loaf baking is just heavenly! Let it cool completely before glazing it, so that the glaze doesn’t melt and soak into the loaf.
Adding the Glaze and Helpful Tips for Perfecting Your Lemon Loaf
Now that your lemon loaf has cooled to perfection, it’s time to add that irresistible finishing touch – the lemon glaze. The glaze is what takes this simple loaf from good to great, adding just the right amount of sweetness and extra citrusy goodness. This step is quick and easy, and it will leave your loaf with that perfect shiny finish.
Step-by-Step Instructions for Lemon Glaze
Step 1: Whisk Together the Glaze Ingredients
In a small bowl, whisk together the powdered sugar and fresh lemon juice until smooth. You’ll want to make sure there are no lumps, so sift the powdered sugar before mixing. The amount of lemon juice you use will depend on how thick or runny you want your glaze. Start with 2 tablespoons of lemon juice and then add more if needed to reach your desired consistency. If it’s too thick, simply add a bit more lemon juice until it’s smooth and pourable.
Step 2: Drizzle the Glaze Over the Loaf
Once your glaze is ready, it’s time to drizzle it over the cooled loaf. I recommend using a spoon to drizzle it evenly over the top. The glaze will naturally spread and drip down the sides, giving your loaf a beautiful, glossy finish. Let the glaze set for a few minutes to firm up before slicing and serving. The longer you let the glaze sit, the more it will harden, so feel free to adjust according to your preference.
Tips for Perfecting Your Lemon Loaf
While this recipe is fairly straightforward, here are some tips to ensure you get the best possible lemon loaf every time:
Tip 1: Use Fresh Lemons for the Best Flavor
For the best lemon flavor, always use fresh lemons for both the juice and the zest. Bottled lemon juice just won’t give you the same zesty, fresh flavor that fresh lemons do. Plus, zesting your own lemons is so easy, and it adds a bright, fragrant element to the loaf that you just can’t get from a bottle.

Tip 2: Don’t Overmix the Batter
This is one of the most important tips for any quick bread or loaf: don’t overmix the batter. Once the dry ingredients are added to the wet, gently fold them together until just combined. Overmixing can lead to a dense loaf, and nobody wants that! A few lumps are okay – as long as everything is incorporated.
Tip 3: Let the Loaf Cool Completely Before Glazing
This step is crucial. If you glaze the loaf while it’s still warm, the glaze will melt and soak into the bread, rather than sitting on top like a glossy finish. Let the loaf cool completely on a wire rack before glazing to ensure that perfect, shiny layer on top.
Tip 4: Add Extra Flavors or Texture (Optional)
While this lemon loaf is delicious on its own, there are a few variations you can try to make it even more special. If you love texture, you can add poppy seeds or blueberries to the batter for a fun twist. Poppy seeds complement the lemon flavor beautifully and give the loaf an added crunch. Blueberries, on the other hand, will add bursts of sweetness and a lovely color contrast. Just be sure to fold them in gently to avoid crushing the fruit.
Tip 5: Storing and Freezing Your Lemon Loaf
This lemon loaf keeps beautifully, and you can store it for up to 3 days in an airtight container at room temperature. If you want to store it longer, simply freeze it. Wrap the loaf tightly in plastic wrap and place it in a freezer-safe bag or container. It can be frozen for up to 3 months, and when you’re ready to enjoy it again, just let it thaw at room temperature.
The Perfect Pairing: Lemon Loaf and Your Favorite Drink
This lemon loaf pairs perfectly with a variety of drinks. A hot cup of tea or coffee complements the fresh lemon flavor, and the loaf is also great as a light breakfast or snack. If you’re feeling extra indulgent, enjoy a slice with a cup of hot chocolate or even a sparkling lemonade for a citrusy twist.
FAQ and Conclusion
Now that we’ve gone through the steps to make this delicious lemon loaf, you might have a few questions about the process. Whether you’re wondering about ingredient substitutions or how to store the loaf, I’ve got you covered! In this section, I’ll address some of the most common questions I receive about this recipe and share some extra tips to ensure your lemon loaf turns out perfectly every time.
FAQ Section:
1. Can I use a different type of yogurt in this recipe?
Absolutely! While Greek yogurt is a great choice because it adds moisture and richness, you can also use sour cream as a substitute if you prefer. Both options will give you that tender, soft texture. If you don’t have either on hand, plain regular yogurt will work as well, but the loaf may be slightly less rich. Just make sure to use plain yogurt and not flavored, as that could affect the taste.
2. Can I use salted butter instead of unsalted butter?
Yes, you can, but if you decide to use salted butter, make sure to omit the added salt from the recipe. Unsalted butter gives you more control over the amount of salt in the loaf, and the amount of salt is balanced perfectly with the other ingredients. If you use salted butter, you may want to taste the batter before baking and adjust accordingly.
3. How can I make my lemon loaf more flavorful?
If you’re looking to amplify the lemon flavor, try adding a little lemon extract in addition to the lemon juice and zest. Just a teaspoon of lemon extract can give your loaf a more pronounced citrus kick without overpowering the other flavors. You can also increase the zest or juice, depending on how tangy you’d like the loaf to be. However, don’t go overboard with the zest, as too much can make the loaf bitter.
4. What should I do if the loaf starts to brown too quickly in the oven?
If you notice that the top of your loaf is browning too quickly while baking, you can cover it loosely with aluminum foil. This will help the loaf cook through without over-browning. Make sure the foil doesn’t touch the batter, though, as this can prevent the loaf from rising properly. Check on your loaf periodically to make sure it’s baking evenly.
5. Can I freeze this lemon loaf?
Yes! This lemon loaf freezes beautifully. Once it has completely cooled, wrap it tightly in plastic wrap or aluminum foil and place it in a freezer-safe bag. It will keep in the freezer for up to 3 months. To enjoy it later, simply let it thaw at room temperature. If you like, you can freeze the loaf before glazing it, and then add the glaze after it’s thawed for that fresh, glossy finish.
6. Can I add other ingredients to this loaf?
Definitely! This lemon loaf is versatile, and you can make it your own by adding different mix-ins. Try adding a handful of poppy seeds for a classic lemon-poppy seed loaf, or fold in some fresh blueberries for a sweet contrast to the tangy lemon. If you want to keep it even more decadent, you could also stir in some white chocolate chips. Just be sure to fold in any extras gently to avoid overmixing the batter.
7. How long will this lemon loaf stay fresh?
If stored properly in an airtight container at room temperature, this lemon loaf will stay fresh for about 3 days. After that, the loaf may begin to dry out. For longer storage, you can freeze it for up to 3 months. Just make sure to wrap it well to prevent freezer burn.
Conclusion:
This lemon loaf is the perfect balance of tangy, sweet, and tender, with a beautiful finish thanks to the lemon glaze. It’s a simple, yet elegant treat that’s sure to brighten up your day, whether you’re serving it for a special occasion or just enjoying a slice with your morning coffee. The best part? It’s easy to make and even easier to enjoy.
Now that you’ve learned all the tips and tricks to make this lemon loaf, I hope you give it a try and fall in love with it as much as I have. Don’t forget to share your results and any fun variations you try. I always love hearing how others tweak the recipe to make it their own. Happy baking, and enjoy your lemony, buttery goodness!
Print
Lemon Loaf
- Author: Andrew Recipes
Description
This lemon loaf is a deliciously moist and tangy treat, perfect for any occasion. The combination of fresh lemon juice and zest infuses the loaf with bright citrus flavors, while the Greek yogurt keeps it tender and rich. The finishing touch of sweet, tangy lemon glaze adds an irresistible shine and extra burst of lemony goodness. It’s a simple, yet elegant dessert or snack that pairs wonderfully with a cup of tea or coffee.
Ingredients
For the Lemon Loaf:
1 1/2 cups all-purpose flour
1 teaspoon baking powder
1/2 teaspoon baking soda
1/4 teaspoon salt
3/4 cup granulated sugar
2 large eggs
1/2 cup plain Greek yogurt (or sour cream)
1/2 cup unsalted butter, melted and slightly cooled
2 tablespoons fresh lemon juice
1 tablespoon lemon zest
1 teaspoon vanilla extract
For the Lemon Glaze:
1 cup powdered sugar, sifted
2–3 tablespoons fresh lemon juice
Instructions
Preheat your oven to 350°F (175°C). Grease a 9×5-inch loaf pan and line it with parchment paper for easy removal.
In a medium bowl, whisk together the flour, baking powder, baking soda, and salt. Set aside.
In a large bowl, whisk together the sugar, eggs, and Greek yogurt until smooth. Gradually whisk in the melted butter, lemon juice, lemon zest, and vanilla extract until well combined.
Gently fold the dry ingredients into the wet mixture until just combined. Avoid overmixing.
Pour the batter into the prepared loaf pan and smooth the top with a spatula. Bake for 45–55 minutes, or until a toothpick inserted into the center comes out clean. Let the loaf cool in the pan for 10 minutes, then transfer to a wire rack to cool completely.
In a small bowl, whisk together the powdered sugar and lemon juice until smooth and pourable. Adjust the consistency by adding more sugar or lemon juice as needed.
Once the loaf is completely cooled, drizzle the glaze over the top. Allow the glaze to set for a few minutes before slicing and serving.
Notes
For a richer flavor, you can substitute sour cream for the Greek yogurt.
If you want to make the loaf more indulgent, you can add poppy seeds or blueberries to the batter for extra texture and flavor.
This loaf keeps well in an airtight container for up to 3 days at room temperature, or you can freeze it for longer storage.
Be sure to let the loaf cool completely before glazing to prevent the glaze from melting into the loaf.

