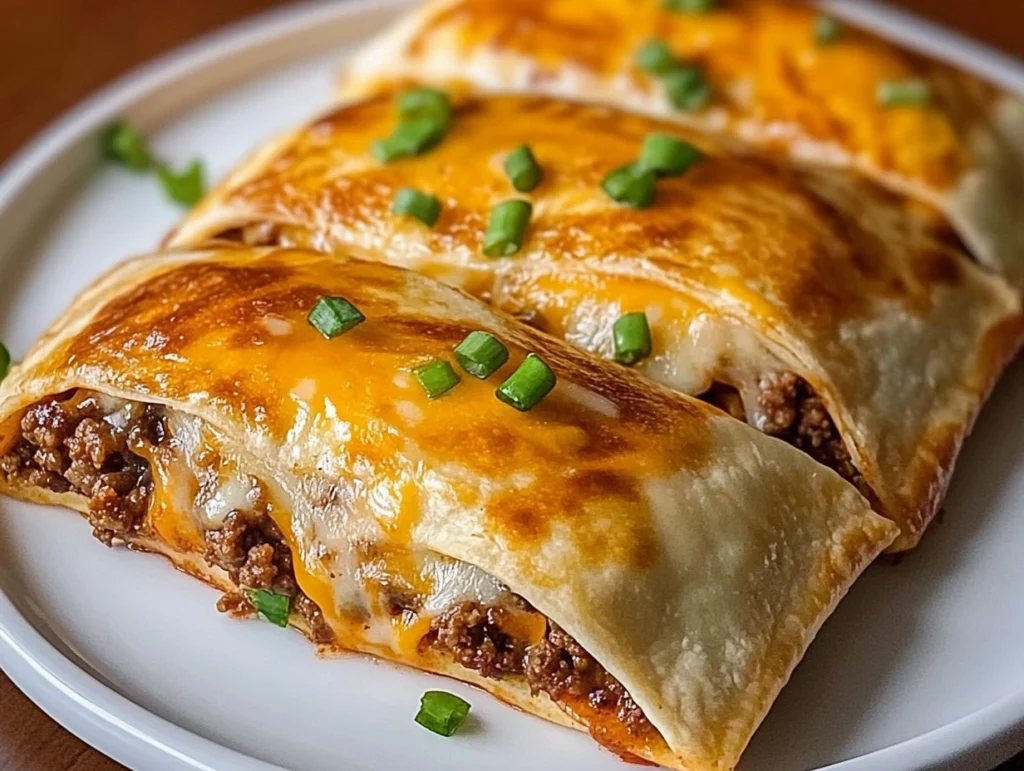
There’s something magical about finger food that oozes with flavor and satisfies all your cravings in one bite. Enter Cheesy Pocket Tacos—a delectable, gooey, cheesy delight that’s perfect for dinner, game day, or just a casual snack night. These tacos are not your traditional folded fare; they’re packed, pocketed, and baked to golden perfection. Trust me, once you try them, they’ll be an instant hit in your household!
I stumbled upon this recipe while looking for something quick, comforting, and irresistibly cheesy. It’s now a staple in our kitchen, and the best part? It’s ridiculously easy to whip up. Let’s dive right in and get started!
The Perfect Filling for the Perfect Pocket
First things first—let’s talk about the filling. This recipe is all about layers of flavor, and we’ll start with the star: seasoned beef.
1️⃣ Brown the Beef
Grab your favorite skillet and heat it up over medium heat. Add a pound of ground beef and cook it until it’s perfectly browned. Make sure to break it apart with your spatula for an even cook. Oh, and don’t forget to drain any excess grease—no one wants a soggy taco pocket.

2️⃣ Season to Perfection
Here’s where the magic begins! Stir in one packet of taco seasoning, following the instructions on the back. This ensures every bite of beef is bursting with that zesty taco flavor we all love. Once it’s mixed thoroughly, set the skillet aside.
Creamy, Cheesy Goodness
Now that the beef is ready, let’s add the creamy and tangy layer that ties it all together: the cream cheese mixture.
3️⃣ Whip Up the Cream Cheese Mixture
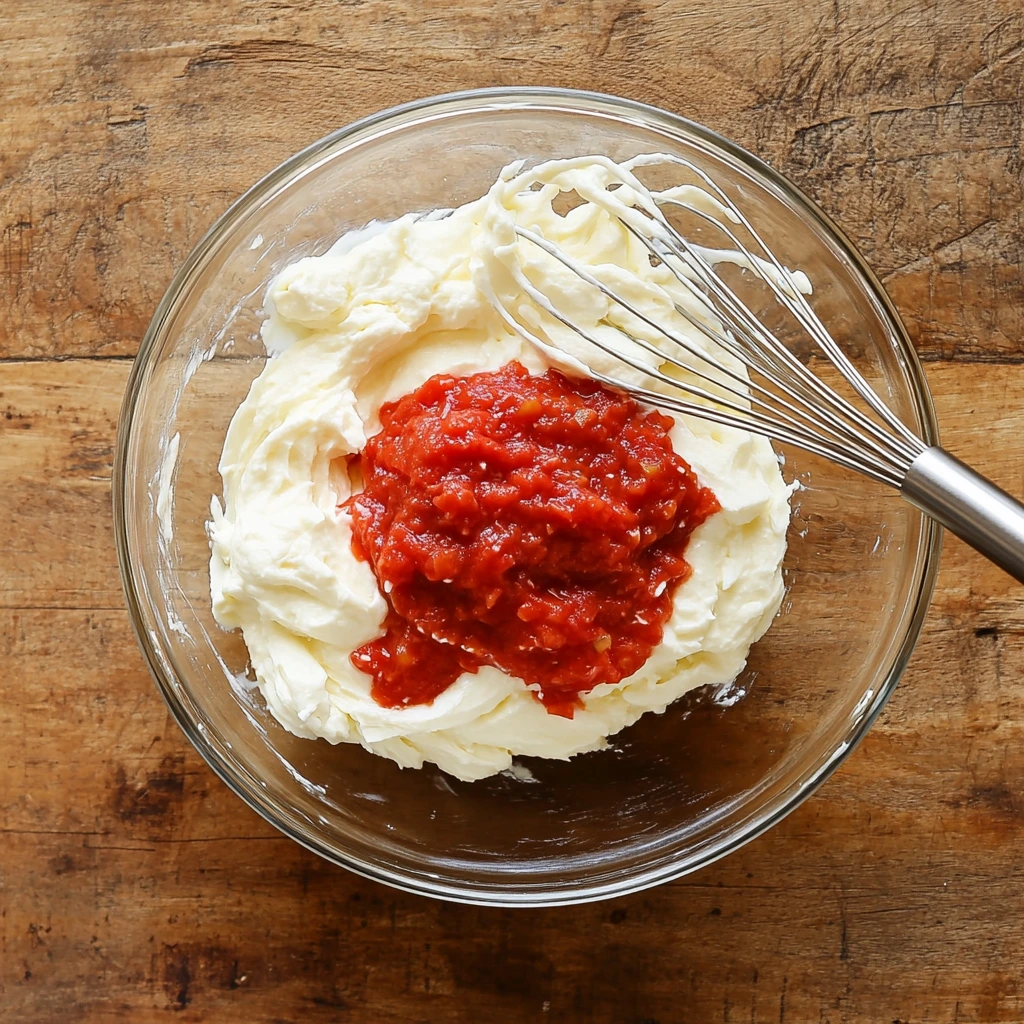
Take 8 ounces of softened cream cheese and beat it in a medium bowl until it’s smooth and fluffy. This step is crucial—it’s the secret to getting that melt-in-your-mouth texture. Then, add ½ cup of your favorite salsa and blend it together. The salsa brings a tangy, slightly spicy kick that pairs beautifully with the beef.
Pro tip: If you like a smoky flavor, try a fire-roasted salsa—it takes the taste to the next level.
Time to Assemble
Here comes the fun part: putting it all together.
4️⃣ Assemble the Tacos
Lay out your 6-inch tortillas on a clean surface. Spread a dollop of the cream cheese mixture right in the center. Add a generous spoonful of the seasoned beef on top and finish with a sprinkle of shredded Cheddar cheese—because let’s be honest, there’s no such thing as too much cheese.
5️⃣ Fold into Perfect Pockets
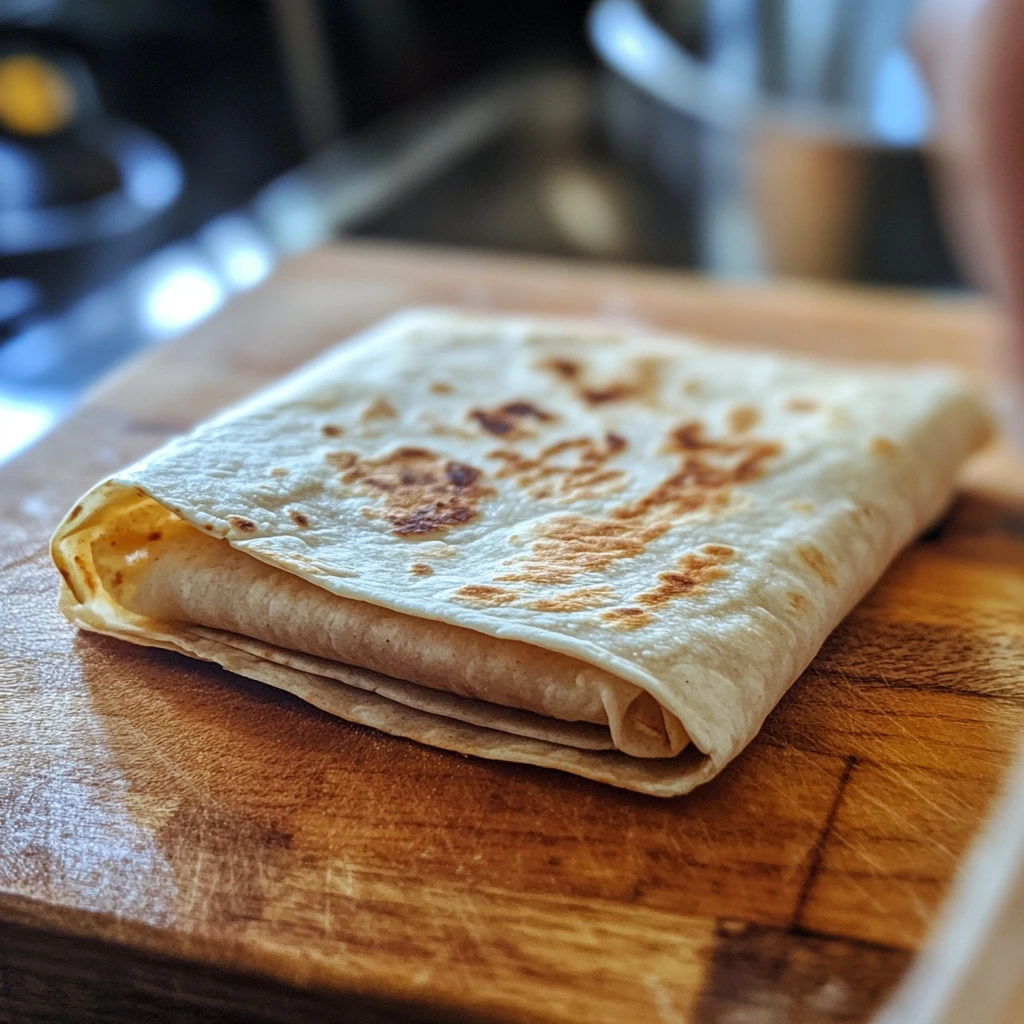
Fold the tortillas burrito-style, tucking in the edges tightly to form a neat pocket. This step is key to ensuring all the deliciousness stays sealed inside during baking.
Cheesy Pocket Tacos: Crisping to Perfection
Welcome back to our cheesy taco adventure! By now, you’ve crafted those perfectly stuffed and folded pockets of deliciousness. But what good is a cheesy taco pocket without that golden, crispy finish? In this section, I’ll guide you through baking them to perfection, plus share some pro tips and fun variations to keep things exciting.
Bake It to Perfection
The oven is where these pockets truly transform. The combination of melted butter and the right baking temperature ensures a beautiful golden-brown crust that’s just as satisfying to look at as it is to bite into.
6️⃣ Prepare for Baking
Start by preheating your oven to 350°F (175°C). While the oven is warming up, prepare your baking tray. Spray it lightly with cooking spray to prevent sticking—because no one wants their cheesy creations stuck to the pan!
Place your folded taco pockets seam-side down on the tray, leaving a bit of space between each one. This helps them crisp up evenly. Then, take 2 tablespoons of melted butter and brush it generously over the tops of the pockets. Trust me, this step is a game-changer. The butter gives the tortillas a golden color and irresistible crunch.
7️⃣ Bake to Golden Perfection
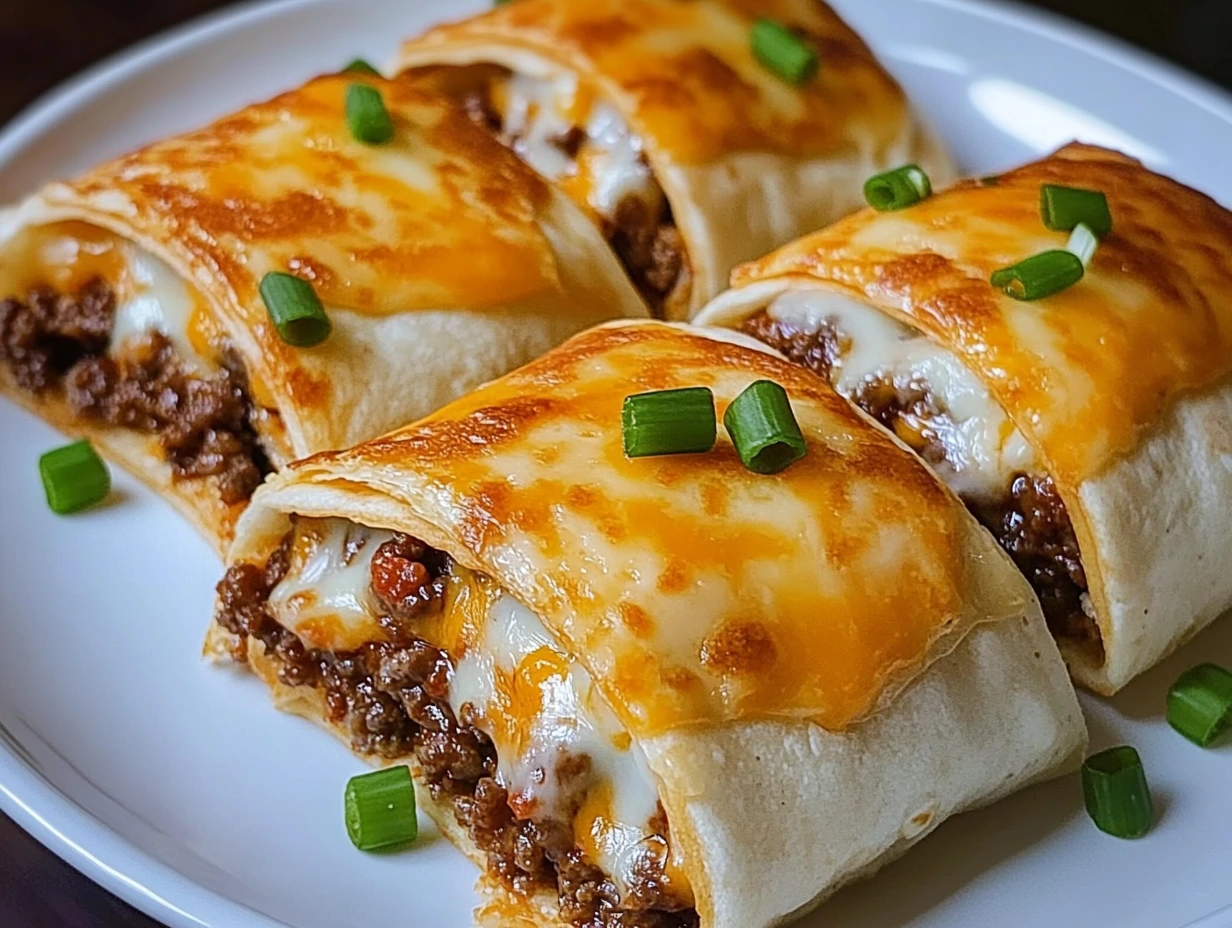
Pop the tray into the oven and bake for about 15 minutes. Keep an eye on them as the tortillas turn a gorgeous golden brown and the cheese inside melts into ooey-gooey goodness. If you’re like me, you’ll find yourself peeking into the oven every few minutes—it’s all part of the excitement!
Once done, remove the tray and let the pockets cool for a minute or two. The hardest part? Resisting the urge to dive right in while they’re piping hot.
Tips and Tricks for Perfect Tacos
Want to take your Cheesy Pocket Tacos to the next level? Here are some of my favorite tips to make them even better:
1. Customize Your Fillings:
While the beef and cream cheese combo is a classic, feel free to get creative. Shredded chicken, black beans, or even sautéed veggies make fantastic alternatives or additions. This is a great way to cater to different tastes at your dinner table.
2. Add a Spicy Kick:
If you’re a heat lover, mix in a few dashes of hot sauce to the cream cheese mixture, or sprinkle in some diced jalapeños. For those who love smoky spice, chipotle peppers in adobo sauce are a must-try.
3. Extra Crispy Finish:
For an ultra-crispy crust, turn on the broiler for the last minute or two of baking. Keep a close eye on them to avoid burning, but this step gives the tortillas that restaurant-quality crisp.
4. Sauce It Up:
Serve your taco pockets with an array of dipping sauces. Salsa, guacamole, sour cream, or even queso dip make these pockets even more addictive.
Serving Suggestions
Cheesy Pocket Tacos are incredibly versatile. They’re hearty enough to serve as a main dish but also work wonderfully as a snack or appetizer. Here are some ideas to complete your meal:
- Serve with a Side: Pair these tacos with a side of Mexican rice, refried beans, or a fresh green salad for a well-rounded dinner.
- Make It a Party: These pockets are a hit for game nights and parties. Arrange them on a platter with a selection of dipping sauces and watch them disappear.
- Perfect for Kids: Kids love these cheesy, handheld snacks. Plus, they’re great for little hands, and you can sneak in extra veggies without anyone noticing!
Cheesy Pocket Tacos: FAQs and Final Thoughts
Congratulations, taco lovers—you’ve made it to the final stretch! By now, your Cheesy Pocket Tacos are baked to perfection and ready to enjoy. But before we wrap things up, let’s dive into some common questions about this recipe and share a few final tips to ensure your tacos are always a hit.
FAQs About Cheesy Pocket Tacos
1. Can I make these ahead of time?
Absolutely! These tacos are great for meal prep. Assemble them as instructed, but instead of baking, store them in an airtight container in the fridge for up to 24 hours. When you’re ready, brush them with melted butter and bake.
2. Can I freeze Cheesy Pocket Tacos?
Yes! After baking, let the tacos cool completely, then wrap each pocket individually in plastic wrap or foil. Store them in a freezer-safe bag for up to three months. To reheat, pop them in the oven at 350°F until warmed through and crispy.
3. What can I use as a substitute for ground beef?
This recipe is versatile! Swap out ground beef for ground turkey, shredded chicken, or even plant-based meat alternatives. You can also skip the meat entirely and load them up with black beans, corn, and sautéed veggies for a vegetarian option.
4. My tortillas keep tearing—how can I prevent this?
Tortillas can crack if they’re too cold. Warm them slightly in the microwave (wrapped in a damp paper towel) for about 15-20 seconds before assembling. This makes them more pliable and easier to fold.
5. How do I prevent my tacos from getting soggy?
Make sure to drain any excess grease from the beef and pat your tortillas dry before filling. Also, avoid overloading the pockets with too much filling, as this can make them harder to bake evenly.
6. Can I add extra cheese?
Of course! If you’re a cheese lover, sprinkle a bit more shredded cheese on top of the filling before folding the tortillas. You can even add some cheese on top of the pockets for a gooey, golden topping.
7. What’s the best way to reheat leftovers?
For the best texture, reheat leftovers in the oven or air fryer at 350°F until crispy and heated through. Avoid microwaving, as it can make the tortillas soggy.
Conclusion: Your New Favorite Comfort Food
Cheesy Pocket Tacos are more than just a recipe—they’re a celebration of comfort, flavor, and convenience. Whether you’re hosting a party, prepping dinner for a busy weeknight, or indulging in a cheesy treat just because, these tacos never fail to deliver. Their versatility makes them a family favorite, and the possibilities for customization mean you can try something new every time.
Print
Loaded Cheesy Pocket Tacos
- Author: Christophe
Description
These Loaded Cheesy Pocket Tacos are crispy, creamy, and packed with bold taco flavors. Perfect as a quick dinner or snack, these handheld pockets are easy to assemble and bake to golden perfection.
Ingredients
- 1 packet taco seasoning
- 1 pound ground beef
- ½ cup salsa
- 8 ounces cream cheese, softened
- 2 tablespoons melted butter
- 1 cup shredded Cheddar cheese
- 12 6-inch tortillas
Instructions
1️⃣ Brown the Beef
Heat a skillet over medium heat and add the ground beef.
Cook the beef, breaking it apart with a spatula, until browned.
Drain any excess grease from the skillet.
2️⃣ Season the Beef
Stir in the taco seasoning according to the packet’s instructions.
Mix thoroughly to evenly coat the beef.
3️⃣ Prepare the Cream Cheese Mixture
In a medium bowl, beat the softened cream cheese with a hand mixer or whisk until smooth.
Add the salsa and blend until fully combined.
4️⃣ Assemble the Tacos
Lay a tortilla flat on a clean surface.
Spread a portion of the cream cheese mixture in the center.
Add a spoonful of the seasoned beef on top.
Sprinkle with a generous amount of shredded Cheddar cheese.
5️⃣ Form the Pockets
Fold the tortilla over the filling, burrito-style, ensuring the edges are sealed to create a tight pocket.
6️⃣ Prepare for Baking
Preheat your oven to 350°F (175°C).
Spray a baking tray with cooking spray and arrange the filled tortillas on the tray.
Brush the tops with melted butter to enhance browning.
7️⃣ Bake the Pockets
Bake in the preheated oven for about 15 minutes, or until the tortillas are golden brown and crispy.
Notes
- Customize the Filling: Add diced jalapeños, black beans, or corn for extra flavor and texture.
- Cheese Options: Substitute Cheddar with Monterey Jack or a Mexican blend cheese for a different cheesy twist.
- Make Ahead: Assemble the tacos ahead of time and refrigerate until ready to bake

