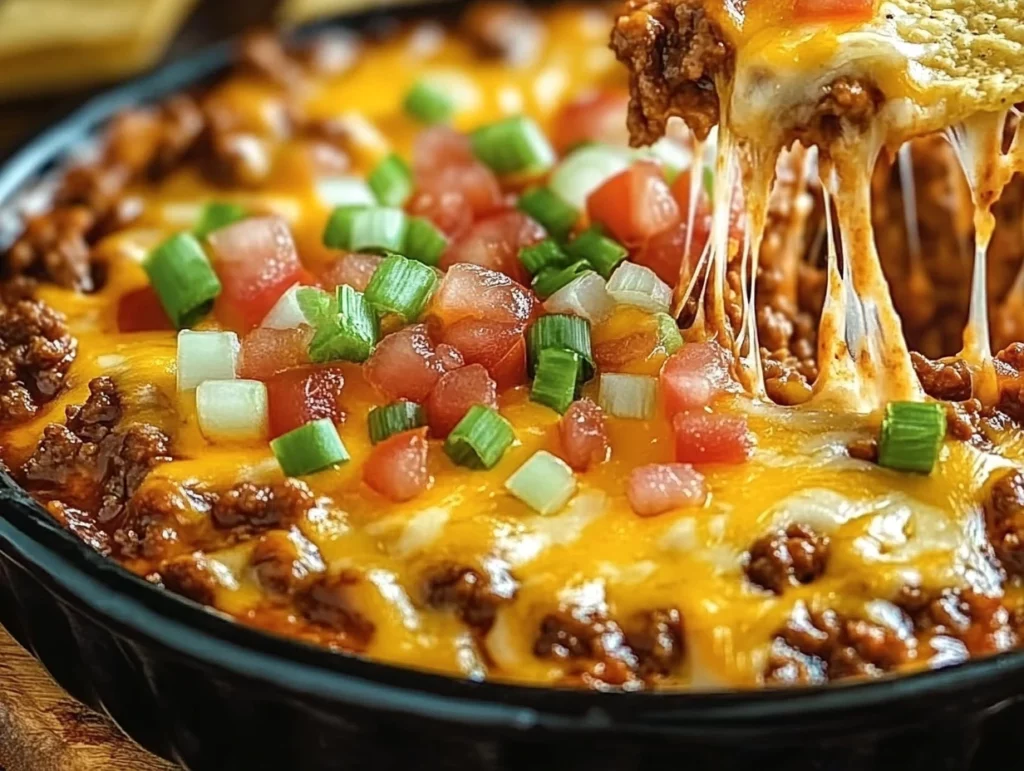
Let me just say this right off the bat: if you’re looking for the kind of dish that disappears before halftime even hits—this is the one. This Meaty Texas Trash Dip is the stuff snack dreams are made of. It’s rich, creamy, ridiculously cheesy, and packs just the right punch of bold Tex-Mex flavor. We’re talking about a warm, bubbly, beefy dip that’s practically begging to be scooped up with a crunchy tortilla chip (or a crisp veggie stick if you’re feeling virtuous).
I’ve been making this dip for years, and I can promise you—it never lasts long. Whether it’s game day, a weekend cookout, or just one of those nights where you want to eat something comforting straight from the baking dish, this recipe delivers every single time.
What I love about it is how incredibly easy it is to throw together. You don’t need any fancy tools, ingredients you can’t pronounce, or complicated prep. It’s a no-fuss, crowd-pleasing kind of dish that feels like a warm hug in food form. So let’s dive right in—because once you make this, it’s going into your party food rotation forever.
BUILDING THE BASE OF YOUR MEATY TEXAS TRASH DIP
We’re starting strong with layers of seasoned ground beef and a velvety bean-and-cheese mixture that’s going to bake into something truly magical. This is the heart of the dip, and it all comes together in just a few simple steps.
Ingredients You’ll Need (Broken Down)
Let’s make things easier by breaking down what you’ll need for each part of the recipe.
Meat Base:
450g ground beef
1 packet taco seasoning mix
60ml water
Creamy Base:
225g cream cheese, softened
240g sour cream
450g can refried beans
120ml salsa
115g can diced green chiles, drained
Seasonings & Cheese:
2 cups (225g) shredded Mexican cheese blend, divided
½ teaspoon garlic powder
½ teaspoon onion powder
Optional Garnishes:
Sliced green onions
Diced tomatoes
Sliced jalapeños
Chopped cilantro
STEP 1: PREHEAT AND PREP
Preheat your oven to 175°C (350°F). Lightly grease a 23×23cm (9×9-inch) baking dish—nothing fancy, just make sure it’s ready for all that cheesy goodness.
STEP 2: COOK THE MEAT
In a large skillet over medium heat, brown your ground beef until it’s no longer pink. You’ll want to break it up with a spatula or spoon so it cooks evenly. Once it’s browned, drain off any excess fat (this keeps the dip from being greasy). Then, stir in your taco seasoning packet and water. Let it simmer for about 2–3 minutes until the liquid reduces a bit and the beef is fully coated in that flavorful seasoning.
This step is what gives the whole dip that crave-worthy, Tex-Mex flavor base. The taco seasoning infuses the beef with just the right amount of spice and richness. If you like things a bit spicier, feel free to toss in a few red pepper flakes or a splash of hot sauce here.
STEP 3: MAKE THE CREAMY LAYER
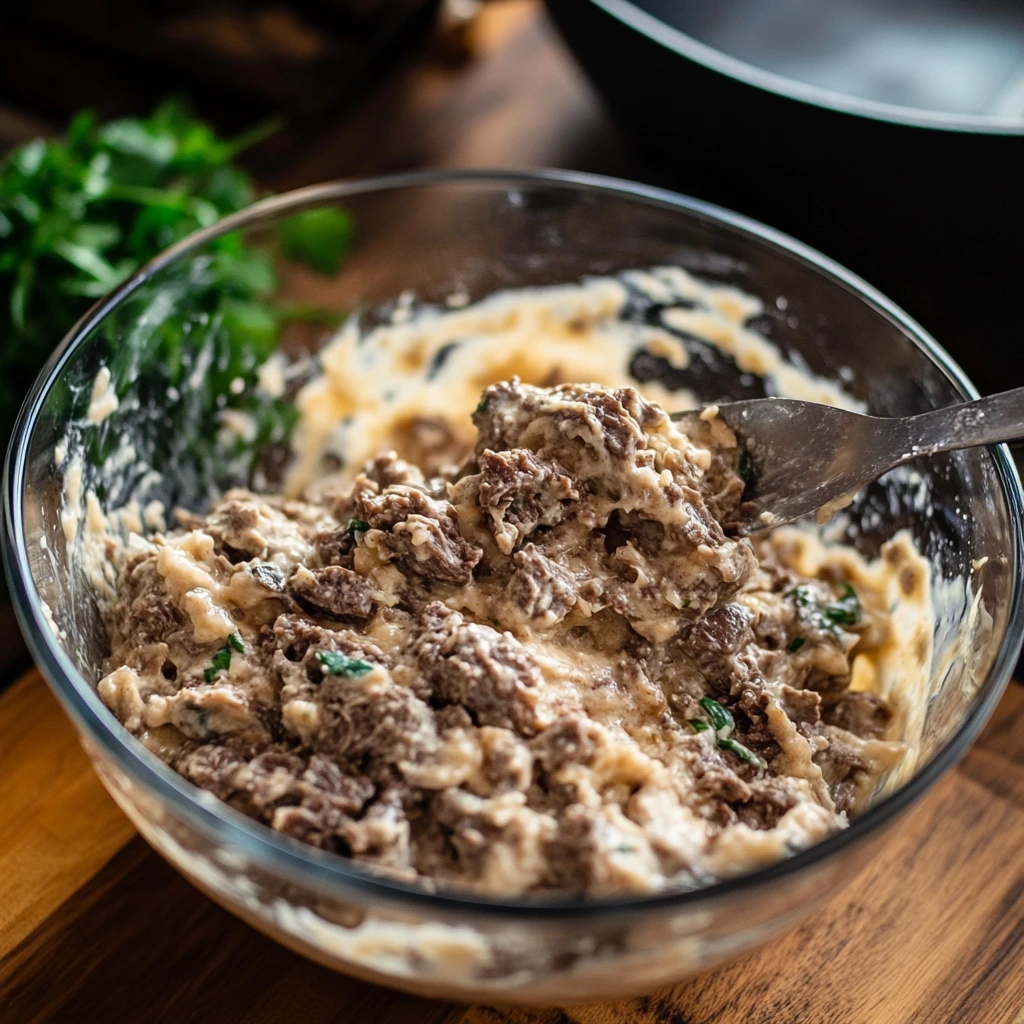
Now let’s get into the creamy, dreamy part. In a large mixing bowl, combine the cream cheese (make sure it’s softened so it mixes well), sour cream, refried beans, salsa, diced green chiles, one cup of shredded cheese, garlic powder, and onion powder.
Use a hand mixer or a sturdy spoon to stir everything together until smooth. This layer is seriously addictive—it’s got creaminess from the dairy, heat from the salsa, and that signature comfort food feel from the beans.
Meaty Texas Trash Dip: Cheesy, Bubbly, and Perfect for a Crowd
Alright, now that we’ve prepped our seasoned beef and creamy bean base, it’s time to bring it all together and get this dip into the oven. This next part is where the magic really happens. When everything is folded together and baked until hot and bubbly, you end up with a golden, cheesy, over-the-top dip that’s absolutely impossible to resist.
This part of the recipe comes together quickly, and once it hits the oven, your kitchen is going to smell incredible. So grab that baking dish and let’s keep going!
BRINGING IT ALL TOGETHER AND BAKING TO PERFECTION
This is the easiest part of the whole process—just a little mixing, a sprinkle of cheese, and into the oven it goes.
STEP 4: COMBINE THE MEAT AND CREAMY BASE
Take your seasoned ground beef and gently fold it into the creamy mixture you just prepared. You want the meat evenly distributed, but don’t overmix—it’s okay if it’s not perfectly uniform. The layers of flavor will still shine through beautifully once it’s baked.
This step is honestly where it all starts to feel like the real deal. You’re combining creamy, cheesy goodness with rich, savory beef, and it’s already looking like a party in a bowl.

STEP 5: TRANSFER TO BAKING DISH AND TOP WITH CHEESE
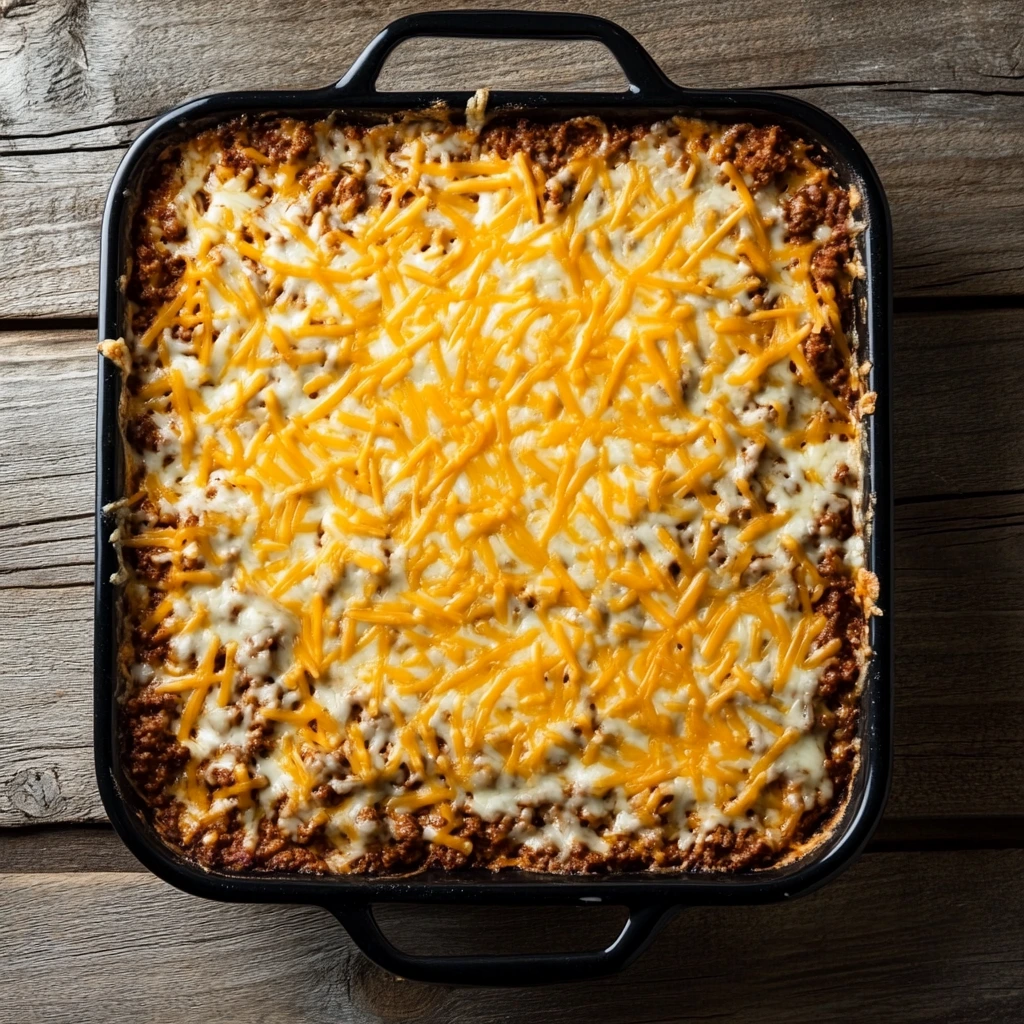
Once your mixture is fully combined, spoon it into the prepared baking dish. Use a spatula to spread it out evenly—this ensures that every scoop has a little bit of everything. Then, sprinkle the remaining 1 cup of shredded Mexican cheese blend evenly across the top.
That final cheese layer is what gives this dip its signature golden, melty top. You can even add a little more cheese if you’re feeling extra—no judgment here.
STEP 6: BAKE UNTIL BUBBLY AND GOLDEN
Pop the dish into your preheated oven and bake for 25 to 30 minutes. You’ll know it’s ready when the edges are bubbling, and the cheese on top is fully melted with just a hint of golden color.
If you want a little extra browning on top, you can turn on the broiler for the last 2–3 minutes. Just keep a close eye on it so it doesn’t burn!
TIPS FOR SERVING AND STORING
Here’s where you can have a little fun. Once your dip is out of the oven, it’s time to garnish and serve. Garnishes are optional, but I highly recommend adding a few to really make the dish pop.
Suggested Toppings:
Sliced green onions for freshness and crunch
Diced tomatoes for a bright, juicy bite
Sliced jalapeños for a little heat
Chopped cilantro for a burst of herby flavor
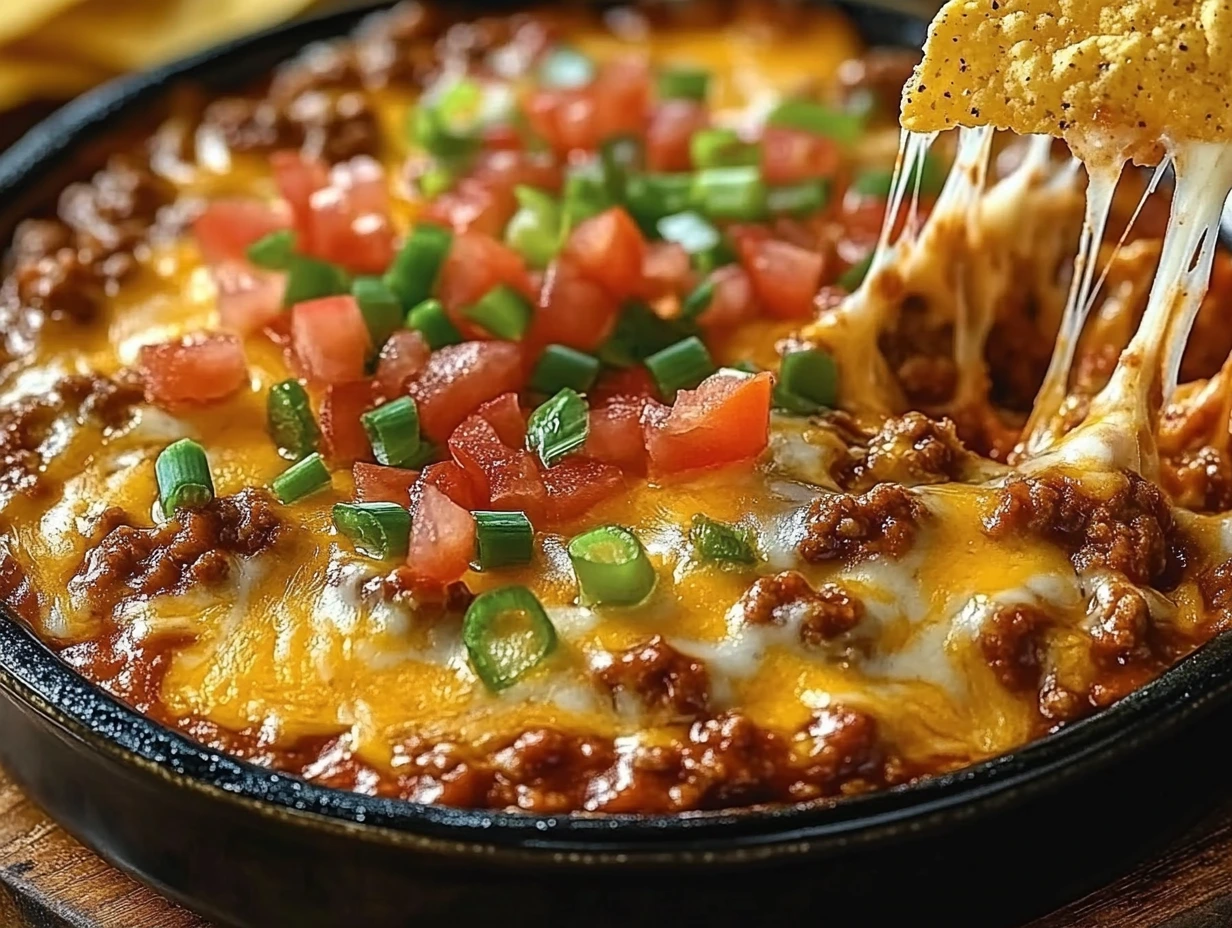
Set the baking dish right in the center of the table with a big bowl of tortilla chips or veggie sticks nearby, and just watch how quickly it vanishes.
If you’re making this for a party or event, you can absolutely prepare it ahead of time. Just follow all the steps up to the baking stage, then cover it tightly and refrigerate. When you’re ready to serve, bake it as directed—maybe adding an extra 5–10 minutes if it’s coming straight from the fridge.
VARIATIONS AND FUN TWISTS
This recipe is super flexible, and you can switch it up based on what you have on hand or what your crowd loves most. Here are a few ideas to play with:
Spicy Kick: Add a dash of hot sauce or use hot taco seasoning and spicy salsa.
Veggie Version: Swap the beef for sautéed mushrooms and bell peppers for a meatless dip.
Different Cheeses: Try mixing in pepper jack, Monterey Jack, or even a bit of cheddar for variety.
Extra Protein: Stir in a can of drained black beans or some cooked, crumbled chorizo for even more flavor.
This dip is the kind of thing you can really make your own. Whether you keep it classic or try a fun twist, it’s going to be a hit.
Meaty Texas Trash Dip: Party Perfect Every Time
We’ve browned the beef, blended the creamy layers, and baked everything to golden, bubbly perfection. At this point, your Meaty Texas Trash Dip is ready to serve—and if your house is anything like mine, everyone’s already circling the kitchen with chips in hand.
Before we wrap things up, let’s go over a few of the most common questions I get about this recipe. Whether you’re making it for the first time or planning to add your own twist, these FAQs will help you nail it every time.
FREQUENTLY ASKED QUESTIONS
Can I make this dip ahead of time?
Absolutely! You can assemble the dip completely (just don’t bake it yet), cover it tightly with foil or plastic wrap, and refrigerate for up to 24 hours. When you’re ready to bake, just pop it in the oven and maybe add 5–10 extra minutes to the cook time to ensure it heats through fully.
Can I freeze this dip?
Yes, with a little care. You can freeze the assembled dip (unbaked) for up to 2 months. Wrap it tightly in plastic wrap and foil. Thaw overnight in the fridge before baking as directed. Keep in mind that the texture might change slightly due to the cream cheese and sour cream, but it still tastes delicious.
What’s the best way to reheat leftovers?
Leftovers can be reheated in the oven at 175°C (350°F) for 15–20 minutes until warmed through. You can also microwave individual portions for about 1–2 minutes, but the oven method keeps the texture more consistent.
Can I make this without beef?
Definitely. For a vegetarian version, try substituting the ground beef with cooked black beans, sautéed mushrooms, or even a plant-based meat alternative. Just keep the taco seasoning for that signature Tex-Mex flavor.
What are the best dippers for this dip?
Tortilla chips are the classic choice, but don’t stop there. Try sliced bell peppers, cucumber rounds, celery sticks, or even warm flour tortillas torn into bite-sized pieces. This dip also works great as a taco or burrito filling!
Is there a way to make it spicier?
For more heat, use a spicy salsa or hot taco seasoning. You can also add chopped jalapeños or a dash of your favorite hot sauce to the creamy mixture before baking.
What kind of cheese works best?
A Mexican cheese blend (typically cheddar, Monterey Jack, and Asadero or queso quesadilla) melts beautifully and has great flavor. If you want a bit more kick, pepper jack is a great addition. You can also mix and match based on what you’ve got on hand.
FINAL THOUGHTS: WHY YOU NEED THIS DIP IN YOUR RECIPE ROTATION
Here’s the bottom line: this Meaty Texas Trash Dip is more than just a dip—it’s a guaranteed crowd-pleaser. Whether you’re serving it up for game day, bringing it to a potluck, or just making a comfort-food snack for a chill weekend at home, it always hits the mark.
I’ve made this so many times that it’s become one of my go-to recipes whenever I need something easy, filling, and universally loved. The combination of warm refried beans, melty cheese, seasoned beef, and tangy salsa just works. And the best part? You can tweak it however you want, make it ahead of time, and count on it disappearing fast.
Print
Meaty Texas Trash Dip
- Author: Andrew Recipes
Description
These Cheesy Garlic Chicken Wraps are the perfect combination of creamy, savory, and crispy. Packed with garlicky chicken, a rich cheese blend, and toasted to golden perfection, they make an easy and satisfying lunch or dinner option. Serve them with a fresh salad or dipping sauce for a delicious handheld meal.
Ingredients
2 cups cooked chicken (torn or chopped)
1½ cups grated cheddar or mozzarella cheese
¼ cup softened cream cheese
2 tablespoons melted butter
3 cloves garlic, finely chopped
¼ cup sour cream
1 teaspoon garlic powder
1 teaspoon Italian herbs
4 large tortillas
Salt and pepper, to taste
Chopped fresh parsley, for topping
Instructions
Heat the melted butter in a skillet over medium heat. Add the chopped garlic and sauté for 1 to 2 minutes until fragrant, making sure it doesn’t brown.
Add the cooked chicken to the skillet along with garlic powder, Italian herbs, salt, and pepper. Stir and warm the mixture through.
In a mixing bowl, combine the cream cheese, sour cream, and half of the grated cheese. Mix until smooth.
Stir the warmed chicken into the cheese mixture, blending everything together well.
Lay out the tortillas and spread the chicken and cheese filling evenly across them. Sprinkle the remaining grated cheese on top. Fold in the sides and roll each tortilla tightly into a wrap.
Place the wraps back into a hot skillet and toast each side for 2 to 3 minutes until golden and crispy.
Top with chopped fresh parsley if desired and serve warm.
Notes
These wraps are highly versatile—try swapping in rotisserie chicken for convenience or adding vegetables like spinach or bell peppers. They can be made ahead and toasted just before serving for a quick meal. Serve with salsa, ranch, or a creamy garlic sauce for dipping.

