There’s just something magical about the smell of freshly baked biscuits wafting through the kitchen. That buttery aroma, the warm golden tops, and the tender, flaky insides—it’s enough to make anyone’s mouth water! And what if I told you that you can achieve all of this biscuit bliss with only two simple ingredients? Yes, you heard me right—just two!
Today, I’m sharing my absolute favorite go-to biscuit recipe: Melt-in-Your-Mouth Ultimate 2-Ingredient Biscuits. These are my lifesaver on busy mornings or when I need a quick side for dinner. Whether I’m pairing them with scrambled eggs for breakfast, serving them alongside a cozy bowl of soup, or slathering them with butter and jam for an afternoon treat, they never disappoint.
I still remember the first time I stumbled across this recipe. I was in a pinch for a bread option for dinner guests and had very little time. With a quick search through my pantry and fridge, I found self-rising flour and heavy cream—and that was it. In less than 20 minutes, I had a tray of golden, fluffy biscuits that had everyone asking for the recipe. Since then, this has been my little secret weapon, and now I’m excited to share it with you.
So, let’s dive right in and get baking!
INGREDIENTS YOU’LL NEED
2 cups self-rising flour
1 ½ cups heavy cream
That’s really all it takes! With these two ingredients, you’ll have tender, buttery biscuits that practically melt in your mouth. But don’t worry—I’ll also share a handy tip later if you don’t have self-rising flour on hand.
KITCHEN TOOLS YOU’LL NEED
Before we start, make sure you have these basic tools ready:
Large mixing bowl
Wooden spoon or spatula
Biscuit cutter or round glass
Rolling pin (optional)
Baking sheet
Parchment paper or non-stick spray
Having everything prepped ahead of time makes the whole process even faster.
LET’S GET STARTED: HOW TO MAKE MELT-IN-YOUR-MOUTH 2-INGREDIENT BISCUITS
STEP 1: PREHEAT YOUR OVEN
Start by preheating your oven to 450°F (230°C). Line a baking sheet with parchment paper or lightly grease it. Having your oven nice and hot is key to achieving those beautifully golden, fluffy biscuits.
STEP 2: MIX YOUR DOUGH
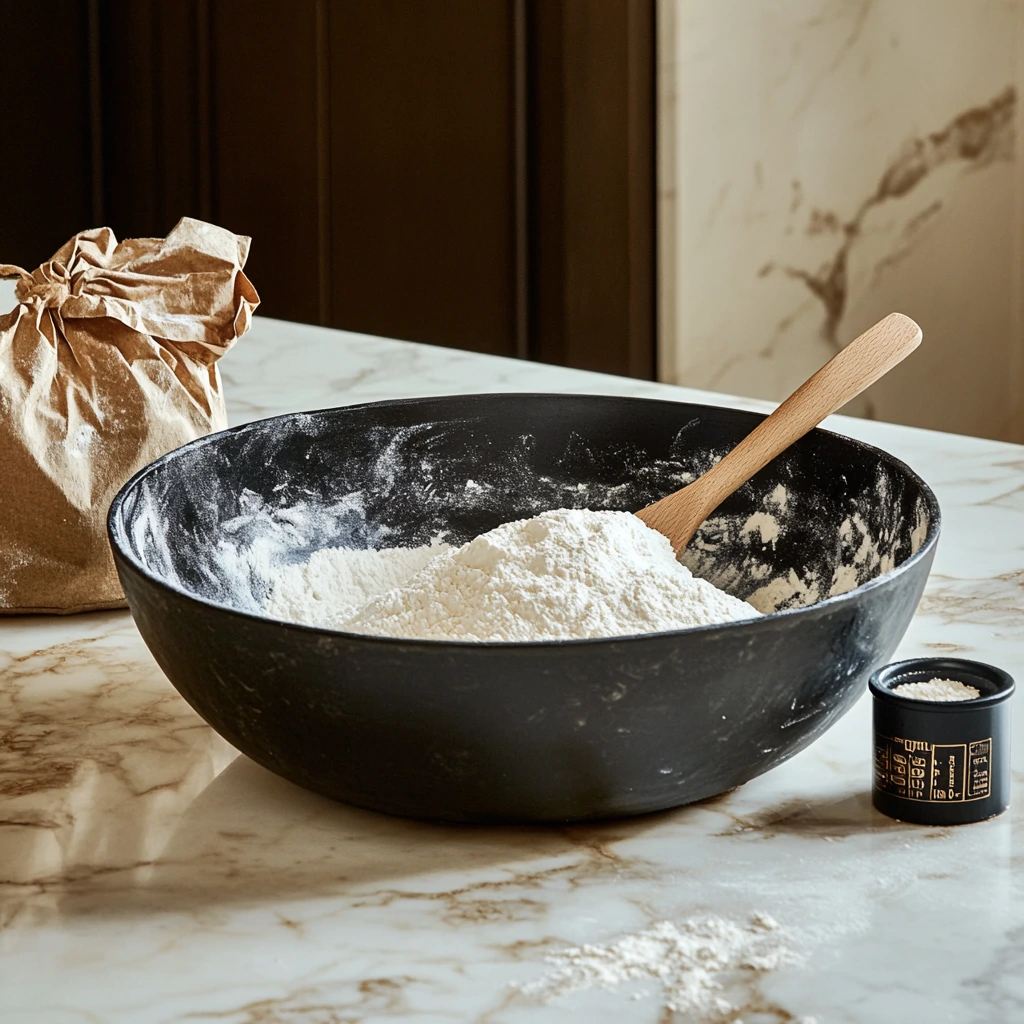
In a large mixing bowl, combine your 2 cups of self-rising flour with 1 ½ cups of heavy cream. Use a wooden spoon or spatula to gently stir the mixture together. Be careful not to overmix—just stir until the dough starts to come together. Overmixing can make the biscuits tough instead of tender and fluffy.
STEP 3: SHAPE THE DOUGH
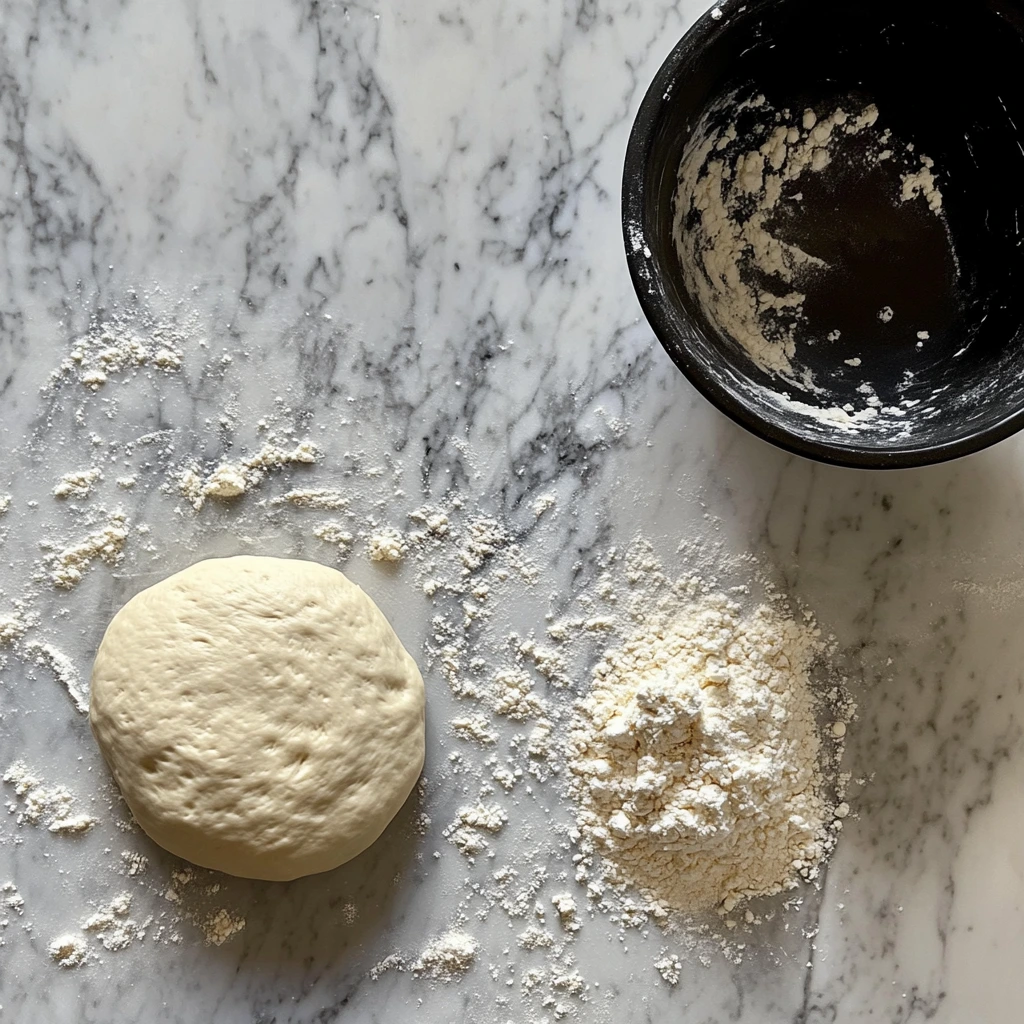
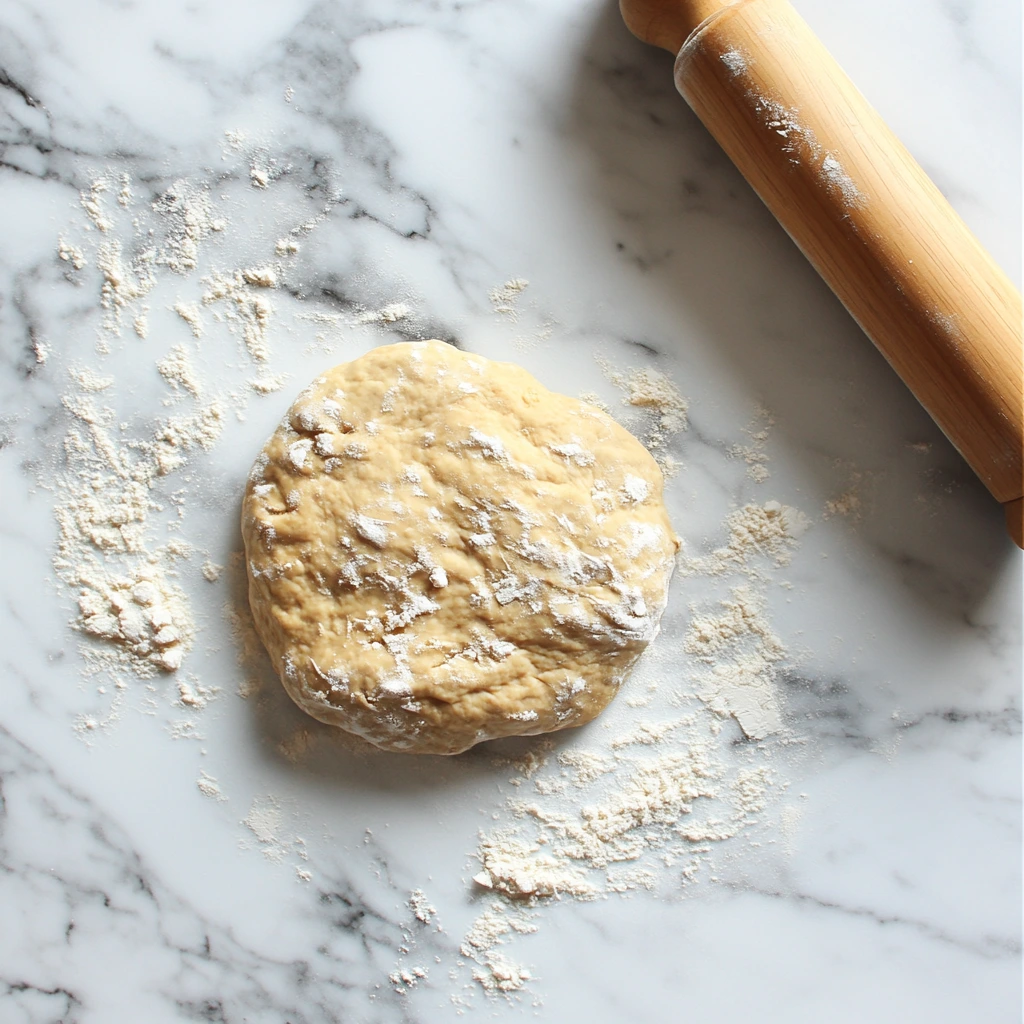
Lightly flour your work surface and turn the dough out onto it. Gently pat or roll the dough to about ¾-inch thickness. You don’t want to press too hard; keeping a light touch ensures your biscuits stay nice and airy.

STEP 4: CUT OUT THE BISCUITS
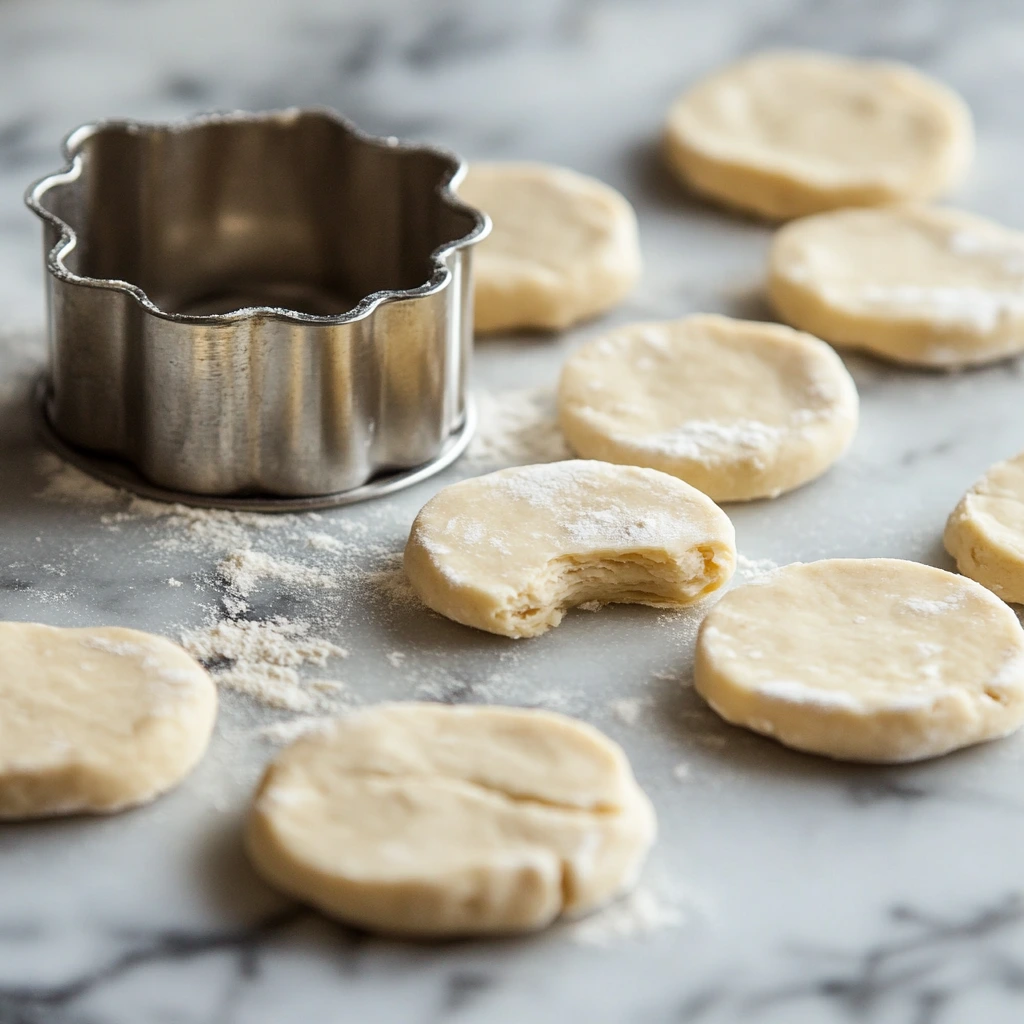
Using a biscuit cutter or a round glass, cut out your biscuits. If you want those soft, pillowy sides, place the biscuits on the baking sheet so their sides are touching. If you prefer crispier edges, leave a little space between each biscuit.
Baking, Tips, and Variations for Perfect 2-Ingredient Biscuits
Now that we’ve mixed and shaped our biscuit dough, it’s time to bring them to life with a quick bake. This next part is where the real magic happens—your kitchen is about to smell absolutely heavenly.
Before we finish up, I’ll also share a few of my favorite tips and fun variations to make these biscuits your own. Whether you’re a biscuit beginner or a seasoned pro, there’s always a little trick that can take these simple biscuits to the next level.

FINISHING THE BAKING PROCESS
STEP 5: BAKE YOUR BISCUITS
Place your tray of biscuits into the preheated oven (450°F or 230°C) and bake for 10 to 12 minutes. You’ll know they’re ready when the tops turn a beautiful light golden brown.
Keep an eye on them towards the end—every oven is a little different, and you don’t want to overbake. The goal is tender, fluffy biscuits with lightly crisped tops.
STEP 6: COOL AND SERVE
Once baked, remove your biscuits from the oven and allow them to cool slightly on the baking sheet. They’ll be hot and soft, so give them a few minutes to settle before serving.
Serve them warm for the absolute best flavor and texture. Trust me—there’s nothing quite like a warm biscuit fresh from the oven.

EXPERT TIPS FOR THE BEST BISCUITS
Even though this recipe is wonderfully simple, a few small tweaks can make a big difference:
Use Cold Cream: Just like with traditional biscuit recipes that call for cold butter, using cold heavy cream can help your biscuits rise beautifully and create a tender crumb.
Don’t Overmix: Stir the ingredients just until combined. Overmixing can make the dough tough and chewy rather than light and fluffy.
Pat, Don’t Roll: If you don’t have a rolling pin, no worries! Gently patting the dough with your hands helps you avoid overworking it and keeps the biscuits airy.
Touching or Spaced Apart: Placing biscuits so their sides touch will give you softer sides, while spacing them apart creates crispier edges. Decide which you prefer and place them accordingly.
Brush with Butter: For a rich, golden finish, brush the tops with melted butter before baking. I also like to brush them again right after they come out of the oven for extra flavor.
FUN VARIATIONS TO TRY
Once you’ve mastered the basic version, feel free to get creative! Here are a few variations my family loves:
Cheddar Biscuits: Stir in ½ to 1 cup of shredded sharp cheddar cheese to the dough for a cheesy twist.
Herb Biscuits: Add 1 tablespoon of chopped fresh herbs like chives, rosemary, or thyme for a flavorful, savory option.
Sweet Biscuits: Mix in 1 to 2 tablespoons of sugar for a slightly sweet biscuit, perfect for breakfast or desserts.
Garlic Butter Topping: Melt butter with minced garlic and brush it over the hot biscuits for a savory garlic bread vibe.
Breakfast Sandwiches: Slice your warm biscuits in half and fill with eggs, cheese, and bacon or sausage for the ultimate breakfast sandwich.
CAN YOU MAKE THESE AHEAD OF TIME?
Absolutely! These biscuits freeze beautifully. You can freeze the unbaked dough rounds on a baking sheet until solid, then transfer them to a freezer bag. When ready to bake, pop them straight into the oven from frozen, adding just a couple of extra minutes to the baking time.
You can also freeze baked biscuits and reheat them in a 350°F (175°C) oven for about 5-10 minutes until warm.
A LITTLE PERSONAL TOUCH
Honestly, these biscuits have saved me more times than I can count. Whether it’s unexpected guests dropping by or just those nights when dinner needs a little something extra, I know I can pull these together in minutes. My kids love them with honey, my husband piles his with sausage gravy, and I’m perfectly content with a little butter and jam.
The simplicity of this recipe is what makes it so wonderful. No fancy equipment, no complicated steps—just pure, comforting goodness every time.
Frequently Asked Questions About 2-Ingredient Biscuits
Every time I share this recipe, I get a lot of great questions. So let’s tackle some of the most common ones to make sure you feel confident every time you bake these biscuits.

1. What if I don’t have self-rising flour? Can I still make these biscuits?
Absolutely! You can easily make your own self-rising flour. For every cup of all-purpose flour, add 1 tablespoon of baking powder and ½ teaspoon of salt. Mix it well before using, and you’re good to go.
2. Can I use milk or buttermilk instead of heavy cream?
Heavy cream is key to the rich, tender texture of these biscuits, but if you’re in a pinch, you can use buttermilk. Just be aware that the texture will be a bit lighter and less rich. Regular milk isn’t recommended since it doesn’t have enough fat to create the same tenderness.
3. How do I store leftover biscuits?
Store any leftovers in an airtight container at room temperature for up to 2 days. For longer storage, keep them in the refrigerator for up to a week, or freeze them for up to 3 months.
4. How do I reheat the biscuits?
For the best texture, reheat biscuits in a 350°F (175°C) oven for 5-10 minutes. This helps them regain their soft, fluffy interior and crisp up slightly on the outside.
5. Can I make mini biscuits with this recipe?
Yes! Simply roll the dough thinner and use a smaller cutter. Keep an eye on the baking time, as smaller biscuits will bake a bit faster—usually around 7-9 minutes.
6. Why did my biscuits turn out flat?
Flat biscuits usually mean the dough was overworked or your self-rising flour wasn’t fresh. Make sure to mix gently and check the expiration date on your flour and baking powder.
7. Can I double the recipe?
Definitely. This recipe doubles beautifully. Just make sure not to overcrowd your baking sheet so the biscuits bake evenly.
Conclusion: Why You’ll Love These 2-Ingredient Biscuits
There’s a reason this recipe has become one of my go-to favorites. It’s simple, reliable, and delivers delicious, bakery-quality biscuits every single time. Whether you’re a busy parent trying to get breakfast on the table, hosting a casual brunch, or need a quick side for dinner, these Melt-in-Your-Mouth Ultimate 2-Ingredient Biscuits are always the perfect solution.
I love how versatile they are—you can keep them plain, dress them up with cheese or herbs, or even turn them into decadent breakfast sandwiches. And let’s be honest, who doesn’t love a recipe that comes together in just 15 minutes?
If you give these biscuits a try, I’d love to hear how they turned out for you! Feel free to share your favorite variations or tips in the comments. Your feedback not only helps me but also inspires other readers to get creative in their own kitchens.
Print
Melt-in-Your-Mouth Ultimate 2-Ingredient Biscuits
- Author: Andrew Recipes
Description
These ultimate 2-ingredient biscuits are the perfect solution when you need a quick, buttery, and tender bread option. With only two simple ingredients, they come together in minutes and bake up light, fluffy, and incredibly soft. Perfect for breakfast, as a side for dinner, or simply slathered with butter and jam.
Ingredients
2 cups self-rising flour
1 1/2 cups heavy cream
Instructions
Preheat the oven to 450°F (230°C). Line a baking sheet with parchment paper or lightly grease it.
In a large bowl, combine the self-rising flour and heavy cream. Stir gently until a soft dough forms, being careful not to overmix.
Turn the dough out onto a lightly floured surface. Gently pat or roll the dough to about 3/4-inch thickness.
Using a biscuit cutter or a round glass, cut out biscuits and place them onto the prepared baking sheet, ensuring the sides are touching for soft sides or spaced apart for crispier edges.
Bake in the preheated oven for 10 to 12 minutes, or until the tops are lightly golden.
Remove from the oven and let cool slightly before serving. Serve warm for the best texture and flavor.
Notes
For extra richness, brush the tops of the biscuits with melted butter before and after baking. If self-rising flour is not available, you can substitute with all-purpose flour mixed with 1 tablespoon baking powder and 1/2 teaspoon salt per cup of flour. These biscuits freeze well; simply reheat in the oven for a few minutes before serving.


