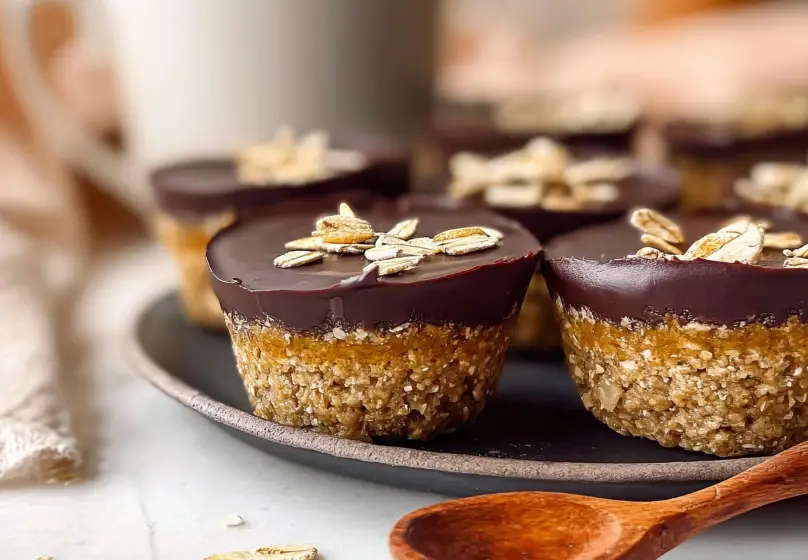
If you’re anything like me, you’re always on the hunt for those go-to snacks that check all the boxes: quick, wholesome, satisfying, and (most importantly) delicious. Bonus points if there’s no baking involved—because let’s be real, turning on the oven isn’t always appealing, especially during a busy week or a hot day.
That’s exactly why I love these No-Bake Vegan and Gluten-Free Oat Cups. They come together with pantry staples, require zero baking, and are perfect for meal prepping a sweet treat or midday snack that actually feels good to eat. They’ve got the chewy texture of oats, the richness of nut butter, and the sweet crunch of a chocolate topping—all while being vegan, gluten-free, and totally customizable.
Whether you need a grab-and-go breakfast, a healthy dessert, or something to toss in your lunchbox, these oat cups are always a win in our house. Plus, they’re great for sharing (or hoarding—no judgment here!).
Let’s dive in and get started.
Why You’ll Love These Oat Cups
These oat cups are kind of like the healthier cousin of a peanut butter cup, with a few upgrades:
No baking required: Seriously—just mix, press, top, and chill.
Naturally sweetened: Thanks to maple syrup and a bit of chocolate.
Vegan and gluten-free: Perfect for a variety of dietary needs.
Customizable: Add-ins like dried fruit, shredded coconut, or chopped nuts take these to the next level.
Freezer-friendly: Make a batch and keep them on hand for snack emergencies.
Ingredients You’ll Need
Here’s everything you’ll need to make these no-bake oat cups:
1 ½ cups gluten-free rolled oats
½ cup natural almond or peanut butter (or sunflower seed butter for a nut-free option)
¼ cup maple syrup
¼ cup melted coconut oil
½ teaspoon vanilla extract
Pinch of salt
½ cup dairy-free chocolate chips
1 teaspoon coconut oil (for melting chocolate)
Most of these are pantry staples, which means you might already have everything on hand—love that.
Step 1: Mix the Base
Start by grabbing a large mixing bowl. Add in the gluten-free oats, nut butter, maple syrup, melted coconut oil, vanilla extract, and a pinch of salt. Stir everything together really well. You want the mixture to be sticky and cohesive—something that holds its shape when pressed.
If your nut butter is on the thick side, you can warm it slightly to make mixing easier.

Step 2: Press into Muffin Cups
Line a standard 12-cup muffin tin with paper liners (or use a silicone muffin tray if you have one). Spoon about 2 tablespoons of the oat mixture into each liner. Then, press down firmly—really pack it in to create a solid base. This will help the cups hold their shape once chilled.
Tip: Use the back of a spoon or your fingers (lightly greased with a little coconut oil) to flatten and press the mixture evenly.
Step 3: Melt the Chocolate Topping
Now let’s get that chocolate layer ready. In a small microwave-safe bowl, combine the dairy-free chocolate chips with 1 teaspoon of coconut oil. Microwave in 20-second intervals, stirring in between, until smooth and fully melted.
You could also melt the chocolate using a double boiler if you prefer, but the microwave is the fastest and works just fine for this.
Step 4: Top the Oat Cups
Once your chocolate is melted and silky, spoon a layer of chocolate over each oat base. Spread it out evenly to completely cover the top. This is where you could get creative—add a sprinkle of flaky sea salt, chopped nuts, or shredded coconut before the chocolate sets.
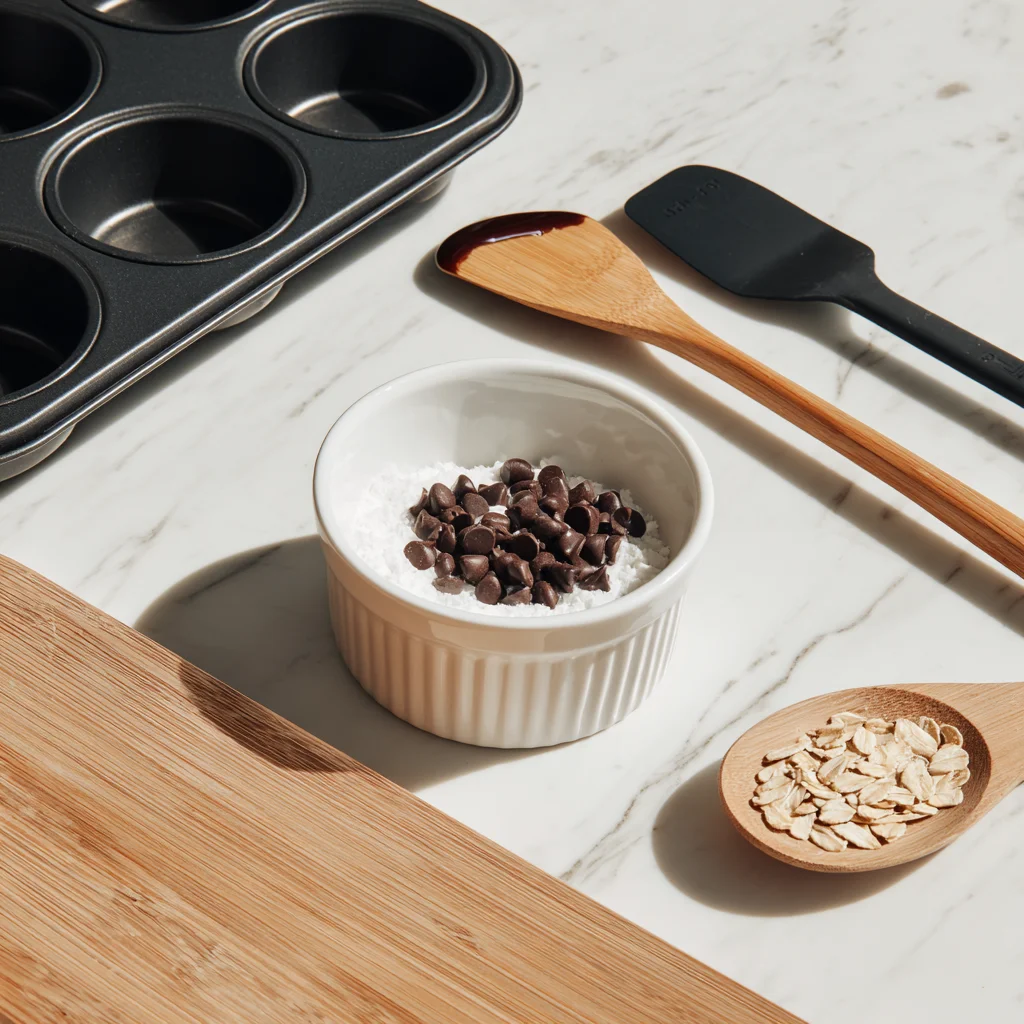
Chill, Store, and Customize Your Perfect Snack
Alright, so we’ve mixed our oat base, pressed it into muffin cups, and topped it with that dreamy layer of melted chocolate. At this point, things are already looking (and smelling) pretty amazing—but now comes the part where patience is key.
In Part 2, we’re going to finish up the recipe and cover some easy tips, fun variations, and storage options that’ll help you get the most out of every single bite of these no-bake oat cups.
Let’s keep going!

Step 5: Chill Until Firm
Now that your oat cups are all assembled, it’s time to let them set. Place the muffin tin in the refrigerator for at least 1 hour—this gives the oat base time to firm up and the chocolate layer to solidify.
If you’re in a rush, you can pop them into the freezer for about 30 minutes. Just make sure they’re firm all the way through before removing them from the tray.
Once chilled and set, these pop right out of silicone trays. If you used paper liners, simply peel them away and you’re good to go.
Step 6: Store for Later
Once the oat cups are fully chilled, remove them from the tray and store them in an airtight container. You can keep them in the fridge for up to a week or stash them in the freezer for up to a month.
If frozen, let them sit out for 5–10 minutes before eating so they soften just a bit. They’re still chewy and delicious straight from the freezer, but giving them a little time at room temp makes them even better.
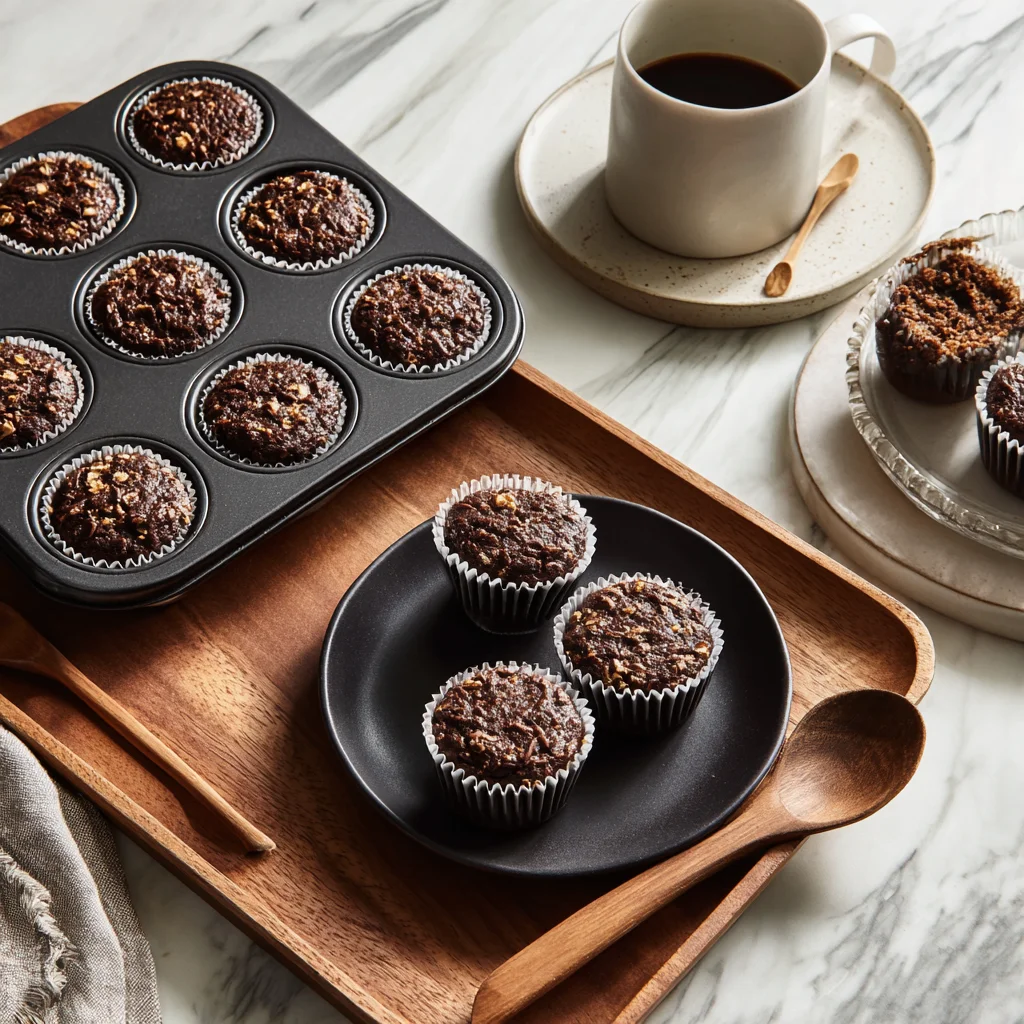
Tips for the Best No-Bake Oat Cups
If this is your first time making no-bake treats like these, don’t worry—they’re super forgiving. But just in case, here are a few tips to make them even easier:
Use natural nut butter: Look for almond or peanut butter that’s made with just nuts (and maybe a little salt). The natural oils help everything blend smoothly.
Don’t skip the coconut oil: It helps bind the mixture and firms things up when chilled.
Press the mixture firmly: This is key for getting a solid base that holds together well. A loose press = crumbly cups.
Taste as you go: Want it a little sweeter? Add an extra drizzle of maple syrup. Want more salt? Sprinkle a tiny bit over the chocolate layer before chilling.
Make It Your Own: Easy Variations
This is one of those recipes that’s practically begging for customization. Once you’ve tried the classic version, here are a few ways to mix things up:
1. Make Them Nut-Free
Use sunflower seed butter or tahini instead of almond or peanut butter. Just check that it’s unsweetened and natural for best results.
2. Add Some Crunch
Stir in chopped nuts, seeds, or crisped rice cereal to the oat mixture before pressing into the muffin cups.
3. Try a Different Sweetener
Maple syrup adds a warm sweetness, but you could also try agave nectar or brown rice syrup (especially if you need something a little stickier to help bind the base).
4. Go for a Flavor Twist
Add a pinch of cinnamon, nutmeg, or even espresso powder to the oat mixture. Or stir some orange zest into the melted chocolate for a citrusy kick.
5. Boost the Protein
Mix in a tablespoon or two of your favorite plant-based protein powder into the oat mixture. You may need to add a splash more syrup or oil to help it all come together.
6. Layer in Dried Fruit
Mini raisins, chopped dried cherries, or cranberries are all great additions that give the cups extra chew and flavor.
FAQs and Final Thoughts
By now, you’ve got the full rundown on how to make these easy, satisfying no-bake oat cups—from mixing and pressing to customizing and storing. But if you’re still wondering about a few details or want to troubleshoot a batch, you’re in the right place.
In this final part, I’ll answer some of the most common questions I get about these oat cups, so you can make them with confidence. Then we’ll wrap things up with a few closing thoughts and encouragement to make these your own.
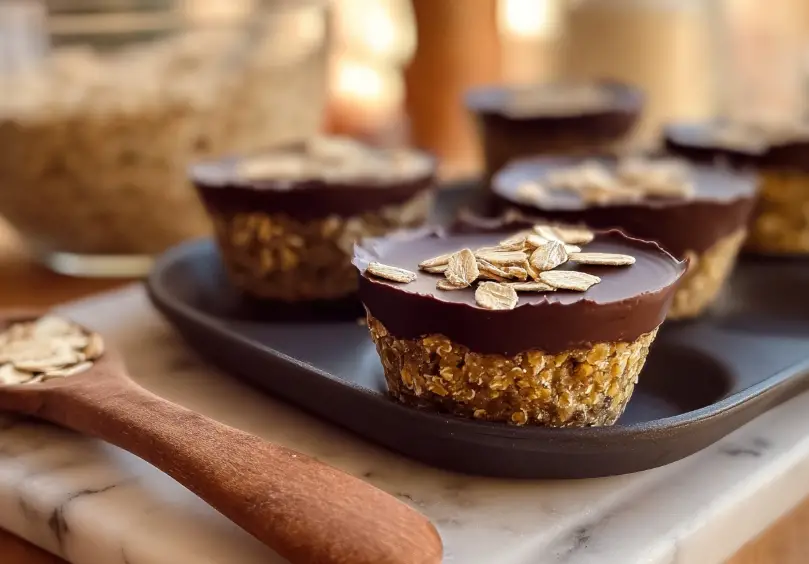
Frequently Asked Questions
1. Can I make these without coconut oil?
Yes, but the texture may change slightly. Coconut oil helps firm everything up once chilled. If you prefer to skip it, try using a neutral oil like avocado oil, or slightly increase the nut butter. Just know they might be softer and more delicate at room temperature.
2. Are these oat cups safe for people with nut allergies?
Absolutely! Simply substitute the almond or peanut butter with sunflower seed butter or tahini. Always double-check labels to ensure the ingredients are truly nut-free, especially if you’re preparing them for someone with allergies.
3. Do I have to use gluten-free oats?
Only if you’re avoiding gluten. Regular rolled oats work just as well if gluten isn’t a concern for you. But for anyone with celiac disease or gluten sensitivity, make sure your oats are certified gluten-free.
4. Can I add protein powder?
Yes! A scoop or two of your favorite plant-based protein powder can easily be added to the oat mixture. If the mix becomes too dry, just add a bit more maple syrup or melted coconut oil to balance it out.
5. How do I prevent the oat base from crumbling?
The key is to make sure your mixture is moist enough and pressed down very firmly into the muffin cups. Natural nut butter and coconut oil both help bind the mixture—don’t skimp on either. If it still feels too dry, add a tablespoon of maple syrup or a splash of water.
6. Can I use a different sweetener instead of maple syrup?
Yes, agave nectar or brown rice syrup are good alternatives. Just be aware that some syrups are thicker or stickier than others, so you may need to slightly adjust the wet-to-dry ratio in the base.
7. How long do these last in the fridge or freezer?
These oat cups will keep well in the refrigerator for up to 7 days, or in the freezer for up to 1 month. Just store them in an airtight container, and let frozen cups sit at room temperature for 5–10 minutes before enjoying.
Final Thoughts: Easy, Wholesome, and Always a Hit
If you’re looking for a snack that’s simple, satisfying, and endlessly versatile, these No-Bake Vegan and Gluten-Free Oat Cups are one to bookmark. They take just a few ingredients and about ten minutes of hands-on time—and the result is something you’ll look forward to pulling out of the fridge every day.
What I love most is how easy they are to tailor to your own tastes. You can keep it classic with oats and chocolate, or get creative with spices, dried fruit, nuts, or even a little citrus zest. Plus, they’re a great option for meal prep, lunchboxes, or those moments when you just need a quick sweet bite without turning on the oven.
Print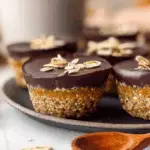
No-Bake Vegan and Gluten-Free Oat Cups
- Author: Andrew Recipes
Description
These no-bake vegan and gluten-free oat cups are a wholesome and delicious treat that comes together with minimal effort and no oven required. Packed with natural sweetness and satisfying texture, they make the perfect snack or healthy dessert. Made with simple pantry staples like oats, nut butter, and maple syrup, these cups are both allergy-friendly and easy to customize.
Ingredients
1 ½ cups gluten-free rolled oats
½ cup natural almond or peanut butter
¼ cup maple syrup
¼ cup melted coconut oil
½ teaspoon vanilla extract
Pinch of salt
½ cup dairy-free chocolate chips
1 teaspoon coconut oil for melting chocolate
Instructions
1 In a large mixing bowl, combine the oats, nut butter, maple syrup, melted coconut oil, vanilla extract, and a pinch of salt. Stir until the mixture is evenly combined and sticks together easily.
2 Line a muffin tin with paper liners or use a silicone muffin tray. Spoon about two tablespoons of the oat mixture into each cup and press down firmly to form a solid base.
3 In a small bowl, combine the chocolate chips and teaspoon of coconut oil. Melt together using a microwave in 20-second intervals, stirring in between until smooth.
4 Spoon a layer of melted chocolate over each oat base, spreading it evenly to cover the top.
5 Place the tray in the refrigerator for at least 1 hour, or until the oat cups are firm and the chocolate is set.
6 Once chilled, remove the oat cups from the tray and store them in an airtight container in the fridge or freezer.
Notes
You can swap almond or peanut butter for sunflower seed butter for a nut-free version. To add texture, mix in chopped nuts, dried fruit, or shredded coconut. These oat cups store well in the fridge for up to a week or in the freezer for up to a month. Let them sit at room temperature for a few minutes before enjoying if frozen.

