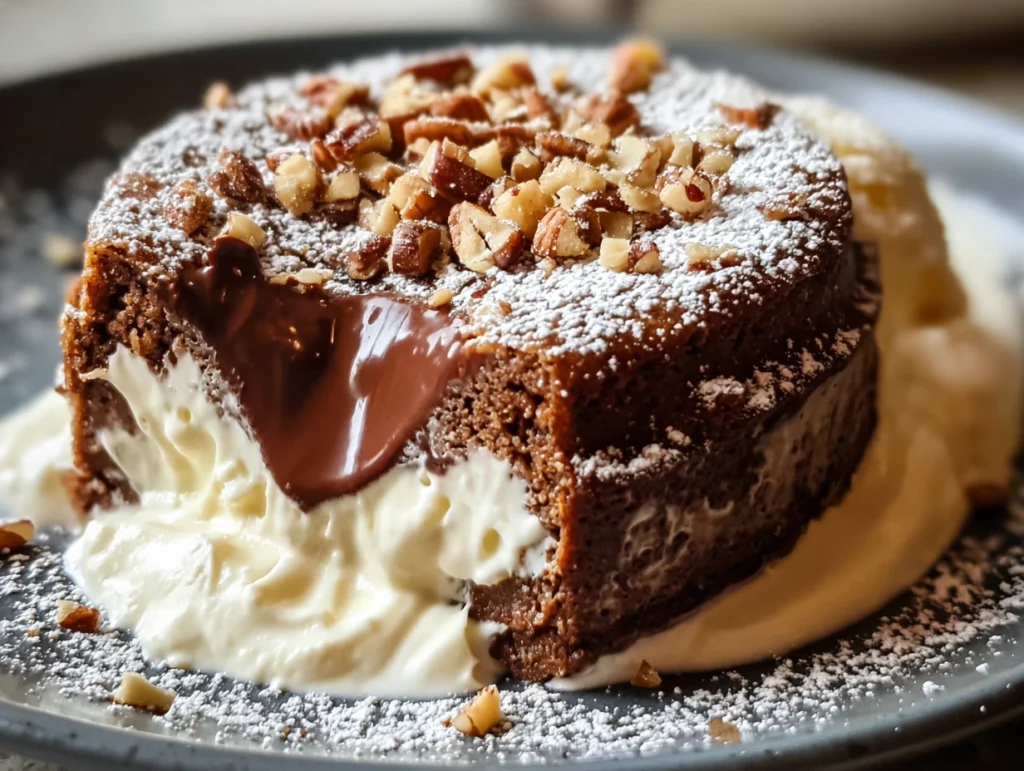
There’s something truly magical about a dessert that’s simple to make, but looks — and tastes — like it came straight out of a fancy restaurant. That’s exactly what you get with this Chocolate Lava Cake recipe. It’s rich, elegant, and just the right amount of decadent. And let’s be honest — is there anything better than digging into a warm cake and finding that glorious molten center oozing out?
I first made this chocolate lava cake on a date night in, thinking it might be too ambitious. But guess what? It was way easier than expected and turned out to be the highlight of the night. Now, it’s one of those go-to recipes I pull out anytime I want to impress someone — or just seriously treat myself.
Whether you’re planning a cozy dinner for two or just need a little chocolate therapy, this recipe is about to become a staple in your dessert lineup.

Why You’ll Love This Chocolate Lava Cake
Fast & Foolproof: Just 24 minutes from start to finish — seriously.
Minimal Ingredients: You probably have most of them in your kitchen already.
That Center Though: Soft on the outside, warm and gooey on the inside.
Perfect for Guests: These little cakes are made in individual ramekins, which makes presentation super easy (and super cute).
Ingredients You’ll Need
Let’s start with the basics. Here’s what you’ll need to whip up four rich and gooey lava cakes:
½ cup (1 stick) unsalted butter
4 oz semi-sweet chocolate, chopped
1 cup powdered sugar
2 large eggs
2 large egg yolks
6 tbsp all-purpose flour
½ tsp vanilla extract
Pinch of salt
Butter and cocoa powder (for greasing ramekins)
Optional: vanilla ice cream or whipped cream for serving
STEP 1: Preheat and Prep Your Ramekins
Start by preheating your oven to 425°F (220°C). This high heat is what helps the outside set while the inside stays deliciously molten.
Now, grab 4 ramekins (6-ounce size works best). Butter them generously, then dust with cocoa powder — this prevents sticking and adds an extra hint of chocolate flavor. Tap out the excess cocoa powder and place the ramekins on a baking sheet for easy handling later.
STEP 2: Melt the Butter and Chocolate
In a microwave-safe bowl or using a double boiler, melt together the butter and chopped semi-sweet chocolate. Stir until the mixture is smooth and silky. This is your flavor base, so make sure the chocolate you use is good quality — it makes a big difference.
If you’re melting in the microwave, heat in 20-second intervals, stirring between each until fully melted. You don’t want to scorch the chocolate, so be patient here.
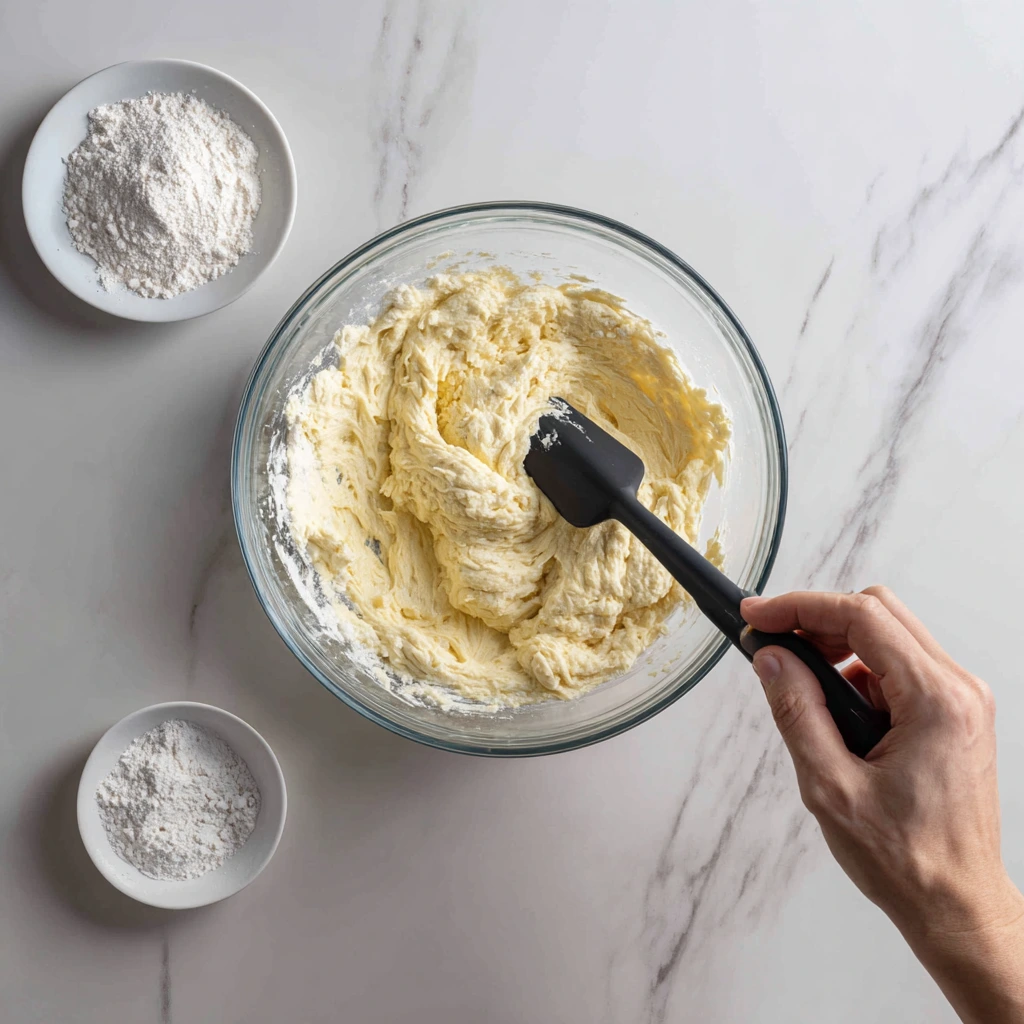
STEP 3: Mix in Sugar and Eggs
Once your chocolate mixture is smooth, whisk in 1 cup of powdered sugar. It’ll look a bit thick at first — that’s totally fine.
Next, add your eggs and egg yolks, whisking until smooth and glossy. This is where your batter really starts to come together. Stir in the vanilla extract and a pinch of salt to enhance all that chocolatey richness.
STEP 4: Add the Flour
Now, gently fold in the 6 tablespoons of all-purpose flour. Be careful not to overmix. You want everything combined and smooth, but over-stirring can make the cakes too dense. A soft hand here goes a long way.
STEP 5: Fill the Ramekins
Evenly divide the batter between the prepared ramekins. Fill each one about ¾ of the way full. At this point, you can either bake them right away or pop them in the fridge if you’re prepping ahead
Bake to Perfection and Serve Like a Pro
Alright, now that your ramekins are filled with that dreamy chocolate batter, it’s time for the best part — baking and serving. This is where the magic happens. The key to a perfect chocolate lava cake is in the timing. You want the edges to be just set while the center stays beautifully molten. It’s easier than you think — and with a couple of tips, you’ll have bakery-style results on your first try.
Let’s jump right back in where we left off.
STEP 6: Bake the Cakes
Preheat still on? Good. Slide that baking sheet with your filled ramekins into the oven and bake for 12 to 14 minutes.
The edges should look firm, but the center should still look a little soft — that’s exactly what you want. If you bake them too long, you’ll end up with a fully set cake (still delicious, but no molten middle). I always start checking mine right at the 12-minute mark. In my oven, 13 minutes is the sweet spot.
Tip: Every oven runs a little differently. If it’s your first time making these, keep a close eye at the end. You’re aiming for a slightly jiggly center.
STEP 7: Let Them Rest Briefly
Once out of the oven, let the cakes sit for about 1 minute. Just a quick rest helps them finish setting enough to hold their shape when you invert them onto a plate.
To do that, carefully run a knife around the edges of each ramekin to loosen the cake. Place a dessert plate on top of the ramekin, then — using oven mitts if it’s still hot — flip it over and gently lift the ramekin off. The cake should slide out beautifully.
If it sticks a bit, give it a light tap or let it sit upside down for another 10 seconds before lifting.
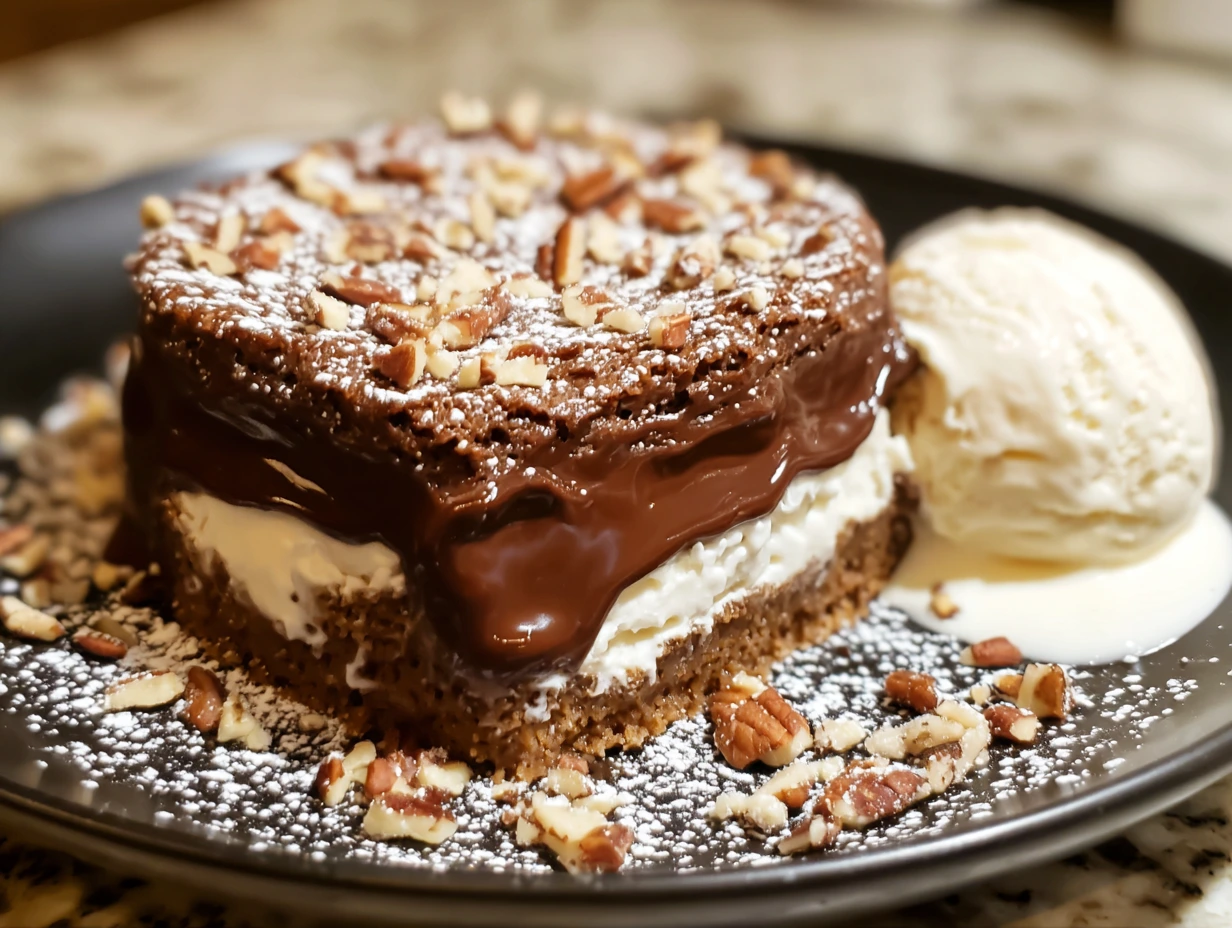
STEP 8: Serve Immediately
These cakes are all about that warm, molten center, so you’ll want to serve them right away. They’re incredible on their own, but here are a few fun ways to take them to the next level:
Vanilla ice cream – The hot/cold combo is unbeatable.
Whipped cream – Light and fluffy meets rich and gooey.
Fresh berries – Adds a bit of tart freshness.
Dusting of powdered sugar – For a classic finishing touch.
Make-Ahead Tip: Prep in Advance
One of the best things about this recipe is that you can make the batter ahead of time and refrigerate the filled ramekins for up to 24 hours. If you’re entertaining or planning dessert ahead, this is a game-changer.
Just keep the ramekins covered in the fridge, and when you’re ready to bake, pop them straight into the preheated oven. Add an extra 1-2 minutes to the bake time since they’ll be cold going in.
Variations and Add-Ins
Want to play around with flavors? Here are a few delicious twists on the classic chocolate lava cake:
Espresso Kick: Add 1 teaspoon of instant espresso powder to the melted chocolate for a deeper, mocha flavor.
Peanut Butter Core: Drop a teaspoon of peanut butter in the center of each ramekin before baking.
Salted Caramel Swirl: Swirl a bit of caramel sauce into the top of the batter before baking, then finish with a sprinkle of sea salt.
Dark Chocolate Version: Use bittersweet or dark chocolate for a more intense, less sweet result.
These variations are especially great if you’re making this recipe more than once — and trust me, you will.
Troubleshooting Common Issues
Even though this recipe is fairly straightforward, here are a couple of quick fixes if something doesn’t go exactly as planned:
Cake won’t release from ramekin? Make sure to butter and cocoa the ramekins thoroughly. If the cake still sticks, let it cool slightly longer before inverting.
No lava center? That usually means it was overbaked. Reduce bake time by 1-2 minutes next time.
Too runny? If your cake collapses into goo, it may be underbaked. Try an extra minute in the oven next round.
FAQs and Final Thoughts
By now, your kitchen probably smells like a dream and you’ve got a table full of people wondering how you pulled off such a fancy dessert. But before we wrap up this recipe, let’s go over a few frequently asked questions that come up whenever I share this with friends or readers.
If you’re making these for the first time or just want to be extra confident in your results, these quick answers will help clear things up.
Frequently Asked Questions
1. Can I use a different type of chocolate?
Yes! Semi-sweet chocolate is the classic choice, but dark or bittersweet chocolate works beautifully if you want a deeper flavor. Just make sure it’s a good quality chocolate bar, not chocolate chips, which can have added stabilizers that affect melting.
2. What can I use if I don’t have ramekins?
If you don’t have ramekins, you can use a muffin tin — just be sure to grease it very well and dust with cocoa powder. You may need to reduce the baking time by a minute or two since muffin tins are thinner and conduct heat more quickly.
3. Can I make these gluten-free?
Absolutely. Swap the all-purpose flour with a 1:1 gluten-free flour blend. The texture may vary slightly, but the gooey center and rich flavor will still shine through.
4. Is it safe to eat with the gooey center?
Yes, as long as your eggs are fresh and you bake the cakes to the recommended time, the dessert is safe to eat. The center is warm and thick, not raw — more like a rich pudding.
5. Can I reheat leftover lava cakes?
Lava cakes are best eaten fresh, but if you happen to have leftovers, reheat them in the microwave for about 20–30 seconds. The center won’t be quite as molten, but it will still be rich and delicious.
6. Why did my lava cake collapse when I flipped it?
This can happen if the cake is slightly underbaked or if it hasn’t rested for a minute after baking. Make sure to butter and dust the ramekins well so they release cleanly, and give them a brief cool-down before flipping.
7. Can I double the recipe?
Yes! You can easily double (or triple) this recipe if you’re serving a crowd. Just make sure to keep the baking time the same and use multiple ramekins or batches if needed.
Final Thoughts: Make This Your Go-To Dessert
There’s a reason Chocolate Lava Cake has stayed popular for decades — it’s got everything. Warm, gooey chocolate, a tender outer cake, and that irresistible drama of the molten center. And once you realize how simple it is to make, it opens up a whole new world of last-minute dessert possibilities.
Whether you’re planning a romantic dinner, celebrating a birthday, or just treating yourself after a long day, this dessert delivers every single time. The individual servings also make it feel extra special — like something you’d get in a fancy restaurant, but made in your very own kitchen.
Print
One of the Best Desserts Ever: Chocolate Lava Cake
- Author: Andrew Recipes
Description
Chocolate Lava Cake is a timeless dessert that delivers pure indulgence. With its rich, gooey center and soft cake exterior, it’s a showstopping treat perfect for special occasions or romantic dinners. It’s surprisingly easy to make and guaranteed to impress anyone who takes a bite.
Ingredients
½ cup (1 stick) unsalted butter
4 oz semi-sweet chocolate, chopped
1 cup powdered sugar
2 large eggs
2 large egg yolks
6 tbsp all-purpose flour
½ tsp vanilla extract
Pinch of salt
Butter and cocoa powder for greasing ramekins
Optional: vanilla ice cream or whipped cream for serving
Instructions
1 Preheat the oven to 425°F (220°C). Butter 4 ramekins and dust with cocoa powder, tapping out the excess. Place them on a baking sheet.
2 Melt butter and chocolate: In a microwave-safe bowl or over a double boiler, melt the butter and chopped chocolate together until smooth. Stir until fully combined.
3 Mix in sugar and eggs: Whisk in the powdered sugar until blended. Add the eggs and egg yolks, then stir in the vanilla extract and a pinch of salt.
4 Add flour: Gently fold in the flour until the batter is just combined and smooth.
5 Fill the ramekins: Divide the batter evenly among the prepared ramekins.
6 Bake the cakes: Bake for 12-14 minutes, until the edges are set but the center is still soft. Do not overbake — the gooey center is the star.
7 Serve: Let the cakes rest for 1 minute, then run a knife around the edges and invert onto plates. Serve immediately with a scoop of vanilla ice cream or a dollop of whipped cream.
Notes
You can prepare the batter in advance and refrigerate the filled ramekins for up to 24 hours. Just add an extra minute or two to the baking time. The balance of warm chocolate and cold ice cream is unbeatable, making this one of the most irresistible desserts you’ll ever serve.

