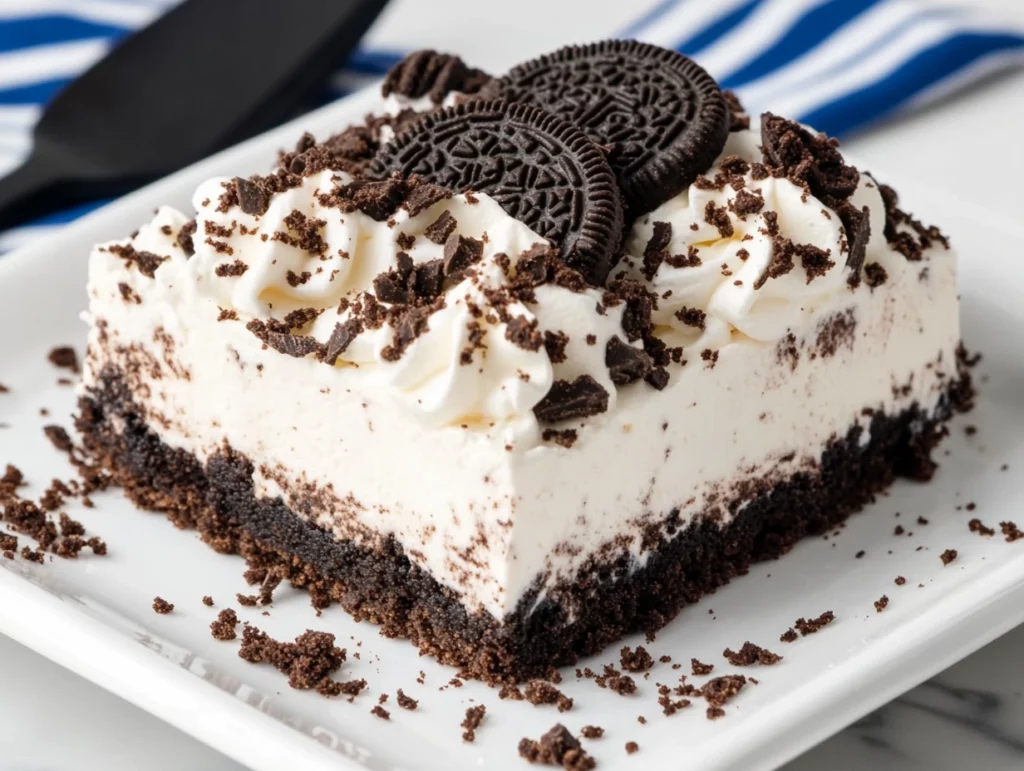
There’s something about Oreos that brings out the kid in all of us. Maybe it’s the nostalgia of twisting them apart to lick the filling, or maybe it’s just how perfectly the chocolate and cream combo works in every form. Either way, this No-Bake Oreo Delight is one of those desserts that manages to be both simple and showstopping — the kind of sweet treat you make once and then get asked for the recipe every time after.
This recipe became an instant hit in my house after the first time I made it for a weekend barbecue. It was one of those last-minute ideas because I didn’t want to turn on the oven in the middle of July, but still wanted to bring something homemade. I tossed it together the night before and popped it in the fridge — and let’s just say it barely made it to the dessert table the next day. Layered, creamy, and filled with that irresistible Oreo crunch, it’s honestly hard to stop at one piece!
What I love most about this recipe is how incredibly easy it is. We’re talking about no baking, no complicated steps, and no fancy tools. Just mix, layer, chill, and enjoy. Perfect for holidays, birthday parties, or just an after-dinner sweet tooth fix. And if you’re like me and always looking for a dessert that travels well? This one’s a winner.
Let’s jump right into the first part of the recipe and I’ll walk you through exactly how to bring this dreamy dessert together.

Ingredients You’ll Need
8 ounces cream cheese, softened
⅓ cup granulated sugar
1 teaspoon pure vanilla extract
1 (3.4-ounce) package instant vanilla pudding mix
2 cups cold milk
1 cup whipped topping, plus extra for garnish
20 Oreo cookies, coarsely chopped, divided
Chocolate sauce or melted chocolate for drizzling (optional)
STEPS: Mixing and Layering the Base
Step 1: Create the Cream Cheese Layer
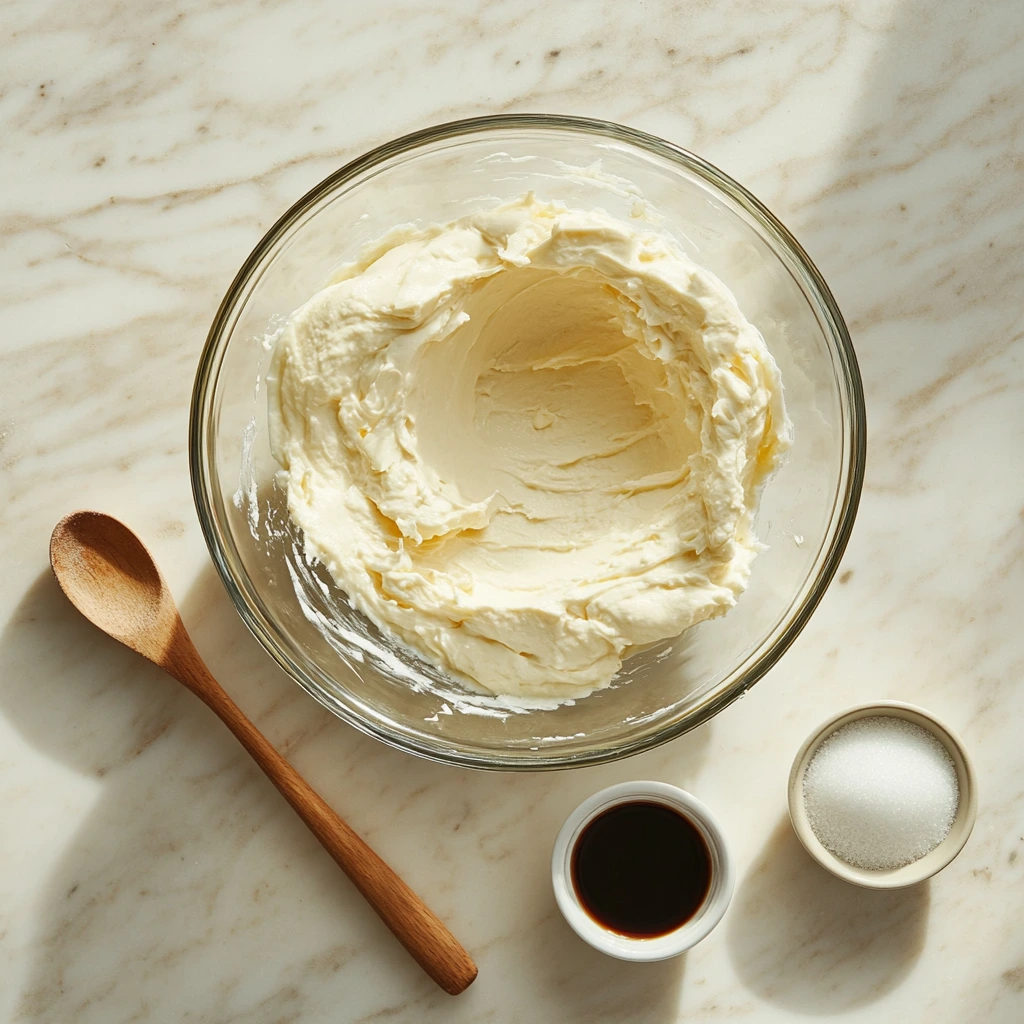
Start by grabbing a large mixing bowl and add your softened cream cheese, granulated sugar, and vanilla extract. You’ll want the cream cheese to be room temperature so it blends smoothly and doesn’t leave lumps. Beat everything together using a hand mixer or stand mixer until it’s nice and creamy. This will be your rich and tangy base that balances out the sweetness from the rest of the layers.
Step 2: Prepare the Pudding Mixture
In a separate bowl, whisk together the instant vanilla pudding mix and cold milk. Use a whisk here instead of a spoon to really break it up and avoid any clumps. Let it sit for a couple minutes until it thickens slightly — the texture should be somewhere between runny and fully set. You want it thick enough to hold its shape, but still soft enough to fold in easily.
Step 3: Combine the Mixtures
Once the pudding has thickened, gently fold it into the cream cheese mixture. Use a spatula and take your time with this step so everything stays fluffy and smooth. You’re not just stirring — you’re folding — to keep that light, airy texture we’re going for.
Step 4: Add the Oreos
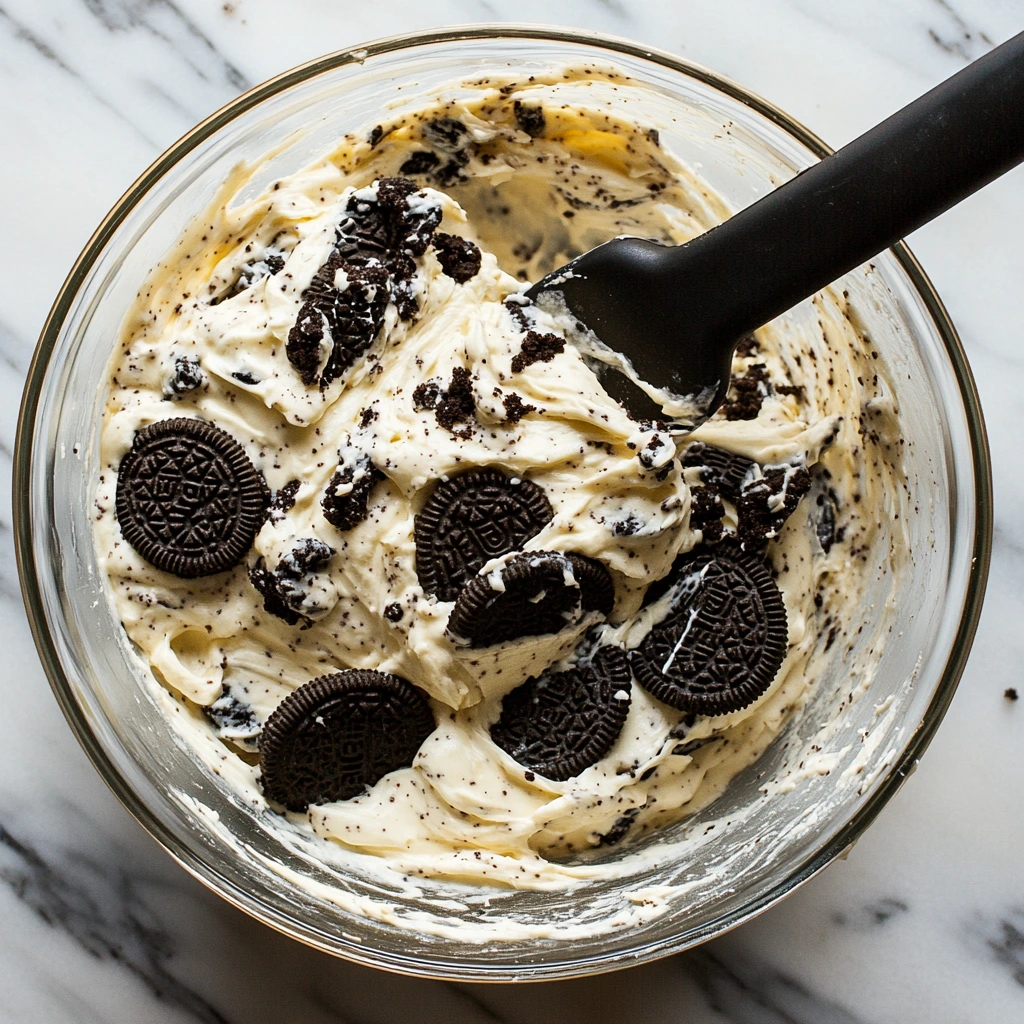
Now comes the fun part: stir in about 1½ cups of the coarsely chopped Oreo cookies, making sure you leave a few chunks for texture. You’ll want a good mix of smaller bits and larger pieces so every bite gives you that perfect combination of crunch and cream.
Step 5: Start the Layering
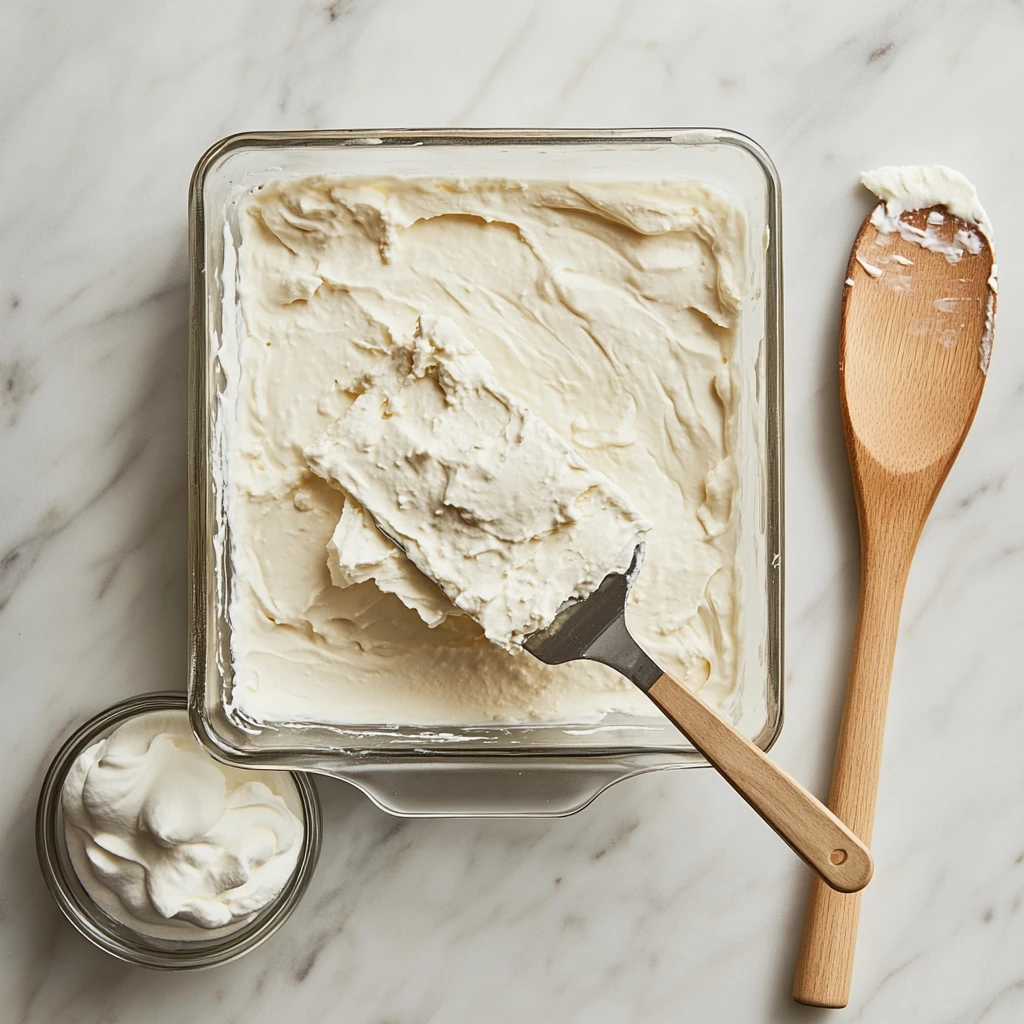
Spoon half of your cream cheese–pudding mixture into the bottom of a 9×9-inch baking dish. Smooth it out into an even layer using a spatula or the back of a spoon.
Then, add half of the whipped topping (from the 1 cup measured) right over that layer. Gently spread it across without mixing it into the layer below. Sprinkle with half of the remaining chopped Oreos for a crunchy middle layer.
No-Bake Oreo Delight Dessert: A Creamy, Crunchy Crowd-Pleaser Everyone Will Love
Now that we’ve got the first dreamy layers of our Oreo Delight in the dish, it’s time to finish strong. The second half of this no-bake dessert comes together in just minutes — and trust me, the final product is worth every second. If you’ve ever had one of those layered desserts that’s too sweet or too soft, this one strikes a perfect balance. The cream cheese gives it a little tang, the pudding adds smoothness, and the Oreos… well, you already know they’re the real MVP here.
What makes this recipe extra convenient is that it’s totally make-ahead friendly. In fact, the longer it chills, the better the layers come together. So whether you’re hosting or just want to prep dessert and forget about it, you’re in great shape. Let’s wrap this baby up with the final layering steps and a few bonus tips to make it your own.
Step 6: Add the Second Layer of Filling
Once your first round of cream mixture, whipped topping, and Oreo pieces is complete, go ahead and gently spread the remaining cream cheese–pudding mixture on top. Take your time smoothing it out so it covers the entire surface evenly. You want clean, defined layers when you slice into it later.
Step 7: Top with More Whipped Topping
Next, layer on the rest of the whipped topping over the top. Again, use a spatula to carefully spread it out — we’re going for that fluffy, cloud-like look. It doesn’t need to be perfectly smooth, just make sure it’s covering all the way to the edges.
Step 8: Sprinkle the Remaining Oreos
Now grab the last of your chopped Oreos and sprinkle them generously across the top. Don’t be shy — this is your crunchy finish and it’s what gives that great texture contrast with each bite. If you’ve got a few larger cookie chunks left, scatter those on top for an extra pop.
Step 9: Chill to Set
Once everything is layered, cover the dish tightly with plastic wrap or a lid and refrigerate for at least 2 hours. This step is key. It allows the layers to firm up and the flavors to meld, which makes the dessert easier to slice and even more delicious.
If you’ve got the time, overnight is even better — but 2 hours is the minimum to get everything just right.
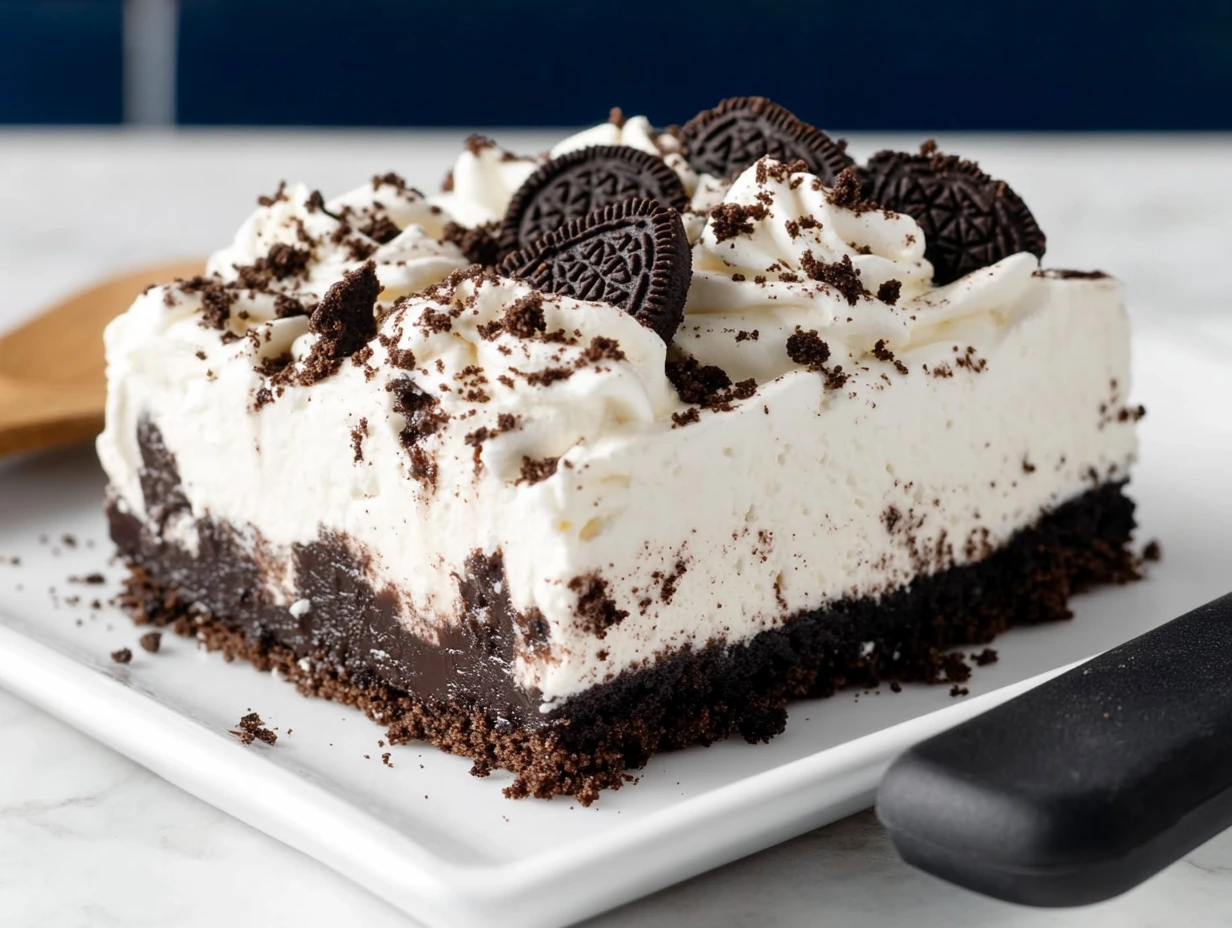
Optional: Make It Fancy
If you’re serving this to guests or bringing it to a party and want a little extra flair, here are a couple of quick and easy ideas:
Drizzle with chocolate sauce or melted chocolate just before serving. A back-and-forth zigzag pattern over the top adds a beautiful touch.
Add extra dollops of whipped topping using a piping bag or a spoon, especially around the edges for a pretty presentation.
Top with mini Oreos or Oreo halves to give it a bakery-style finish.
These aren’t necessary, but they’re fun if you’re feeling a little extra festive.
Tips & Variations
One of the best things about this recipe is how versatile it is. You can totally customize it to match your taste or what you have on hand. Here are a few ideas to make it your own:
Switch the pudding flavor: Vanilla is classic, but chocolate, white chocolate, or even cheesecake pudding mix works great too. Chocolate pudding turns this into a deeper, more decadent version.
Try different Oreos: Use Golden Oreos for a sweeter, vanilla-forward twist or Mint Oreos for a refreshing spin.
Use homemade whipped cream if you prefer to skip the store-bought whipped topping. Just beat heavy cream with a little powdered sugar and vanilla until it forms stiff peaks.
Freeze it for a firmer texture: Want it closer to an ice cream cake? Stick it in the freezer for about an hour before serving. It’ll slice cleaner and hold its shape better in warm weather.
No-Bake Oreo Delight Dessert: A Creamy, Crunchy Crowd-Pleaser Everyone Will Love
You’ve layered, chilled, and maybe even sneaked a spoonful before serving — no judgment here. Oreo Delight is one of those recipes that hits all the right notes: creamy, cool, chocolatey, and incredibly satisfying. Whether you’re making it for a potluck, birthday, holiday gathering, or just a random Tuesday night, it never fails to impress.
Before we wrap things up, I wanted to answer a few of the most common questions I get about this dessert. Sometimes it’s about storage, substitutions, or even ways to make it a little lighter (yes, it’s possible). So if you’ve got questions, chances are they’re answered below.
Frequently Asked Questions
1. Can I make Oreo Delight ahead of time?
Yes! In fact, it’s better if you do. Making it 12–24 hours in advance allows the layers to firm up and the flavors to meld beautifully. Just keep it tightly covered in the fridge until you’re ready to serve.
2. What’s the best way to get clean slices?
To get those nice, neat layers when slicing, run a sharp knife under hot water, dry it with a towel, and then make your cuts. Repeat this process between slices if needed. It helps prevent the filling from sticking and smearing.
3. Can I freeze Oreo Delight?
You can! Freeze the entire dish for about 1 hour before serving if you want a firmer, icebox-style dessert. For longer storage, wrap it tightly and freeze for up to a week. Just thaw slightly in the fridge before serving.
4. Can I substitute Cool Whip with homemade whipped cream?
Absolutely. Homemade whipped cream (made with heavy whipping cream, powdered sugar, and vanilla extract) works perfectly. Just beat it until it holds stiff peaks. Use the same amount called for in the recipe.
5. Is it okay to use reduced-fat or light ingredients?
Yes, you can use light cream cheese, skim milk, and reduced-fat whipped topping if you’re trying to lighten things up a bit. Just keep in mind that the texture might be slightly softer.
6. Can I use chocolate pudding instead of vanilla?
Definitely! Chocolate pudding is a delicious swap and gives the dessert a richer, more decadent flavor. It pairs beautifully with the Oreos.
7. What size dish should I use?
A 9×9-inch baking dish is the ideal size for this recipe. You can use a similar-sized glass or ceramic dish — just make sure it has enough depth to hold all the layers.
Conclusion: Make It Once, Crave It Forever
This No-Bake Oreo Delight is the kind of dessert that fits just about every occasion. It’s got that perfect mix of comfort and indulgence, and the fact that it comes together in under 30 minutes (plus chilling time) is just the cherry on top. I’ve made this so many times for birthdays, cookouts, and even just a Friday night when we’re craving something sweet — and it never sticks around for long.
What I love most is that it’s so easy to adapt. Want to add a layer of crushed chocolate graham crackers at the bottom? Go for it. Want to sprinkle on mini chocolate chips or drizzle with caramel instead of chocolate? Yes, please.
Print
Oreo Delight
- Author: Andrew Recipes
Description
This no-bake layered dessert features a rich cream cheese–pudding filling studded with chopped Oreo cookies and crowned with fluffy whipped topping. Each spoonful delivers a perfect balance of crunchy chocolate wafers and velvety sweetness, making it ideal for gatherings or a simple after-dinner treat.
Ingredients
8 ounces cream cheese, softened
⅓ cup granulated sugar
1 teaspoon pure vanilla extract
1 (3.4-ounce) package instant vanilla pudding mix
2 cups cold milk
1 cup whipped topping, plus extra for garnish
20 Oreo cookies, coarsely chopped, divided
Chocolate sauce or melted chocolate for drizzling (optional)
Instructions
Begin by beating the softened cream cheese, sugar, and vanilla extract together in a large bowl until smooth and creamy. In a separate bowl, whisk the instant vanilla pudding mix into the cold milk until the mixture thickens, then fold it into the cream cheese mixture until fully combined. Gently stir in 1½ cups of the chopped Oreo cookies, leaving some larger pieces for texture.
Spread half of the cream cheese–pudding mixture into the bottom of a 9×9-inch baking dish. Smooth it out, then layer half of the remaining whipped topping over it. Sprinkle with half of the reserved chopped Oreos. Repeat with the remaining cream cheese mixture, whipped topping, and Oreo pieces. Cover the dish and refrigerate for at least two hours to allow the layers to set.
When ready to serve, remove the dessert from the refrigerator and add dollops of extra whipped topping on the surface. Drizzle with chocolate sauce or melted chocolate if desired. For clean slices, run a sharp knife under hot water, dry it, and then cut through the chilled layers.
Notes
Feel free to substitute chocolate pudding mix for vanilla and use Oreo Double Stuf cookies for an extra-creamy texture. This dessert can be assembled a day ahead; keep it covered in the refrigerator to preserve freshness. For a firmer, almost ice-cream-like consistency, freeze for one hour before serving.

