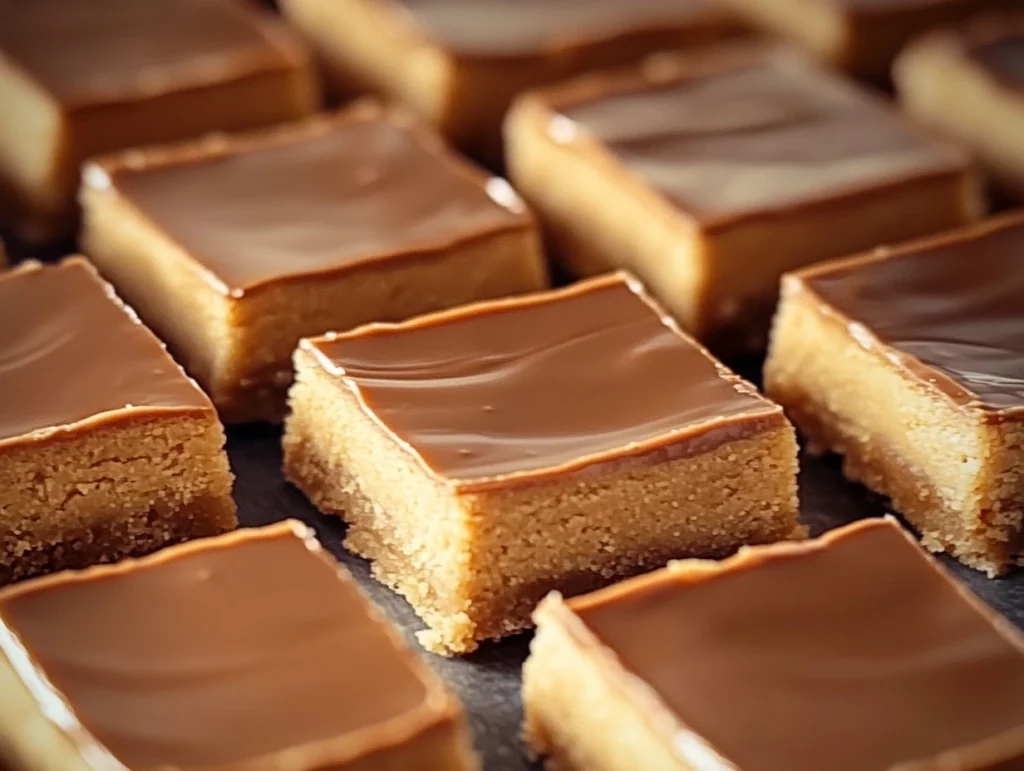
If you’re a peanut butter enthusiast like me, then this recipe for Peanut Butter Cookie Bars is about to become your new best friend. Picture this: a buttery, soft cookie base that’s topped with a creamy peanut butter filling and finished off with a rich, melt-in-your-mouth chocolate topping. It’s everything you love about peanut butter cookies, but in a bar form. Trust me, once you make these, they’ll be the star of your next gathering, and everyone will be asking for the recipe.
What’s so great about these bars is that they’re easy to make and incredibly indulgent. You’ve got that perfect balance of sweet, salty, creamy, and chocolatey all in one bite. Whether you’re serving them up at a party or just treating yourself to something special, these bars are guaranteed to hit the spot.
For me, the best part about these bars (aside from how delicious they are) is that they’re completely customizable. Want a thicker chocolate topping? Go ahead, throw in more chocolate chips. Want a little more crunch? Opt for crunchy peanut butter instead of creamy. You get to make these exactly how you like them. And if you’re anything like me, you’ll definitely be making them again and again!
How to Make Peanut Butter Cookie Bars
Let’s get into the good stuff—how to make these mouthwatering bars. You’ll love how simple it is to pull them together. And the best part? You don’t have to be a baking pro to get it right. With just a few basic ingredients and easy steps, you’re on your way to dessert heaven.
Step 1: Preheat the Oven and Prepare Your Pan
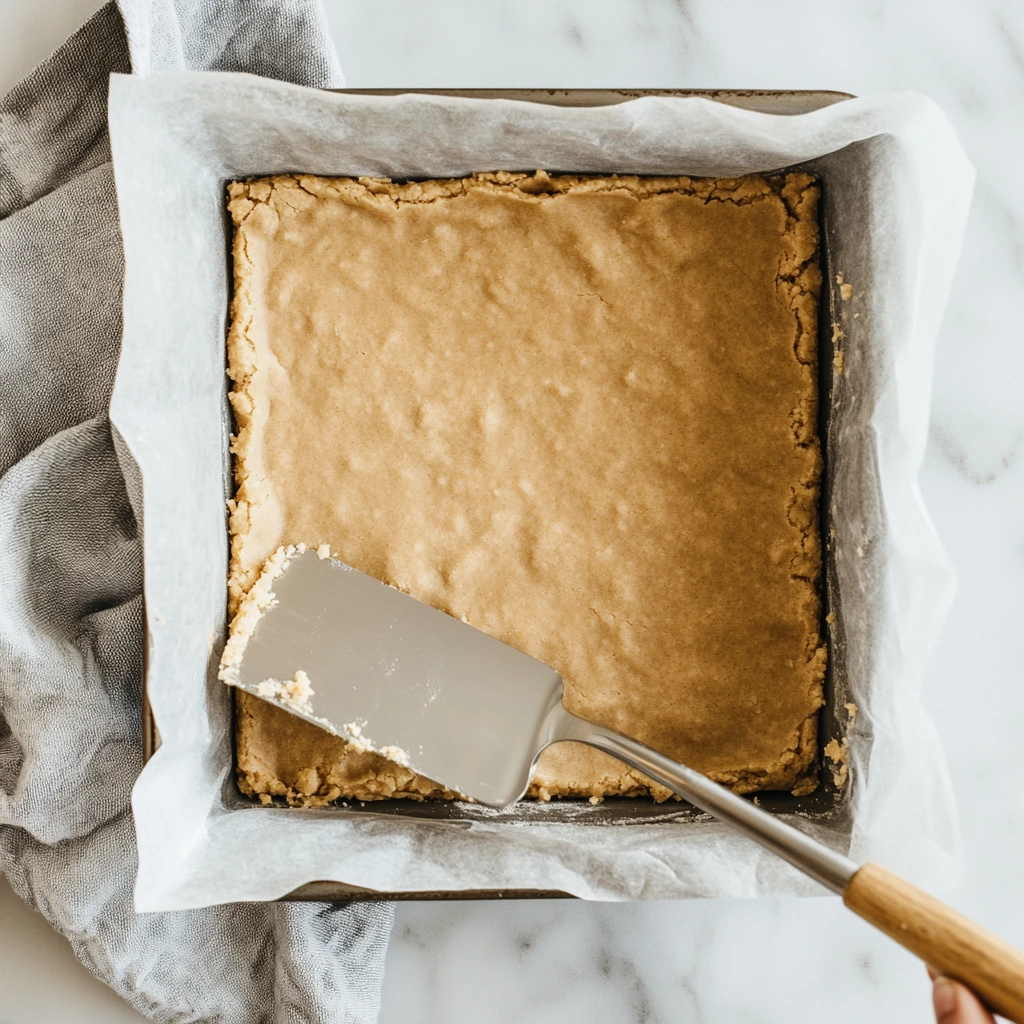
First things first—preheat your oven to 350°F (175°C). You want that oven nice and hot so the bars bake evenly. Then, line an 8×8-inch baking pan with parchment paper or foil. The key here is to leave some overhang, which will make removing the bars from the pan so much easier once they’re done baking. A quick spray of non-stick cooking spray on the parchment or foil also helps prevent sticking.
Step 2: Make the Cookie Base
In a large mixing bowl, combine 1 cup of melted unsalted butter, 1 cup of granulated sugar, and 1/2 cup of packed brown sugar. Whisk them together until the mixture is smooth and well combined. The melted butter helps create that melt-in-your-mouth texture that you’ll love. Now, beat in one large egg and a teaspoon of vanilla extract. Stir these together until everything is fully incorporated.
Next, add 1 1/2 cups of all-purpose flour, 1/2 teaspoon of baking soda, and 1/4 teaspoon of salt. Stir everything together just until combined. Be careful not to overmix—this will help ensure that your cookie base stays light and tender. You want the dough to come together, but no more.
Step 3: Press the Dough Into the Pan
Now it’s time to get your hands dirty! Take about 2/3 of the cookie dough and press it evenly into the bottom of the prepared pan. Don’t worry about being too precise here—just aim for an even layer that covers the bottom. This will form the base of your cookie bars, so make sure it’s nice and smooth.
Step 4: Prepare the Peanut Butter Filling
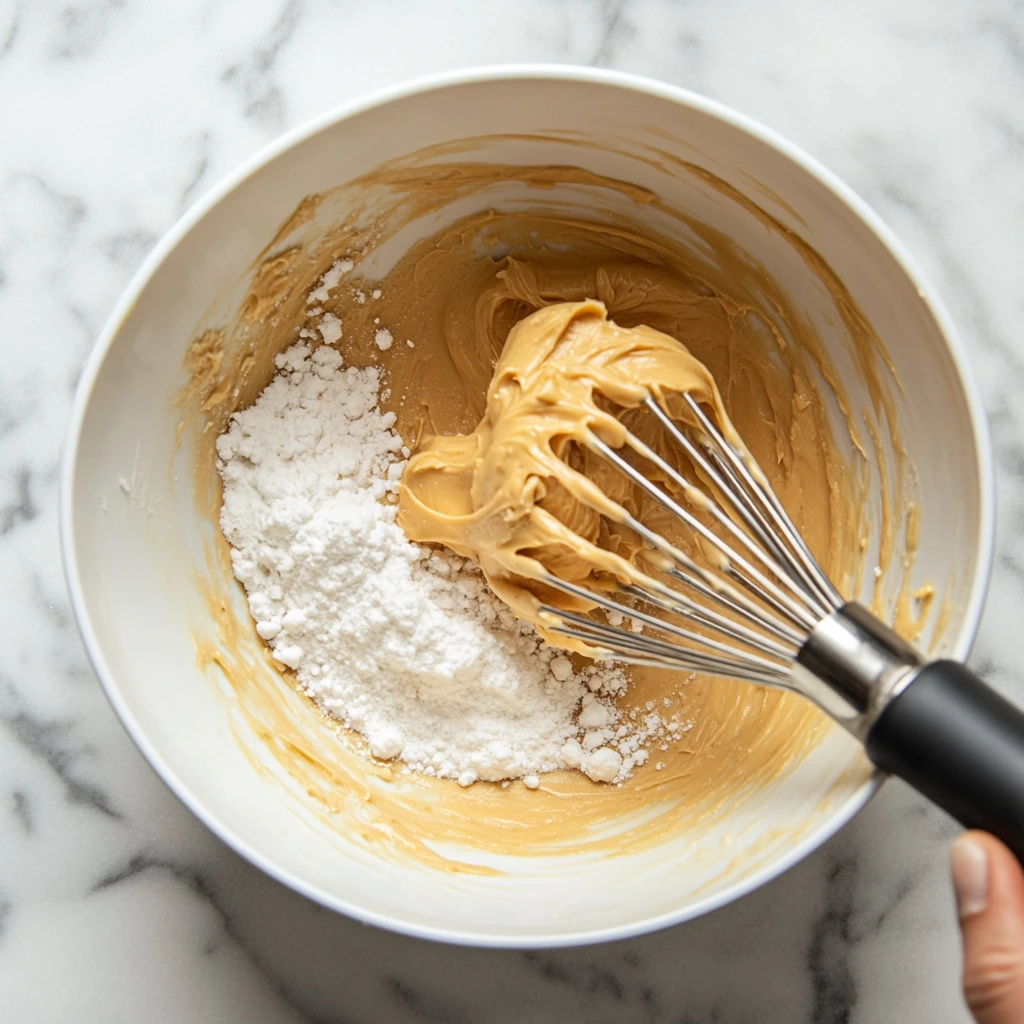
In a separate bowl, mix 1 cup of creamy peanut butter (I love using creamy, but if you prefer crunchy, feel free to switch it up), 1/4 cup of softened unsalted butter, and 1/2 cup of powdered sugar. Use a spoon or a hand mixer to combine these ingredients until smooth and creamy. The peanut butter filling is what really makes these bars stand out, so be sure it’s nice and smooth with no lumps. Once it’s ready, spread the peanut butter mixture evenly over the cookie base. Try to leave just a small border around the edges so that the filling doesn’t spill over the sides during baking.

Step 5: Add the Crumbly Topping
Take the remaining 1/3 of the dough and crumble it over the peanut butter layer. It doesn’t need to be perfect—just scatter the dough in small pieces so you have a crumbly topping that will bake up golden brown and delicious. This adds the perfect texture to the bars and gives them that signature cookie topping.
Step 6: Bake and Cool
Place your pan in the preheated oven and bake for 25-30 minutes. You’ll know the bars are done when the edges are golden brown and the center is set. Keep an eye on them as they bake to avoid overbaking. Once they’re out of the oven, let the bars cool completely in the pan on a wire rack. The cooling process is important because it helps the bars set up properly before you add the chocolate topping.
Peanut Butter Cookie Bars: The Perfect Chocolate Finish
Now that your bars have cooled to room temperature, it’s time to add the final touch—the rich, velvety chocolate topping. The chocolate is what brings everything together, and trust me, it’s worth the wait. This step is simple, but it really takes these bars over the top. Once you’ve got that decadent layer of chocolate on top, you’ll see why these bars are irresistible.
Step 7: Make the Chocolate Topping
For the chocolate topping, you’ll need 1 cup of semi-sweet chocolate chips and 2 tablespoons of unsalted butter. Place both of these ingredients into a microwave-safe bowl. Microwave the mixture in 30-second intervals, stirring in between each interval. This helps to ensure the chocolate doesn’t burn and melts evenly. Keep doing this until the chocolate chips and butter are fully melted and smooth. The result should be a silky, glossy chocolate mixture that will spread like a dream over the bars.
Step 8: Spread the Chocolate Topping
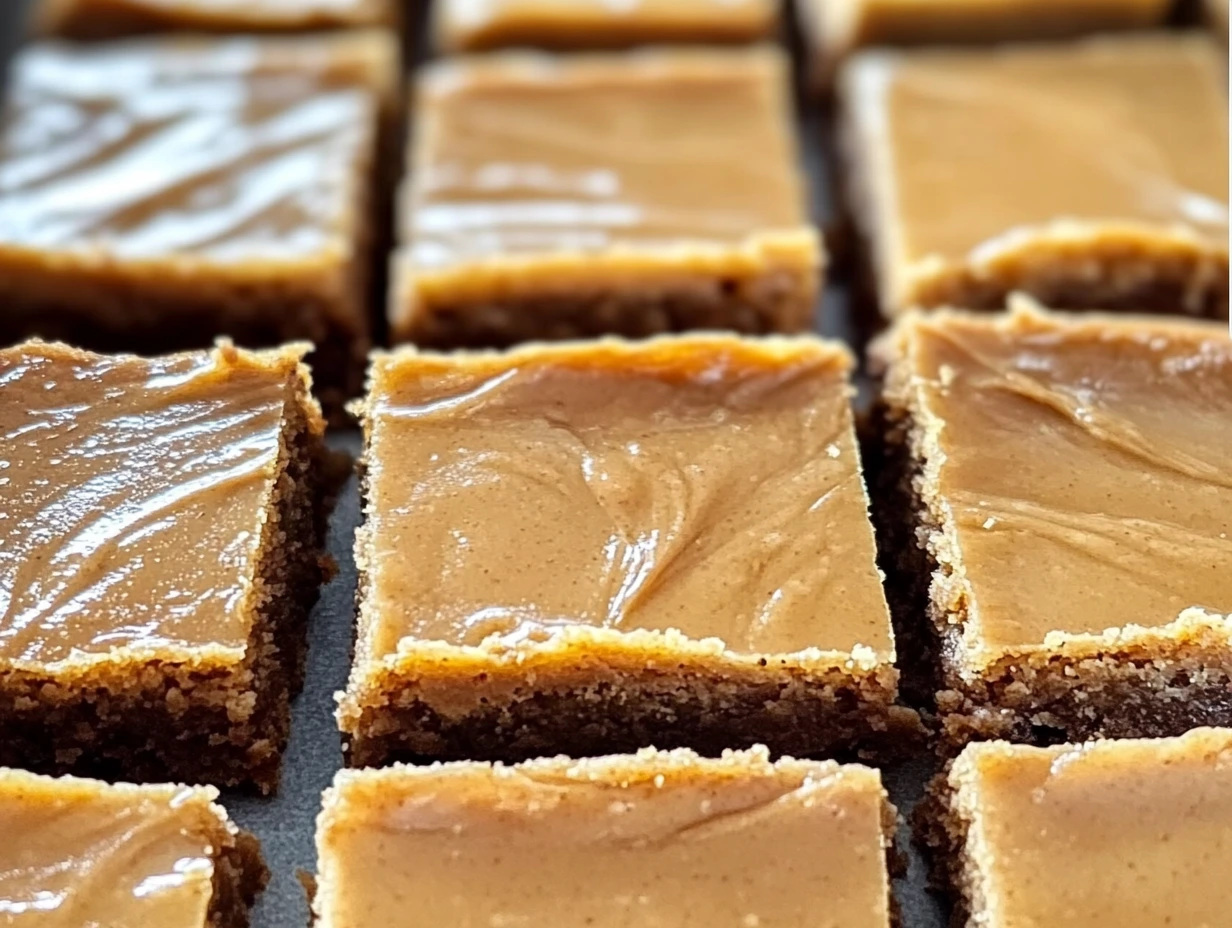
Once the chocolate is smooth and melted, take the bowl out of the microwave and let it sit for a minute to cool slightly. Then, pour the chocolate evenly over the cooled bars. Use a spatula or the back of a spoon to spread it out, covering the peanut butter and cookie layers completely. The chocolate topping should be smooth and even, giving the bars that perfect glossy finish.
Step 9: Let the Chocolate Set
Now comes the hardest part—waiting for the chocolate to set! It will need a little time to cool and harden. You can let the bars sit at room temperature, but if you’re in a rush (or just can’t wait to dig in), you can pop the bars in the fridge for about 15-20 minutes. This will speed up the process and give you that satisfying firm chocolate layer when you cut into the bars.
Step 10: Slice and Serve
Once the chocolate has set, it’s time to cut your bars into squares or rectangles—whatever you prefer. The parchment paper or foil overhang should make it easy to lift the entire batch out of the pan and onto a cutting board. Use a sharp knife to cut the bars into your desired size. You’ll want to be careful not to tear the chocolate, but it should slice easily since it’s cooled and firm.
Now, you’re ready to serve these peanut butter cookie bars! The combination of the buttery cookie base, creamy peanut butter filling, and silky chocolate topping creates an unforgettable treat that’s sure to disappear quickly. Whether you’re serving them for a party, a family gathering, or just a sweet snack, these bars are bound to impress.
Tips for Perfect Peanut Butter Cookie Bars
Customize Your Chocolate: If you’re a fan of extra chocolate, you can always add more chocolate chips to the topping. Just increase the amount of chips and butter accordingly, and you’ll have a thicker, richer layer of chocolate on top.
Try Different Nut Butters: While creamy peanut butter is a classic, feel free to experiment with different nut butters. Almond butter or cashew butter would give these bars a fun twist. Just keep in mind that each nut butter will bring its own flavor and texture.
Add a Salty Kick: If you love the sweet and salty combination, try sprinkling a little sea salt on top of the melted chocolate before it sets. This gives the bars an extra burst of flavor and makes them even more addictive.
Make Ahead and Store: These bars store wonderfully! Keep them in an airtight container at room temperature for up to a week, or store them in the fridge to keep them fresh for even longer. You can also freeze them for longer storage, just be sure to wrap them tightly to avoid freezer burn.
Peanut Butter Cookie Bars: FAQs and Conclusion
Now that you know how to make these delicious Peanut Butter Cookie Bars, you might have a few questions about the recipe, storage, or even some variations. Don’t worry—I’ve got you covered! Below, I’ve answered some of the most frequently asked questions to help you make the perfect batch every time. And of course, I’ll wrap things up with a final note on how to enjoy these treats to the fullest.
FAQ Section
1. Can I make these Peanut Butter Cookie Bars ahead of time?
Yes, you can definitely make these bars ahead of time! In fact, they actually taste even better the next day once all the flavors have had time to set. Just store the bars in an airtight container at room temperature for up to a week. If you want to keep them longer, you can refrigerate them, and they’ll stay fresh for up to 10 days. You can also freeze the bars for longer storage—just be sure to wrap them tightly in plastic wrap and place them in an airtight container or freezer bag.
2. Can I use crunchy peanut butter instead of creamy?
Absolutely! If you love the texture and extra crunch of crunchy peanut butter, feel free to use it in the peanut butter filling. The bars will still come out delicious, with a nice added crunch that complements the soft cookie base and smooth chocolate topping. The key is to make sure the peanut butter is smooth enough to spread evenly, but crunchy peanut butter will work just fine.
3. How can I make the chocolate topping thicker?
If you want a thicker, richer chocolate topping, you can easily increase the amount of chocolate chips and butter used. Simply double the amount of chocolate chips to 2 cups and use 4 tablespoons of butter. This will give you a much thicker layer of chocolate that’s extra indulgent. Just be sure to microwave the chocolate and butter in 30-second intervals and stir between each one to ensure it melts evenly.
4. Can I add other toppings or mix-ins to these bars?
Definitely! These bars are incredibly versatile, and you can get creative with the toppings and mix-ins. Here are a few ideas:
Add a handful of crushed pretzels or toffee bits to the cookie dough for a salty-sweet crunch.
Sprinkle some mini marshmallows or chopped peanuts on top of the chocolate before it sets for an added texture.
For extra chocolate flavor, swirl some peanut butter into the chocolate topping before it sets.
5. Can I use a different type of chocolate for the topping?
While semi-sweet chocolate is the classic choice for this recipe, you can use milk chocolate or dark chocolate if you prefer. Just keep in mind that different types of chocolate will affect the sweetness and richness of the bars. Milk chocolate will be sweeter, while dark chocolate will add a more intense, less sugary flavor. Choose the chocolate that best suits your taste!
6. How do I know when the bars are done baking?
The best way to check if your bars are done is to look at the edges—they should be golden brown and slightly firm to the touch. The center will still be soft, but it should not jiggle when you gently shake the pan. If you’re unsure, you can insert a toothpick into the center of the bars. It should come out with a few moist crumbs, but not wet batter.
7. Can I make these bars gluten-free?
Yes! You can easily make these bars gluten-free by swapping out the all-purpose flour for a gluten-free flour blend. Be sure to choose a good-quality blend that works well in baking. You might also want to add a teaspoon of xanthan gum to help with texture, especially if your blend doesn’t already include it. The rest of the recipe remains the same!
Conclusion: Time to Enjoy These Peanut Butter Cookie Bars!
There you have it—everything you need to know to make these indulgent Peanut Butter Cookie Bars. Whether you’re a peanut butter lover or just someone with a sweet tooth, these bars are sure to become a favorite in your dessert repertoire. From the soft, buttery cookie base to the creamy peanut butter filling and the rich chocolate topping, every bite is a little piece of heaven.
So, what are you waiting for? Get in the kitchen and give these bars a try! Don’t forget to share your experience in the comments or on social media—I’d love to hear how your batch turned out and if you added any creative twists. I’m sure these bars will be a hit at your next party, family gathering, or even just as a treat to keep on hand for those moments when you need a little something sweet!
Print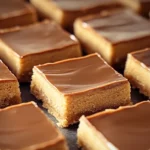
Peanut Butter Cookie Bars
- Author: Andrew Recipes
Description
These Peanut Butter Cookie Bars are the ultimate treat for peanut butter lovers! With a soft, buttery cookie base, a creamy peanut butter filling, and a rich chocolate topping, these bars offer the perfect balance of textures and flavors. They’re easy to make and incredibly indulgent, making them perfect for sharing at parties, family gatherings, or as a sweet snack whenever you’re craving something decadent.
Ingredients
For the cookie base:
1 cup unsalted butter, melted
1 cup granulated sugar
1/2 cup packed brown sugar
1 large egg, lightly beaten
1 tsp vanilla extract
1 1/2 cups all-purpose flour
1/2 tsp baking soda
1/4 tsp salt
For the peanut butter filling:
1 cup creamy peanut butter (or crunchy, if you prefer)
1/4 cup unsalted butter, softened
1/2 cup powdered sugar
For the chocolate topping:
1 cup semi-sweet chocolate chips
2 tbsp unsalted butter
Instructions
Preheat your oven to 350°F (175°C). Line an 8×8-inch baking pan with parchment paper or foil, leaving an overhang for easy removal. Lightly grease the lining.
In a large mixing bowl, whisk together the melted butter, granulated sugar, and brown sugar until smooth. Stir in the beaten egg and vanilla extract until fully combined.
Add the flour, baking soda, and salt. Mix until just combined—do not overmix. Press about 2/3 of the dough evenly into the bottom of the prepared pan. Reserve the remaining dough for the topping.
In a medium bowl, combine the peanut butter, softened butter, and powdered sugar. Mix until smooth and creamy. Spread the peanut butter mixture evenly over the cookie base, leaving a small border around the edges.
Crumble the reserved dough over the peanut butter layer to create a crumbly topping.
Bake for 25–30 minutes, or until the edges are golden brown and the center is set. Let the bars cool completely in the pan on a wire rack before adding the chocolate topping.
In a microwave-safe bowl, combine the chocolate chips and butter. Microwave in 30-second intervals, stirring between each, until smooth and melted. Spread the melted chocolate evenly over the cooled bars. Let the chocolate set at room temperature or in the fridge for 15–20 minutes.
Once the chocolate has set, lift the bars out of the pan using the parchment paper or foil overhang. Cut into squares or rectangles and serve.
Notes
For extra flavor, you can sprinkle some sea salt on top of the chocolate before it sets for a salty-sweet finish. If you prefer a thicker chocolate topping, increase the amount of chocolate chips and butter. These bars can be stored in an airtight container at room temperature for up to a week, or in the fridge for longer shelf life.

