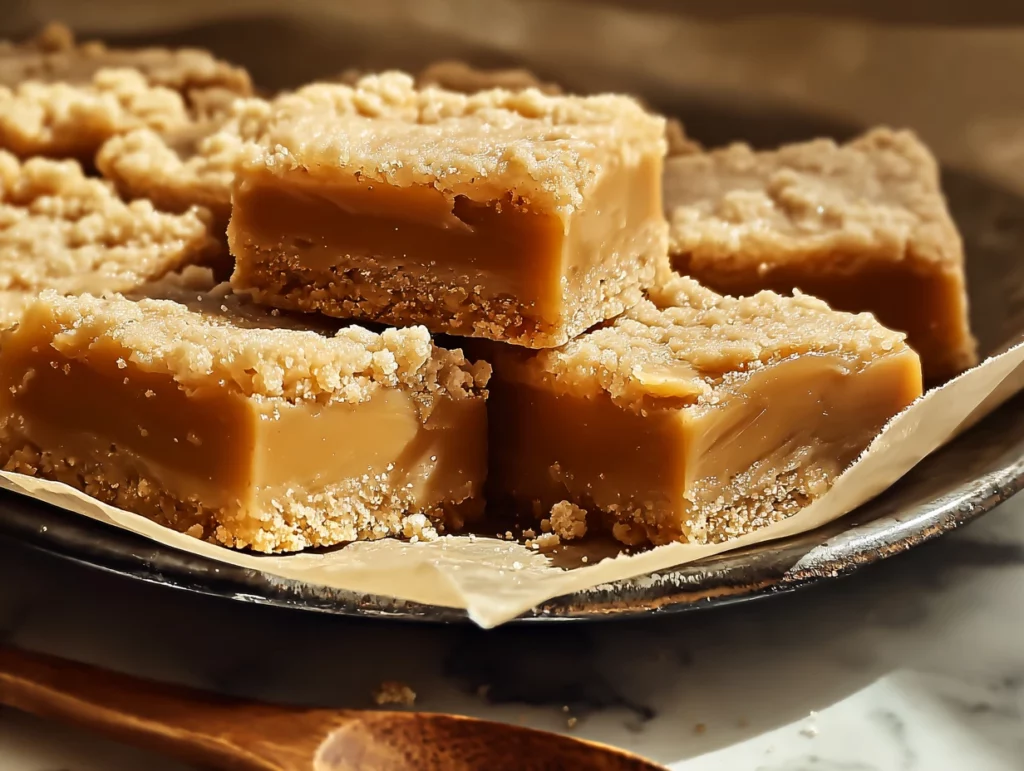
If there’s one thing that instantly takes me back to childhood lunch lines and cafeteria trays, it’s the unmistakable taste of those sweet, chewy peanut butter bars we all knew and loved. You remember the ones—thick, buttery, packed with peanut butter goodness, and just the right balance of soft and crumbly. Those classic lunch lady cookie bars had a charm all their own, and today, we’re bringing them back in the best way possible.
These Peanut Butter Lunch Lady Cookie Bars are everything you want in a throwback treat—simple to make, totally satisfying, and perfect for just about any occasion. Whether you’re packing them in lunchboxes, serving them at a bake sale, or saving a stash for your own late-night cravings, they’ll deliver all the warm, nostalgic feels without the fuss of a complicated recipe.
What makes this version extra special is the layered approach: a sugar cookie-like base, a thick and creamy peanut butter filling, and a golden crumbly topping that’s pure comfort in every bite. It all bakes together in one pan, making cleanup a breeze and portioning a cinch. Trust me, once you make these, you’ll find yourself reaching for this recipe again and again.
Let’s dive into Part 1 of the recipe so you can get these cookie bars into the oven and onto your plate as soon as possible!

Ingredients You’ll Need
For the Crust and Crumble Topping:
1 cup unsalted butter, softened
1 cup granulated sugar
1 large egg, room temperature
2 teaspoons pure vanilla extract
2½ cups all-purpose flour
½ teaspoon baking powder
¼ teaspoon fine salt
For the Peanut Butter Filling:
1½ cups creamy peanut butter
⅓ cup powdered sugar
Pinch of fine salt (optional)
STEP-BY-STEP INSTRUCTIONS
Step 1: Prep Your Baking Pan
Start by preheating your oven to 350°F (175°C). Line a 9×13-inch baking pan with parchment paper. I like to leave a little overhang on the sides—this makes it so much easier to lift the bars out later once they’ve cooled.
Step 2: Make the Crust and Crumble Dough
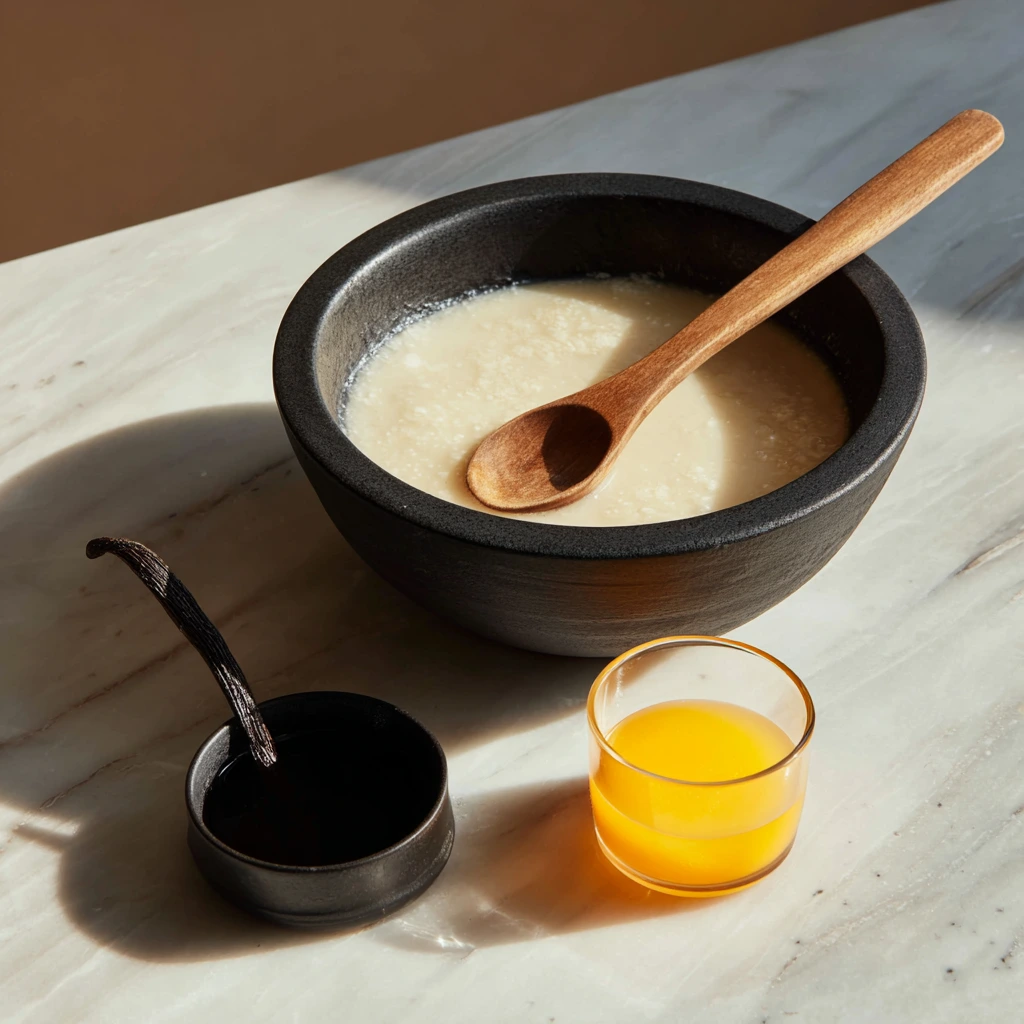
In a large mixing bowl, cream together the softened butter and granulated sugar. You want this mixture to look light and fluffy—this step helps make the crust tender and buttery. I usually give it a good 2-3 minutes with a hand mixer on medium speed.
Once that’s well combined, add in the egg and vanilla extract. Mix again until everything is smooth and cohesive. You’re building that rich, sugar cookie base here, so don’t skimp on mixing!
In a separate bowl, whisk together the flour, baking powder, and salt. Slowly add this dry mixture to your butter mixture in batches, stirring just until everything comes together. The dough will be soft but not sticky—perfect for pressing into a pan.
Step 3: Form the Crust and Save the Crumble
Scoop out about one-third of the dough and set it aside. You’ll use this later for the topping.
With the remaining dough, press it evenly into the bottom of your prepared pan. Use your hands or the bottom of a measuring cup to get a smooth, even layer. It doesn’t have to be perfect, but try to make sure it reaches into the corners.
Peanut Butter Lunch Lady Cookie Bars: Building the Layers and Baking to Perfection
Welcome back to Part 2 of our cookie bar adventure! So far, we’ve mixed up that rich, buttery sugar cookie dough and pressed it into our pan to form the perfect base. We even set aside a portion for the crumble topping (you didn’t forget, right?). Now it’s time to whip up the star of the show: that thick, creamy peanut butter filling that gives these bars their signature nostalgic flavor.
What I love most about this recipe—aside from the fact that it’s just downright delicious—is how simple it is to layer everything together. You don’t need any fancy tools or techniques, and the whole process feels kind of comforting. Like you’re back in your childhood kitchen, helping mom or grandma bake up something sweet for the week ahead.
Let’s pick up where we left off and finish assembling and baking our Peanut Butter Lunch Lady Cookie Bars.
Step 4: Make the Peanut Butter Filling
In a medium-sized bowl, combine the 1½ cups of creamy peanut butter and ⅓ cup of powdered sugar. If you like a slightly salty-sweet balance (and who doesn’t?), feel free to add a pinch of fine salt here as well.
Stir everything together until smooth and spreadable. The powdered sugar thickens the peanut butter just enough to help it hold its shape while baking, but it still stays nice and soft once the bars cool.
Step 5: Spread the Filling
Now gently spread the peanut butter mixture over your prepared crust. I recommend spooning small dollops across the surface and then carefully smoothing them out with an offset spatula or the back of a spoon. This helps avoid pulling up pieces of the base layer, which can happen if you try to spread it all from one big pile in the center.
Try to get an even layer, all the way to the edges. It doesn’t need to be perfect—just aim for good coverage.
Step 6: Add the Crumble Topping
Remember that one-third of dough we saved earlier? It’s time for its big moment.
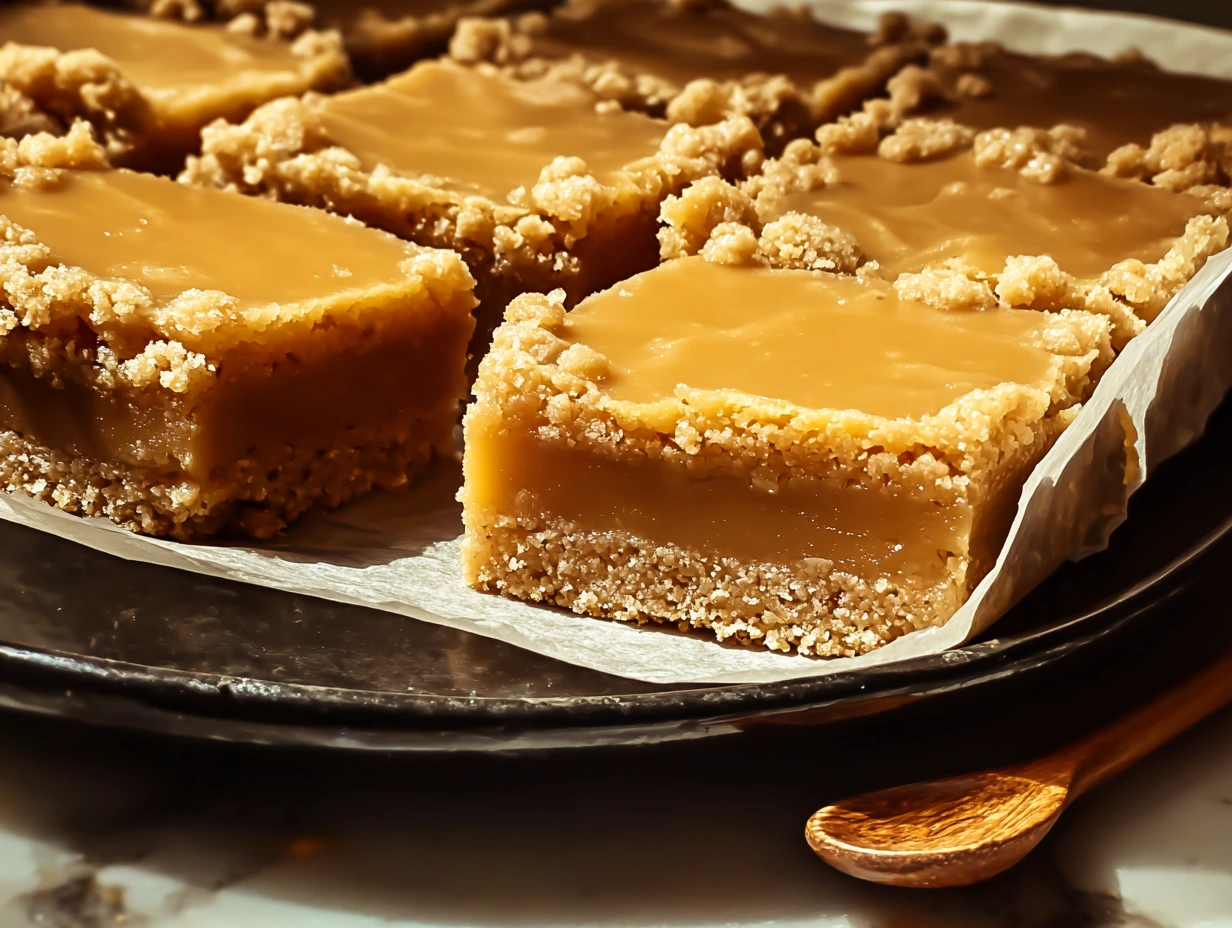
Take chunks of the reserved dough and crumble them over the top of the peanut butter filling. You don’t want to press it down—just let it fall naturally into small clumps. As it bakes, this dough will turn golden and form a soft, sweet, cookie-like topping that pairs perfectly with the creamy middle and buttery crust.
Step 7: Bake to Golden Goodness
Pop the pan into your preheated 350°F oven and bake for 25 to 30 minutes, or until the crumble topping is lightly golden around the edges. Keep an eye on it during the last five minutes—you want that perfect baked look without over-browning the top.
Once baked, remove the pan from the oven and place it on a wire rack to cool completely. This step is important! The bars need to set fully before slicing, or the layers won’t hold their shape.
Step 8: Slice and Serve
Once cool, use the parchment paper overhang to gently lift the bars from the pan. Transfer to a cutting board and slice into squares. You should get around 24 bars, depending on how large or small you cut them.
They’re chewy, slightly crumbly on top, and packed with peanut butter flavor—basically, everything you want in a classic cookie bar.
Helpful Tips and Easy Variations
Want more texture? Stir in ½ cup of chopped roasted peanuts into the peanut butter filling before spreading it onto the crust. It adds a delightful crunch and a little salty edge that’s totally addictive.
Feeding a crowd? You can easily double this recipe and bake it in a half-sheet pan. Just keep an eye on the bake time—it may need a few extra minutes in the oven.
Make it ahead: These bars keep beautifully. Store them in an airtight container at room temperature for up to 5 days, or in the fridge for up to 1 week. You can also freeze individual bars (wrap them tightly in plastic wrap) for up to 1 month. Let them thaw at room temp and they’re just as delicious.
Peanut Butter Lunch Lady Cookie Bars: FAQs and Final Thoughts
You’ve layered, baked, and (hopefully) tasted your way through one seriously nostalgic dessert. These Peanut Butter Lunch Lady Cookie Bars are simple, reliable, and full of those comforting flavors we all remember from back in the day. And if this is your first time making them, chances are it’s not going to be your last.
Before we wrap up, let’s answer some of the most frequently asked questions to help you troubleshoot, tweak, or just better understand how to make these bars perfectly every time.
FREQUENTLY ASKED QUESTIONS
1. Can I use natural peanut butter in this recipe?
You can, but it’s not ideal. Natural peanut butters tend to have more oil separation and are thinner in texture, which can affect the structure of the filling. For best results, use a creamy, shelf-stable brand like Jif or Skippy.
2. What’s the best way to store these bars?
Store them in an airtight container at room temperature for up to 5 days. If your kitchen runs warm, the fridge is a great option—they’ll keep well for up to 1 week. Just let them come to room temp before serving for the best texture.
3. Can I freeze these cookie bars?
Absolutely! Once cooled and sliced, wrap each bar tightly in plastic wrap and place them in a freezer-safe zip-top bag. They’ll stay fresh for up to 1 month. Thaw at room temperature before enjoying.
4. How do I know when the bars are done baking?
Look for a light golden color on the crumble topping and slightly browned edges. The bars will continue to set as they cool, so don’t wait for the center to look completely firm while still in the oven.
5. Can I add chocolate to these bars?
Yes, and it’s a delicious twist! You can sprinkle mini chocolate chips over the peanut butter layer before adding the crumble topping. Chocolate and peanut butter are always a good idea.
6. Can I make these gluten-free?
You can try using a 1:1 gluten-free flour blend, but be aware the texture may vary slightly. Look for a blend that includes xanthan gum for best results.
7. What if I don’t have parchment paper?
If you’re out of parchment, you can lightly grease the pan with butter or non-stick spray. Just note that the bars might be a bit trickier to remove cleanly—cutting and serving them from the pan is totally fine.
Final Thoughts: A Classic Treat Worth Sharing
There’s something so special about recipes like this one—simple ingredients, easy steps, and a result that delivers pure comfort. These Peanut Butter Lunch Lady Cookie Bars are the kind of dessert that brings back memories and makes new ones at the same time. Whether you’re baking for a group of kids, sharing at a potluck, or treating yourself to something sweet after dinner, this recipe never disappoints.
Print
Peanut Butter Lunch Lady Cookie Bars
- Author: Andrew Recipes
Description
These cookie bars feature a buttery sugar-cookie crust layered with a sweet, creamy peanut butter filling and finished with a tender crumble topping. They capture all the nostalgia of classic school-cafeteria treats in an easy one-pan bake, yielding chewy, peanut-buttery squares that are perfect for lunchboxes, bake sales, or after-school snacks.
Ingredients
For crust and crumble
1 cup unsalted butter, softened
1 cup granulated sugar
1 large egg, room temperature
2 teaspoons pure vanilla extract
2½ cups all-purpose flour
½ teaspoon baking powder
¼ teaspoon fine salt
For peanut butter filling
1½ cups creamy peanut butter
⅓ cup powdered sugar
Pinch of fine salt (optional)
Instructions
Preheat the oven to 350°F (175°C). Line a 9×13-inch baking pan with parchment paper, leaving an overhang on two sides to lift the bars out easily.
In a large bowl, cream together the softened butter and granulated sugar until light and fluffy. Stir in the egg and vanilla extract until the mixture is smooth and homogenous.
Whisk the flour, baking powder, and salt in a separate bowl. Gradually add the dry ingredients to the butter mixture, mixing until a soft dough forms. Scoop out about one-third of the dough and set it aside for the crumble topping. Press the remaining two-thirds evenly into the bottom of the prepared pan to form the crust.
In a medium bowl, stir the peanut butter, powdered sugar, and optional pinch of salt until a thick, spreadable filling develops. Gently spread the peanut butter layer over the crust, taking care not to disturb the base.
Crumble the reserved dough evenly over the peanut butter layer, breaking it into small pieces so it bakes into a golden, streusel-like topping.
Bake for 25 to 30 minutes, or until the topping is lightly golden around the edges. Allow the bars to cool completely in the pan on a wire rack, then use the parchment overhang to lift them out. Transfer to a cutting board and slice into squares.
Notes
Bars keep best in an airtight container at room temperature for up to five days or refrigerated for up to one week.
For extra texture, fold ½ cup of chopped roasted peanuts into the peanut butter filling before spreading.
These bars freeze well; wrap individual pieces in plastic and store in a freezer-safe bag for up to one month. Thaw at room temperature before serving.

