If there’s one thing I’ve learned from being a busy mom and self-proclaimed snack enthusiast, it’s that sometimes the best recipes are the simplest ones—especially when they come with melty cheese and crispy edges! That’s exactly what you get with these Pepperoni Pizzadillas. They’re basically everything you love about pepperoni pizza but wrapped up in a golden, crunchy tortilla. Think of it as the perfect marriage between a quesadilla and your favorite pizza slice. Fast, satisfying, and totally customizable.
We’ve had a lot of these fly off the stovetop in my house lately. One minute they’re in the skillet, the next they’re gone. It’s one of those rare recipes that works as a snack, lunch, or dinner—and let’s be honest, maybe even a midnight bite if you’re feeling it. Plus, it’s totally kid-approved (and adult-approved too, of course).
These are also amazing for when you want that pizza flavor but don’t want to mess around with dough. You just need some tortillas, your favorite marinara or pizza sauce, and the usual suspects—cheese and pepperoni. That’s it. And the beauty of it? You can totally make it your own.
Let’s dive into how to get these golden, melty little pizzadillas on your plate in minutes.
Ingredients You’ll Need
Before we get started, here’s everything you’ll need to make two pizzadillas (feel free to double or triple the recipe if you’re feeding a crowd):
2 large flour tortillas
½ cup shredded mozzarella cheese
¼ cup marinara or pizza sauce
8 to 10 slices pepperoni
1 tablespoon butter or olive oil
Optional: Italian seasoning, crushed red pepper, grated parmesan
Pro tip: If you’re feeding picky eaters or folks with dietary restrictions, these are super easy to adjust—gluten-free tortillas, dairy-free cheese, veggie toppings—you name it.
STEP 1: Heat Your Skillet
Start by heating a skillet over medium heat. I like to use a nonstick skillet for these just to make sure nothing sticks, but a well-seasoned cast iron pan will work beautifully too. Once your pan is warm, add half of your butter or olive oil—just enough to lightly coat the bottom of the pan. This is going to give you that nice golden crunch on the outside of the tortilla.
STEP 2: Build the Pizzadilla
Now it’s time to build your flavor-packed little half-moon. Place one tortilla in the skillet. You’re going to use just half of the tortilla to layer the ingredients, so you can fold it over later.
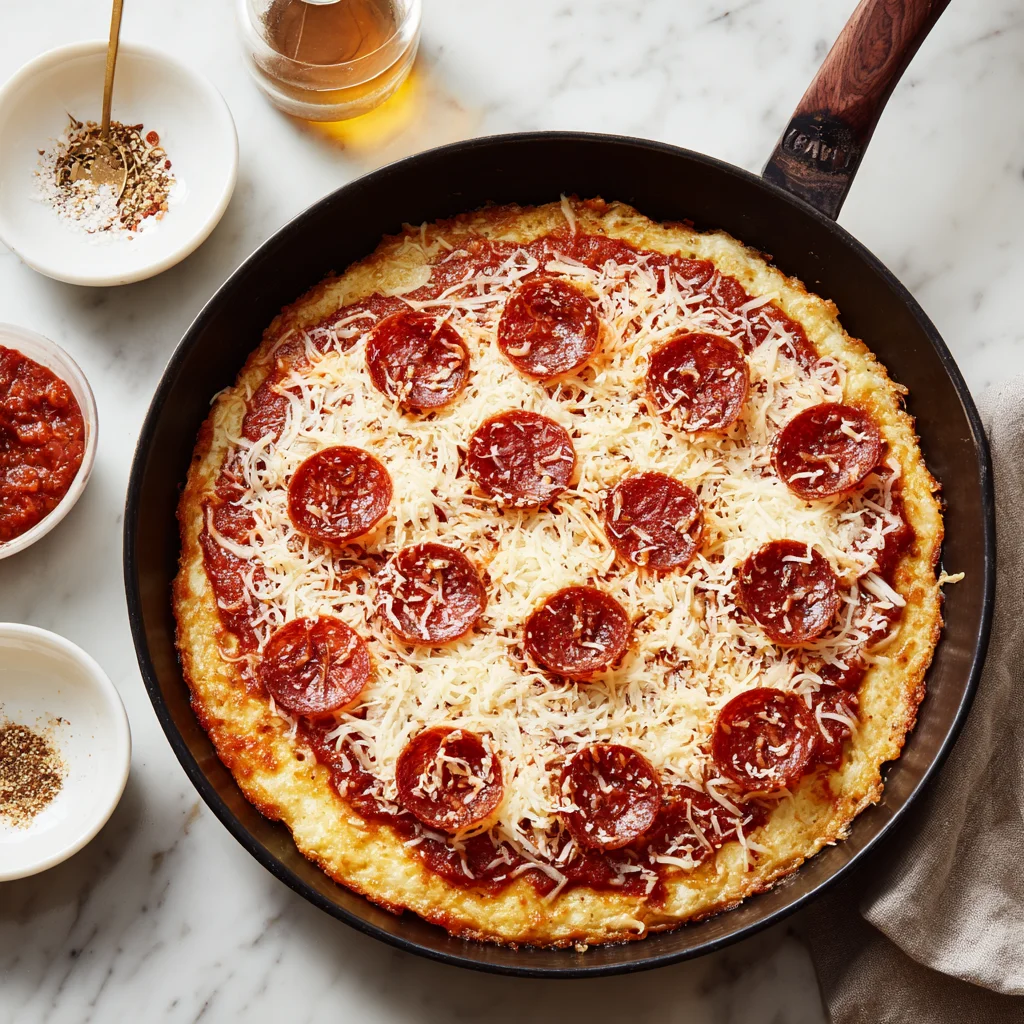
Start with a thin layer of pizza sauce—don’t overdo it here. You want the pizzadilla to be moist and flavorful but not soggy. Then sprinkle on ¼ cup of shredded mozzarella, spreading it out evenly.
Top the cheese with 4 to 5 slices of pepperoni. Feel free to add more if you’re in the mood, or try mixing in some extras like Italian seasoning, a dash of crushed red pepper for heat, or even a sprinkle of grated parmesan if you’re feeling fancy.
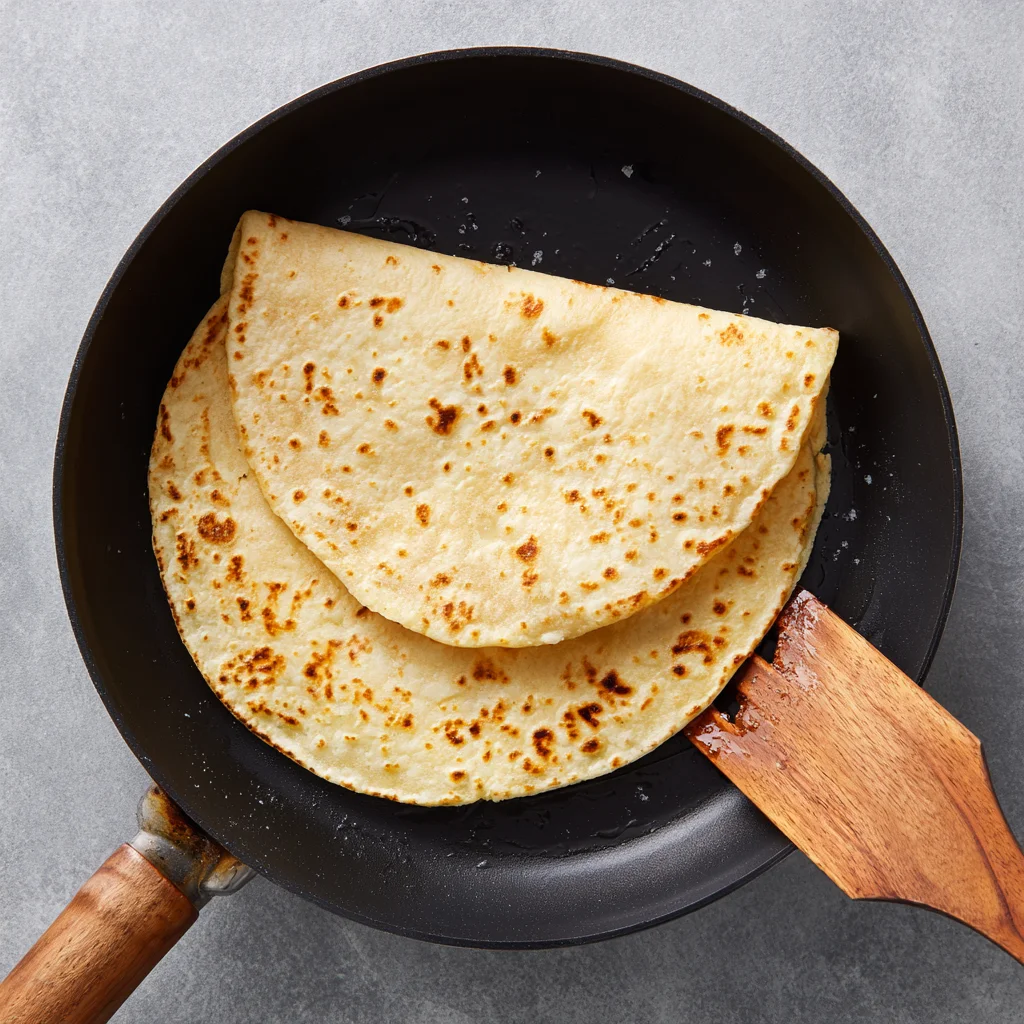
STEP 3: Fold and Crisp It Up
Now fold the tortilla over the filling to make a half-circle. Press it down lightly with your spatula so everything gets nice and melty inside. Cook it for about 2 to 3 minutes per side, or until the outside is golden brown and crispy and the cheese inside is completely melted.
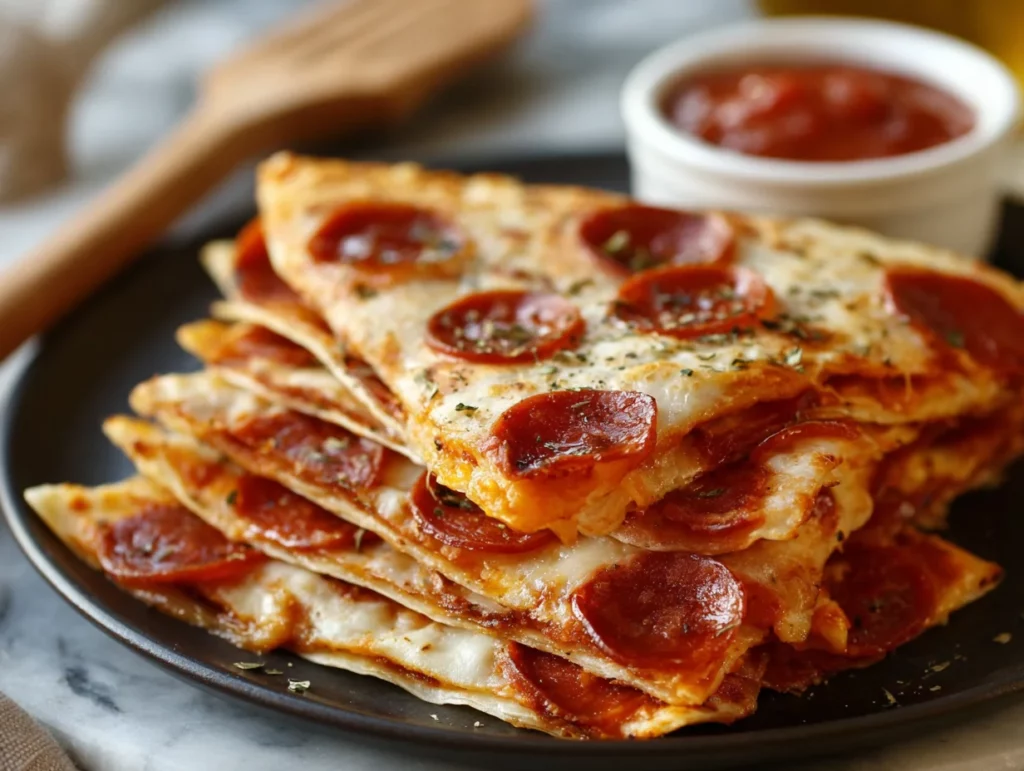
Once it’s done, remove it from the skillet and let it rest for a minute before slicing it into wedges. That short rest helps the cheese set just a little so everything doesn’t come spilling out when you cut into it.
Repeat the same steps with the second tortilla and the rest of your ingredients. And just like that—you’ve got yourself two cheesy, crispy pizzadillas ready to serve.

Easy Pepperoni Pizzadillas: The Best Quick Lunch or Snack
By now, your kitchen probably smells amazing—like a cross between pizza night and a grilled cheese sandwich situation, in the best way possible. If you’ve followed along with Part 1, you’ve already got the first pizzadilla down and you’re probably wondering how you ever lived without these in your regular meal rotation.
In this part of the recipe, I’m going to walk you through some more tips and variations to really make these pizzadillas your own. Whether you’re feeding picky kids, trying to clean out the fridge, or just looking for a satisfying, no-fuss meal, you’re in the right place.
STEP 4: Try Some Tasty Variations
The great thing about these pizzadillas is how versatile they are. While the classic pepperoni and mozzarella combo is always a winner, there’s no reason you can’t mix it up. Here are a few fun ideas:
Supreme Style: Add a few tablespoons of sautéed bell peppers, mushrooms, and onions along with the pepperoni. Just make sure your veggies are cooked beforehand to avoid excess moisture inside the tortilla.
Meat Lovers: Toss in some cooked and crumbled sausage, bacon bits, or chopped ham with the pepperoni for a heartier option.
Veggie Delight: Skip the meat and go all-in with chopped spinach, olives, tomatoes, and mushrooms. A sprinkle of feta or ricotta is also delicious here.
Cheese Bomb: Use a blend of mozzarella, provolone, and a touch of sharp cheddar for an extra cheesy version.
The key to success with any variation is to keep your layers thin and even—too much filling can make the pizzadilla hard to flip and can lead to sogginess. Less is more when it comes to the inside so that you get that crisp, golden shell every time.
STEP 5: Don’t Skip the Rest Time
Once your pizzadillas are cooked, it’s tempting to dive right in—but giving them a quick rest for a minute or two before slicing makes all the difference. It allows the cheese to set slightly, which means less mess and better flavor in every bite. If you’re feeding kids, it also gives them a chance to cool down to a more kid-friendly temp.
STEP 6: Serve with Dipping Sauces
These are absolutely delicious on their own, but if you want to take it to the next level, serve them with a few dipping sauces on the side. Here are some of our favorites:
Extra marinara sauce for that classic pizza flavor
Garlic butter for a more indulgent touch
Ranch dressing (especially kid-approved!)
Hot honey for a sweet-and-spicy kick
This is a great way to make it feel a little more like a “build-your-own” pizza experience, and it’s perfect if you’re serving a group or hosting a casual get-together.
STEP 7: Make-Ahead Tips and Storage
Even though these pizzadillas come together in just a few minutes, you can still prep ahead if needed:
Prep and Stack: You can pre-build the pizzadillas (tortilla, sauce, cheese, toppings, and fold) and refrigerate them stacked with parchment paper between them for up to a day before cooking.
Reheat Leftovers: If you happen to have any leftovers (doubtful, but just in case), pop them in a skillet over medium-low heat for a few minutes to re-crisp. You can also reheat them in the oven or toaster oven. Avoid the microwave—it tends to make the tortillas soft and chewy instead of crispy.
Freezing: While these are best fresh, you can freeze pre-cooked pizzadillas. Let them cool completely, wrap tightly in foil, and store in a freezer-safe bag. To reheat, bake in the oven at 375°F until warmed through and crispy again (about 10-15 minutes).
More Ways to Enjoy Pizzadillas
These aren’t just for lunch or a quick dinner—though they’re absolutely perfect for that. Here are a few fun ways we’ve enjoyed them in our house:
After-School Snack: Quick to make and always a hit with hungry kids.
Game Day Finger Food: Slice them into smaller triangles and serve with a dipping station for the ultimate snack platter.
Busy Weeknight Dinner: Add a quick side salad or some roasted veggies, and dinner is done in under 20 minutes.
Movie Night Treat: Skip the pizza delivery and make a few pizzadillas instead—faster, cheaper, and totally customizable.
Pepperoni Pizzadillas: FAQ and Final Thoughts
We’ve covered all the steps, shared some tasty variations, and hopefully made your mouth water with the idea of a golden, melty pizzadilla on your plate. But before we wrap up, I wanted to answer some of the most common questions people have when making these. Whether you’re planning to meal prep or wondering about swaps, I’ve got you covered.

Frequently Asked Questions
Can I make pizzadillas ahead of time?
Yes, you can! You can assemble the pizzadillas ahead of time (tortilla, sauce, cheese, toppings) and store them in the fridge for up to a day before cooking. If you’ve already cooked them, they also reheat well in a skillet or oven for a quick second round.
What’s the best way to reheat pizzadillas?
To keep the outside crispy, reheat them in a skillet over medium-low heat for 2–3 minutes per side, or bake in the oven at 375°F for 10 minutes. Avoid the microwave—it tends to make the tortilla soft and a bit soggy.
Can I use corn tortillas instead of flour?
Technically yes, but keep in mind that corn tortillas are smaller and more delicate, so they can break when folding. If you’re using corn, consider making them taco-style (two separate tortillas with filling in between), and handle them gently when flipping.
What if I don’t have pizza sauce?
No problem! You can substitute marinara, spaghetti sauce, or even tomato paste thinned with a little olive oil and seasoning. The flavor might vary slightly, but it’ll still hit those pizza cravings.
Can I make these vegetarian or gluten-free?
Absolutely. Swap the pepperoni for your favorite veggies like mushrooms, spinach, or olives. For a gluten-free version, use certified gluten-free tortillas and double-check that your toppings (especially the sauce) are gluten-free as well.
Can I freeze pizzadillas?
Yes! After cooking and cooling them completely, wrap tightly in foil and store in a freezer-safe bag. To reheat, bake from frozen at 375°F until heated through and crispy again (about 12–15 minutes). They’re a great grab-and-go option for busy days.
What cheese works best if I don’t have mozzarella?
While mozzarella is the classic choice, you can easily sub in provolone, Monterey Jack, cheddar, or a pizza blend. Just make sure it’s a melt-friendly cheese for that gooey inside.
Final Thoughts: Why You’ll Keep Coming Back to These Pizzadillas
If you’re anything like me, once you make these Pepperoni Pizzadillas, they’ll start appearing on your weekly menu more often than you expect. They’re just so easy, satisfying, and flexible. I love how they can be a lazy-night dinner, a creative lunchbox idea, or a snack that makes my kids cheer.
They’re also a great way to use up leftover pizza toppings, that last bit of cheese in the bag, or those extra tortillas sitting in your pantry. You don’t need to plan ahead too much—just keep a few basic ingredients on hand, and you’re always a few minutes away from something delicious.
If you try them out, I’d love to hear how you made them your own. Did you go veggie, pack in extra cheese, or come up with a new flavor combo? Share your twists in the comments—I always get inspired by how creative you all are in the kitchen.
Print
Pepperoni Pizzadillas
- Author: Andrew Recipes
Description
Pepperoni Pizzadillas are a quick and fun twist on classic pizza, made quesadilla-style using tortillas instead of dough. They deliver all the cheesy, saucy goodness of pizza in a crispy, pan-fried shell that takes just minutes to make. Perfect as a snack, lunch, or easy dinner, these pizzadillas are kid-friendly, customizable, and irresistibly melty.
Ingredients
2 large flour tortillas
½ cup shredded mozzarella cheese
¼ cup marinara or pizza sauce
8 to 10 slices pepperoni
1 tablespoon butter or olive oil
Optional: Italian seasoning, crushed red pepper, grated parmesan
Instructions
Heat a skillet over medium heat and add half the butter or oil.
Place one tortilla in the skillet and spread a thin layer of pizza sauce over half of it. Sprinkle with mozzarella, layer on the pepperoni, and add any optional seasonings you like.
Fold the tortilla over to create a half-moon shape. Cook for 2 to 3 minutes per side until golden and crisp, and the cheese is melted.
Remove from the skillet and let rest for a minute before slicing into wedges.
Repeat with the second tortilla and remaining ingredients.
Notes
You can switch up the filling with cooked sausage, mushrooms, bell peppers, or olives for a more deluxe version. If using extra sauce inside, go light to avoid sogginess. For dipping, serve with warm marinara or ranch. These are great for using up leftover pizza toppings and make an easy after-school snack or casual dinner.

