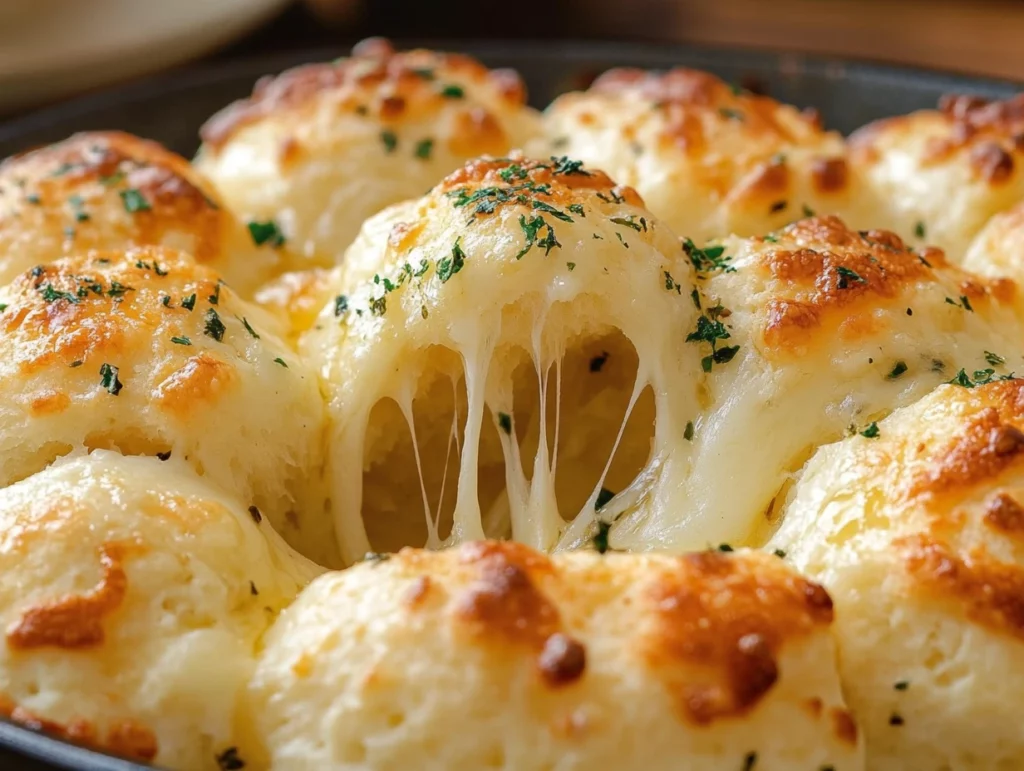
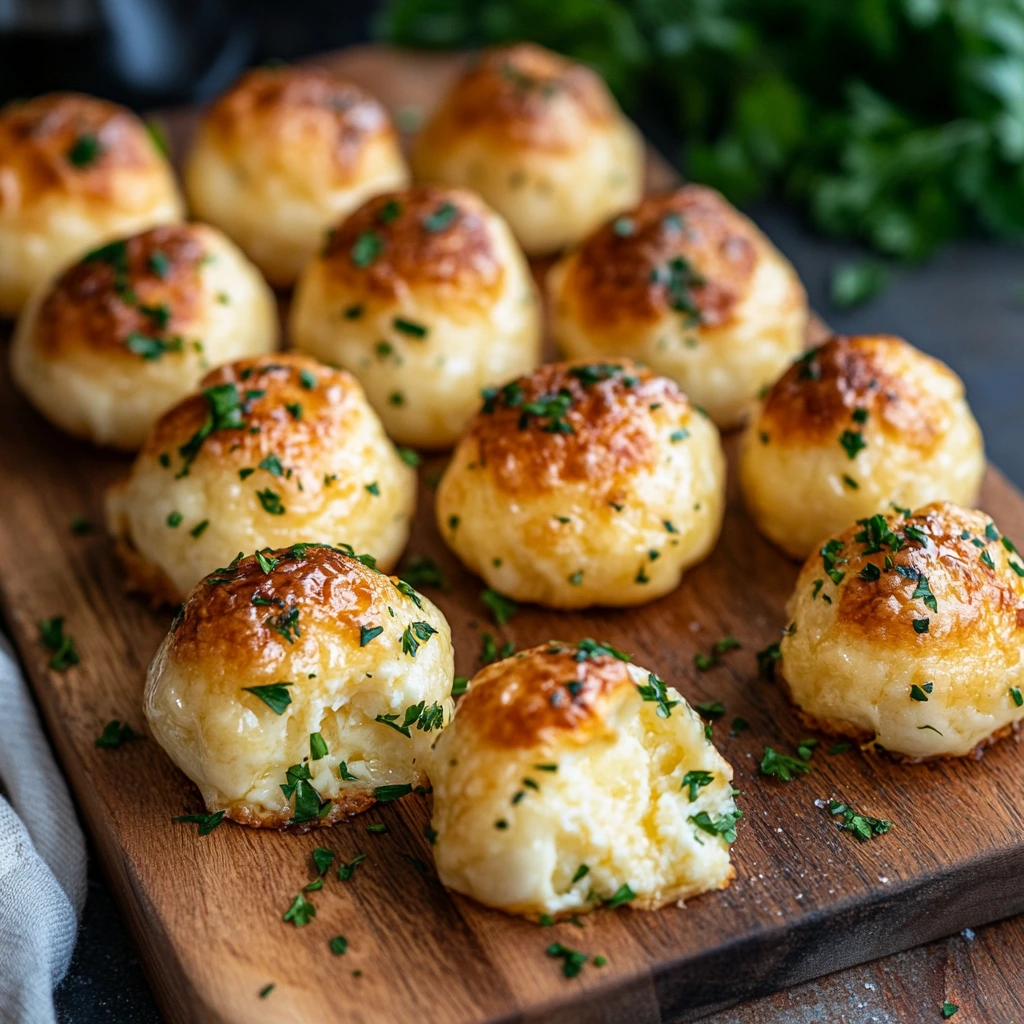
Have you ever had one of those moments when you’re craving something warm, cheesy, and buttery all at once? That’s exactly how I felt the first time I made these Pillsbury Biscuit Garlic Butter Cheese Bombs. Imagine golden, pillowy biscuits with gooey mozzarella cheese tucked inside, all coated in a delicious garlic butter sauce. It’s the kind of comfort food that you can’t help but devour in one sitting.
The best part? You don’t need to be a seasoned chef to pull these off. With just a few simple ingredients and a can of Pillsbury Biscuits, you can create an appetizer (or even a side dish) that’s perfect for any gathering or just a cozy night in. These little cheese bombs are super easy to make, yet they taste like something you’d get from a fancy bakery or restaurant. Trust me, your friends and family will be begging for the recipe!
Now, let’s get started on making these cheesy delights. You’ll want to grab your ingredients first, so here’s what you’ll need:
Ingredients:
- 1 can Pillsbury Biscuits (the ones that pop open!)
- 8 mozzarella cheese cubes
- 4 tablespoons butter, melted
- 2 cloves garlic, minced
- 1 tablespoon fresh parsley, finely chopped
- ¼ cup grated Parmesan cheese
Step 1: Preheat the Oven
First thing’s first, let’s preheat your oven to 375°F (190°C). This is the perfect temperature to get those biscuits puffed up and golden brown. While the oven is heating up, line a baking sheet with parchment paper or lightly grease it so that your cheese bombs don’t stick. (No one wants to scrape cheese off their pan, am I right?)
Step 2: Prepare the Biscuits
Next, you’ll want to grab your can of Pillsbury Biscuits. I love how these come pre-portioned, making everything so much easier. Open up the can and take out each biscuit, then flatten each one into a small, round circle. You can do this with your hands or use a rolling pin if you prefer. The goal is to create a little “pocket” that can hold that gooey mozzarella cheese we’ll be adding in just a moment.
As you flatten the biscuits, make sure they’re even enough to wrap around the cheese later. It doesn’t have to be perfect, though—this is a casual, fun recipe!
Step 3: Add the Cheese
Now comes the fun part. Place one mozzarella cube in the center of each flattened biscuit. This is where the magic happens! As these cheese bombs bake, the cheese will melt inside, creating the most amazing cheesy center you could imagine. Don’t worry about overstuffing them; the biscuit dough will easily seal around the cheese, and the gooey goodness will stay inside.

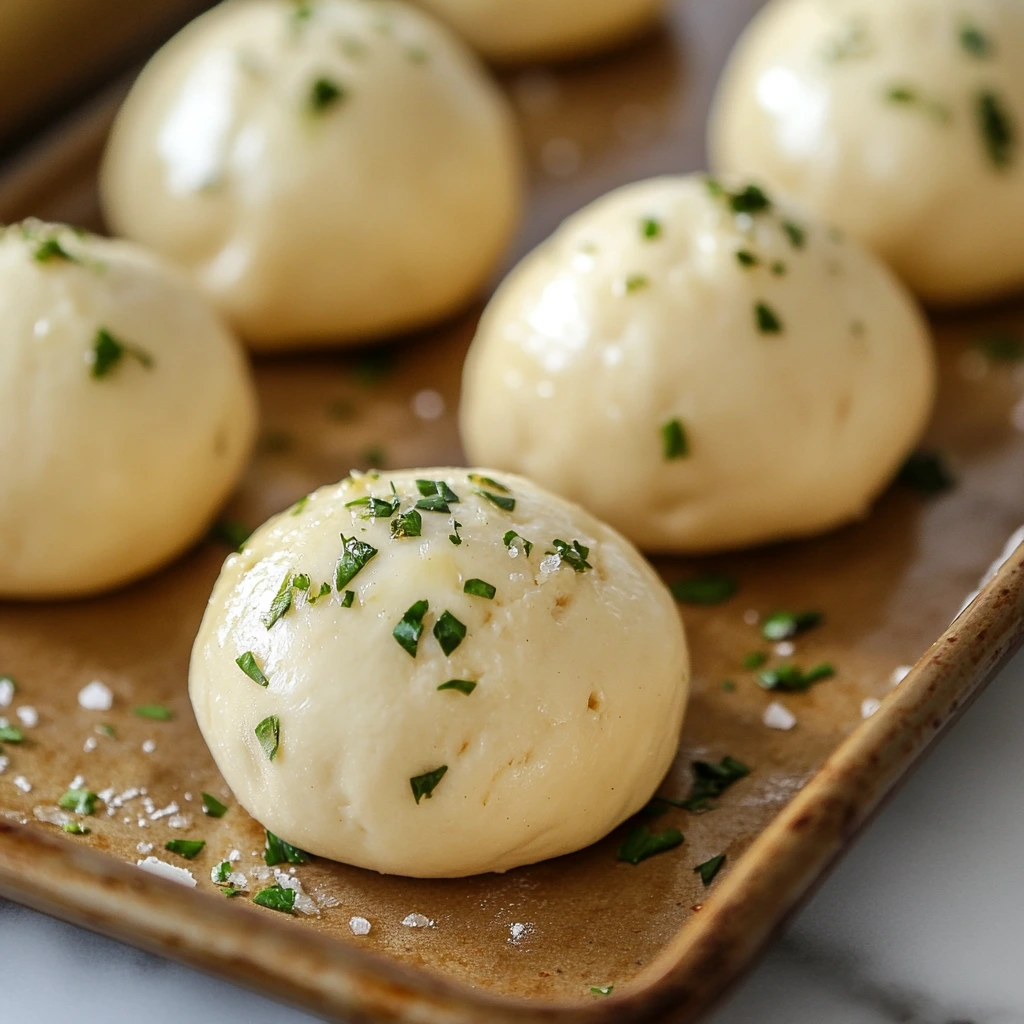
Once your cheese is in place, fold the edges of the dough over the cheese, pinching the seams together. You’re essentially creating a little cheese-filled pouch! If any cheese escapes while baking, don’t fret—more cheesy goodness for you to enjoy. Shape each stuffed biscuit into a ball, making sure the seams are pinched tightly.
Coating, Baking, and Perfecting the Cheese Bombs
Alright, now that you’ve got your cheesy little dough balls ready, it’s time to take them to the next level with that irresistible garlic butter mixture. This is what’s going to make your Pillsbury Biscuit Garlic Butter Cheese Bombs absolutely bomb (in the best way possible). But before we dive into that, let’s talk about the next steps in making these little bites of heaven.
Step 4: Garlic Butter Mixture
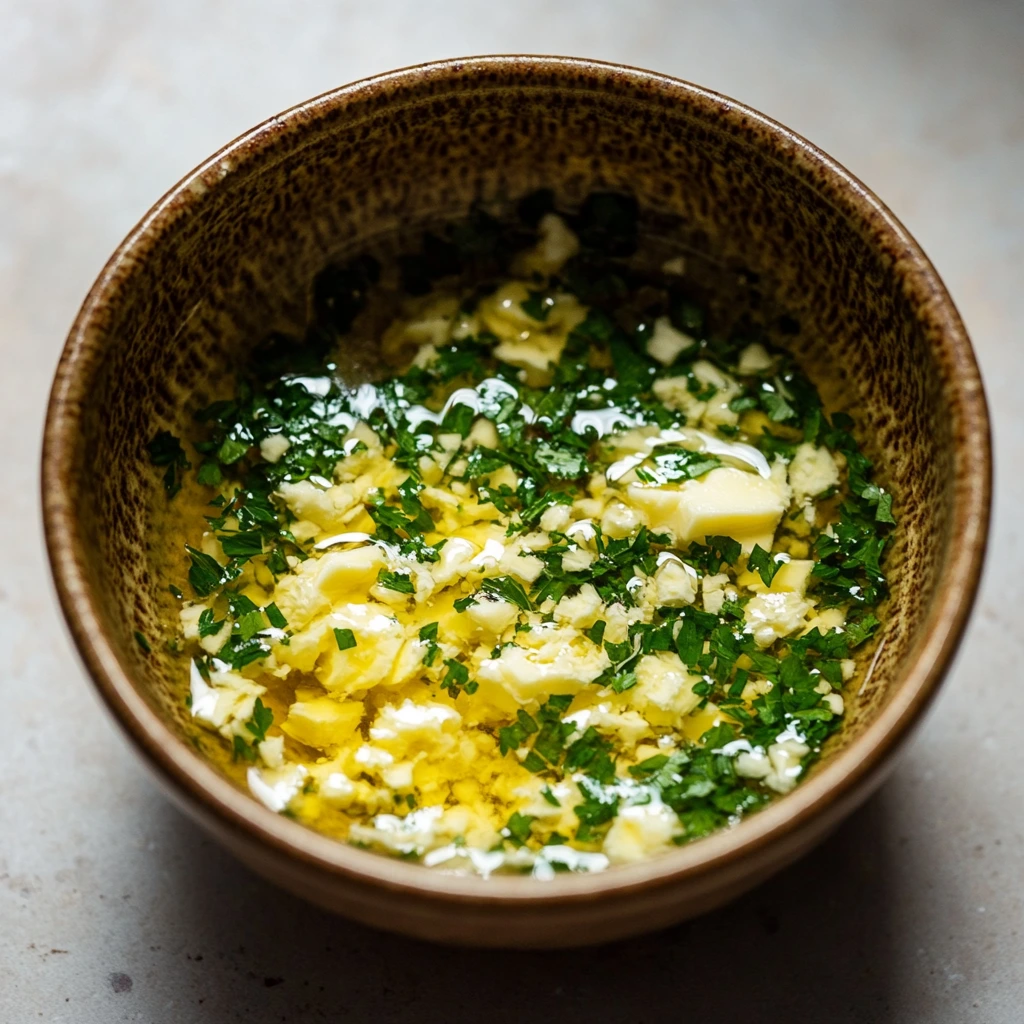
Now, we’re going to prepare the star of the show—the garlic butter. Grab a small bowl and melt the butter in the microwave or on the stovetop. You want it to be completely melted, but not too hot, so let it cool slightly if needed. Add in your minced garlic and finely chopped fresh parsley, stirring everything together until it’s well combined. You’ll start to smell the garlic and butter mingling, and trust me, it’s going to be a game-changer!
This garlic butter mixture is going to give your cheese bombs that luscious, savory flavor that makes them even more addictive. The fresh parsley adds a lovely pop of color and a subtle freshness that balances out the richness of the butter. It’s an extra touch that makes these bombs feel a little bit more gourmet than your usual biscuit dish.
Step 5: Coat the Dough Balls
Now that your garlic butter mixture is ready, it’s time to coat each of those little cheese bombs in the buttery goodness. Here’s how you’ll do it:
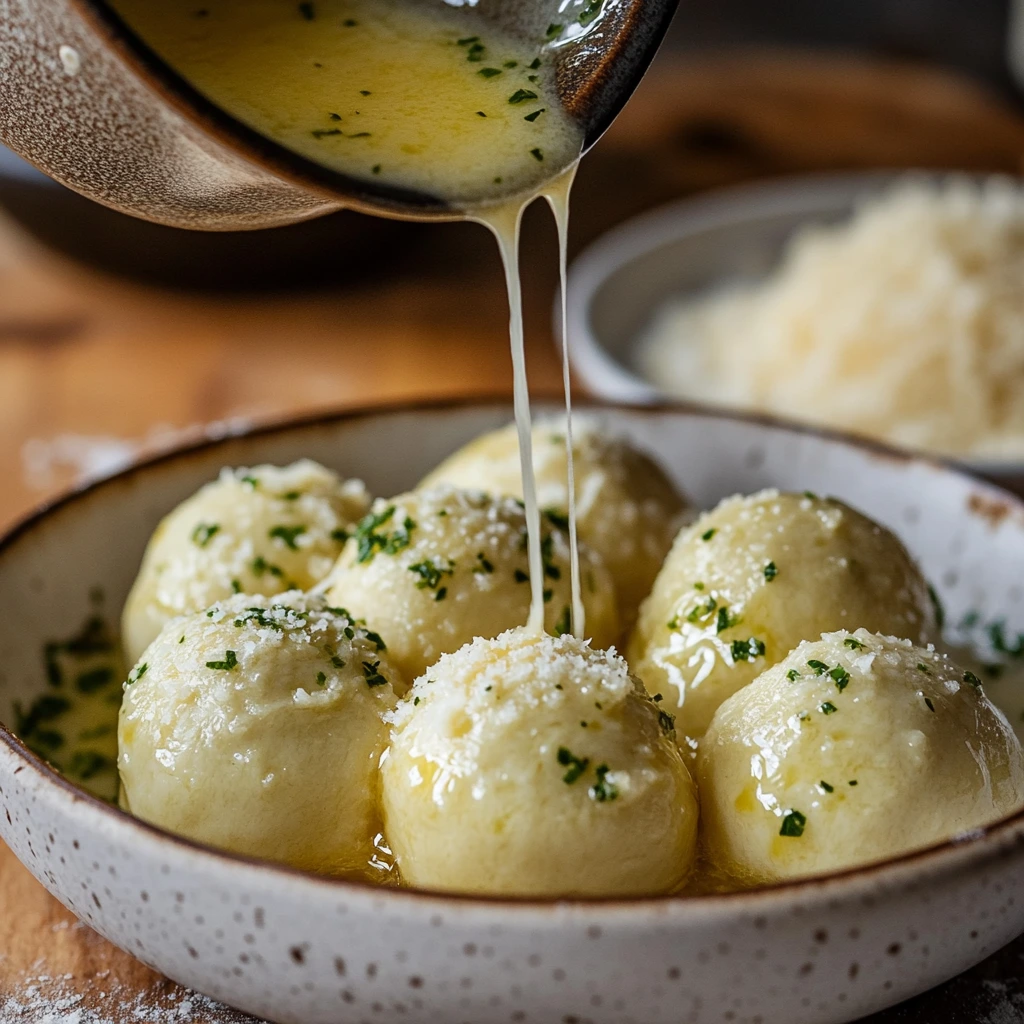
- Dip the Dough Balls: Take each cheese-filled dough ball and dip it into the garlic butter mixture. Use a spoon to spoon some of the butter over the top if you need to. Make sure that each little bomb is completely coated in the garlic butter. This will help create a crispy, flavorful outer layer when it bakes. Don’t skip this step—this is where the magic happens!
- Roll in Parmesan Cheese: Next, roll each dough ball in the grated Parmesan cheese. The Parmesan adds a delicious, salty kick and helps form a golden, cheesy crust as the bombs bake. You’ll get a nice, crispy, cheesy exterior that contrasts perfectly with the soft, gooey cheese inside.
This step is all about layering flavor and texture, so don’t rush it! The combination of butter, garlic, parsley, and Parmesan is what makes these bombs truly irresistible.
Step 6: Arrange and Bake
Once each dough ball is fully coated in garlic butter and Parmesan, it’s time to arrange them on your prepared baking sheet. Place the cheese bombs seam-side down, so they stay sealed during baking. You can place them relatively close together, but try to leave a little space between each one to allow them to puff up and bake evenly.
Now, pop the tray into your preheated oven (375°F/190°C) and bake them for about 15-20 minutes. Keep an eye on them, because oven times can vary, and you’ll want them golden brown and puffed up. You’ll start to smell the delightful aroma of baking biscuits, garlic, and melted cheese filling your kitchen. It’s hard to resist peeking in the oven, but try to wait until the tops are beautifully golden and the cheese has fully melted inside.
While they’re baking, you can take a moment to relax and get ready to enjoy these cheesy bites of heaven. If you want, you can prepare a little dipping sauce on the side—something simple like marinara or ranch would complement the garlic butter cheese bombs perfectly.
Step 7: Serve and Enjoy
Once the cheese bombs are golden and bubbly, take them out of the oven and let them cool for a minute or two. Don’t wait too long though—you’ll want to serve these warm for the best gooey, cheesy experience. As you break open one of these little bombs, you’ll be greeted with a mouthwatering pull of melted mozzarella that’s sure to make anyone’s day.
Serve them up as an appetizer, snack, or even as a side dish to a meal. I’ve made these for family dinners, game nights, and even as a fun treat to bring to a potluck, and they’ve always been a huge hit. You won’t be able to stop at just one!
FAQ Section
1. Can I use a different type of cheese for the filling?
Absolutely! While mozzarella is the classic choice because of its meltiness, you can definitely experiment with different cheeses. Cheddar adds a nice sharp flavor, while provolone or even gouda would work beautifully for a richer taste. You can also mix and match cheeses to create a more complex flavor profile. Just make sure the cheese you use melts well!
2. Can I prepare these ahead of time?
Yes! You can prepare the cheese bombs ahead of time and store them in the fridge for a few hours before baking. If you want to make them even further in advance, you can assemble the cheese bombs, cover them tightly with plastic wrap, and freeze them. When you’re ready to bake, just pop them into the oven straight from the freezer (you may need to add an extra few minutes to the baking time).
3. Can I make these without garlic?
Of course! If you’re not a fan of garlic or if you have dietary restrictions, you can easily skip the garlic in the butter mixture. You could also experiment with other herbs like basil, thyme, or rosemary for a different flavor. It’s all about making the recipe work for your taste buds.
4. How do I prevent the cheese from leaking out during baking?
This is a great question! The key is to pinch the biscuit dough tightly around the cheese and make sure the seams are fully sealed. If you’re worried about cheese escaping, you can fold the dough over the cheese more securely. Also, placing the cheese bombs seam-side down on the baking sheet will help keep them closed as they bake.
5. Can I use biscuit dough from scratch instead of store-bought?
Yes, you can! If you have a homemade biscuit dough recipe you love, feel free to use it in place of the Pillsbury biscuits. Just make sure the dough is thick enough to hold the cheese, and follow the same general steps for shaping and sealing. However, using store-bought dough definitely saves time, making this an easy option for busy days.
6. How do I store leftovers?
If you happen to have any leftovers (which, let’s be honest, is unlikely), you can store them in an airtight container in the fridge for up to 2-3 days. To reheat, simply place them in the oven for about 5-7 minutes at 350°F (175°C) to get the outer crust crispy again. You can also microwave them, but they won’t be as crispy.
7. Can I serve these as a main dish?
While these cheese bombs are great as an appetizer or side dish, they can also work as a main if you serve them with a side salad or some roasted vegetables. The cheesy filling is quite satisfying, so they can be a meal in a pinch, especially for a casual lunch or dinner.
Conclusion
And there you have it! These Pillsbury Biscuit Garlic Butter Cheese Bombs are everything you’ve ever dreamed of and more—crispy on the outside, soft and cheesy on the inside, and bursting with flavor from the garlic butter and Parmesan. They’re the perfect snack to impress your friends and family, or just to treat yourself to something indulgent. Whether you’re hosting a party, enjoying a cozy family dinner, or just looking for a quick and easy bite, these cheesy bombs are always a hit.
If you try this recipe, I’d love to hear how it goes! Have you experimented with different cheeses or added your own twist? Let me know in the comments below, and feel free to share your variations. Don’t forget to snap a picture before they disappear—these little bombs are almost too good not to share on social media.
Print
Pillsbury Biscuit Garlic Butter Cheese Bombs
- Total Time: 25-30 minutes
Description
These cheesy, buttery bites are an irresistible snack or side dish that’s packed with gooey mozzarella and bursting with garlic flavor. Using Pillsbury biscuits makes them quick and easy to prepare, perfect for a crowd or as a tasty addition to dinner. With the addition of Parmesan cheese and fresh parsley, each bite is flavorful and satisfying.
Ingredients
- 1 can Pillsbury Biscuits
- 8 mozzarella cheese cubes
- 4 tablespoons butter, melted
- 2 cloves garlic, minced
- 1 tablespoon fresh parsley, finely chopped
- ¼ cup grated Parmesan cheese
Instructions
1️⃣ Preheat the oven: Set your oven to 375°F (190°C) and line a baking sheet with parchment paper.
2️⃣ Prepare the biscuits: Flatten each biscuit from the can to create a small, flat circle. Place one cube of mozzarella cheese in the center of each biscuit.
3️⃣ Shape the bombs: Carefully fold the dough over the cheese, pinching the edges together to seal the cheese inside. Shape each filled biscuit into a ball.
4️⃣ Garlic butter mixture: In a small bowl, mix together the melted butter, minced garlic, and chopped parsley.
5️⃣ Coat the dough balls: Dip each dough ball into the garlic butter mixture, making sure it’s well-coated. Then, roll each ball in the grated Parmesan cheese until evenly covered.
6️⃣ Arrange and bake: Place the garlic butter cheese bombs on the prepared baking sheet, seam-side down. Bake for 15-20 minutes, or until the biscuits are golden brown and puffed up.
7️⃣ Serve: Serve the cheese bombs warm, fresh from the oven, for the best gooey, cheesy experience.
Notes
- If you want an extra cheesy experience, feel free to add more mozzarella cubes or use a blend of cheeses.
- For a spicier version, try adding a pinch of red pepper flakes to the garlic butter mixture.
- These cheese bombs are perfect as an appetizer, snack, or side dish to pasta or soups!
- Prep Time: 10 minutes
- Cook Time: 15-20 minutes
Nutrition
- Serving Size: 8 cheese bombs

