
There’s something undeniably comforting about the smell of fresh bread baking in the oven—but if you’re anything like me, the thought of dealing with yeast, proofing, and hours of waiting can feel a bit overwhelming on a busy day. That’s exactly why I’m so excited to share this recipe for Quick 20-Minute Homemade Bread with you.
This is the kind of recipe you pull out when you’re short on time but still want something warm and fresh from the oven. Whether you’re pairing it with a bowl of soup, using it for morning toast, or just tearing into a slice with a generous spread of butter, this bread delivers all the cozy homemade vibes without the usual fuss.
What I love most about this bread is its versatility. It’s soft and fluffy on the inside, with a golden, slightly crisp crust on top—and you can totally make it your own. Add cheese, herbs, garlic powder, or a sprinkle of sesame seeds if you’re feeling fancy. But even without any extras, this bread stands up beautifully on its own.
Let’s get into how to whip it up. You’ll be amazed at how simple this is.
Why You’ll Love This 20-Minute Bread
No yeast, no problem – No rising time needed, which means it’s ready to eat faster.
Customizable – Mix in cheese, herbs, or whatever’s in your pantry.
Minimal cleanup – Just two bowls, a spoon, and a loaf pan.
Perfect texture – Soft and tender with a lovely golden crust.
Ingredients You’ll Need
Here’s what you’ll need to make this simple no-yeast bread:
2 cups all-purpose flour (or swap in whole wheat flour if you want a healthier spin)
1 tbsp baking powder
1/2 tsp salt
1 cup milk (whole milk, almond milk, or buttermilk all work great)
2 tbsp honey (or sugar if you prefer)
2 tbsp olive oil (or melted butter for a richer flavor)
Optional add-ins: grated cheese, chopped herbs, garlic powder, sesame seeds, oats, or Parmesan
STEP 1: Preheat and Prepare Your Pan
First things first—get your oven going. Preheat it to 400°F (200°C) so it’s ready when your batter is.
Then take an 8×4-inch loaf pan and either grease it well or line it with parchment paper. The parchment makes removal super easy (especially if you’re impatient like me and can’t wait to dig in as soon as it’s out of the oven).

STEP 2: Mix the Dry Ingredients
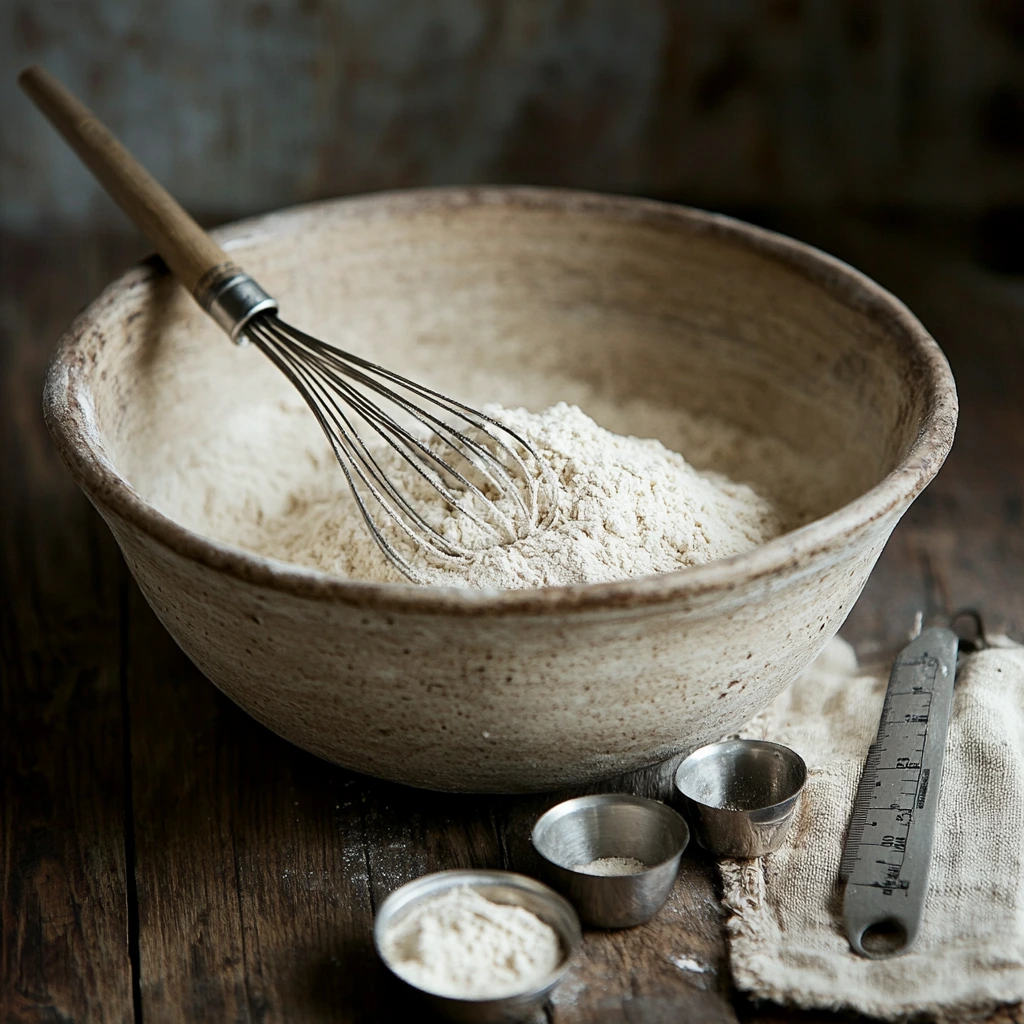
In a large mixing bowl, whisk together your flour, baking powder, and salt until they’re nicely combined. This helps ensure the baking powder gets evenly distributed, which is key for a good rise and even texture.
STEP 3: Mix the Wet Ingredients
In a separate bowl or large measuring cup, combine your milk, honey, and olive oil. Stir it well until everything is mixed and the honey is completely dissolved. This step only takes a few seconds, but it’s important—especially if you’re using honey, since it can clump up otherwise.
STEP 4: Combine Wet and Dry
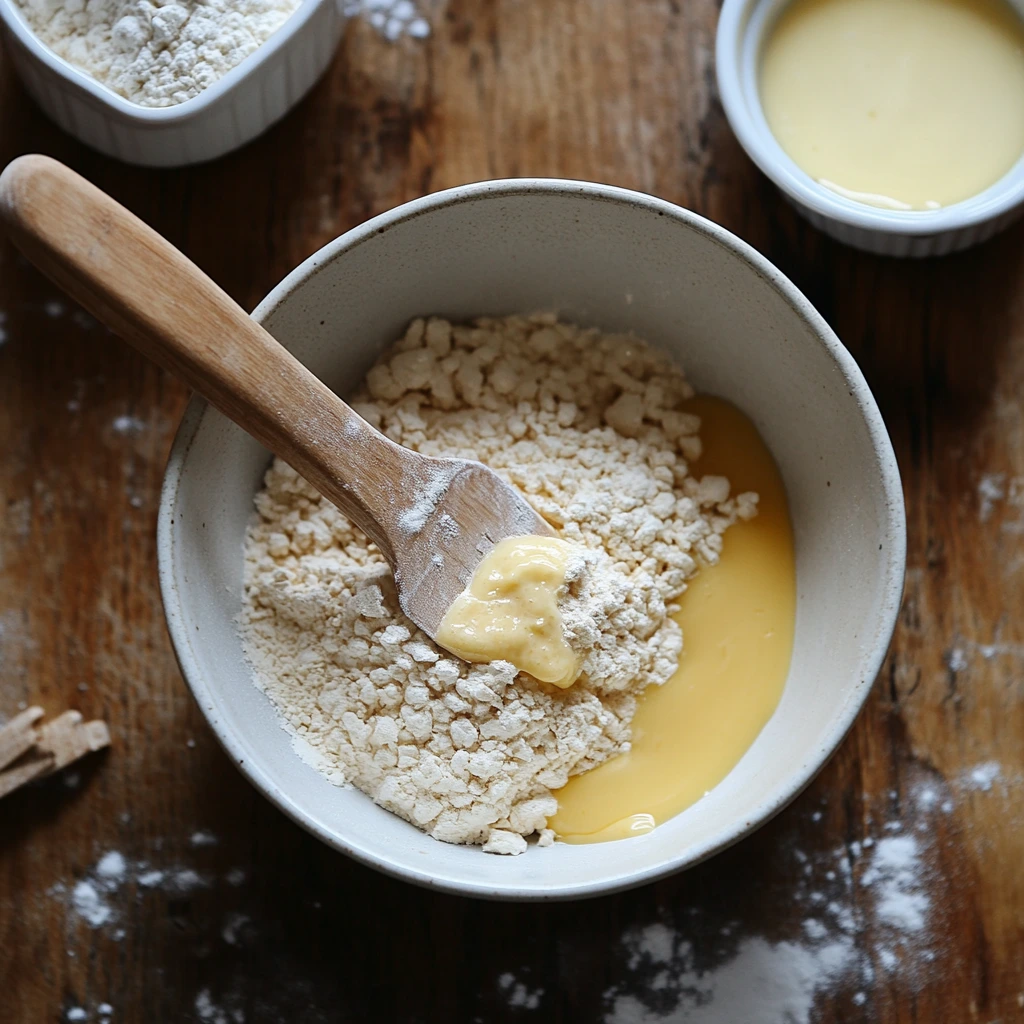
Now comes the magic. Pour the wet ingredients into your dry ingredients, and stir gently just until everything is combined. The batter will be a little sticky, and that’s totally normal.
Tip: Don’t overmix! Overmixing can make the bread dense and tough. Stir just until the flour disappears, and then stop.
STEP 5: Add Your Extras (Optional But Delicious)
If you’re adding in grated cheese, herbs, or garlic powder, now’s the time to fold them in. Just a few gentle turns with your spoon or spatula will do the trick.
Think shredded cheddar and chives, or Parmesan and a pinch of Italian seasoning—there are so many fun ways to make this bread your own.

STEP 6: Transfer to the Pan
Spoon the batter into your prepared loaf pan and smooth the top using a spatula or damp hands. It doesn’t have to be perfect—the rustic look totally works here.
For a little extra flavor and texture, sprinkle the top with sesame seeds, oats, or grated Parmesan. It gives the loaf that bakery-style finish and a tasty bit of crunch.
Finish and Bake: Bringing Your Quick Bread to Life
Now that your batter is prepped and nestled into the loaf pan, it’s time to bring this easy homemade bread to golden, fluffy perfection. This is the part where your kitchen starts to smell absolutely amazing—and where all your effort (minimal as it was!) pays off.
This recipe is designed to be no-fuss, so even if you’re not a confident baker, don’t worry. You don’t need any fancy equipment, no stand mixer, no kneading. Just pop it in the oven and let it work its magic.
Let’s get into the final steps to finish this delicious loaf!
STEP 7: Bake the Bread
Place your filled loaf pan on the center rack of your preheated 400°F (200°C) oven. Let it bake for 20–25 minutes, depending on your oven.
You’re looking for:
A golden-brown top
A toothpick inserted in the center to come out clean (a few moist crumbs are okay)
The loaf to feel firm and springy to the touch
I usually check mine at the 20-minute mark just to be safe, especially if I’ve added cheese (which can brown faster).
STEP 8: Cool and Remove from Pan
Once your bread is baked, remove it from the oven and let it sit in the pan for about 5 minutes. This short rest helps it firm up just enough to come out clean.
After that, gently lift it out (using the parchment paper if you lined the pan), and place it on a wire rack to cool completely.
Now, I know it’s tempting to cut into it while it’s still warm—and hey, I’m not going to judge if you sneak a slice—but for the cleanest slices, give it at least 15–20 minutes to set up. The crumb will hold together better once cooled.
Tips for Best Results
Making a no-yeast quick bread doesn’t get much easier than this, but here are a few helpful tips to make sure your loaf turns out just right every time:
Don’t overmix the batter – Just stir until there are no more streaks of flour. Overmixing activates too much gluten, which can make your bread dense.
Use fresh baking powder – Since this bread relies entirely on baking powder for its rise, make sure yours is fresh and active (not expired or clumpy).
Add-ins last – Always fold in your cheese, herbs, or other extras at the end, after mixing the batter.
Let it cool completely – It can be hard to wait, but the texture improves a lot once the bread cools down.
Flavor Variations to Try
One of the best things about this recipe is how flexible it is. You can change up the flavor profile in endless ways. Here are a few ideas to inspire you:
Cheddar & Chive – Add 3/4 cup shredded cheddar and 2 tablespoons chopped fresh chives.
Garlic Herb – Add 1 teaspoon garlic powder, 1 teaspoon Italian seasoning, and a pinch of dried thyme.
Sweet Cinnamon – Swap the olive oil for melted butter, replace honey with maple syrup, and add 1/2 teaspoon cinnamon.
Everything Bagel-Style – Sprinkle the top with everything bagel seasoning before baking for a savory kick.
Serving Suggestions
This quick bread is seriously versatile. You can serve it warm or toasted with butter, or alongside a big cozy bowl of soup. Here are a few of my favorite ways to enjoy it:
With butter and honey – Classic and comforting
Toasted with smashed avocado – Perfect for a quick savory breakfast
As a side with chili or stew – Great for dipping and soaking up every last bite
Turn it into mini sandwiches – Slice it thin and layer with turkey, cheese, and greens
However you enjoy it, this loaf is the kind of simple recipe that’ll quickly earn a spot in your regular rotation. And since it takes just 20 minutes to bake, it’s an easy win for last-minute cravings or impromptu dinners.

Quick Bread FAQ + Final Thoughts
If you’re new to making no-yeast bread at home, you might still have a few questions before diving in—and that’s totally normal. Below, I’ve gathered the most common questions I get about this recipe to help you feel totally confident when you make it. Whether you’re wondering about substitutions or how to store leftovers, I’ve got you covered.
Frequently Asked Questions
1. Can I use a different type of flour?
Yes! All-purpose flour works best for a light, fluffy texture, but you can absolutely swap in whole wheat flour if you prefer a heartier loaf. Just note that whole wheat flour will make the bread a little denser and more rustic in flavor. You can also try a 50/50 blend for the best of both worlds.
2. Can I make this recipe dairy-free?
Definitely. You can use unsweetened almond milk, oat milk, or any other plant-based milk you like. Just be sure to pick a version that’s not heavily flavored or sweetened unless that’s the flavor profile you’re going for.
3. What if I don’t have honey?
No problem. You can swap in sugar, maple syrup, or even agave nectar. The sweetener helps balance the flavor and gives the bread a little depth, but the specific kind you use is totally flexible.
4. How should I store this bread?
This bread is best enjoyed fresh the day it’s made, but you can store leftovers in an airtight container at room temperature for up to two days. If you want to keep it longer, wrap it tightly and freeze it for up to one month. Just slice and toast straight from the freezer when you’re ready to enjoy it again.
5. Can I double the recipe?
Yes, you can double the ingredients and bake it in two loaf pans or one larger 9×5-inch loaf pan. Just keep an eye on the bake time—it may need a few extra minutes to cook through fully in a larger pan.
6. Why didn’t my bread rise properly?
The most common culprit is expired baking powder. Always check the date before you start, and make sure your measurements are accurate. Also, be careful not to overmix the batter, which can weigh it down.
7. Can I turn this into muffins instead of a loaf?
Absolutely! Just divide the batter evenly between a greased or lined muffin tin and bake at the same temperature for about 12–15 minutes, or until a toothpick comes out clean. It’s a fun way to make portable single-serve portions.
Final Thoughts: A Bread Recipe to Keep on Repeat
There’s something so satisfying about making your own bread from scratch—especially when it’s this easy. Whether you’re serving it up with soup, toasting it for breakfast, or just enjoying a slice warm from the oven, this Quick 20-Minute Homemade Bread really hits the spot.
It’s the kind of recipe that comes together with pantry staples and zero stress. And because it’s so customizable, you can change it up every time you make it. Add cheese one day, herbs the next—there’s no wrong way to make it your own.
If you give this recipe a try, I’d love to hear how it turned out for you! Did you add any fun extras? Try a new flavor twist? Drop your comments below and let’s swap ideas. And if you’re anything like me, once you make this once, it’ll become a go-to staple in your kitchen too.
Happy baking!
Print
Quick 20-Minute Homemade Bread
- Author: Andrew Recipes
Description
This easy, no-yeast bread is perfect when you’re short on time but craving something warm, fluffy, and homemade. It’s soft on the inside with a slightly crisp top and can be customized with your favorite mix-ins like cheese, herbs, or even a sprinkle of seeds. Ideal as a side for soups, a base for toast, or just slathered in butter straight out of the oven.
Ingredients
2 cups all-purpose flour (or whole wheat flour for a healthier option)
1 tbsp baking powder
1/2 tsp salt
1 cup milk (whole milk, almond milk, or buttermilk)
2 tbsp honey (or sugar)
2 tbsp olive oil (or melted butter)
Optional: grated cheese, chopped herbs, garlic powder, or sesame seeds
Instructions
Preheat your oven to 400°F (200°C) and grease an 8×4-inch loaf pan or line it with parchment paper.
In a large mixing bowl, whisk together the flour, baking powder, and salt until well combined.
In a separate bowl or measuring cup, stir together the milk, honey, and olive oil until smooth and the honey is fully dissolved.
Pour the wet ingredients into the dry and stir just until combined. The dough will be sticky—avoid overmixing. If you’re using any optional add-ins like cheese or herbs, gently fold them in at this point.
Transfer the dough to the loaf pan and smooth the top using a spatula or damp hands. For extra flavor and texture, sprinkle sesame seeds, oats, or grated Parmesan over the top.
Bake for 20–25 minutes until the top is golden and a toothpick inserted into the center comes out clean.
Let the bread cool in the pan for 5 minutes before removing it to a wire rack. Allow it to cool completely before slicing.
Notes
This quick bread is best enjoyed fresh, but it can be stored in an airtight container for up to two days. To reheat, simply toast or warm slices in a skillet. It’s also a great base for savory spreads, honey butter, or avocado toast.

