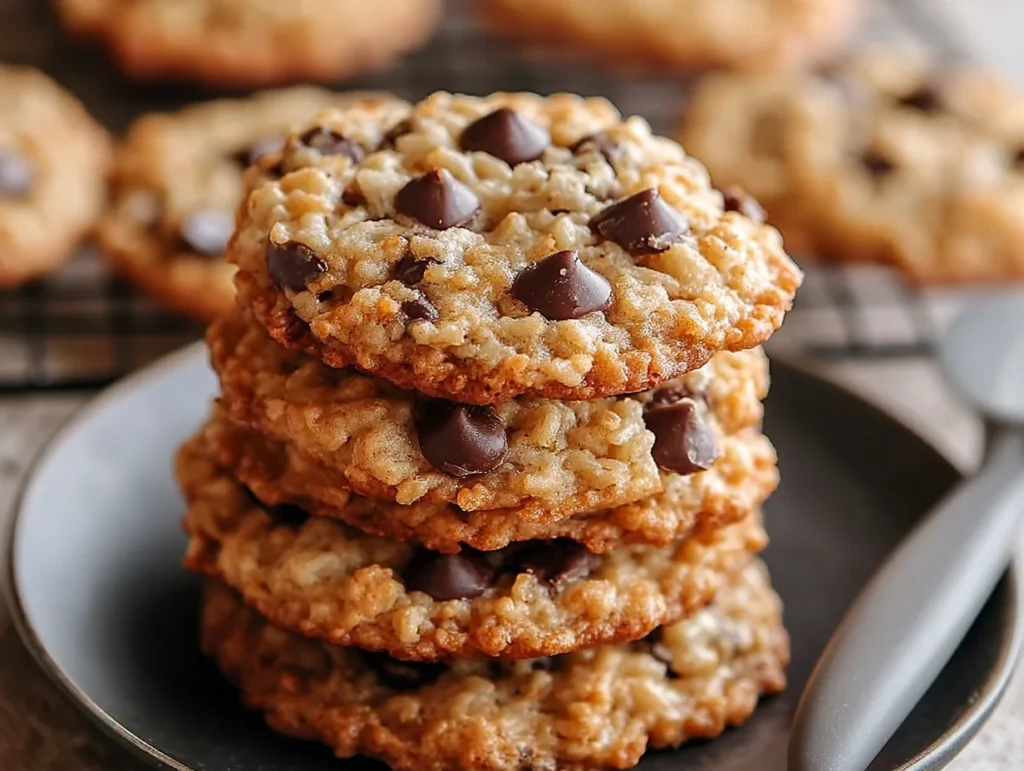
If there’s one thing I’ve learned about cookies over the years, it’s that texture is everything. Some people are die-hard chewy cookie fans. Others are all about that crispy edge. Me? I’m a little greedy—I want it all. And that’s exactly what these Rice Krispie Chocolate Chip Cookies deliver: buttery edges, gooey centers, and that irresistible light crunch from the cereal folded right in.
I first tried this recipe on a total whim. I had some leftover Rice Krispies from a batch of marshmallow treats and a half-open bag of chocolate chips sitting in the pantry. What started as a clean-out-the-cabinet moment quickly turned into one of my all-time favorite cookie creations. The results were better than I expected—like, “where-have-these-been-my-whole-life?” kind of good.
These cookies are perfect for when you want something classic, but with a little twist. They’re sweet but not too sweet, comforting yet playful, and ideal for everything from bake sales to cozy nights on the couch. Trust me, this recipe is about to become a staple in your kitchen, just like it is in mine.
Let’s get started with the first part of the recipe. I’ll walk you through every step so you can recreate this magic at home—no fancy equipment needed, just a mixing bowl, a spoon, and a little love.
Ingredients You’ll Need:
1 cup unsalted butter, softened
1 cup brown sugar, packed
½ cup granulated sugar
2 large eggs
2 teaspoons vanilla extract
2 ¼ cups all-purpose flour
1 teaspoon baking soda
½ teaspoon salt
1 ½ cups semi-sweet chocolate chips
2 cups Rice Krispies cereal
Step 1: Preheat and Prep
Before we even touch the dough, let’s get that oven going. Preheat your oven to 350°F (175°C) and line a couple of baking sheets with parchment paper. If you’re out of parchment, silicone baking mats work just as well. This step is simple but essential for getting those golden edges without sticking.

Step 2: Cream the Butter and Sugars
In a large mixing bowl, cream together 1 cup of softened unsalted butter, 1 cup of brown sugar, and ½ cup of granulated sugar until the mixture is light and fluffy. This should take about 2–3 minutes using a hand mixer or stand mixer. If you’re mixing by hand, don’t worry—just give it a good workout until it’s smooth and creamy. This step builds the base flavor and texture, so take your time here.
Step 3: Add the Eggs and Vanilla
Crack in the eggs, one at a time, beating well after each addition. Then stir in 2 teaspoons of vanilla extract. Your dough should look glossy and smooth at this point. It might smell pretty amazing already—and we’re just getting started.

Step 4: Mix the Dry Ingredients
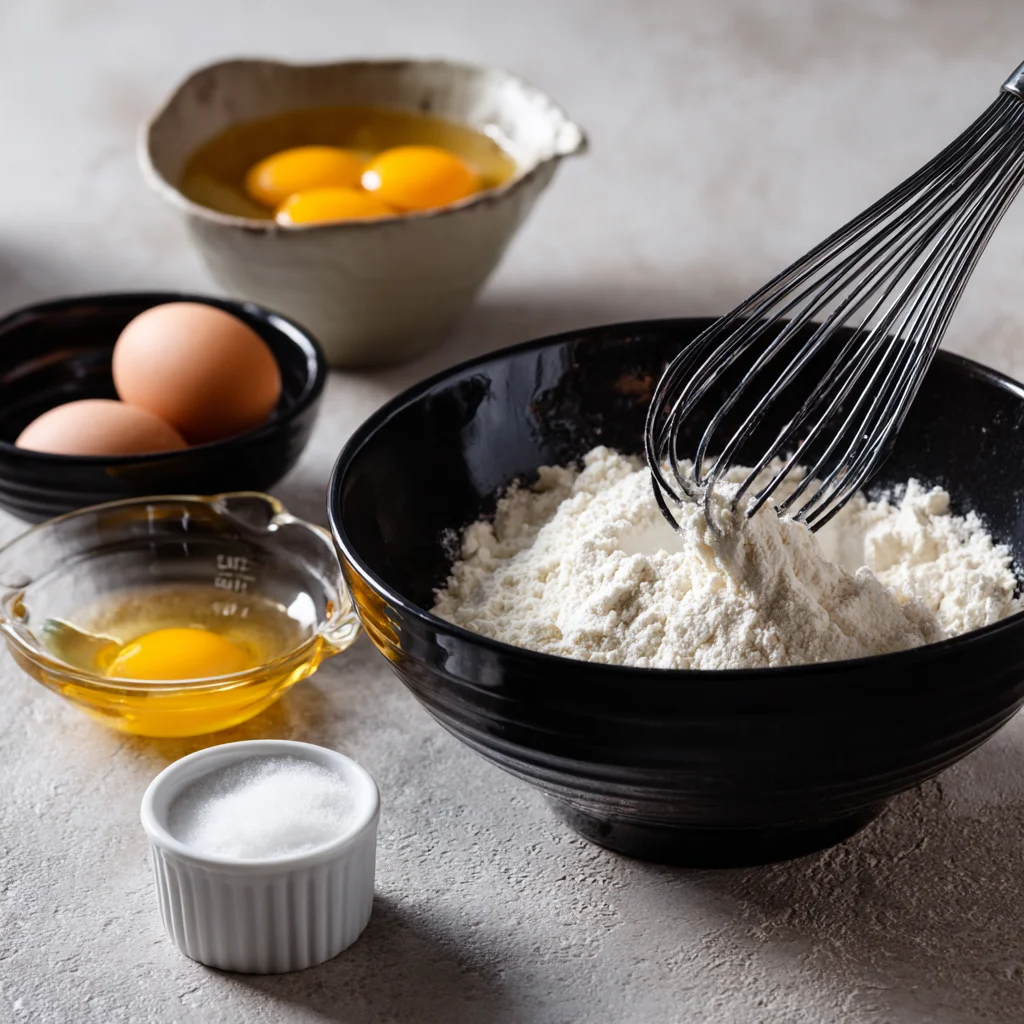
In a separate medium bowl, whisk together 2 ¼ cups of all-purpose flour, 1 teaspoon baking soda, and ½ teaspoon salt. Slowly add the dry ingredients to your wet mixture. Don’t dump it all in at once—do it in batches and mix just until the flour disappears. We’re aiming for a soft, cohesive dough, not a tough one, so don’t overwork it.
At this stage, the cookie dough might look a little thick, and that’s totally what we want. That firmness is going to help hold up all the goodness we’re about to fold in next.
How to Finish the Perfect Rice Krispie Chocolate Chip Cookies (With Pro Tips!)
Welcome back! If you’ve made it this far, you’re already halfway to a batch of cookies that are going to steal the show at just about any gathering—or let’s be honest, your kitchen counter. We’ve creamed the butter and sugars, added the eggs and vanilla, and blended in all those dry ingredients. Now comes the fun part: folding in the crunch and baking these beauties to golden, chewy-crispy perfection.
What makes this cookie recipe stand out is the brilliant contrast in textures. The chocolate chips bring that familiar melty richness, while the Rice Krispies add a surprising, delicate crunch that makes every bite just a little more interesting. They’re nostalgic and new all at once.
Let’s dive back into the recipe and finish strong!
Step 5: Fold in the Chocolate Chips and Rice Krispies
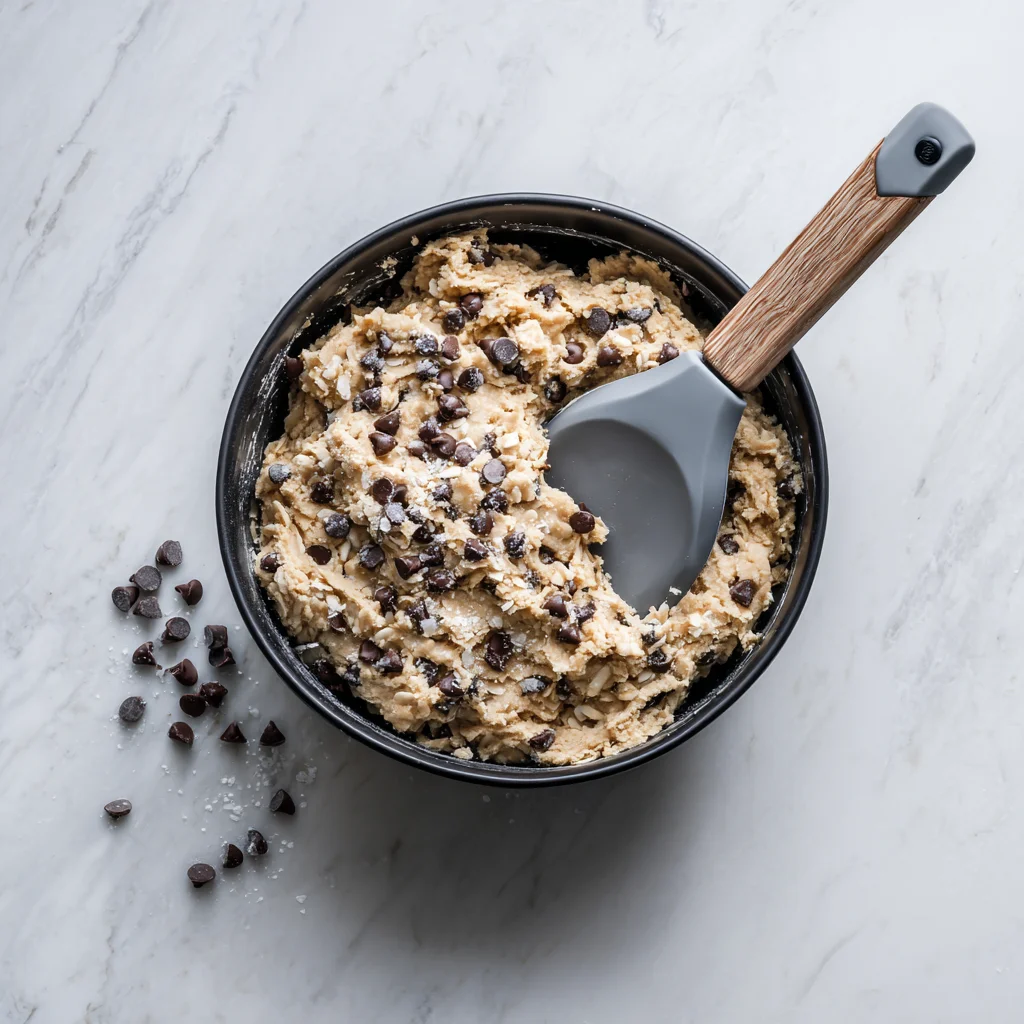
Now that your dough is looking thick and ready, it’s time to bring in the mix-ins. Gently fold in 1½ cups of semi-sweet chocolate chips and 2 cups of Rice Krispies cereal.
This step is important—don’t overmix. You want to be careful not to crush the Rice Krispies as you stir them in. Use a spatula or wooden spoon and fold slowly, just until everything is evenly distributed. The cereal should stay mostly intact, giving your cookies that airy, crisp texture.
Pro Tip: Want a deeper flavor? Try toasting the Rice Krispies in a dry skillet over medium heat for a few minutes before mixing them in. They’ll get a little golden and nutty—and yes, it makes a difference!
Step 6: Scoop and Space the Dough
Using a cookie scoop or a tablespoon, scoop out portions of dough and place them onto your prepared baking sheets. Leave at least two inches between each cookie, because they’ll spread out as they bake. You should get about 2 dozen cookies, depending on how big you make them.
If you like that “bakery-style” look, press a few extra chocolate chips on top of each dough ball before baking. It makes the final cookies look extra tempting!
Step 7: Bake Until Edges Are Golden
Pop the trays into your preheated oven and bake for 10 to 12 minutes. Keep a close eye toward the end—what you’re looking for are lightly golden edges and centers that look just set. They’ll firm up more as they cool, so don’t wait for them to look fully baked in the center.
If you’re baking two trays at once, you might want to rotate them halfway through for even baking.
Step 8: Cool (If You Can Wait)
Once the cookies come out of the oven, let them cool on the baking sheet for 3–5 minutes. This lets them finish setting up and makes them easier to transfer without breaking. Then, move them to a wire rack to cool completely—if they last that long!
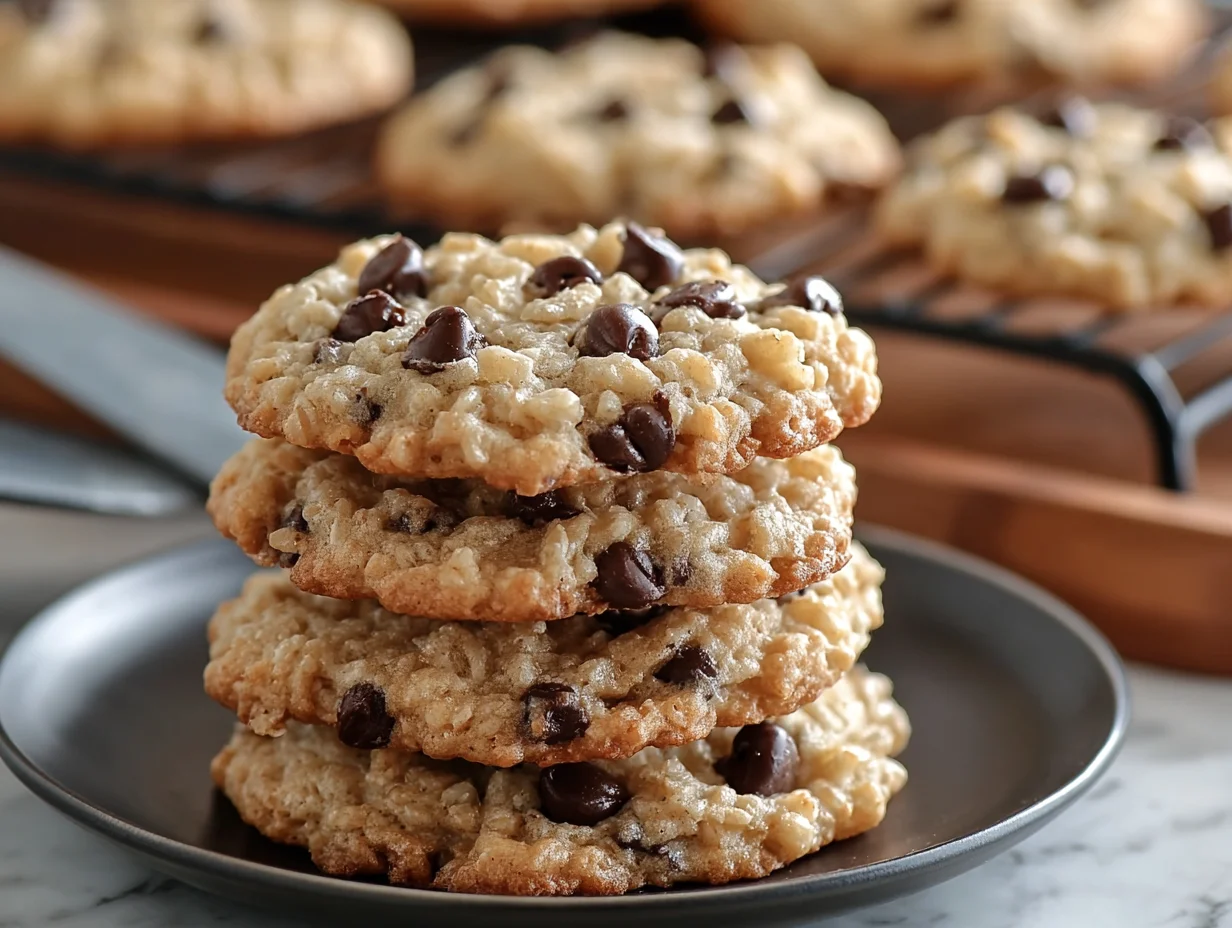
The smell at this point is absolutely unreal. But if you manage to hold off long enough for them to cool a bit, you’ll be rewarded with the perfect combo of crispy edges, soft chewy centers, and that lovely crackly crunch from the Rice Krispies.
TIPS AND VARIATIONS TO TRY
Want to make this recipe your own? Here are a few fun ways to switch things up:
Butterscotch chips or white chocolate chips are delicious swaps for the semi-sweet chocolate.
Add a sprinkle of flaky sea salt on top before baking for that sweet-salty contrast.
Try mini marshmallows folded in with the chocolate chips for a Rice Krispie treat/cookie hybrid.
Make it gluten-free by using a 1:1 gluten-free flour blend and certified gluten-free rice cereal.
These cookies are also great for freezing. You can freeze the baked cookies in a zip-top bag for up to three months, or freeze the unbaked dough balls and bake fresh whenever the craving hits. Just add an extra minute or two to the baking time if you’re baking from frozen.
Rice Krispie Chocolate Chip Cookies: FAQ and Final Thoughts
So now that your kitchen smells like a dream and your cooling rack is full of golden, crispy-chewy perfection, let’s wrap things up with a few final tips and frequently asked questions. These cookies have quickly become one of my go-to recipes for everything from bake sales to late-night snacks, and I’ve picked up a few handy tricks along the way that might help you, too.
Whether you’re wondering how to store these cookies, how to tweak the recipe for different flavors, or what to do if your dough seems too soft, I’ve got you covered.
FREQUENTLY ASKED QUESTIONS
1. Can I make the dough ahead of time?
Yes! You can make the cookie dough up to 48 hours in advance. Just cover it tightly and store it in the fridge. When you’re ready to bake, let the dough sit at room temperature for 15–20 minutes so it’s easier to scoop.
2. Can I freeze these cookies?
Absolutely. These cookies freeze beautifully. You can freeze the baked cookies in an airtight container or zip-top bag for up to 3 months. To freeze the dough, scoop it into balls and freeze on a tray before transferring to a bag—bake from frozen by adding 1–2 extra minutes to the baking time.
3. What if I don’t have Rice Krispies?
You can substitute any plain, crispy rice cereal. Just make sure it’s not sweetened or flavored (unless that’s what you’re going for). The classic Rice Krispies brand works best for texture and neutrality.
4. Can I use salted butter instead of unsalted?
Yes, but you’ll want to reduce the added salt in the recipe. If you’re using salted butter, cut the salt from ½ teaspoon to about ¼ teaspoon or even skip it, depending on your taste.
5. Why are my cookies spreading too much?
If your cookies are spreading too thin, your butter may have been too soft or even partially melted. Chilling the dough for 30 minutes before baking can help with this. Also, double-check your flour measurement—too little flour will cause excessive spreading.
6. How do I keep the Rice Krispies from getting soggy?
The key is to fold them in gently at the very end and not overmix. Also, make sure the dough isn’t overly warm—chilling the dough briefly can help the cereal stay crisp once baked.
7. Can I make these cookies smaller or larger?
Definitely. For smaller cookies, scoop about 1 tablespoon of dough and reduce the baking time by 1–2 minutes. For bakery-style large cookies, use 3 tablespoons of dough and add 1–2 minutes of baking time. Just keep an eye on them.
FINAL THOUGHTS: WHY YOU’LL LOVE THIS RECIPE AGAIN AND AGAIN
These Rice Krispie Chocolate Chip Cookies really are the best of both worlds—familiar and comforting, but with a twist that makes people stop mid-bite and go, “Wait, what is in this?” That crispy texture from the cereal just takes them to a whole new level.
I love how easy they are to throw together, and honestly, they’re the kind of cookie that disappears fast. If you’re making them for a crowd, you might want to double the batch. You’ve been warned.
And the best part? There’s so much room for personalization here. Once you’ve made the base recipe, don’t be afraid to try fun add-ins or flavor swaps to make them your own.
If you try this recipe, I’d love to hear how it turned out for you. Drop a comment below, let me know if you made any tweaks, or share your photos. There’s nothing better than seeing your creations come to life.
Print
Rice Krispie Chocolate Chip Cookies
- Author: Andrew Recipes
Description
These Rice Krispie chocolate chip cookies are the perfect blend of soft, chewy, and crispy textures. The addition of crispy rice cereal gives them a light crunch that contrasts beautifully with the gooey chocolate chips. With a buttery base and golden edges, these cookies are a fun twist on a classic favorite, great for lunchboxes, parties, or just a cozy treat at home.
Ingredients
1 cup unsalted butter, softened
1 cup brown sugar, packed
½ cup granulated sugar
2 large eggs
2 tsp vanilla extract
2 ¼ cups all-purpose flour
1 tsp baking soda
½ tsp salt
1 ½ cups semi-sweet chocolate chips
2 cups Rice Krispies cereal
Instructions
1 Preheat your oven to 350°F (175°C) and line baking sheets with parchment paper.
2 In a large mixing bowl, cream together the butter, brown sugar, and granulated sugar until light and fluffy.
3 Add the eggs one at a time, beating well after each addition. Mix in the vanilla extract.
4 In a separate bowl, whisk together the flour, baking soda, and salt. Gradually add the dry ingredients to the wet ingredients, mixing just until combined.
5 Fold in the chocolate chips and Rice Krispies gently to avoid crushing the cereal.
6 Scoop tablespoon-sized portions of dough onto the prepared baking sheets, spacing them a couple of inches apart.
7 Bake for 10 to 12 minutes, or until the edges are lightly golden and the centers are just set.
8 Let the cookies cool on the baking sheet for a few minutes before transferring them to a wire rack to cool completely.
Notes
Do not overmix the dough once the cereal is added to keep the cookies light and crispy. You can substitute butterscotch chips or white chocolate chips for a fun variation. For extra flavor, try toasting the Rice Krispies in a dry skillet for a few minutes before adding them to the dough. These cookies store well in an airtight container for up to five days and freeze beautifully for longer storage.

