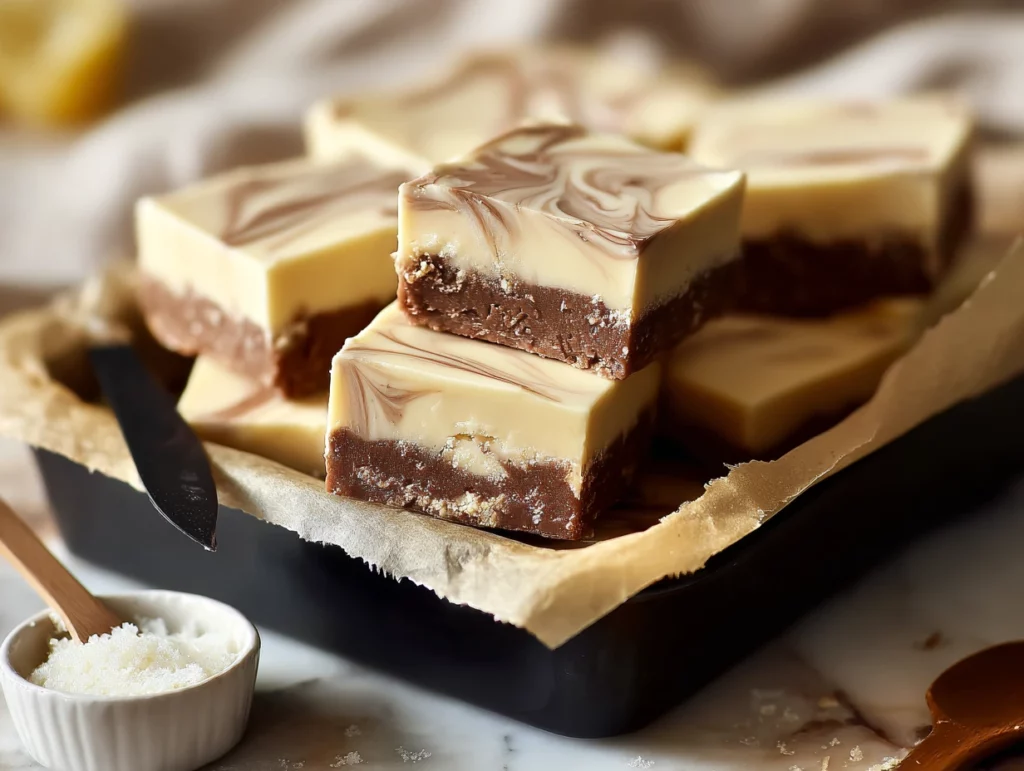
If you’ve ever found yourself torn between the decadence of a rich chocolate fudge and the creamy delight of a classic cheesecake, this recipe is going to feel like a dream come true. Imagine those two iconic desserts swirling into one indulgent bite-sized treat — that’s exactly what this Rich and Creamy Cheesecake Fudge delivers.
This is the kind of recipe I reach for when I want something luxurious without a ton of fuss. Whether you’re prepping treats for a holiday dessert tray, packing up goodies for a gift box, or just satisfying a late-night sweet tooth, this fudge is a surefire hit. It’s one of those recipes that feels a little fancy but is surprisingly easy to pull together.
I actually made this fudge for a small gathering recently, and it disappeared faster than any of the cookies I’d spent way more time on. Everyone kept asking, “What is this? Cheesecake? Fudge?” and honestly — it’s both. That velvety chocolate mixed with tangy cream cheese swirls hits all the right notes.
So, if you’re looking for a show-stopping dessert that doesn’t require hours in the kitchen or a laundry list of ingredients, you’re in the right place.
Let’s dive in.

Ingredients You’ll Need
For the chocolate cheesecake fudge base:
1 cup semisweet chocolate chips
4 ounces cream cheese, softened
½ cup heavy cream
2 tablespoons unsalted butter
½ teaspoon pure vanilla extract
Pinch of salt
For the cheesecake swirl:
4 ounces cream cheese, softened
2 tablespoons granulated sugar
½ teaspoon pure vanilla extract
STEPS: Making the Fudge Base
We’ll start by creating the luscious chocolate base that gives this fudge its rich and silky texture. Don’t worry — it all comes together in one saucepan, and it’s as easy as it gets.
Melt and Mix the Fudge Base
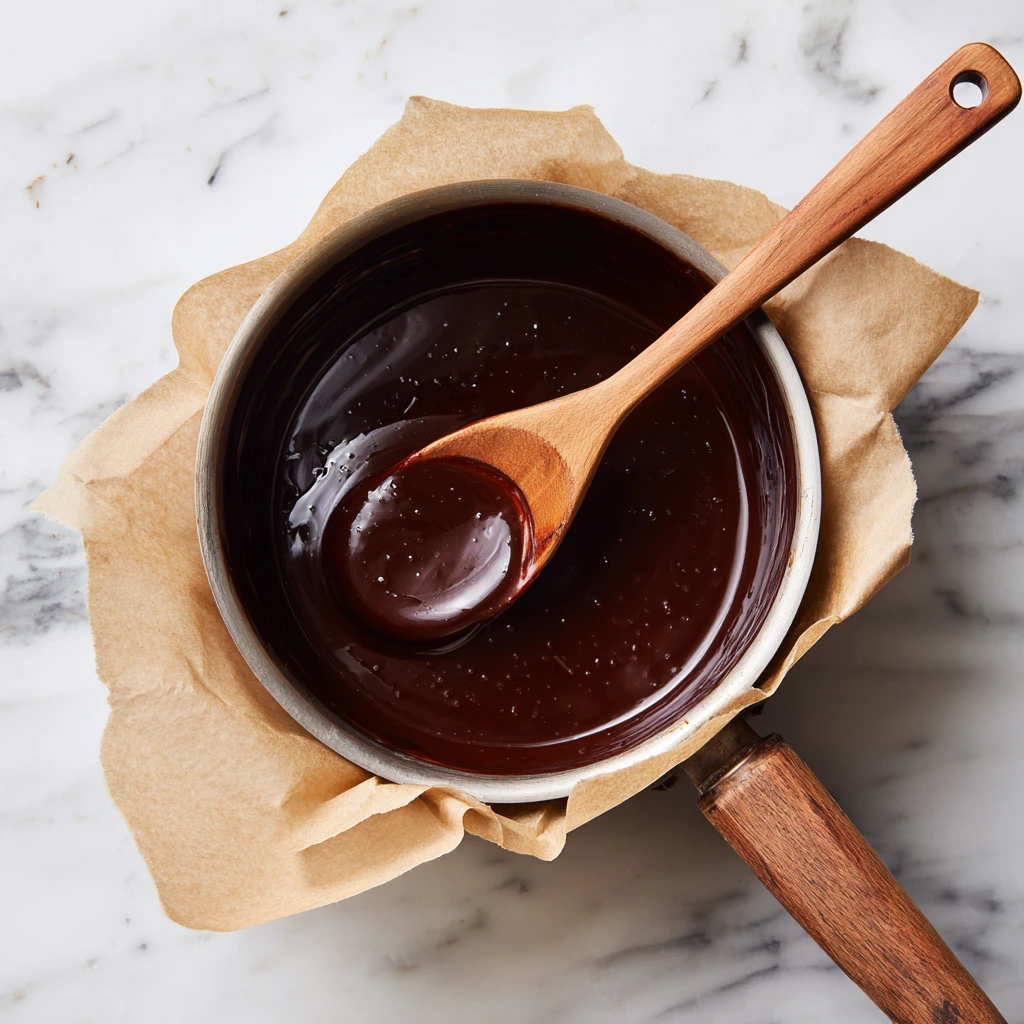
Grab a medium saucepan and toss in your semisweet chocolate chips, 4 ounces of softened cream cheese, heavy cream, and unsalted butter.
Keep the heat on low and stir constantly — chocolate can burn fast if you’re not careful. As everything melts, you’ll see the mixture start to turn smooth and creamy. That’s when you know it’s ready.Add Vanilla and Salt
Once the fudge base is completely melted and smooth, remove the pan from the heat. Stir in the vanilla extract and a small pinch of salt.
These seem like small additions, but they do a lot to round out the flavors and balance the richness of the fudge.
STEPS: Whip Up the Cheesecake Swirl
Next up is the swirl — this is what gives the fudge its signature cheesecake twist and that pretty marbled finish on top.
Make the Cheesecake Layer
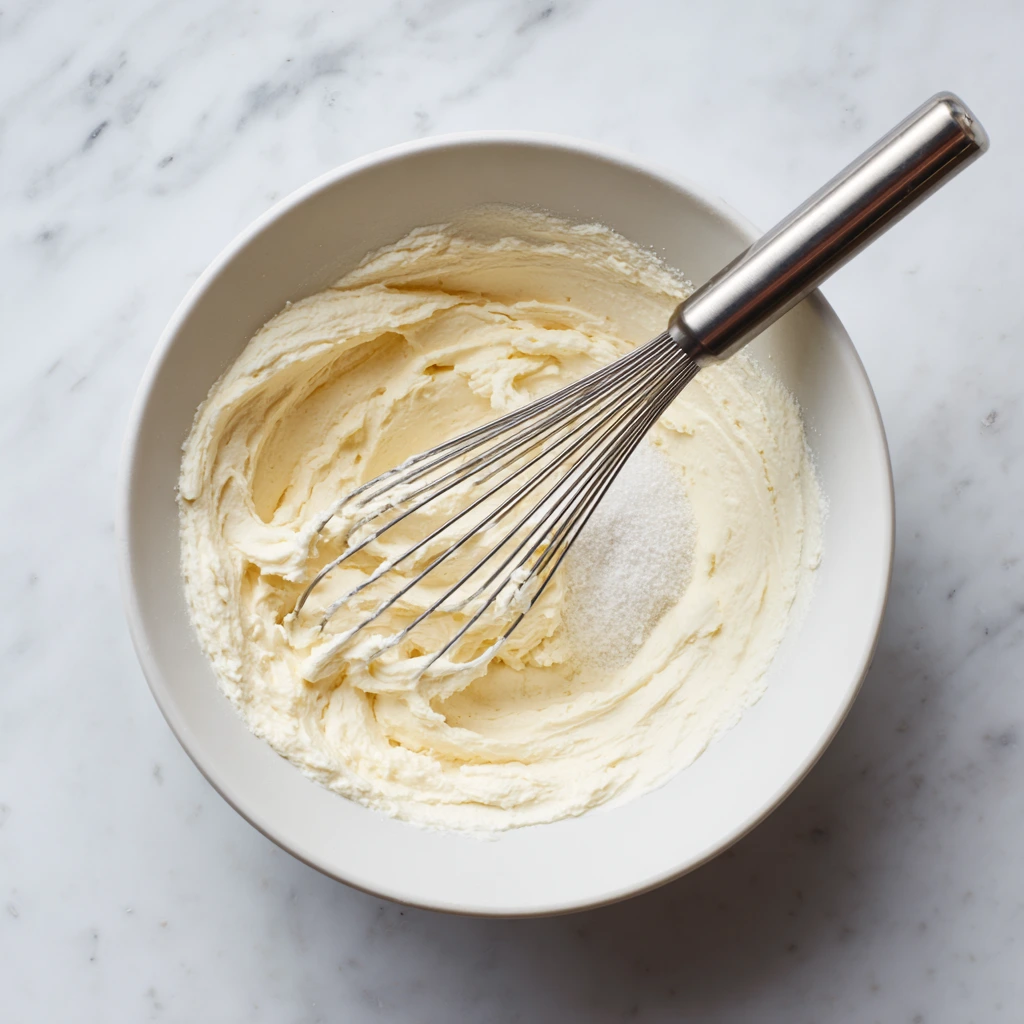
In a small mixing bowl, combine 4 ounces of softened cream cheese with the granulated sugar and vanilla extract.
Use a whisk or a hand mixer to get the mixture really smooth — you want it free of any lumps. It should be silky and spreadable.
STEPS: Assemble and Swirl
Here’s where the magic happens — layering and swirling it all together.
Layer the Chocolate and Cheesecake
Line an 8-inch square pan with parchment paper (leave some overhang so it’s easy to lift out later).
Pour two-thirds of the warm chocolate fudge into the pan and spread it out evenly with a spatula.
Then, dollop spoonfuls of the cheesecake mixture on top — don’t worry about making them perfect.Finish and Swirl
Pour the remaining chocolate fudge mixture over the cheesecake dollops.
Grab a knife and gently swirl everything together. You’re not going for a fully blended look — you want to create that beautiful marbled pattern, so go light on the swirling.Let It Set
Let the pan sit at room temperature for about 30 minutes, then transfer it to the fridge. It needs to chill for at least two hours — this gives it time to firm up so you can slice it cleanly later.
How to Finish and Serve This Cheesecake Fudge Like a Pro
Now that your gorgeous swirled fudge has been chilling and firming up in the fridge, it’s time for the most satisfying part — slicing and serving. This is when all that creamy richness and chocolate decadence comes together in the most irresistible little squares. I promise, it’s worth the wait.
This recipe makes about 25 bite-sized pieces, but you can cut them smaller (or bigger!) depending on the occasion. They’re rich, so a little goes a long way, but fair warning — no one stops at just one.
Let’s talk about how to get those perfectly clean cuts and what little finishing touches can take this treat over the top.
STEPS: Cutting and Storing the Fudge
Remove the Fudge from the Pan
Once the fudge has chilled for at least two hours and feels firm to the touch, lift it out of the pan using the parchment paper overhang. Set it on a cutting board — this makes it so much easier to work with.Use a Sharp Knife for Clean Edges
Grab your sharpest knife and run it under hot water for a few seconds, then dry it off with a towel. Warm knives glide through the fudge more easily, giving you cleaner slices.
Cut the fudge into even squares, wiping the knife clean between cuts to keep the edges neat. This little trick makes a big difference.Store Properly to Keep It Fresh
Once sliced, store the fudge in an airtight container. It’ll stay fresh in the fridge for up to a week, but if you want to make it ahead or save some for later, pop it in the freezer. It freezes beautifully for up to a month. Just be sure to let it come to room temp for a few minutes before serving — it softens just enough for that dreamy texture.
Tips for Success and Fun Variations
This cheesecake fudge is super flexible, and once you’ve made it once, you might want to start playing around with the flavor. Here are some easy tips and tweaks to try:
Graham Cracker Topping:
For a true cheesecake-inspired vibe, sprinkle crushed graham cracker crumbs on top before chilling. It adds that familiar cheesecake “crust” flavor without any extra work.Swap the Chocolate:
If you prefer something a bit sweeter, you can substitute the semisweet chocolate chips with milk chocolate. It’ll give you a softer, sweeter fudge that kids especially love.Add a Flavor Twist:
Try mixing in a dash of espresso powder to the chocolate base for a mocha version, or stir in a tablespoon of raspberry jam with the cheesecake layer for a fruity contrast. It’s amazing how well these flavors pair with the creamy chocolate base.Use Mini Muffin Cups:
Want to make this even more giftable? Spoon the fudge into mini muffin liners instead of a pan. It sets into perfect little rounds, and you can even top each one with a chocolate-covered espresso bean or a raspberry.
Why This Recipe Works (Even for Beginners)
This fudge is great for first-timers because it doesn’t rely on tricky candy thermometers or finicky steps. Everything is made on the stovetop in one pan, and it sets up in the fridge — simple, no-stress, and reliable. The cream cheese swirl not only adds that cheesecake flavor we all love, but it also helps balance out the richness of the chocolate.
Plus, it’s a beautiful dessert. That marbled top looks like it came straight from a bakery display, and all you did was swirl a knife a few times. It’s the kind of treat that looks impressive but is secretly easy to make — my favorite kind.
Cheesecake Fudge FAQs and Final Thoughts
You’ve swirled, chilled, sliced, and maybe even sampled a few pieces (no judgment here). But before you dive into making your own batch of this Rich and Creamy Cheesecake Fudge, let’s cover a few frequently asked questions that pop up when it comes to this recipe.
Whether you’re planning to gift it, serve it at a party, or stash it in your freezer for late-night cravings, these tips will help you get the best results every time.
FAQ: Your Cheesecake Fudge Questions Answered
1. Can I use a different kind of chocolate in the base?
Absolutely. While semisweet chocolate gives a balanced richness, you can swap in milk chocolate for a sweeter fudge or dark chocolate if you prefer a bolder flavor. Just keep the measurements the same.
2. Can I double the recipe?
Yes, and it doubles beautifully. Use a 9×13-inch pan instead of an 8-inch square one, and make sure to spread the layers evenly. You’ll still want to chill it for at least 2 hours, possibly a little longer to make sure it sets fully.
3. What if I don’t have heavy cream?
You can substitute with full-fat canned coconut milk or a mix of whole milk and a tablespoon of butter, though the texture may be slightly less rich. Heavy cream gives the best results, so use it if you can.
4. My swirl blended too much — what went wrong?
Overmixing is usually the culprit. Once you pour the final chocolate layer on top, just lightly drag a knife through the surface to swirl. Less is more when it comes to that marbled look.
5. Can I leave it out at room temperature?
For serving, yes — you can leave the fudge out for about 1-2 hours without any issues. For storing, always keep it in the fridge (or freezer if you’re keeping it longer). The cream cheese makes it perishable.
6. How far in advance can I make this for a party or holiday tray?
You can make it up to a week ahead and store it in the fridge. If making further in advance, freeze it in an airtight container and defrost in the fridge the day before serving.
7. Can I make this dairy-free?
It’s a challenge since both the fudge base and swirl rely heavily on dairy ingredients. You could try using dairy-free cream cheese and a non-dairy cream alternative, but results may vary. This version is definitely best enjoyed as a classic dairy treat.
Conclusion: A Luxurious Bite-Sized Treat Worth Sharing (or Not)
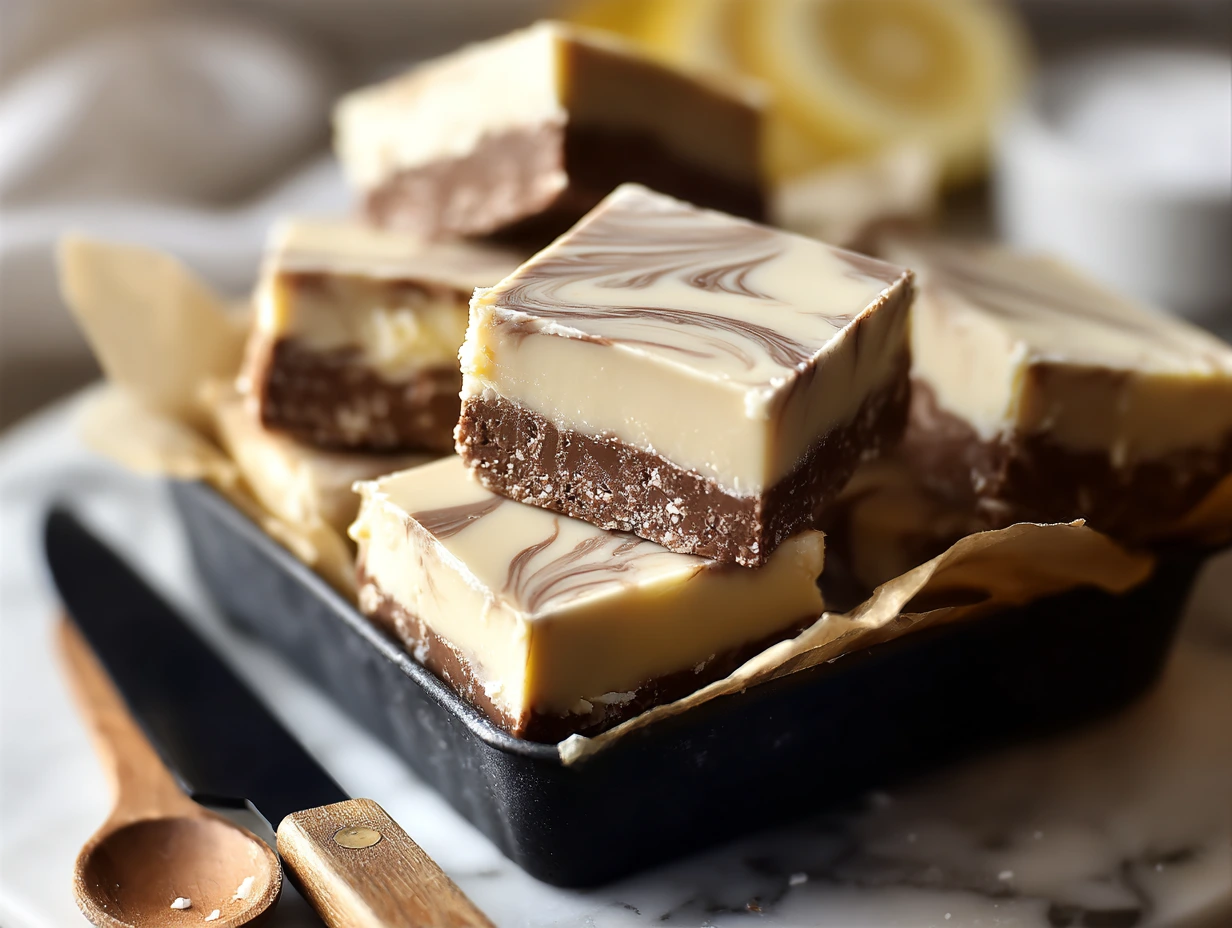
This Rich and Creamy Cheesecake Fudge is one of those recipes that looks fancy, tastes luxurious, and somehow still feels comforting. That combo of smooth chocolate and tangy cheesecake is always a winner — and when it’s tucked into soft, velvety squares? Irresistible.
Whether you’re making it for the holidays, a dessert table, or just because you want a little something sweet in the fridge, this recipe is a keeper. It’s easy enough to pull together on a weeknight, but special enough to earn a spot on your favorite dessert list.
Print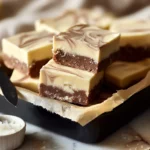
Rich and Creamy Cheesecake Fudge
- Author: Andrew Recipes
Description
This indulgent cheesecake fudge combines the velvety smoothness of classic cheesecake with the rich sweetness of chocolate fudge. Silky cream cheese swirls are folded into a decadent chocolate base to create a luscious bite-sized treat that’s perfect for gifts, gatherings, or whenever you need a luxurious sweet fix.
Ingredients
For the chocolate cheesecake fudge base
1 cup semisweet chocolate chips
4 ounces cream cheese, softened
½ cup heavy cream
2 tablespoons unsalted butter
½ teaspoon pure vanilla extract
Pinch of salt
For the cheesecake swirl
4 ounces cream cheese, softened
2 tablespoons granulated sugar
½ teaspoon pure vanilla extract
Instructions
Place the semisweet chocolate chips, softened cream cheese, heavy cream, and unsalted butter into a medium saucepan over low heat and stir constantly until the mixture becomes smooth and fully combined. Remove the pan from heat and stir in the vanilla extract and salt.
In a small bowl, whisk together the softened cream cheese, granulated sugar, and vanilla extract until the mixture is silky and free of lumps.
Pour two-thirds of the warm chocolate mixture into an 8-inch square pan lined with parchment paper, spreading it evenly. Dollop spoonfuls of the cheesecake mixture over the chocolate layer. Pour the remaining chocolate mixture on top and use a knife to gently swirl the layers together, creating a marble effect without overmixing.
Allow the fudge to cool at room temperature for 30 minutes, then transfer the pan to the refrigerator. Chill for at least two hours or until the fudge is firm to the touch.
Lift the fudge out of the pan using the parchment paper and place it on a cutting board. Use a sharp knife to slice into small squares. Wipe the knife clean between cuts for neat edges.
Notes
For cleaner slices, warm the knife under hot water and dry it before each cut.
Store the fudge in an airtight container in the refrigerator for up to one week or in the freezer for up to one month.
Feel free to swap semisweet chocolate for milk chocolate for a sweeter variation, or sprinkle a few graham cracker crumbs on top before chilling to echo the classic cheesecake crust.

