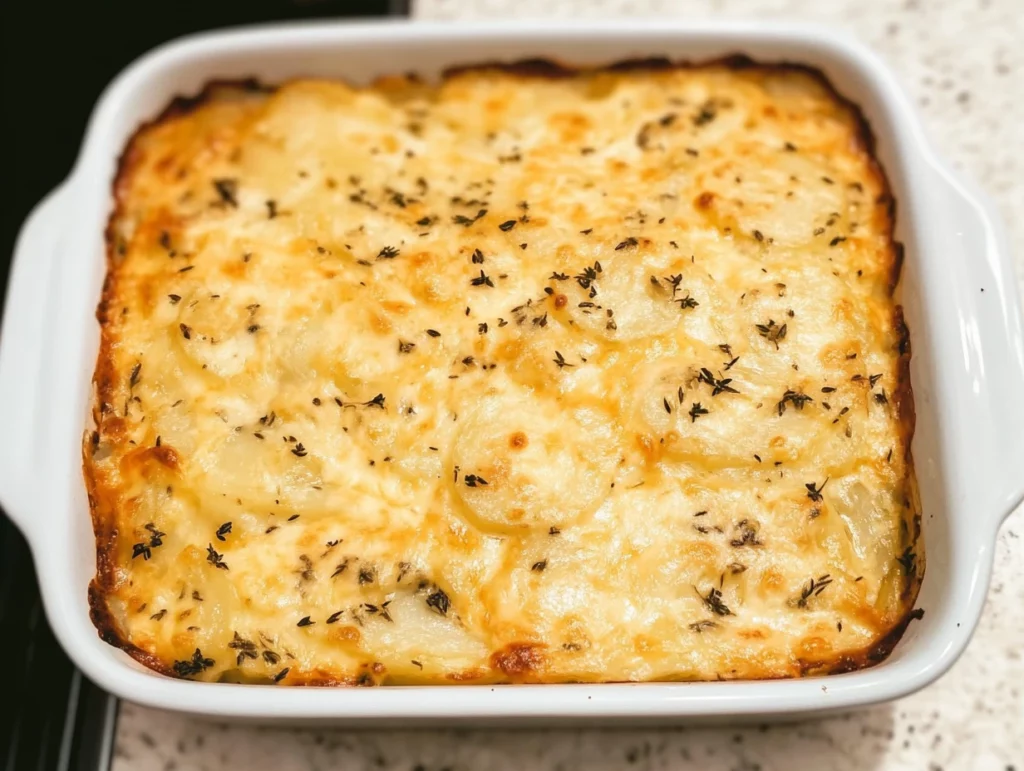
If there’s one dish that instantly brings a sense of comfort and warmth to the table, it’s a big pan of scalloped potatoes. Rich, cheesy, and baked to bubbly golden perfection, this classic side dish is everything you want in a cozy homemade meal. Whether you’re prepping for a holiday dinner, a weekend gathering, or just want something satisfying on a regular Tuesday night, these scalloped potatoes check every box.
I’ve been making variations of this recipe for years, and it always manages to steal the spotlight—yes, even next to a juicy roast or honey-glazed ham. There’s just something magical about those thin layers of tender potatoes, each soaked in a silky cheese sauce that’s flavored with hints of garlic, onion, and thyme. It’s one of those dishes that tastes like it took a ton of effort, but really doesn’t require much more than a bit of slicing, whisking, and layering.
Let’s dive into how to make this crowd-pleaser from scratch!
Why This Recipe Works
There are tons of scalloped potato recipes out there, but this one keeps it classic while bumping up the flavor with a homemade cheese sauce that’s ultra-creamy and easy to pull together. Here’s why you’ll love it:
Perfectly tender potatoes: Sliced thinly so they cook evenly and absorb all that delicious sauce.
No canned soup shortcuts: Just a buttery roux, broth, and milk transformed into a velvety cheese sauce.
Flexible and forgiving: Use your favorite cheese blend, swap in half-and-half for more richness, or even throw in some extra herbs.
Ingredients You’ll Need
8 cups potatoes (about 3 pounds), peeled and sliced very thin (⅛-inch thick)
4 tablespoons butter
½ cup onion, diced
1 teaspoon garlic, minced
6 tablespoons flour
1 cup chicken broth
2 cups milk
½ teaspoon dried thyme
Salt and pepper, to taste
1 cup cheddar cheese, grated
½ tablespoon fresh thyme
Fresh thyme, for garnish
I like using Russet potatoes because they hold their shape well but still get perfectly soft after baking. Yukon Golds are also a great choice if you prefer a creamier texture.
STEP 1: Prep Your Potatoes
Before anything else, go ahead and preheat your oven to 350°F. Then spray a 9×13 inch baking dish with nonstick spray so the cheesy sauce doesn’t stick or burn on the edges.
Now it’s time for the potatoes. Wash, peel, and slice them as thinly and evenly as you can—about ⅛-inch thick is ideal. I highly recommend using a mandolin for this part if you have one. Not only does it speed things up, but it ensures all the slices cook at the same rate.
Once they’re sliced, set them aside and move on to the sauce.

STEP 2: Make the Cheese Sauce
Grab a large saucepan and place it over medium-low heat. Melt the butter, then toss in the diced onion and minced garlic. You want them to soften and turn fragrant, which usually takes about 3-4 minutes. This builds the base of flavor for your sauce.
Next, stir in the flour and keep stirring for another 2 minutes. This step is important—it cooks out the raw flour taste and helps thicken the sauce later. You’ll end up with a thick, paste-like mixture known as a roux.
Reduce the heat to low and slowly pour in the chicken broth, whisking constantly to avoid lumps. Follow it with the milk, continuing to whisk until everything is smooth.
Now turn the heat back up to medium and keep whisking as the sauce begins to thicken. You’ll notice it go from watery to silky and creamy. Once it starts bubbling gently, season with salt, pepper, and dried thyme.
Finally, stir in the shredded cheddar cheese until it’s completely melted and the sauce is smooth. Take a moment to taste—it should be rich, savory, and just herby enough from the thyme.

How to Layer and Bake Perfect Scalloped Potatoes
Now that we’ve got that rich and creamy cheese sauce ready to go, it’s time to build the dish. This part is honestly one of my favorites—there’s something really satisfying about layering those thin potato slices and pouring over that golden sauce. And once it all goes into the oven? Your kitchen will smell like absolute heaven.
Whether you’re making this as part of a holiday spread or pairing it with grilled chicken for a weeknight dinner, the end result is going to feel indulgent in the best way.
Let’s jump into the next steps!
STEP 3: Layer the Potatoes and Sauce
Start by laying down half of your sliced potatoes in the bottom of the greased 9×13 inch baking dish. Try to spread them out in even layers so they cook uniformly—no big stacks or clumps. A little overlapping is totally fine and actually helps the dish hold together nicely.
Once that first layer is down, season it lightly with salt and pepper. Don’t skip this step—it’s the small touches that build up the flavor.
Now, pour half of your cheese sauce over the potatoes. Use a spatula or the back of a spoon to spread it evenly so every slice gets coated. You want that velvety sauce to soak in between the layers for maximum creaminess.
Repeat the process with the remaining potatoes, laying them over the first layer and seasoning again with a bit of salt and pepper. Then pour the rest of the sauce right on top and smooth it out.
Sprinkle the surface with the fresh thyme. This not only adds a pop of color but also gives the whole dish a slightly earthy, aromatic finish that complements the cheese beautifully.
STEP 4: Bake Until Golden and Bubbly
Cover the baking dish tightly with foil. This helps trap the heat and steam, ensuring those potatoes cook all the way through without drying out. Pop it into your preheated 350°F oven and bake for 45 minutes.
Once the time is up, remove the foil carefully (watch out for the steam!) and bake uncovered for another 30 minutes. This is when the magic happens—the top turns golden brown and bubbly, with little pockets of melted cheese and crispy edges.
If you like your scalloped potatoes extra golden on top, you can broil them for the last 2-3 minutes. Just keep a close eye on them—things go from “perfectly crispy” to “burnt” real fast under the broiler!
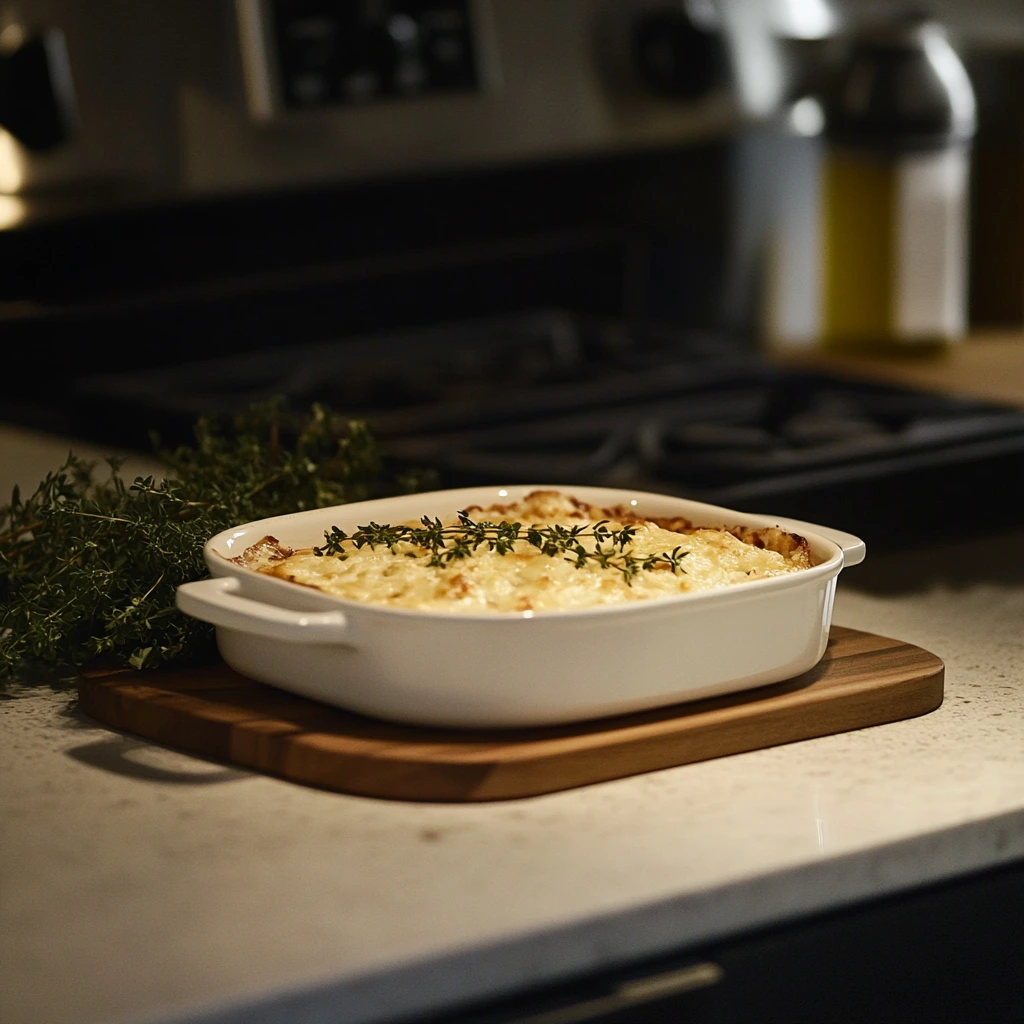
STEP 5: Let It Rest Before Serving
As tempting as it is to dig in right away, let the scalloped potatoes rest for about 10 to 15 minutes after they come out of the oven. This gives the sauce time to thicken and settle a bit, which makes for cleaner slices and better texture overall.
Before serving, garnish with a little extra fresh thyme. It gives that final homemade touch that just makes everything feel a bit more special.
Optional Add-Ins and Variations
Want to make this dish your own? Here are a few easy ideas to switch it up without messing with the core recipe:
Extra Cheese: Add a handful of Gruyère, Monterey Jack, or even a sharp white cheddar along with the cheddar for deeper flavor.
Creamier Texture: Swap the milk for half-and-half or add a splash of heavy cream for ultra-rich sauce.
Meaty Mix-In: Cooked bacon, ham, or even shredded rotisserie chicken can be layered between the potatoes for a heartier side—or main dish.
Vegetable Twist: Add some thinly sliced leeks or sautéed mushrooms in between the layers for an earthy touch.
Crusty Topping: Sprinkle a bit of Parmesan or buttered breadcrumbs on top during the last 10 minutes of baking for a golden, crispy finish.
The beauty of scalloped potatoes is how flexible they are. Once you have the base recipe down (and trust me, this one’s a keeper), you can start playing with flavors to match whatever’s on your table.
Scalloped Potatoes FAQ and Final Thoughts
You’ve got the recipe, you’ve got the steps, and maybe by now, your kitchen smells amazing and there’s a bubbling pan of cheesy goodness resting on your stovetop. But before we wrap things up, let’s tackle some of the most common questions people ask when making scalloped potatoes. Whether you’re cooking for a crowd or just for yourself, these tips can help ensure your dish turns out perfectly every single time.
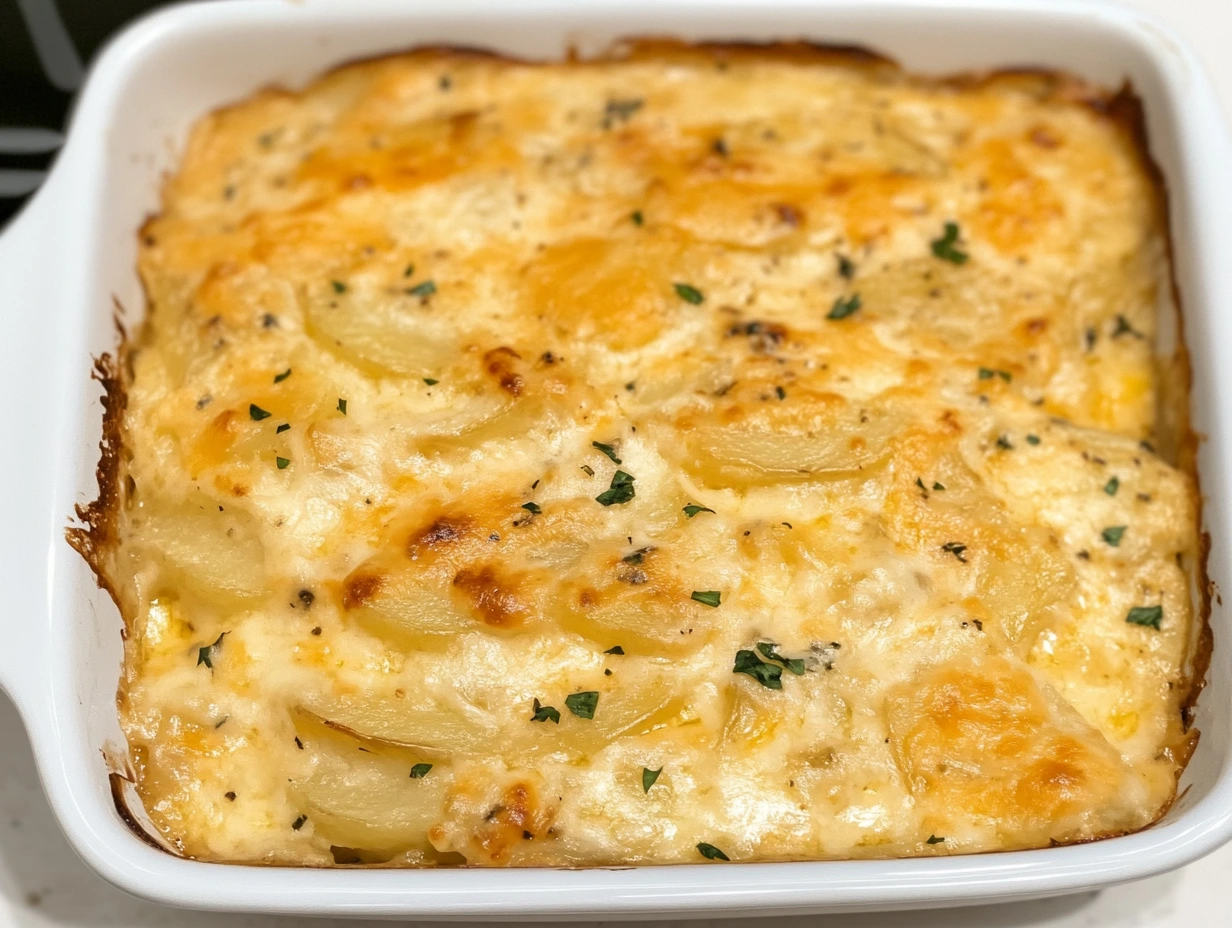
Frequently Asked Questions
1. Can I make scalloped potatoes ahead of time?
Yes, absolutely. You can fully assemble the dish (just up to the point before baking), cover it tightly with foil, and refrigerate it for up to 24 hours. When you’re ready to bake, just pop it in the oven straight from the fridge—add an extra 10–15 minutes to the baking time to account for the chill.
2. Why are my scalloped potatoes watery instead of creamy?
This usually happens when the potatoes aren’t starchy enough. Stick with starchy varieties like Russet or Yukon Golds. Also, make sure to let the sauce thicken fully on the stove before layering—it should be creamy, not runny.
3. What’s the difference between scalloped potatoes and au gratin potatoes?
Scalloped potatoes typically have a cream-based sauce (like this one), while au gratin potatoes often include layers of sliced cheese or a cheesy breadcrumb topping. That said, the terms get used interchangeably all the time. This recipe leans toward the cheesy side, so it could easily pass for either.
4. Can I freeze scalloped potatoes?
Yes, but with a few notes. Cooked scalloped potatoes freeze better than uncooked. Let the dish cool completely, then wrap tightly and freeze for up to 2 months. Reheat covered at 350°F until warmed through. Keep in mind that the texture might change slightly after freezing.
5. How can I make this gluten-free?
Simple swap: use a 1:1 gluten-free all-purpose flour blend in place of the regular flour when making the roux. Everything else in the recipe is naturally gluten-free.
6. Can I use plant-based milk or dairy-free cheese?
Yes! Use unsweetened, unflavored almond milk, oat milk, or soy milk as a substitute. For cheese, go with a meltable dairy-free cheese you enjoy. The texture may vary a bit, but it’s a great option for those avoiding dairy.
7. How do I know when the potatoes are fully cooked?
A fork should slide easily into the center with no resistance. If the top is browning too quickly before the potatoes are done, cover the dish loosely with foil and continue baking until tender.
Final Thoughts: Comfort Food at Its Best
There’s something so classic and comforting about scalloped potatoes. It’s the kind of side dish that people go back for seconds—and sometimes thirds—because it’s just that good. Between the tender potato slices, the creamy, garlicky cheese sauce, and that golden baked top, this recipe has everything you want from a comforting, crowd-pleasing side.
I love how this dish fits just as easily into a fancy holiday spread as it does a casual weeknight dinner. It’s versatile, dependable, and always delivers. And once you get the basic technique down, there are endless ways to customize it to your taste or what you have on hand.
If you give this recipe a try, I’d love to hear how it turned out for you! Leave a comment with your favorite add-ins or any fun twists you tried. And if you’re planning to make this for a gathering—get ready for a lot of recipe requests.
Here’s to creamy layers, golden tops, and the kind of side dish that turns every meal into something special.
Print
Scalloped Potatoes
- Author: Andrew Recipes
Description
Creamy, cheesy, and full of comforting flavor, these scalloped potatoes are the perfect side dish for family dinners, holidays, or special gatherings. Thinly sliced potatoes are layered with a velvety cheese sauce infused with garlic, onion, and thyme, then baked to golden perfection. This hearty classic is always a crowd-pleaser.
Ingredients
8 cups potatoes, about 3 pounds, peeled and sliced very thin (⅛-inch thick)
4 tablespoons butter
½ cup onion, diced
1 teaspoon garlic, minced
6 tablespoons flour
1 cup chicken broth
2 cups milk
½ teaspoon dried thyme
Salt and pepper, to taste
1 cup cheddar cheese, grated
½ tablespoon fresh thyme
Fresh thyme, for garnish
Instructions
Preheat the oven to 350°F and spray a 9×13 inch baking dish with nonstick spray.
Wash, peel, and slice the potatoes very thin using a mandolin for uniform slices. Set aside.
In a large saucepan over medium-low heat, melt the butter. Add the diced onion and minced garlic, and sauté until softened and fragrant.
Stir in the flour and cook for 2 more minutes, stirring constantly to form a roux.
Reduce the heat to low and slowly whisk in the chicken broth, followed by the milk. Increase the heat to medium and continue stirring until the sauce thickens and begins to boil.
Season the sauce with salt, pepper, and the dried thyme. Remove from heat and stir in the shredded cheddar cheese until melted and smooth.
Layer half of the sliced potatoes evenly in the prepared baking dish. Season with salt and pepper. Pour half of the cheese sauce over the potatoes.
Add the second layer of sliced potatoes. Season again with salt and pepper, and pour the remaining sauce on top. Sprinkle with the fresh thyme.
Cover the dish with foil and bake for 45 minutes. Then remove the foil and bake for an additional 30 minutes, until the top is golden and bubbly.
Let the scalloped potatoes rest for 10 to 15 minutes after baking to allow the sauce to thicken. Garnish with more fresh thyme before serving.
Notes
For added richness, you can use half-and-half instead of milk. If you want extra cheesiness, mix in a bit of Gruyère or Monterey Jack. Scalloped potatoes reheat well and make excellent leftovers.

