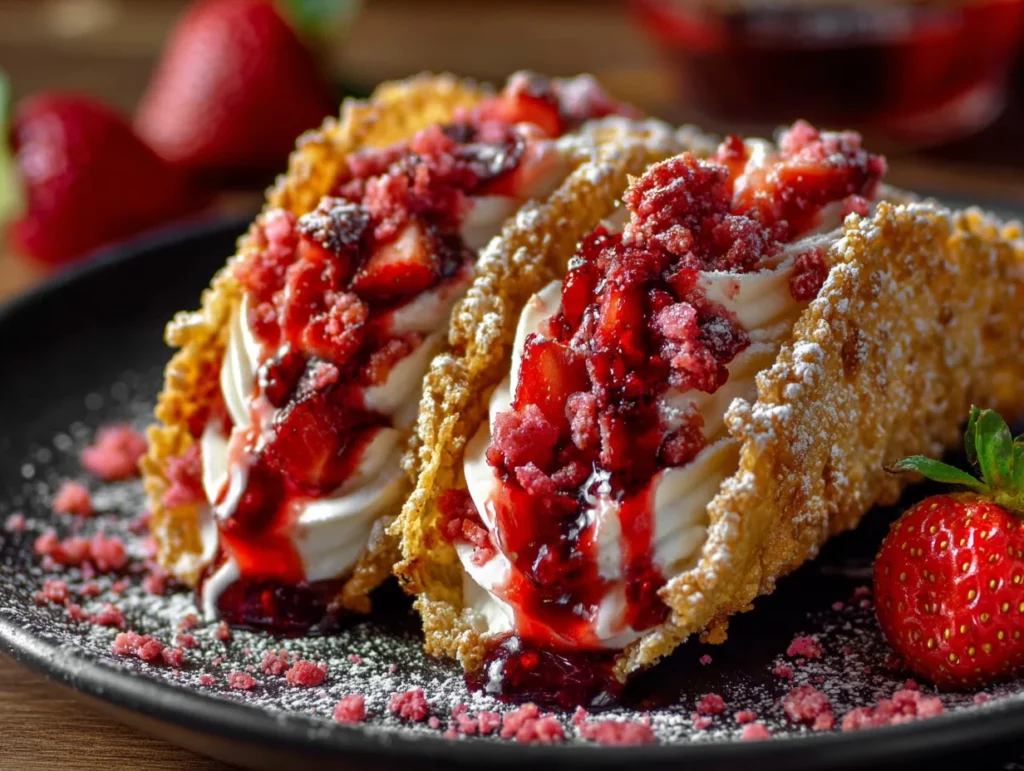
If you’re anything like me, you grew up with those strawberry shortcake ice cream bars that showed up at every summer BBQ or school party. Just the thought of that strawberry crunch topping brings me right back to sticky fingers and big smiles. So, when I first made these Strawberry Crunch Cheesecake Tacos, it was a full-on nostalgic flavor explosion — but with a modern, fun twist!
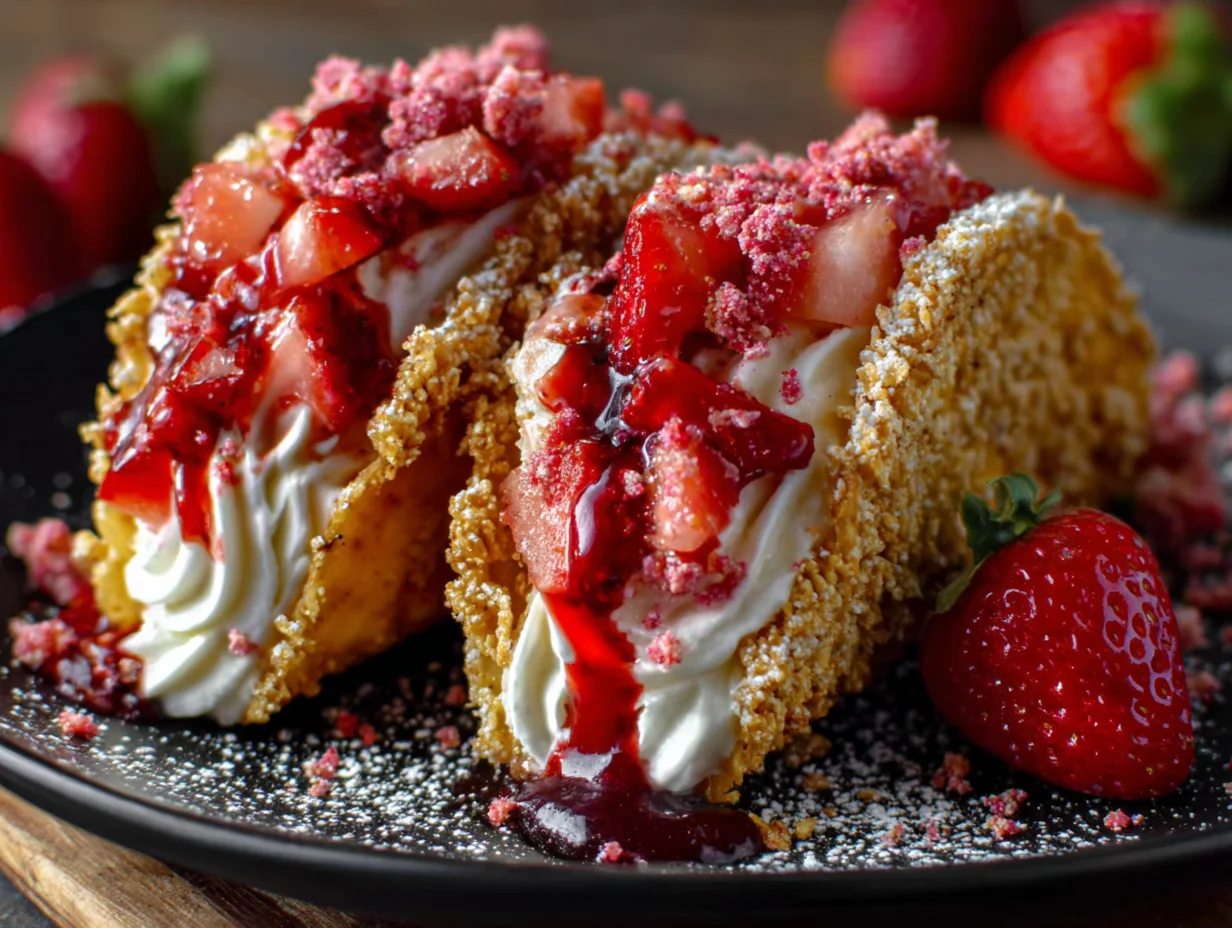
These dessert tacos are everything: crispy, buttery taco shells, a rich no-bake cheesecake filling, juicy strawberries, and that unmistakable strawberry crunch crumble. They’re a total crowd-pleaser, and dare I say… they’re just as fun to make as they are to eat.
Perfect for parties, potlucks, or just because you want to make something that’ll impress your friends and family — these are not your average dessert. And the best part? You can make most of the components ahead of time and assemble them fresh, which makes them feel extra fancy with minimal last-minute effort.
So let’s get into it! Here’s how to make these beautiful, bite-sized treats that are guaranteed to steal the show.

Ingredients You’ll Need
Let’s break it down by components so nothing gets missed:
For the Taco Shells:
10 small flour tortillas
1 cup granulated sugar
2 teaspoons cinnamon
1/2 cup melted butter
For the Cheesecake Filling:
8 oz cream cheese, softened
1 cup powdered sugar
1 teaspoon vanilla extract
1 1/2 cups heavy whipping cream
For the Strawberry Crunch Topping:
15 Golden Oreos, crushed
3 tablespoons strawberry Jell-O powder
1/4 cup melted butter
For Garnish and Filling:
1 cup diced fresh strawberries
Whipped cream (optional, but highly recommended!)
STEP 1: Make the Cinnamon Sugar Taco Shells
These taco shells are honestly a dessert all on their own. Sweet, crispy, and buttery — they’re the perfect shell for that fluffy cheesecake filling.
Preheat your oven to 375°F.
Start by cutting your tortillas into smaller rounds. You can use a large round cookie cutter or even just press a glass into the tortilla and cut around it. You’ll want rounds that are taco-sized but still easy to bite into.
In a shallow bowl, mix together your sugar and cinnamon. Melt the butter separately and brush both sides of each tortilla round with it. Immediately dip both sides of the tortilla into the cinnamon sugar mixture so it’s nicely coated.
Now here’s where the magic happens: drape each coated tortilla round over two of the oven rack grates (directly on the bars) so they hang like taco shells. Make sure the rounds aren’t touching each other to get that perfect crispy edge all the way around.
Bake for 6-8 minutes, or until the shells are golden and crisp. They’ll harden a bit more as they cool, so don’t overbake. Once out of the oven, let them cool completely before filling — this is important so the cheesecake doesn’t melt.
Pro Tip: Use a pair of tongs or oven mitts to remove the shells safely. They’re hot, but they’ll cool fast once they’re out.
STEP 2: Whip Up the No-Bake Cheesecake Filling
While your taco shells are cooling, it’s time to make that creamy, dreamy filling. This part is simple but so satisfying — and best of all, no baking required.
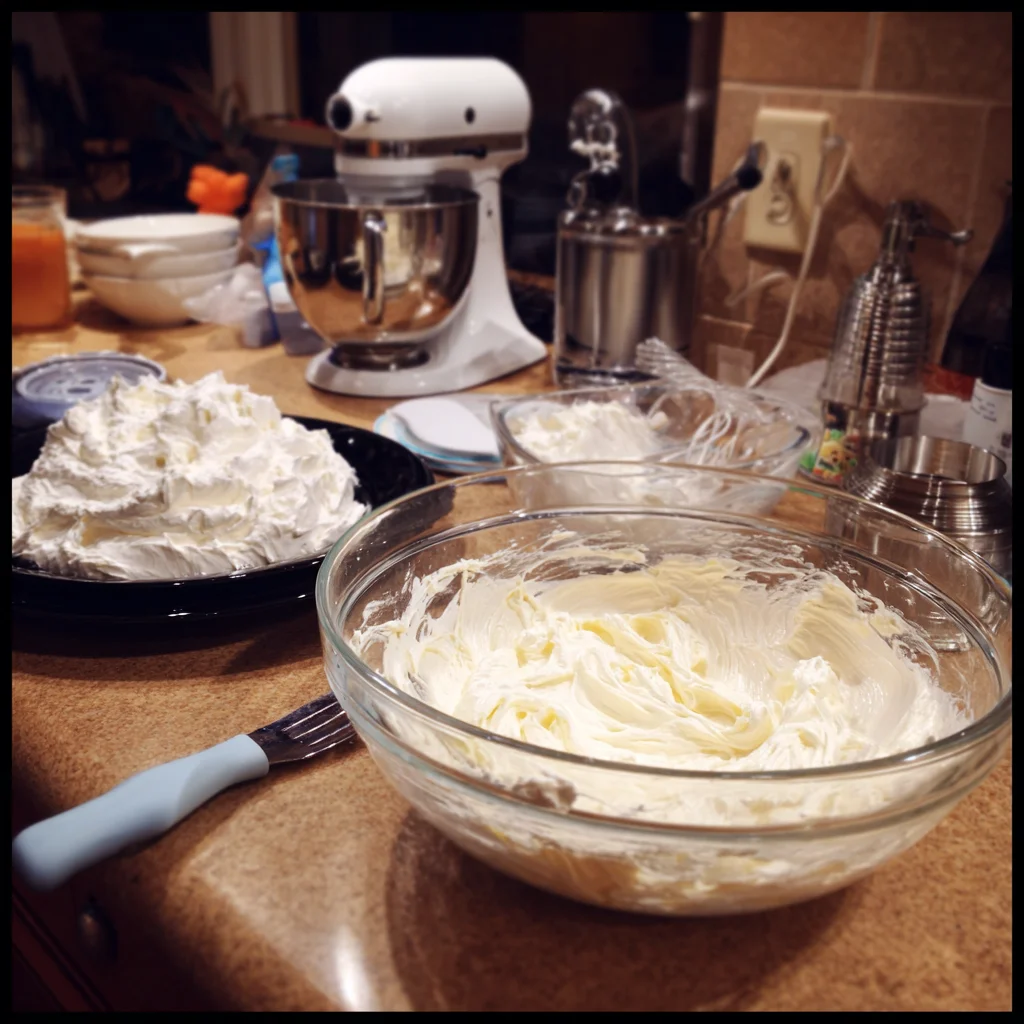
In a large mixing bowl, beat your softened cream cheese until it’s smooth and fluffy. Then add in the powdered sugar and vanilla extract. Keep beating until the mixture is completely smooth and no lumps remain.
In a separate bowl, whip the heavy cream until stiff peaks form. This might take a few minutes, especially if you’re doing it by hand — but it’s worth it. That whipped cream is what gives the cheesecake filling its light, airy texture.
Now, gently fold the whipped cream into the cream cheese mixture. Take your time with this step — you want to keep as much air in the mixture as possible for that fluffy, mousse-like texture.
Bonus Tip: If you’re prepping ahead, you can store this filling in the fridge for up to 24 hours. Just give it a quick stir before using.
Strawberry Crunch Cheesecake Tacos: The Ultimate Summer Dessert Twist
Now that we’ve got our crispy cinnamon-sugar taco shells cooling and our no-bake cheesecake filling ready to go, let’s move on to what really takes these tacos over the top: the strawberry crunch topping.
This part is a total game-changer. It brings all those nostalgic flavors of your favorite strawberry shortcake ice cream bar, but with a homemade twist that’s just as fun to eat as it is to make. Once we’ve got that topping ready, we’ll put it all together for one seriously impressive dessert.
STEP 3: Make the Strawberry Crunch Topping
This crunchy topping is incredibly easy to throw together and adds that sweet, buttery, strawberry-packed layer of texture that really makes these tacos unforgettable.
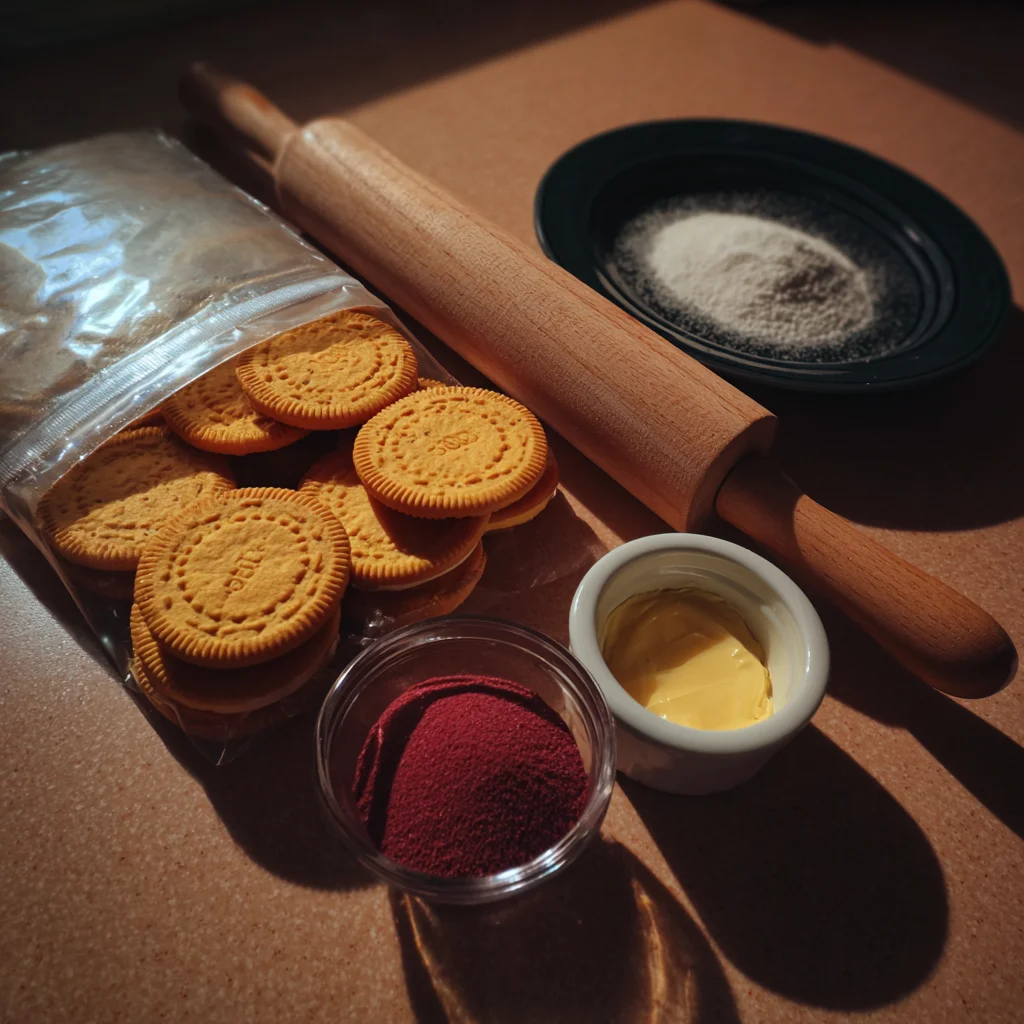
Start by placing the Golden Oreos into a large zip-top bag. Crush them using a rolling pin or the bottom of a heavy glass until you get fine crumbs. You can leave a few slightly bigger chunks for texture — it doesn’t have to be completely uniform.
Add in the strawberry Jell-O powder and melted butter directly into the bag, then seal it up and shake everything around until the crumbs are evenly coated. You’ll end up with a gorgeous pink-red mixture that smells just like summer.
Tip: If you want a slightly less sweet version, you can use freeze-dried strawberries crushed into powder in place of the Jell-O. It’ll give you that same vibrant color and fruity flavor with a more natural touch.
Once your crunch topping is ready, you can set it aside or store it in an airtight container for up to 2 days if you’re prepping ahead.
STEP 4: Assemble the Cheesecake Tacos
Here’s where it all comes together — and trust me, this part is just as fun to do as it is to eat.
Make sure your taco shells are completely cool before assembling. This is key because if they’re still warm, they’ll melt the filling and turn soggy. And we want crispy, crunchy, golden shells every time.
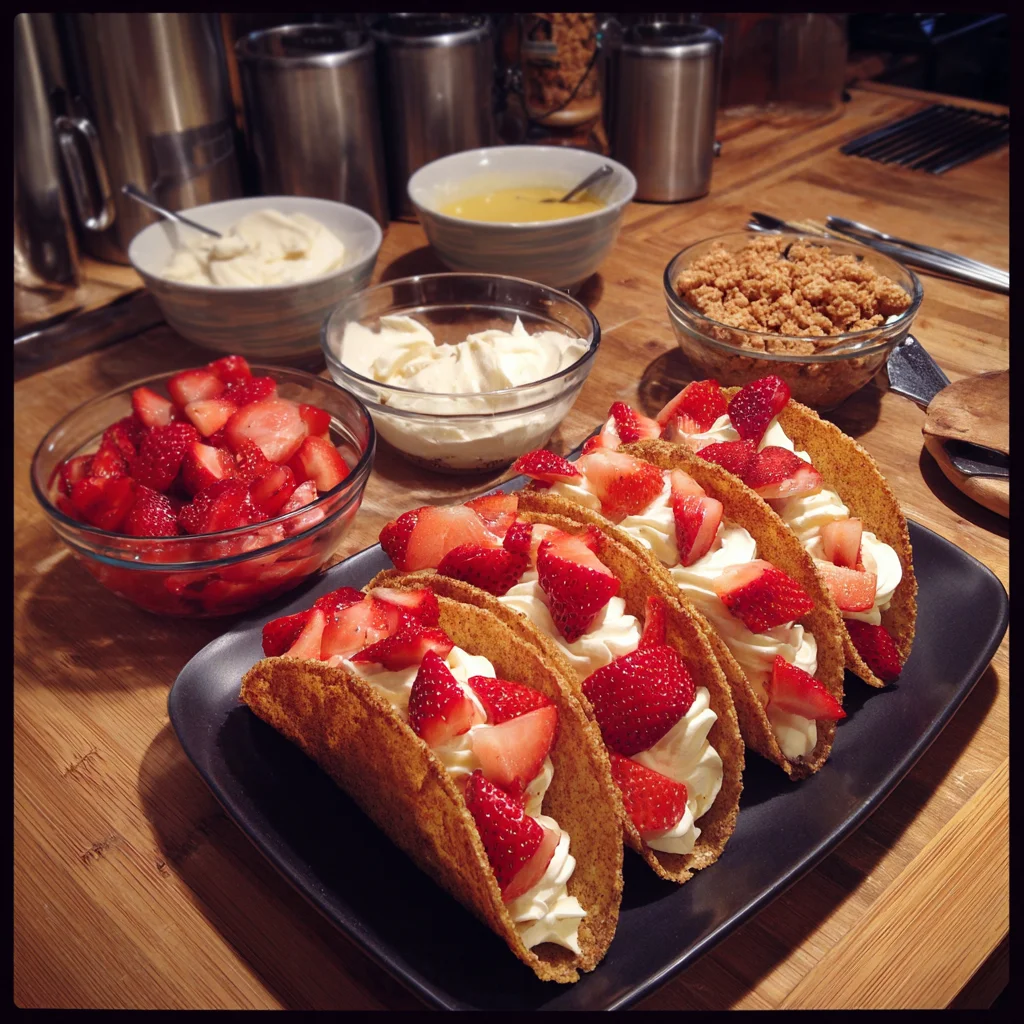
Spoon or pipe the cheesecake filling into each taco shell. You can use a piping bag for a cleaner look, or just use a spoon if you’re keeping it casual. Either way, make sure to fill them generously — that creamy cheesecake layer is the heart of the dessert.
Top the cheesecake filling with diced fresh strawberries. You’ll want about a tablespoon or so per taco, depending on the size. The juiciness of the strawberries pairs perfectly with the creamy filling and adds a fresh, bright contrast to the sweetness.
Now for the grand finale: sprinkle on that strawberry crunch topping. Be generous — it adds that amazing texture and nostalgic flavor that ties the whole dessert together. If you want to go all-out, add a dollop of whipped cream right on top.
Pro Tip: Want to make these even fancier for a party? Drizzle a little white chocolate or strawberry syrup over the top for an extra wow factor.
Tips for Success and Variations
Here are a few quick pointers to help you get the most out of this recipe:
Make Ahead: You can prepare the cheesecake filling and crunch topping the day before. Just store them in the fridge (filling) and in a sealed container at room temperature (topping). Assemble just before serving for best results.
Tortilla Size: Use the smallest flour tortillas you can find. If they’re too big, the shells become harder to eat and won’t crisp up as nicely.
Switch It Up: Try swapping strawberries for raspberries or blueberries for a fun twist. Or mix in crushed graham crackers with the Oreos for an extra layer of flavor.
Chill Before Serving: Once assembled, pop the tacos in the fridge for 10-15 minutes before serving to let everything set up slightly — especially on hot days.
Strawberry Crunch Cheesecake Tacos: The Ultimate Summer Dessert Twist
You’ve made it to the final stretch of this delicious adventure, and by now your kitchen probably smells like a sweet little slice of summer. With crisp cinnamon-sugar shells, creamy cheesecake filling, fresh strawberries, and that irresistible strawberry crunch topping, these tacos aren’t just a dessert — they’re an experience.
Before we wrap up, let’s tackle a few common questions that tend to come up when making this recipe. Whether it’s your first time trying dessert tacos or you’re already planning to bring them to your next gathering, these FAQs will help you troubleshoot, prep ahead, and get the most flavor and crunch from every bite.
Frequently Asked Questions
1. Can I make these ahead of time?
You can absolutely prep the components ahead of time — just don’t assemble the tacos until you’re ready to serve. Store the cheesecake filling in the fridge (covered) for up to 24 hours and keep the strawberry crunch topping in an airtight container at room temperature. The taco shells can also be baked in advance and stored in a sealed container, but they’re best used within a day to maintain crispness.
2. How do I keep the taco shells crispy?
The key is letting them cool completely after baking and not assembling them too early. If you’re worried about sogginess, you can line the inside of each shell with a thin layer of melted white chocolate before adding the filling — it acts as a moisture barrier.
3. Can I use pre-made taco shells instead of making them from tortillas?
Technically yes, but you’ll miss out on that cinnamon-sugar flavor and texture that makes this dessert so special. Pre-made shells also tend to be harder and more brittle. The homemade ones are crisp but tender, making them easier to bite into without crumbling everywhere.
4. Is there a way to make this recipe a little healthier?
You can lighten things up by using reduced-fat cream cheese, less sugar in the filling, or swapping out the Jell-O powder for freeze-dried strawberry powder. Just keep in mind, the flavor and texture will change a bit — but they’ll still be delicious.
5. What can I use instead of Golden Oreos?
If you don’t have Golden Oreos on hand, vanilla wafers or graham crackers work well. You’ll want something sweet and crunchy to pair with the strawberry flavor and butter, so feel free to experiment.
6. Can I freeze the assembled tacos?
Freezing isn’t recommended. The cheesecake filling doesn’t thaw well once inside the shell, and the taco shells will lose their crispness. It’s best to enjoy them fresh or within a few hours of assembling.
7. What’s the best way to transport these for a party or potluck?
If you need to bring them somewhere, transport the shells, filling, and toppings separately. Then assemble them once you arrive. That way, everything stays fresh, and the shells keep their crunch.
Final Thoughts
If you’re looking for a dessert that’s unique, eye-catching, and full of nostalgic flavor, Strawberry Crunch Cheesecake Tacos check every box. They’re fun to make, even more fun to eat, and guaranteed to be the star of any dessert table. Whether you’re planning a summer cookout, baby shower, birthday bash, or just want to treat yourself to something extra special — these tacos are a must-try.
What I love most about them is how easy they are to customize. You can swap in different fruits, play with the crunch topping, or even try different flavored fillings. But no matter how you tweak them, the core idea stays the same: a crispy shell filled with creamy, fruity, nostalgic goodness.
If you give these a try, I’d love to hear how they turned out for you! Drop a comment below and let me know what variations you tried, what worked well, and — most importantly — how fast they disappeared from the plate.
Print
Strawberry Crunch Cheesecake Tacos
- Author: Andrew Recipes
Description
Strawberry Crunch Cheesecake Tacos are a playful and delicious twist on traditional dessert. Crispy taco shells are filled with a creamy no-bake cheesecake filling, fresh strawberries, and topped with a strawberry crunch crumble reminiscent of those nostalgic ice cream bars. This dessert is perfect for parties, potlucks, or a fun family treat.
Ingredients
For the taco shells:
10 small flour tortillas
1 cup granulated sugar
2 teaspoons cinnamon
1/2 cup melted butter
For the cheesecake filling:
8 oz cream cheese, softened
1 cup powdered sugar
1 teaspoon vanilla extract
1 1/2 cups heavy whipping cream
For the strawberry crunch topping:
15 Golden Oreos, crushed
3 tablespoons strawberry Jell-O powder
1/4 cup melted butter
For garnish and filling:
1 cup diced fresh strawberries
Whipped cream (optional)
Instructions
Preheat oven to 375°F. Cut the tortillas into small rounds using a cookie cutter or the rim of a glass. Brush each round with melted butter and dip both sides in the cinnamon-sugar mixture.
Drape the coated tortilla rounds over the oven rack grates to form taco shapes. Bake for 6-8 minutes or until golden brown and crisp. Let them cool completely.
In a bowl, beat the softened cream cheese until smooth. Add powdered sugar and vanilla extract, mixing until well combined. In a separate bowl, whip the heavy cream to stiff peaks. Fold the whipped cream into the cream cheese mixture until fully incorporated and fluffy.
In a zip-top bag, crush the Golden Oreos into crumbs. Mix in the strawberry Jell-O powder and melted butter until evenly coated and crumbly.
Fill each taco shell with the cheesecake filling using a piping bag or spoon. Add diced strawberries over the filling and generously sprinkle the strawberry crunch topping on each taco. Top with whipped cream if desired.
Notes
Make sure the taco shells are completely cool before adding the filling to avoid melting. These tacos are best served the same day they’re made to maintain the crunch. You can prep the components ahead of time and assemble just before serving.

