
There’s something about bite-sized appetizers that instantly makes any gathering feel like a celebration. Whether it’s a game day spread, holiday get-together, or a casual movie night, I love having easy-to-make snacks that don’t just look impressive—but taste downright addictive. These Taco Ranch Bites are exactly that.
I first made them for a backyard BBQ with friends and, no exaggeration, they disappeared in minutes. What makes these little bites so special? Think crispy phyllo cups loaded with flavorful taco-seasoned beef, melty cheddar cheese, zesty tomatoes, and a creamy ranch kick. It’s like a taco and a party dip had a baby—and that baby fits right in your hand.
This recipe has become a repeat favorite in my house, not only because it’s packed with flavor, but because it’s incredibly easy to throw together. Plus, it’s totally make-ahead friendly, which is a total win when you’re hosting. If you’re the type who loves bold flavors and zero fuss in the kitchen, you’re going to be obsessed with these.
Let’s get into it!
Ingredients You’ll Need
To make about 75 bite-sized appetizers (perfect for feeding a crowd), here’s what you’ll need:
1 pound lean ground beef
1 packet (1 oz) taco seasoning mix
1 can (10 oz) chopped tomatoes with green chiles (juice included)
2 cups grated cheddar cheese
1 bottle (8 oz) ranch sauce
5 packages (15-count each) frozen phyllo cup shells
I always keep a few boxes of frozen phyllo cups on hand for quick appetizers like this. They’re flaky, crunchy, and the perfect little vessel for pretty much any filling. You can usually find them in the freezer section of most grocery stores, near the puff pastry or frozen pie crusts.
STEP 1: PREP AND COOK THE BEEF
Start by preheating your oven to 350°F. This way, by the time you’re ready to bake, your oven’s good to go.
Next, brown your ground beef in a large skillet over medium heat. You’ll want to cook it until it’s fully browned and crumbled. Be sure to drain off any excess grease once it’s done cooking. This step is key—nobody wants greasy bites!
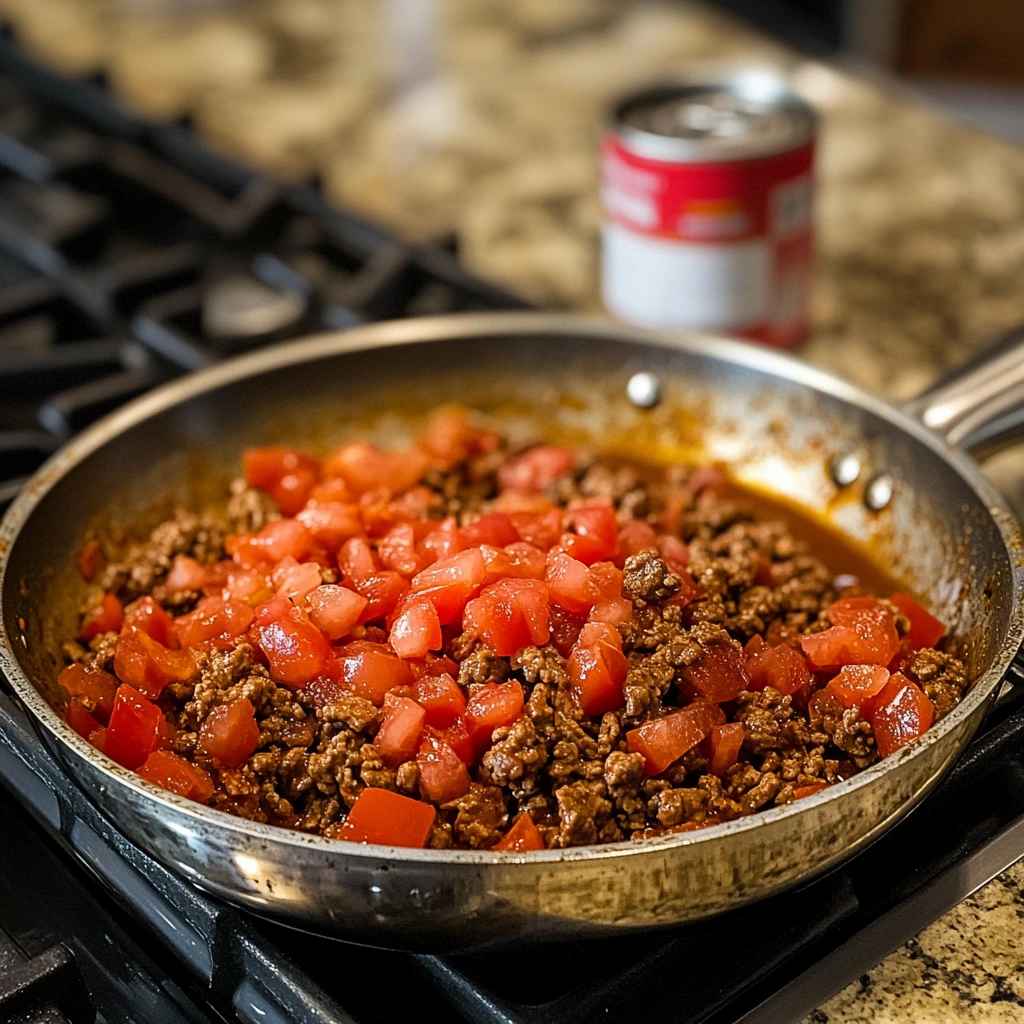
Once the beef is cooked and drained, add in your taco seasoning mix and the full can of chopped tomatoes with green chiles, juice and all. The tomatoes bring that classic Tex-Mex flavor and a little bit of heat (nothing too spicy, I promise). Let everything simmer together for about 5 minutes, just to really meld those flavors together.

STEP 2: MIX THE FILLING
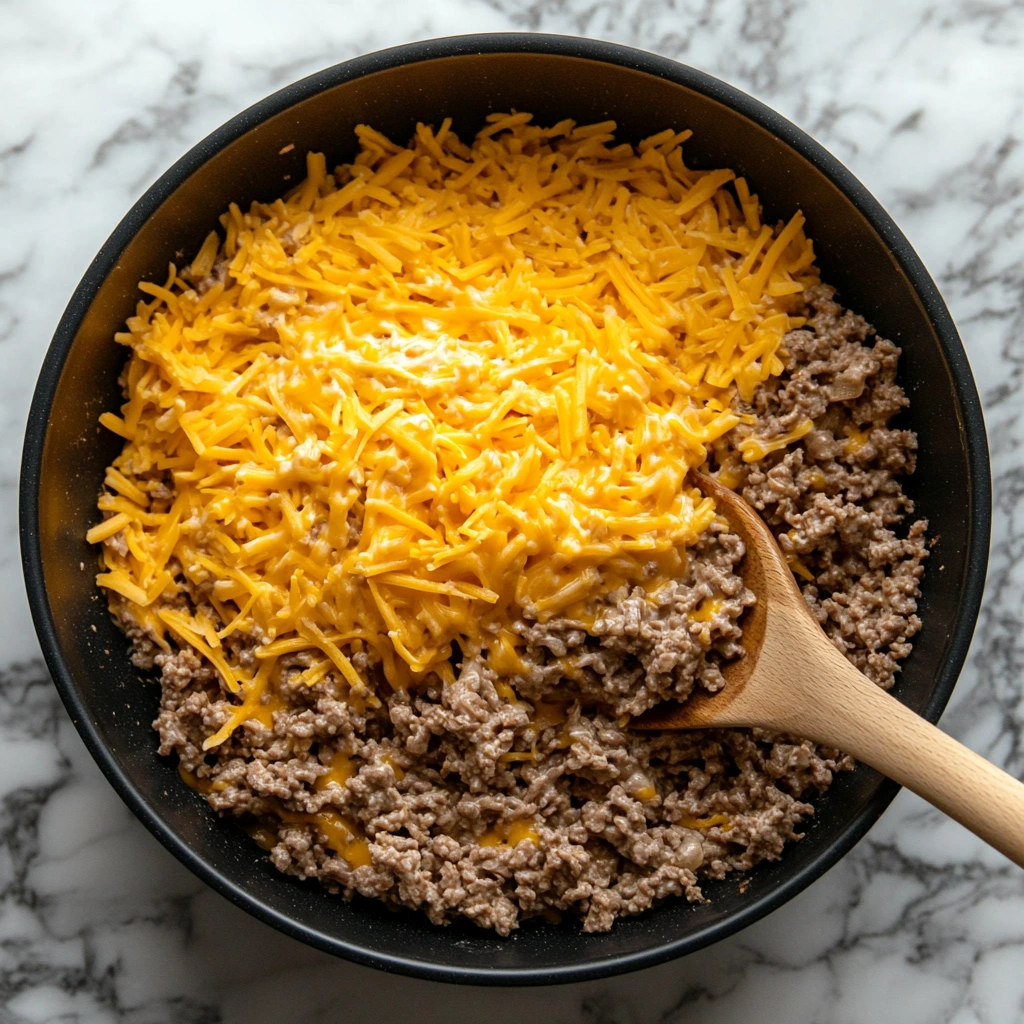
In a large mixing bowl, stir together the shredded cheddar cheese and the ranch sauce. I usually go with a classic ranch, but if you’re feeling adventurous, a spicy ranch or even chipotle ranch would totally work here.
Once your cheese and ranch are combined, pour in the beef and tomato mixture. Mix everything together until it’s evenly coated. The result? A savory, creamy, cheesy filling that smells so good, you’ll have a hard time not sneaking a taste.
STEP 3: FILL THOSE SHELLS
Time to assemble! Grab your phyllo shells and arrange them on a baking sheet. If they’re still frozen, no worries—you can use them straight from the freezer.
Spoon a heaping tablespoon of the filling into each shell. Don’t be shy—fill them up to the top. The cheese will melt and bubble a bit in the oven, creating those irresistible golden edges that make these bites so photogenic (and tasty)
How to Bake Taco Ranch Bites to Golden Perfection + Easy Make-Ahead Tips
Alright, now that you’ve got your taco ranch mixture tucked neatly into those crispy little phyllo cups, it’s time to bring it all home. This part is my favorite—when the house starts to smell like a cheesy, savory Tex-Mex dream and you just know something delicious is about to hit the table.
These Taco Ranch Bites are truly a no-fuss appetizer, and baking them couldn’t be simpler. Plus, I’ve got some easy tips to help you prep them ahead of time or even freeze them for later. So whether you’re planning a big party or just want something fun for family game night, this is the part where it all comes together beautifully.
Let’s get these bites in the oven!
STEP 4: BAKE THE BITES
Once your phyllo cups are filled and neatly arranged on a baking sheet, go ahead and pop them into your preheated 350°F oven. Here’s what to keep in mind:
If your phyllo shells are thawed, bake the bites for 8 to 10 minutes.
If you’re using them straight from the freezer, extend the baking time to 10 to 13 minutes.
What you’re looking for is warm, bubbly cheese and slightly golden edges on the phyllo. The shells should be crisp, not soggy, and the filling will be hot and melty with just the right amount of creaminess from the ranch sauce.
Quick tip: If you’re making a big batch and using two baking sheets, try to rotate them halfway through the baking time so they cook evenly.

Tips for Making Taco Ranch Bites Ahead of Time
One of the best things about this recipe is how make-ahead friendly it is. Honestly, I love any dish I can prep early and just bake off when the guests start arriving.
Here are a few tried-and-true tips for prepping ahead:
Refrigerate Before Baking: You can fully assemble the taco ranch bites, cover the tray tightly with plastic wrap or foil, and keep them in the fridge for up to 24 hours before baking. Just add a couple of minutes to your bake time if they’re going in cold.
Freeze for Later: These freeze beautifully! Once you’ve assembled the bites, place them on a baking sheet and freeze until firm. Then transfer them to a sealed container or freezer bag. When you’re ready to bake, you don’t even need to thaw them—just pop them straight in the oven and bake for about 13 to 15 minutes.
Batch Bake & Reheat: If you’re making these for a party and want to do it all ahead of time, you can fully bake them, let them cool, and then reheat in the oven at 300°F for about 5–7 minutes just before serving. They’ll still be crispy and delicious.
Fun Flavor Twists & Serving Ideas
One of the best parts about this recipe is how versatile it is. Once you’ve got the base down, you can totally play with the flavors to suit your taste—or spice things up if you’ve got adventurous eaters.
Here are some of my favorite add-ins and toppings:
Add heat: Mix in chopped jalapeños or a few dashes of hot sauce into the filling if you like a kick.
Southwest twist: Add a handful of corn and black beans to the beef mixture before combining it with the ranch and cheese.
Fresh garnish: After baking, top with a little chopped fresh cilantro or diced avocado. It adds a fresh, bright touch that’s really pretty for presentation too.
Extra creamy: Swap half of the ranch with a bit of softened cream cheese for a thicker, creamier texture.
Cheese swap: Try using a mix of cheddar and pepper jack for a little extra spice and richness.
When it comes to serving, I like to pile these up on a platter with a little bowl of extra ranch or salsa for dipping on the side. They’re perfect finger food, and people always end up going back for more—so don’t be surprised if they vanish faster than you expect!
Taco Ranch Bites FAQ + Final Thoughts
You’ve prepped, filled, and baked your way to golden, cheesy perfection—and now it’s time to wrap things up with answers to some of the most common questions I get about these Taco Ranch Bites. Whether it’s your first time making them or they’ve become a party staple for you too, these FAQs will help you troubleshoot and customize the recipe with confidence.

Frequently Asked Questions
1. Can I make these Taco Ranch Bites vegetarian?
Absolutely! Just swap the ground beef for plant-based ground meat or even cooked black beans or lentils. Keep the seasoning and other ingredients the same—it’s still super flavorful.
2. What if I can’t find frozen phyllo cups?
No worries—you can make your own using phyllo dough sheets. Cut the sheets into small squares, layer a few in mini muffin tins (sprayed with nonstick spray), and bake for about 8 minutes before filling and baking again. It’s a bit more work, but the result is just as delicious.
3. Can I use ground turkey or chicken instead of beef?
Yes! Ground turkey or chicken works great in this recipe. Just make sure to season it well and drain off any excess moisture before mixing with the other ingredients.
4. How long can I store leftovers?
Leftover bites can be stored in an airtight container in the fridge for up to 3 days. Reheat in the oven at 300°F for about 5–7 minutes so the phyllo stays crispy.
5. Can these be served cold or at room temperature?
They’re best served warm, fresh out of the oven. However, they’re still tasty at room temp if you’re serving them on a party platter. I don’t recommend serving them cold, as the texture of the phyllo and filling is best when warm.
6. How do I keep the phyllo cups from getting soggy?
Don’t let the filling sit in the phyllo shells for too long before baking. Assemble them shortly before going into the oven, or keep them refrigerated if prepping ahead. Also, make sure your beef mixture isn’t overly watery—drain tomatoes well if needed.
7. Can I freeze them after baking?
You can, but for the best texture, it’s better to freeze them before baking. Baked phyllo tends to lose its crispness after freezing and reheating.
Final Thoughts: Why You’ll Love This Recipe Again and Again
There’s a reason these Taco Ranch Bites have become a go-to in my kitchen—they check every single box. They’re quick, full of flavor, freezer-friendly, and always a hit with kids and adults alike. Whether you’re feeding a crowd or just want something fun and satisfying on the table, these bites are the perfect mix of crispy, cheesy, savory goodness.
What I love most is how flexible they are. You can play with the ingredients, make them ahead, and serve them in so many different settings. Game day, birthday party, or even just a snacky Sunday—you’ll never regret having these on the menu.
Print
Taco Ranch Bites
- Author: Andrew Recipes
Description
This comforting one-pot meal blends savory ground beef with rich garlic butter, tender pasta, and a touch of Parmesan for a creamy finish. Simple to prepare and packed with flavor, it’s a quick, satisfying option for busy weeknights, with room for your favorite add-ins like cream, spinach, or red pepper flakes.
Ingredients
1 lb ground beef
2 tablespoons butter
4 cloves garlic, finely chopped
1 teaspoon Italian herb mix
½ cup beef broth
½ cup shredded Parmesan cheese
8 ounces pasta (spaghetti or penne)
2 cups water
Salt and pepper, as needed
Optional Add-ins:
¼ cup heavy cream
Red pepper flakes
Fresh chopped basil or parsley
Cooked mushrooms or spinach
Instructions
In a large pan over medium-high heat, cook the ground beef until it’s no longer pink, seasoning with salt and pepper. Drain off any excess fat if necessary and transfer the cooked beef to a bowl.
In the same pan, melt the butter. Add the chopped garlic and sauté for about one minute until fragrant, being careful not to let it brown.
Add the uncooked pasta to the pan, followed by the beef broth and water. Stir everything together and bring it to a boil. Reduce the heat to medium-low and simmer uncovered for 10 to 12 minutes, stirring occasionally, until the pasta is tender and most of the liquid is absorbed.
Return the cooked beef to the pan. Stir in the Parmesan cheese and Italian herb mix until everything is well combined. For a creamier texture, mix in the heavy cream.
Taste and adjust seasoning with more salt or pepper if needed. Serve hot, topped with fresh herbs, extra cheese, or red pepper flakes for a bit of heat.
Notes
This one-pot dish is easy to customize—try adding vegetables like mushrooms or spinach for extra nutrition. The Parmesan adds a salty depth, while a touch of cream makes it luxuriously smooth. It’s comfort food with a gourmet twist, all made in one pan for minimal cleanup.

