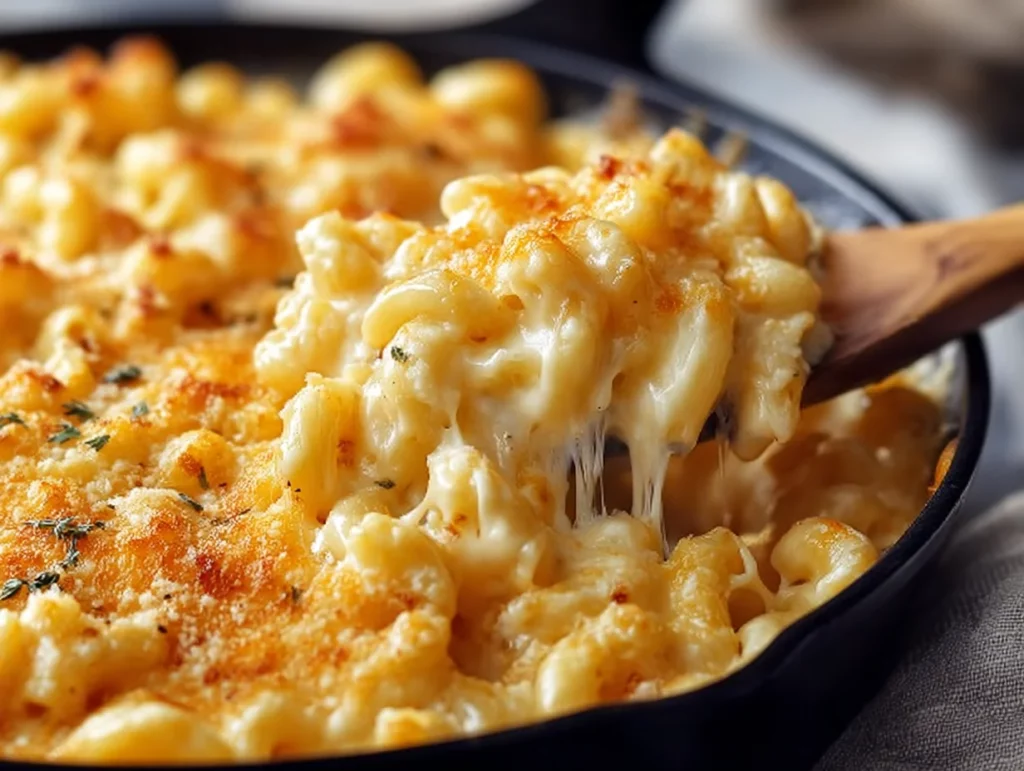
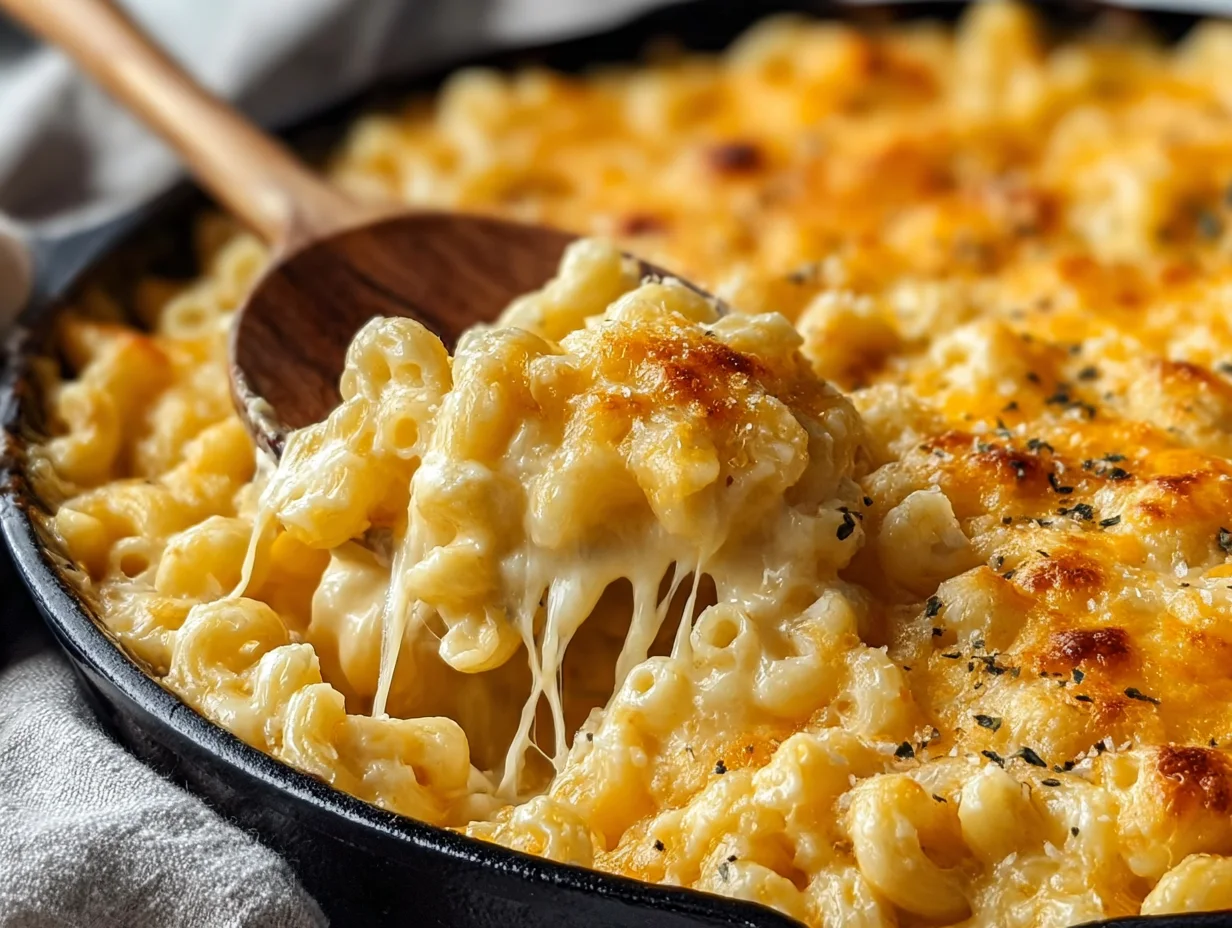
If there’s one dish that truly captures the magic of comfort food, it’s a rich and creamy mac & cheese. And let me tell you—Tini’s Viral Mac & Cheese lives up to every bit of the hype. It’s got that perfect gooey cheese pull, a silky smooth sauce that hugs every noodle, and a crispy golden topping that’s just begging to be cracked into.
This recipe first caught my eye when it started blowing up online—and after making it for the first time, I immediately understood why. It’s not just another basic mac & cheese. It’s bold, indulgent, and totally next level. Think layers of melty sharp cheddar, mozzarella, and Colby Jack, all blended into a velvety cheese sauce that’ll make you want to lick the spoon (no shame if you do—I’ve been there). Whether you’re throwing together a casual family dinner or making something cozy for a rainy day, this dish checks all the boxes.
And here’s the best part: it’s super customizable. Want it ultra-creamy? Skip the bake. Want that crispy top? Toss it in the oven for 20 minutes. You can tweak the cheeses, spice it up with a little cayenne, or keep it simple and classic. Either way, it’s a guaranteed crowd-pleaser. Ready to dig in? Let’s get into it.
Ingredients You’ll Need
Before we dive into the steps, make sure you’ve got everything prepped and ready. Here’s what you’ll need to bring this internet-famous recipe to life.
For the pasta:
16 oz elbow macaroni
Water for boiling
Salt (for pasta water)
For the cheese sauce:
4 tbsp unsalted butter
4 tbsp all-purpose flour
3 cups whole milk
1 cup heavy cream
2 cups sharp cheddar cheese, shredded
1 cup mozzarella cheese, shredded
1 cup Colby Jack cheese, shredded
1 tsp garlic powder
1 tsp onion powder
Salt and pepper to taste
Optional Topping (for baking):
1 cup shredded cheddar
½ cup panko breadcrumbs
1 tbsp melted butter
STEP 1: Cook the Pasta Just Right
First things first—grab a big pot, fill it with water, and bring it to a boil. Don’t forget to salt the water generously. (Trust me, this step makes a difference—it’s the only chance you get to season the pasta itself.)
Once boiling, toss in your elbow macaroni and cook until just al dente. That means the pasta should be tender, but still have a bit of a bite to it. You don’t want it too soft, especially if you’re planning to bake it later. After it’s done, drain the noodles and set them aside.

STEP 2: Make the Creamy Roux Base
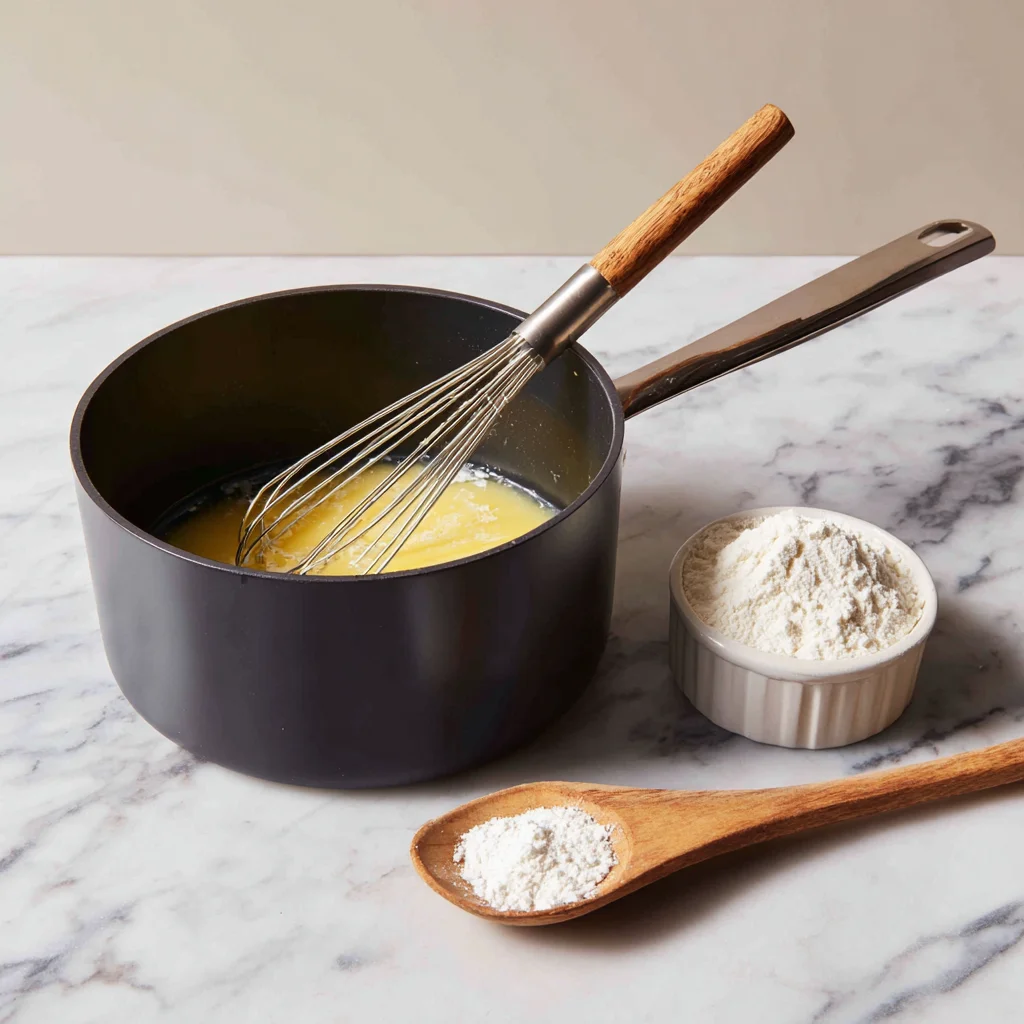
In a large saucepan, melt the butter over medium heat. Once fully melted, whisk in the flour. You’re going to cook this mixture—called a roux—for about 1-2 minutes. This step is key: it helps thicken the sauce while cooking off that raw flour flavor. Just keep stirring it so it doesn’t brown or burn.
STEP 3: Build the Sauce with Milk and Cream
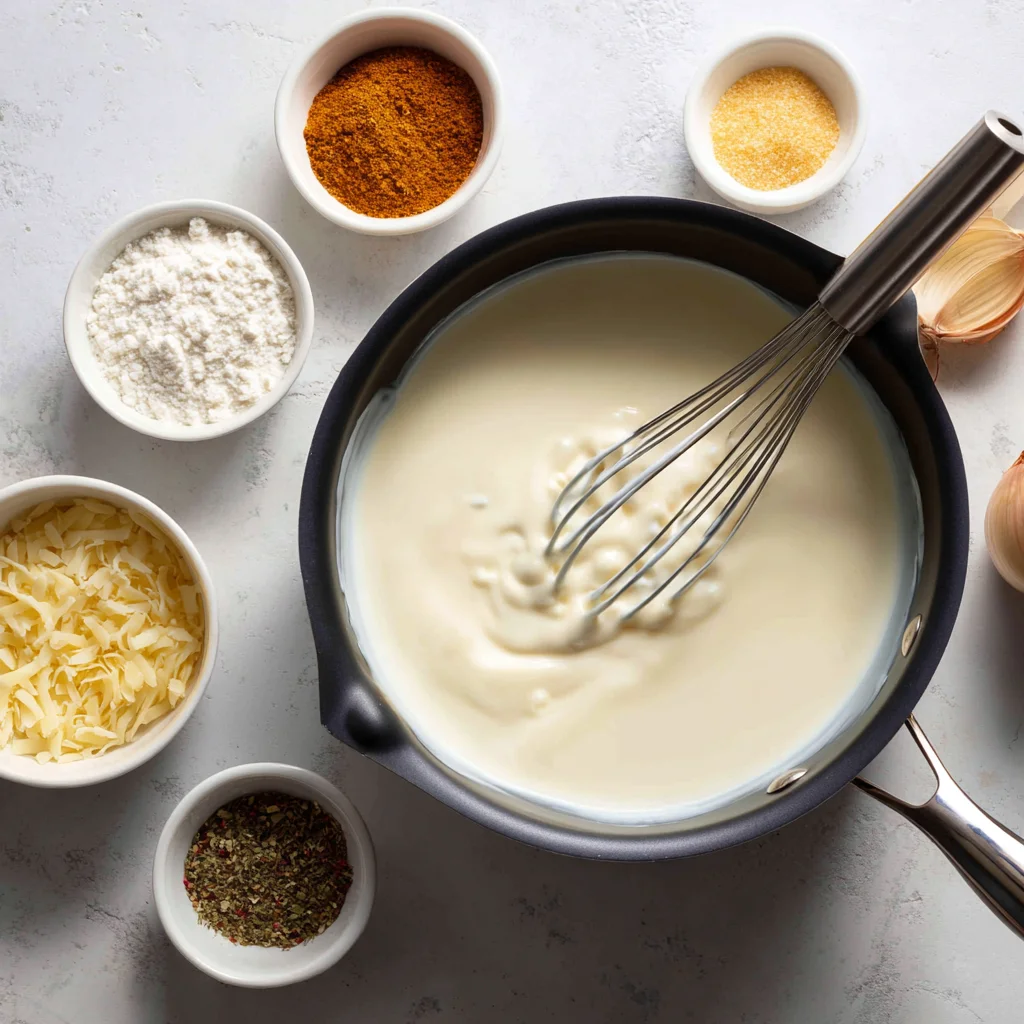
Now, it’s time to bring the richness. Gradually pour in the milk and heavy cream, whisking constantly to keep things smooth. You want to avoid lumps here, so take your time and keep it moving. Let the mixture come to a gentle simmer—it should start to thicken slightly, which is exactly what we want.
STEP 4: Add All That Cheesy Goodness
Once the sauce base is smooth and slightly thickened, reduce the heat to low. Stir in your garlic powder, onion powder, and all the shredded cheeses—cheddar, mozzarella, and Colby Jack. Keep stirring until everything melts together into one dreamy, velvety cheese sauce.
Season it up with salt and pepper to taste. This is your moment to sneak a spoonful (or two) to “check for seasoning.” It’s basically mandatory.
Tini’s Viral Mac & Cheese: The Ultimate Comfort Food You’ll Crave Every Time
Alright, let’s pick up where we left off. At this point, you’ve got a pot of perfectly cooked pasta and a rich, velvety cheese sauce that smells absolutely incredible. Now comes the best part—bringing it all together and deciding whether you’re going for a creamy stovetop version or the golden-baked finish.
I’ve tried both ways, and honestly? You can’t go wrong either way. The stovetop version is outrageously creamy and indulgent. But if you’re like me and love a little texture on top, the oven-baked finish gives it that crispy, cheesy layer that’s just chef’s kiss. Let’s walk through both options so you can pick your favorite.
STEP 5: Combine the Pasta and Cheese Sauce
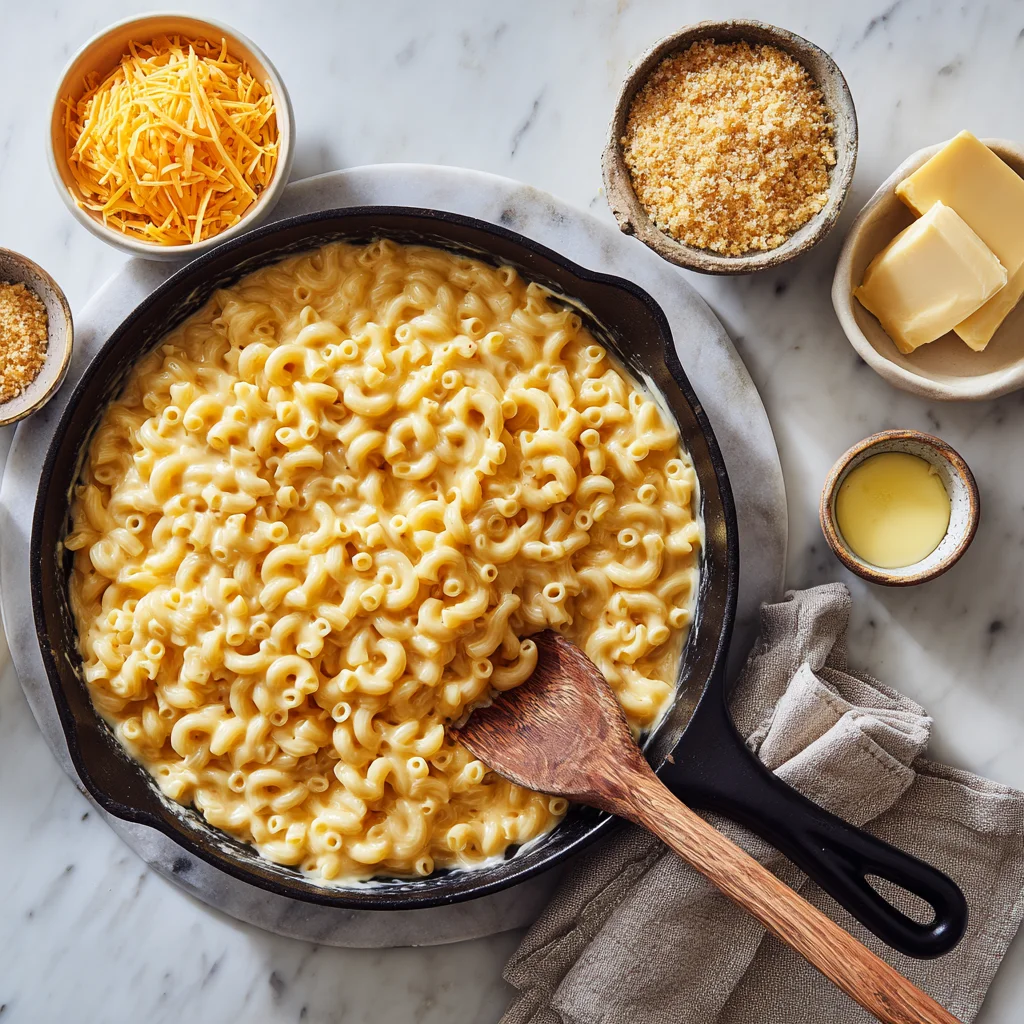
Grab that cooked elbow macaroni and gently stir it into your cheese sauce. Make sure every piece of pasta is coated—you want that sauce to reach every nook and cranny. Don’t be afraid to take your time here. It’s the step that turns two separate parts into one epic dish.
At this stage, you technically have a finished mac & cheese that’s rich, creamy, and totally ready to devour. If you’re not planning to bake it, go ahead and serve it straight from the pot. It’s ultra-smooth and perfect for those who love a melt-in-your-mouth, gooey experience.
STEP 6: Prepare the Topping (If Baking)
If you’re opting for the baked version—and honestly, it’s hard to resist—this is where you add that gorgeous golden finish.
In a small bowl, mix:
1 cup shredded cheddar
½ cup panko breadcrumbs
1 tablespoon melted butter
The cheddar adds that cheesy punch, while the panko gives you that crispy bite on top. The melted butter helps everything toast up beautifully.
STEP 7: Assemble and Bake
Preheat your oven to 375°F if you haven’t already.
Grease a baking dish (9×13 works well), then pour in the mac & cheese. Use a spatula to spread it evenly across the dish. Sprinkle the breadcrumb and cheese topping evenly over the surface.
Pop it into the oven and bake uncovered for 20–25 minutes, or until the top is golden brown and bubbling around the edges. Your kitchen will smell amazing, and that first spoonful? Totally worth the wait.
Tips to Take This Mac & Cheese to the Next Level
Whether you’re making it for a weeknight dinner or showing off at a holiday potluck, here are a few ways to customize and elevate your mac & cheese:
1. Mix Up the Cheeses:
Don’t be afraid to switch things up. Smoked gouda, fontina, or even a sharp white cheddar can add interesting depth. Tini’s original mix is a great base, but feel free to experiment!
2. Spice It Up:
Want a little kick? Add a pinch of cayenne pepper, smoked paprika, or even a few dashes of hot sauce to the cheese sauce. It adds warmth without overpowering the creamy flavor.
3. Add Protein or Veggies:
This recipe makes a killer base for mix-ins. Try tossing in cooked bacon bits, pulled chicken, or sautéed mushrooms. Roasted broccoli or spinach can also make it feel a little more balanced—if you’re into that sort of thing.
4. Make It Ahead:
Hosting a party or prepping for the holidays? You can assemble the mac & cheese ahead of time. Just cover it tightly and refrigerate. When you’re ready to bake, let it come to room temperature and add a splash of milk before baking to help rehydrate the sauce.
5. Skip the Bake for Extra Creaminess:
If you’re all about that saucy, creamy texture, serve it straight from the stovetop. It’s quick, rich, and ridiculously good—especially with an extra sprinkle of cheese on top.
Tini’s Viral Mac & Cheese: The Ultimate Comfort Food You’ll Crave Every Time
We’ve walked through the steps, stirred up that dreamy cheese sauce, and decided whether we’re baking or keeping it creamy on the stovetop. But before we wrap things up, let’s go over some of the most frequently asked questions about making homemade mac & cheese. Whether you’re a beginner or a seasoned home cook, these tips can make all the difference in getting it just right.
Frequently Asked Questions About Tini’s Viral Mac & Cheese
1. Can I make this mac & cheese ahead of time?
Absolutely! You can fully assemble the dish—sauce, pasta, and topping—then cover it tightly and refrigerate it for up to 24 hours before baking. When you’re ready to bake, let it sit out at room temperature for about 20–30 minutes and add a splash of milk before reheating to loosen up the sauce.
2. What’s the best cheese combination?
Tini’s original combo of sharp cheddar, mozzarella, and Colby Jack is hard to beat for flavor and meltiness. But you can mix it up with smoked gouda, gruyère, Monterey Jack, or even a touch of cream cheese for added richness. Just avoid pre-shredded cheese if you can—block cheese melts better and gives a smoother texture.
3. Do I have to bake it?
Nope! If you’re short on time or just prefer a super creamy texture, skip the oven entirely. After mixing the pasta with the cheese sauce, serve it straight from the stovetop. It’s rich, melty, and incredibly satisfying.
4. Why is my cheese sauce grainy or clumpy?
This usually happens when the sauce gets too hot or the cheese is added too quickly. Make sure to lower the heat before adding the cheese and stir constantly. Using freshly shredded cheese (not the bagged kind) also helps prevent a grainy texture.
5. Can I use other types of pasta?
Yes! While elbow macaroni is the classic choice, feel free to use shells, cavatappi, rotini, or any short pasta that holds sauce well. Just be sure to cook it al dente so it doesn’t get mushy, especially if baking.
6. How can I make this dish spicier?
Add a pinch of cayenne pepper, a few dashes of hot sauce, or even diced jalapeños into the cheese sauce. Just be sure to taste as you go—it’s easy to go from flavorful to fiery.
7. What should I serve with mac & cheese?
It pairs beautifully with BBQ meats, fried chicken, or even a crisp green salad if you’re going for balance. It also makes a great potluck or holiday side dish—just don’t expect leftovers.
Final Thoughts: Why You’ll Keep Coming Back to This Recipe
There’s something special about a dish that’s simple, nostalgic, and still manages to wow a crowd—and Tini’s Viral Mac & Cheese checks every one of those boxes. It’s cozy and familiar, yet indulgent enough to feel like a treat. That thick, luscious cheese sauce? It clings to the pasta just right. The crispy topping (if you go the baked route)? Totally addictive.
Whether you’re making it for a lazy Sunday dinner, a holiday side, or just because you need some comfort food ASAP, this recipe delivers every single time. And the best part? It’s flexible. You can adjust the cheese blend, skip the bake, or throw in some extras to make it your own. Once you’ve made it once, don’t be surprised if it becomes a regular in your rotation.
If you do try it out, I’d love to hear how it went. Did you stick to the original, or add your own twist? Drop your comments, share your photos, and let’s keep the mac & cheese love going strong. Because honestly—can you ever really have too much cheese?
Print
Tini’s Viral Mac & Cheese
- Author: Andrew Recipes
Description
This ultra-creamy, cheesy mac & cheese recipe has taken the internet by storm—thanks to Tini’s bold blend of rich cheeses, buttery roux, and perfectly cooked pasta. It’s the kind of comfort food that hits every craving just right: melty, smooth, and packed with flavor. Whether you’re making it for a cozy night in or bringing it to a potluck, this version of mac & cheese is guaranteed to impress.
Ingredients
For the pasta:
16 oz elbow macaroni
Water for boiling
Salt for pasta water
For the cheese sauce:
4 tbsp unsalted butter
4 tbsp all-purpose flour
3 cups whole milk
1 cup heavy cream
2 cups sharp cheddar cheese, shredded
1 cup mozzarella cheese, shredded
1 cup Colby Jack cheese, shredded
1 tsp garlic powder
1 tsp onion powder
Salt and pepper to taste
For the topping (optional):
1 cup shredded cheddar
½ cup panko breadcrumbs
1 tbsp melted butter
Instructions
Preheat your oven to 375°F if baking.
Boil a large pot of salted water and cook the elbow macaroni until just al dente. Drain and set aside.
In a large saucepan, melt butter over medium heat. Once melted, whisk in the flour to form a roux. Cook for 1-2 minutes to eliminate the raw flour taste.
Gradually whisk in the milk and heavy cream, stirring constantly to avoid lumps. Bring the mixture to a simmer until slightly thickened.
Reduce heat to low and stir in the garlic powder, onion powder, and all shredded cheeses. Mix until completely melted and smooth. Season with salt and pepper to taste.
Add the cooked macaroni to the cheese sauce and stir until evenly coated.
If baking, pour the mac & cheese into a buttered baking dish. In a small bowl, mix the shredded cheddar, panko breadcrumbs, and melted butter, then sprinkle over the top.
Bake uncovered for 20-25 minutes or until golden and bubbling on top. Serve hot.
Notes
For extra depth of flavor, try using smoked cheddar or adding a pinch of cayenne pepper. This dish is just as delicious unbaked if you prefer ultra-creamy stovetop mac & cheese. If making ahead, cover tightly and reheat with a splash of milk to loosen the sauce.

