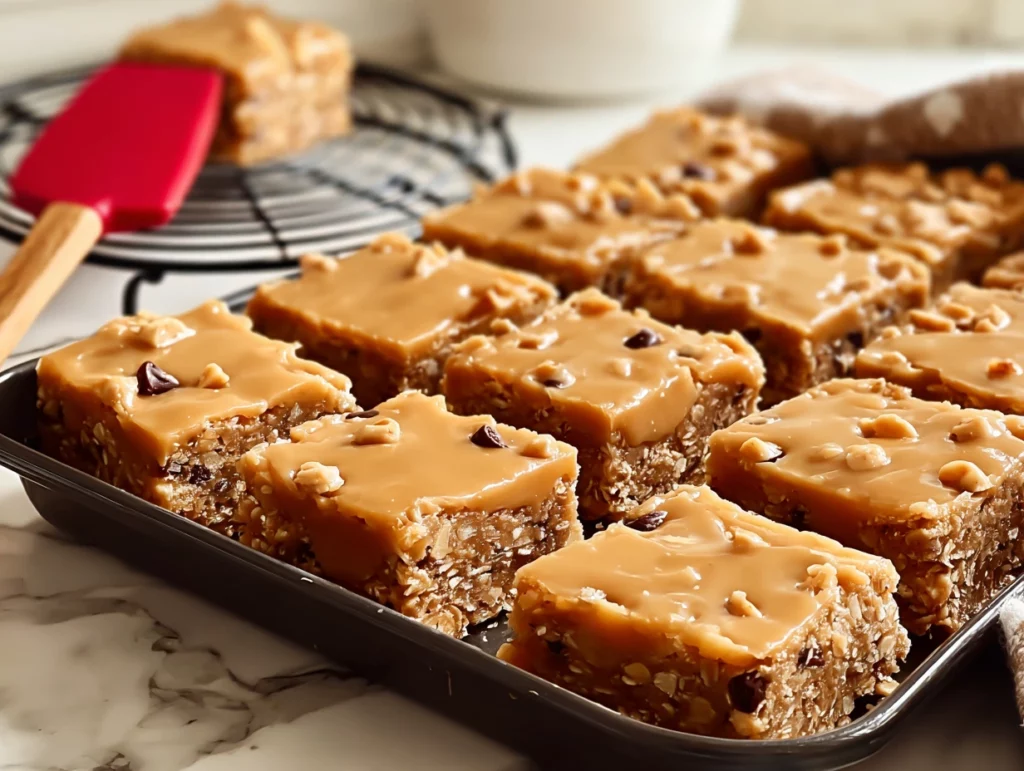
There’s something magical about a dessert that feels like it came straight out of your childhood kitchen—and these Butterscotch Peanut Butter Bars check all the boxes. Soft, sweet, chewy, and absolutely brimming with peanut butter flavor, they’re the kind of treat you’ll want to make on repeat. Inspired by Trisha Yearwood’s cozy Southern baking style, these bars bring that homespun charm right to your countertop.
I first tried these at a neighbor’s holiday cookie swap, and I’ll be honest—I wasn’t expecting much beyond your usual oatmeal-peanut butter combo. But one bite of that chewy base and sweet butterscotch topping, and I was completely hooked. The glaze alone had me going back for seconds (okay, thirds). That warm, nutty flavor, the melt-in-your-mouth texture… it’s basically comfort in dessert form.
These bars are perfect for potlucks, after-school snacks, or those lazy Sunday baking sessions when you just want something sweet and satisfying without a ton of effort. And let me tell you—your kitchen will smell incredible while they’re baking.
Let’s get started and walk through how to make these nostalgic, buttery bars that taste like a warm hug.

STEP 1: PREP THAT PAN AND PREHEAT
First things first, preheat your oven to 350°F. You’ll want to grab a 9×13-inch baking pan and grease it generously with butter. This not only helps the bars release cleanly after baking but also adds a little extra richness to the bottom crust. Don’t skip this step—even if you’re using a nonstick pan.
STEP 2: CREAMY GOODNESS BEGINS
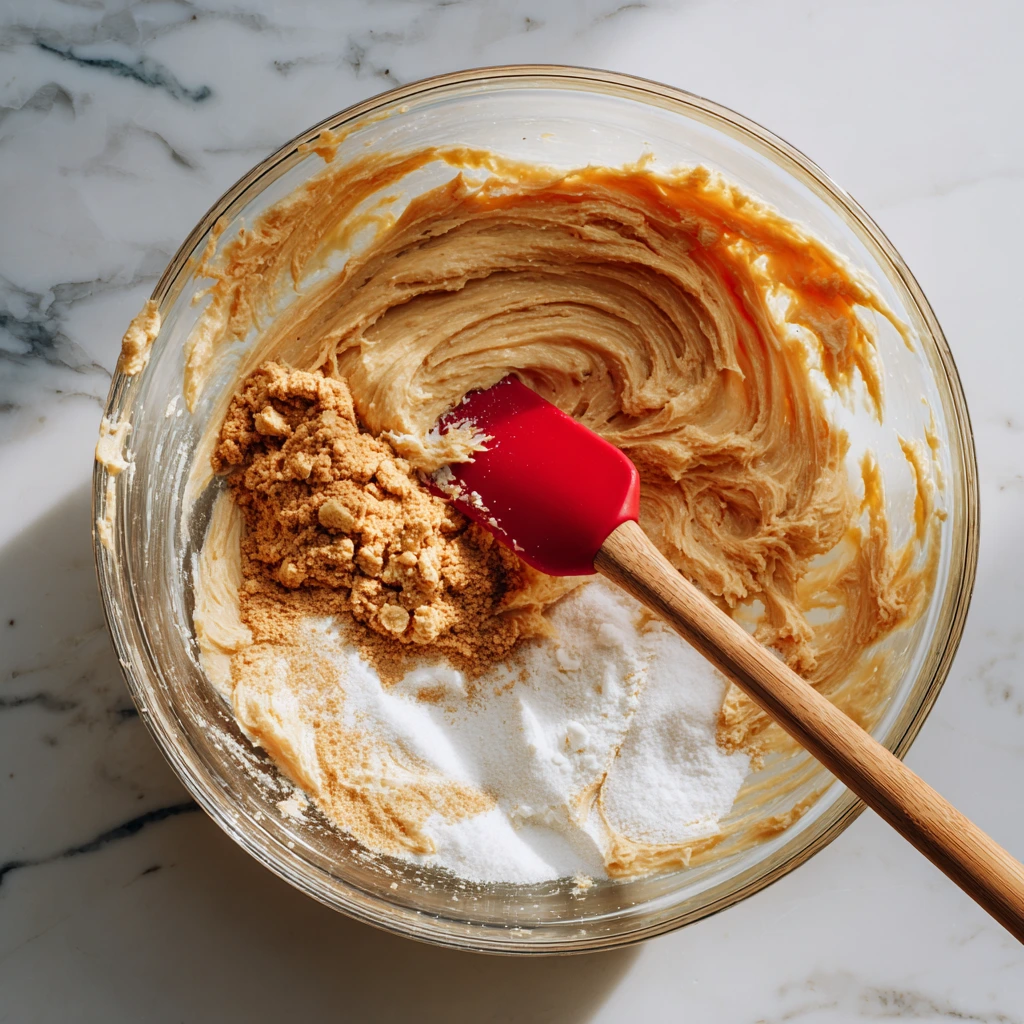
In a large mixing bowl, beat together one stick of room temperature butter with both sugars (that’s 1/2 cup granulated and 1/2 cup packed brown sugar). Add in 1/2 cup of creamy peanut butter. You’re going for a soft, whipped texture here—smooth and fluffy, but not overly airy. This step lays the foundation for a chewy, moist bar.
The combination of brown sugar and peanut butter is where that signature soft texture comes from. The molasses in the brown sugar adds moisture, while the peanut butter gives it richness and that classic nutty flavor.
STEP 3: ADD IN THE GOOD STUFF
Next, crack in one large egg and pour in a teaspoon of vanilla extract. Beat everything together until smooth. You’ll notice the batter thickening slightly and becoming more cohesive.
This is when the kitchen starts smelling a little extra inviting, thanks to that vanilla meeting the warm peanut butter aroma.
STEP 4: BRING IN THE DRY INGREDIENTS
In a separate bowl, sift together 1 cup of all-purpose flour, 1 teaspoon of baking soda, and 1/4 teaspoon of salt. Stir in 1/2 cup of quick-cooking oats.
Quick note here: quick oats are important for this recipe. They provide just enough chew without overwhelming the soft texture of the bars. If you only have old-fashioned oats, you can pulse them a few times in a food processor to break them down a bit.
Add the dry ingredients to your peanut butter mixture and stir until everything is just combined. Don’t overmix—you want the batter to stay tender.
STEP 5: SPREAD AND SPRINKLE
Now it’s time to bring everything together. Spread the batter evenly into your prepared baking pan. It’s a thick, sticky dough, so you might want to use an offset spatula or the back of a spoon to smooth it out.
Once the batter is nice and even, sprinkle one cup of butterscotch chips across the top. Don’t press them down—just let them sit on top. They’ll melt slightly during baking and settle into the surface just right.
At this point, your bars are ready for the oven. Pop the pan in and bake for 20 to 25 minutes, or until the edges turn a light golden brown. You’re not looking for a hard set here—remember, these bars will continue to cook slightly as they cool, so a slightly soft center is perfect.

Glaze, Tips & Finishing Touches
If the base of these bars brings the chewy, peanut-buttery comfort we all love, then the glaze is what truly makes them memorable. It’s smooth, sweet, and rich with just enough peanut butter to pull everything together without being overpowering. And the best part? It’s incredibly easy to make. Just three ingredients and a quick whisk, and you’ve got yourself the finishing layer that ties the whole dessert together.
Once you’ve pulled your bars out of the oven and they’re golden and fragrant, don’t walk away just yet. You’ll want to glaze them while they’re still warm—that’s how the magic happens.
Let’s dive back in.
STEP 6: WHIP UP THE GLAZE
While your bars are cooling slightly (but still warm), it’s time to make the glaze. In a medium bowl, combine 1 cup of powdered sugar, 4 tablespoons of milk, and 1/4 cup of creamy peanut butter. Whisk everything together until smooth.
The texture should be pourable but not too runny. You want it thick enough to hold its shape when drizzled, but thin enough to spread on its own as it settles over the warm bars.
If your glaze feels a bit too thick, add just a splash more milk. If it’s too thin, a little extra powdered sugar will fix it. This isn’t fussy baking—just adjust as needed until it looks right.
STEP 7: DRIZZLE AND COOL
Now for the fun part. Drizzle the glaze all over the warm bars. You can go back and forth with a spoon or even pour it from a measuring cup for more control. As it hits the warmth of the freshly baked base, the glaze will start to melt slightly and seep into all the nooks and crannies.
Let the pan sit at room temperature until completely cool. This is the hardest part—waiting—but it’s important. Slicing while still warm will make the bars too soft and sticky, and they’ll lose their clean edges.
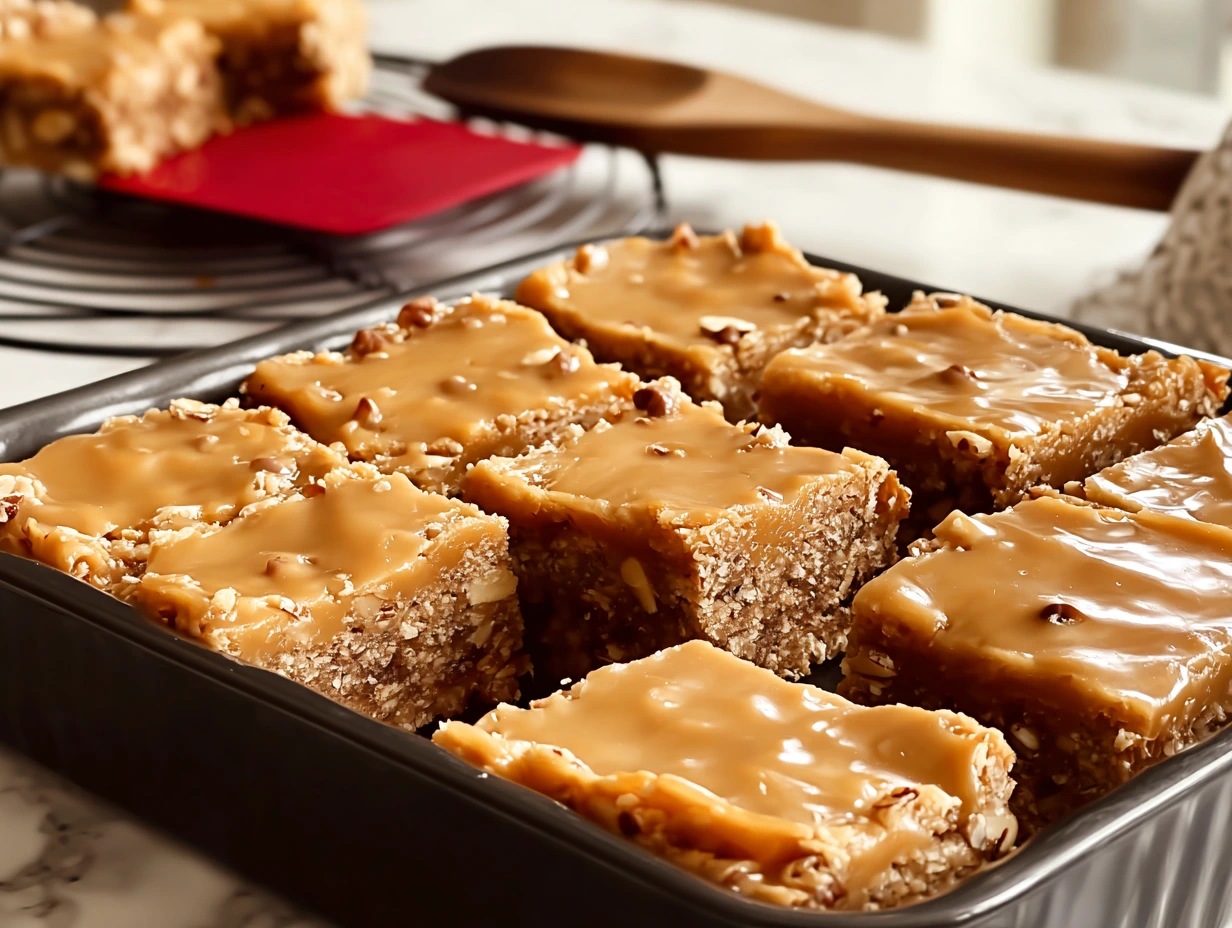
Once they’re fully cooled and the glaze is set, go ahead and cut them into squares or rectangles, depending on how generous you’re feeling. They’re rich, so smaller pieces go a long way—but no one ever complains if you cut them a little bigger.
BAKING TIPS AND VARIATIONS
Now that you’ve got the basics down, here are a few tips and little twists to make this recipe your own or troubleshoot if needed.
Use Room Temp Ingredients:
For the best texture, make sure your butter, egg, and peanut butter are at room temperature before you start. This helps everything mix smoothly and evenly.
Don’t Overbake:
Keep an eye on those edges. The center should still look a bit soft when you pull the bars out. Overbaking leads to dry bars that lose their chewy appeal.
Add a Crunch (Optional):
Want to add a little texture? Toss in a handful of chopped peanuts with the dry ingredients or sprinkle some on top of the glaze.
Mix Up the Chips:
Not a huge fan of butterscotch? You can absolutely swap them out for chocolate chips or even white chocolate. But if you haven’t tried the combo of butterscotch and peanut butter before, I urge you to stick with the original at least once—it’s surprisingly addictive.
Storage Tips:
These bars keep beautifully. Store them in an airtight container at room temperature for up to five days. They stay soft and chewy, and the glaze stays intact without getting sticky.
Freezer Friendly:
You can also freeze them. Just let them cool completely, slice them, and layer with parchment in an airtight container or freezer bag. When you’re ready to enjoy, let them thaw at room temperature. They’re a great make-ahead option for holiday trays or busy weeks.
FAQ and Final Thoughts
By now, you’ve seen just how simple and satisfying these Butterscotch Peanut Butter Bars are to make. With that chewy base, a sweet hint of butterscotch, and a creamy glaze to top it all off, it’s no wonder this recipe has become a repeat favorite in so many kitchens. Whether you’re baking for a family gathering or just need a sweet pick-me-up with your afternoon coffee, these bars deliver every single time.
Before we wrap things up, let’s go over some of the most common questions people have when making this recipe. These tips can help you troubleshoot and tweak the bars to fit your tastes or pantry situation.
FREQUENTLY ASKED QUESTIONS
Can I use natural peanut butter instead of regular creamy peanut butter?
You can, but keep in mind that natural peanut butter (the kind that separates and needs stirring) has a different consistency and less sugar, which might slightly affect the texture and flavor. If you do use it, make sure it’s well-mixed and smooth before adding it to the batter.
What’s the best way to tell if the bars are done baking?
Look for lightly golden edges and a set center that still looks a bit soft. The top should look matte, not glossy. Don’t wait until the whole surface looks firm—overbaking will dry them out.
Can I use old-fashioned oats instead of quick oats?
Quick oats are best because they blend smoothly into the batter and provide the right texture. If all you have are old-fashioned oats, give them a few pulses in the food processor to break them down slightly before using.
Is there a way to make these bars gluten-free?
Yes! Substitute the all-purpose flour with a 1:1 gluten-free baking flour blend and make sure your oats are certified gluten-free. The bars will still come out chewy and delicious.
How should I store the bars once they’re baked?
Keep them in an airtight container at room temperature. They’ll stay soft and flavorful for up to five days. If you need to keep them longer, freezing is a great option.
Can I double the glaze?
Absolutely. If you’re someone who loves extra sweetness or wants a thicker topping, feel free to double the glaze recipe. Just keep in mind it will be richer and more indulgent—perfect for dessert lovers.
Do these bars travel well?
They do! Once cooled and cut, they hold their shape well and won’t fall apart. Pack them in a single layer or with parchment between layers for best results when taking them to potlucks or picnics.
FINAL THOUGHTS: A Sweet, Simple Classic You’ll Make Again and Again
There’s something so comforting about a recipe like this—no fancy equipment, no obscure ingredients, and absolutely no stress. Just a few pantry staples, one bowl, and a whole lot of flavor. That’s why I love making these Butterscotch Peanut Butter Bars whenever I need a guaranteed crowd-pleaser.
They strike that perfect balance between nostalgic and satisfying, with their soft oatmeal base, warm peanut butter notes, and the sweet finish of butterscotch chips and creamy glaze. Every time I make them, someone asks for the recipe—and now it’s yours to enjoy too.
Print
Trisha Yearwood’s Butterscotch Peanut Butter Bars
- Author: Andrew Recipes
Description
These dessert bars are rich and nostalgic, blending creamy peanut butter with chewy oats and sweet butterscotch chips, finished with a smooth peanut-butter-glaze. The soft, buttery base and sweet topping make them irresistibly comforting, whether for a casual gathering, lunchbox treat, or afternoon indulgence.
Ingredients
For the base
1/2 cup (1 stick) butter, room temperature, plus extra for greasing the pan
1/2 cup granulated sugar
1/2 cup packed brown sugar
1/2 cup creamy peanut butter, plus an additional 1/4 cup for the glaze
1 large egg
1 teaspoon vanilla extract
1 cup all‑purpose flour
1 teaspoon baking soda
1/4 teaspoon salt
1/2 cup quick‑cooking oatmeal
1 cup butterscotch chips
For the glaze
1 cup powdered sugar
4 tablespoons milk
1/4 cup creamy peanut butter
Instructions
Preheat the oven to 350°F and grease a 9×13‑inch baking pan with butter
Cream together the softened butter, granulated sugar, brown sugar, and 1/2 cup peanut butter until smooth
Mix in the egg and vanilla until fully incorporated
Sift together flour, baking soda, and salt; stir in the quick‑cooking oatmeal
Fold the dry ingredients into the creamed mixture until well combined
Spread the batter evenly in the prepared pan; sprinkle the butterscotch chips over the top
Bake for 20 to 25 minutes, until the edges are golden brown
While the bars are still warm, whisk together powdered sugar, milk, and the remaining 1/4 cup peanut butter until smooth, then drizzle the glaze over the bars
Let cool completely before slicing into squares
Notes
These bars balance chewy oats, creamy peanut butter, and sweet butterscotch in every bite. The glaze adds an extra layer of sweetness and richness. For easier cleanup, line the pan with parchment paper. Store cooled bars in an airtight container at room temperature for up to 3 days, or refrigerate for longer freshness. Leftovers can also be frozen—wrap individual bars in plastic and thaw as needed.

