
There’s something incredibly comforting about a good tuna melt. That warm, cheesy, savory goodness sandwiched between slices of bread? It’s nostalgic, quick to whip up, and always hits the spot. But what if you could take everything you love about a tuna melt and turn it into something a little more versatile, a little more snackable, and just a bit more fun?
That’s where these Tuna Melt Patties come in. Think of them as a cross between a savory fritter and your favorite classic sandwich. They’re crispy on the outside, tender and cheesy on the inside, and packed with all those familiar flavors—tuna, sharp cheddar, a touch of Dijon, and a little green onion zing. I’ve made these for lunch on busy weekdays, as a quick protein option after school for the kids, and even for a casual weekend brunch served over greens with a squeeze of lemon.
And the best part? They come together in just 20 minutes. You can make a batch ahead of time, freeze a few for later, and enjoy them however you like—plain, dipped in sauce, on a bun, or tucked into a salad. They’re endlessly adaptable and incredibly satisfying.
Let’s dive right in and start cooking!

Ingredients You’ll Need
2 cans (5 oz each) tuna in water, drained
1 cup shredded cheddar cheese
½ cup breadcrumbs (plus more for coating, if desired)
2 eggs
2 tbsp mayonnaise
1 tbsp Dijon mustard
2 green onions, finely chopped
½ tsp garlic powder
Salt and black pepper to taste
1 tbsp olive oil or butter (for pan-frying)
STEP 1: Mix It All Together
In a large mixing bowl, add the drained tuna. I usually break it up a little with a fork before adding the rest of the ingredients—it helps everything mix more evenly. Add the shredded cheddar, breadcrumbs, eggs, mayonnaise, Dijon mustard, green onions, garlic powder, and a generous pinch of both salt and black pepper.
Now, this is where the magic starts. Use a spoon or clean hands (I prefer hands for this step—it’s easier and oddly satisfying) and combine everything until it forms a well-blended, sticky mixture. You want it to hold together easily but not be overly wet.
If the mixture seems too soft, just sprinkle in a few extra breadcrumbs until it firms up.
STEP 2: Shape Your Patties
Once your mixture is ready, use your hands to shape it into patties. I usually get about 6 to 8 patties from one batch, depending on how big I make them. Aim for about a ½-inch thickness so they cook evenly and hold together nicely.
If you’re after a little extra crunch—and honestly, why not?—you can lightly coat each patty in a bit more breadcrumbs before frying. Just press them gently into a shallow dish of crumbs and set them aside on a plate.
You can also pop them in the fridge at this point if you want to prep them ahead of time. A quick 20-30 minute chill helps them firm up and makes them even easier to cook later on.

STEP 3: Let’s Get Cooking
Heat a tablespoon of olive oil or butter in a large nonstick skillet over medium heat. When the pan is hot, add the patties in batches, making sure not to crowd the pan.
Cook for 3 to 4 minutes on each side, until they’re golden brown and cooked through. You’ll know they’re ready when the outside has that beautiful golden crust and the insides are melty and tender.
Once cooked, transfer them to a plate lined with paper towels to absorb any excess oil.
Serving Ideas, Variations & Next-Level Tips for Your Tuna Melt Patties
Now that you’ve got your golden, crispy Tuna Melt Patties cooked and ready to go, let’s talk about how to serve them, how to mix up the flavors, and how to store them for future meals. I love how incredibly flexible this recipe is—it really does check all the boxes for a busy home cook. Whether you’re making lunch for yourself, prepping snacks for the week, or putting together a quick dinner that doesn’t feel boring, these patties deliver.
You can keep it simple and serve them just as they are—warm, cheesy, and straight from the skillet—or you can build on them for a full meal. I’ve served them in sandwich form, over greens with a drizzle of dressing, and even tucked into wraps with a few pickled veggies. Let’s walk through the final steps and some fun ways to take these patties from great to next level.
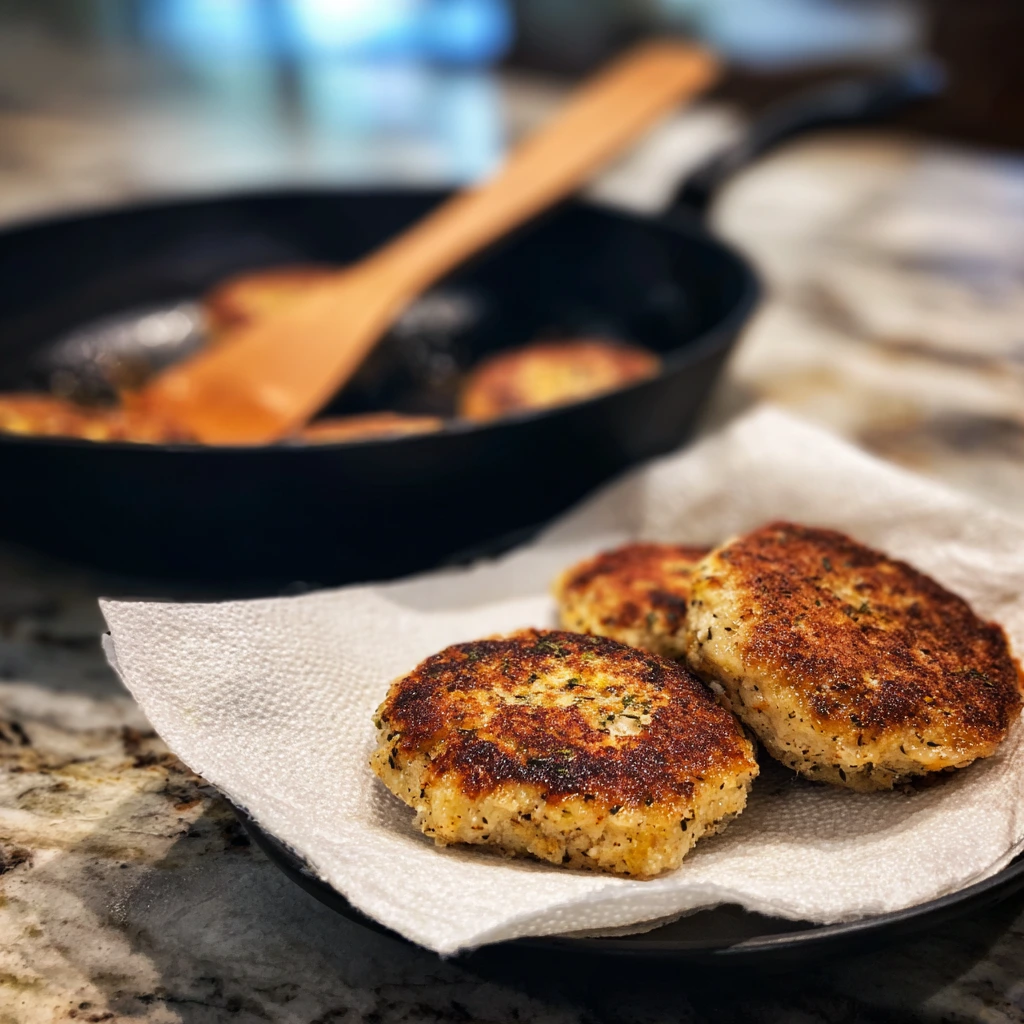
STEP 4: Serve ‘Em Up
Once your patties are pan-fried and ready, it’s time to get creative with how you serve them.
Here are a few favorite serving ideas:
Classic Style: Serve them on their own with a side of tartar sauce or a quick squeeze of lemon. Add some pickles or coleslaw for a complete plate.
Sandwich Version: Slide a patty into a toasted bun with lettuce, tomato, and a slice of cheddar for a next-level tuna melt sandwich.
Light & Fresh: Place a patty over a bed of fresh greens, drizzle with olive oil and lemon juice, and add a few cherry tomatoes. It’s light, filling, and satisfying.
Wrap It Up: Roll a patty into a tortilla with some shredded lettuce, sliced cucumber, and a creamy dressing or yogurt sauce.
No matter how you serve them, they’re guaranteed to be a hit. These patties are kid-approved in my house, and I love that they pack in protein without needing a lot of extra fuss.
Tips for Success
These patties are simple, but a few small tricks will make sure they turn out perfect every time.
Don’t skip the breadcrumbs.
They’re what give these patties structure and that lovely crispy exterior. If you’re using extra breadcrumbs to coat them before frying, just be gentle when flipping so they don’t break apart.
Use a good-quality tuna.
Since tuna is the star here, go for a solid or chunk light tuna in water for best texture. Drain it well to avoid a soggy mix.
Let them chill (optional, but helpful).
If you have a bit of extra time, pop the shaped patties into the fridge for about 20 minutes before cooking. It helps them firm up and makes flipping a breeze.
Cheese swap options.
Cheddar gives you that classic tuna melt flavor, but feel free to switch it up! Swiss, mozzarella, Monterey Jack, or even pepper jack all work beautifully depending on the flavor profile you’re going for.
Add-ins for extra texture.
Feel like adding a little crunch? Diced celery or red bell pepper adds freshness and a pop of color. You could even throw in a few capers or chopped pickles if you’re a fan of briny flavor.
How to Make These Freezer-Friendly
One of my favorite things about this recipe is how well it freezes. Here’s how to do it:
Shape your patties as directed.
Place them on a baking sheet lined with parchment paper and freeze until firm (about 1-2 hours).
Transfer to a zip-top bag or airtight container and store for up to 2 months.
When you’re ready to cook them, there’s no need to thaw. Just cook straight from frozen—add a couple of extra minutes per side in the skillet, and they’re good to go. That makes these a total win for meal prep and last-minute dinners.

Flavor Variations to Try
Want to put your own spin on this recipe? Here are a few ideas to inspire your next batch:
Spicy Kick: Add a dash of cayenne, a spoonful of hot sauce, or use pepper jack cheese.
Herby Vibes: Add fresh dill, parsley, or chives to the mix for extra brightness.
Mediterranean Style: Swap cheddar for feta, and stir in a few chopped olives and sun-dried tomatoes.
Low-Carb Version: Skip the breadcrumbs and use almond flour or crushed pork rinds as a binder.
These little tweaks can keep things interesting if you find yourself making these patties often (which, let’s be honest, you probably will!).
Tuna Melt Patties FAQ + Final Thoughts
By now, you’re probably already picturing these golden, cheesy Tuna Melt Patties sizzling in your skillet and wondering just how many ways you can serve them. Before we wrap things up, let’s cover a few of the most common questions I get about this recipe. Whether you’re trying to keep them from falling apart or wondering what to serve on the side, I’ve got you covered.
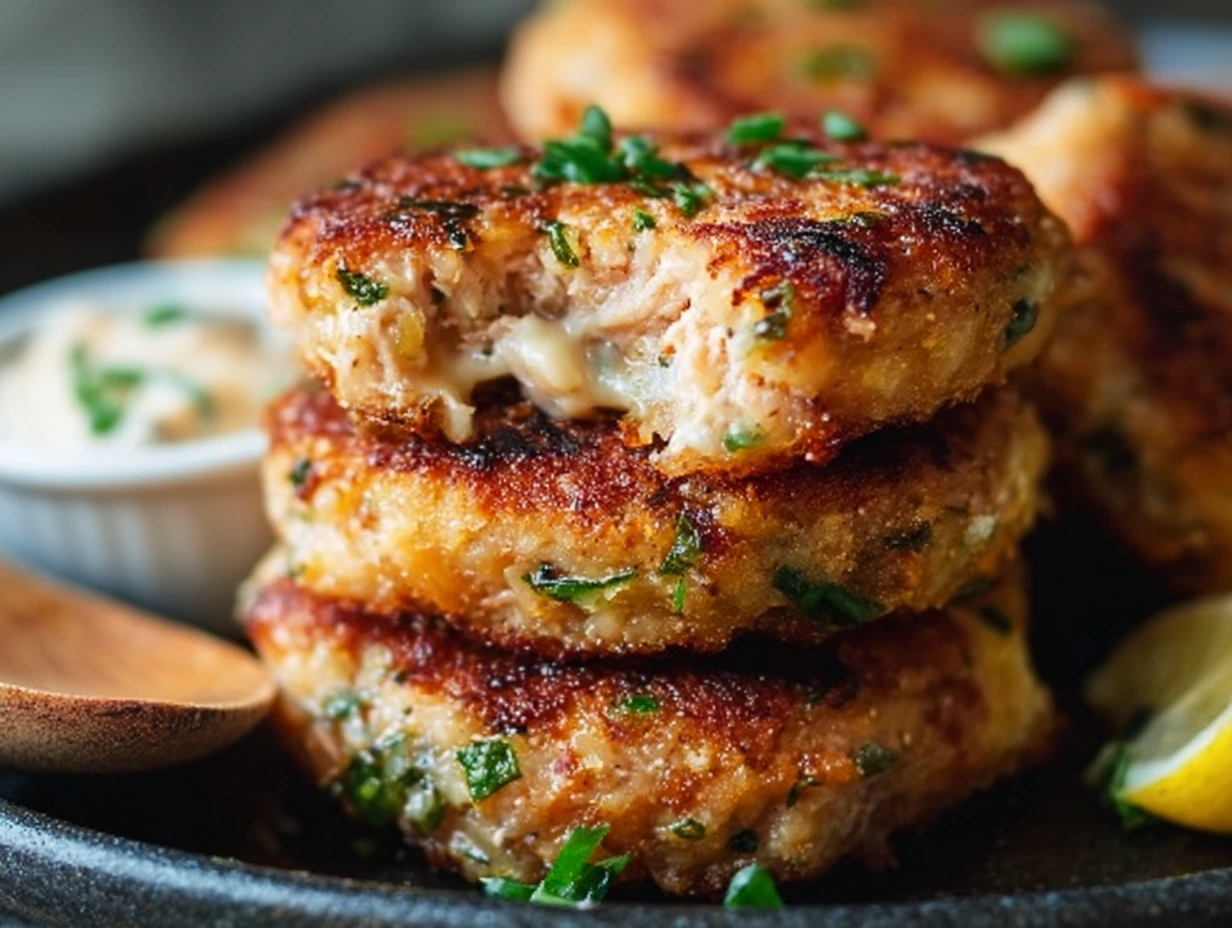
Frequently Asked Questions
1. How do I keep the patties from falling apart during cooking?
If your patties are falling apart, the mixture may be too wet or too dry. Make sure the tuna is well-drained, and if needed, adjust by adding a bit more breadcrumbs to help bind everything together. Also, chilling the shaped patties in the fridge for 20–30 minutes before frying can really help them hold their shape.
2. Can I bake these instead of frying?
Yes! For a lighter option, you can bake the patties. Preheat your oven to 400°F (200°C), place the patties on a parchment-lined baking sheet, and lightly spray or brush them with oil. Bake for 10–12 minutes per side or until golden and cooked through.
3. Can I use canned tuna in oil instead of water-packed tuna?
You can use tuna in oil, but be sure to drain it very well before mixing. Oil-packed tuna tends to be richer and can change the texture slightly, but it still works great.
4. What can I serve with these patties to make a full meal?
Tuna Melt Patties go well with a variety of sides. Try serving them with:
A crisp green salad
Roasted or steamed veggies
Coleslaw
Sweet potato fries
Rice or couscous
A bun and toppings for a sandwich-style meal
5. Are these patties gluten-free?
As written, they’re not gluten-free due to the breadcrumbs. However, you can easily swap in gluten-free breadcrumbs or crushed gluten-free crackers to make them suitable for gluten-sensitive eaters.
6. Can I make the patties ahead of time?
Absolutely. You can prep and shape the patties ahead of time, store them in the fridge for up to 24 hours before cooking, or freeze them for longer storage. They reheat beautifully and are perfect for meal prep.
7. What’s the best way to reheat leftovers?
Reheat leftover patties in a skillet over medium heat for a few minutes per side to maintain their crispiness. You can also pop them in the oven or air fryer at 350°F (175°C) for about 8–10 minutes. Microwaving works too, though the texture will be softer.
Final Thoughts: Why You’ll Keep Coming Back to These Tuna Melt Patties
I’ve made a lot of easy meals over the years, but these Tuna Melt Patties have earned a permanent spot in my weeknight dinner rotation. They’re just so flexible—you can make them with pantry staples, dress them up or down depending on what you’re in the mood for, and they come together in 20 minutes flat. It really doesn’t get more convenient (or satisfying) than that.
I also love that they’re just as good the next day. I’ve tucked them into lunchboxes, crumbled them over salads, and reheated them for a quick dinner with zero complaints from the family. They freeze well, reheat well, and taste like comfort food every time.
Print
Tuna Melt Patties Recipe
- Author: Andrew Recipes
Description
These Tuna Melt Patties are a delicious twist on the classic sandwich—crispy on the outside, tender and cheesy on the inside. Packed with tuna, sharp cheddar, and simple seasonings, they’re perfect for quick lunches, easy dinners, or make-ahead snacks.
Ingredients
2 cans (5 oz each) tuna in water, drained
1 cup shredded cheddar cheese
½ cup breadcrumbs (plus more for coating, if desired)
2 eggs
2 tbsp mayonnaise
1 tbsp Dijon mustard
2 green onions, finely chopped
½ tsp garlic powder
Salt and black pepper to taste
1 tbsp olive oil or butter (for pan-frying)
Instructions
1 In a mixing bowl, combine the drained tuna, cheddar cheese, breadcrumbs, eggs, mayonnaise, mustard, green onions, garlic powder, salt, and pepper. Mix until fully combined.
2 Shape the mixture into 6 to 8 patties, about ½ inch thick. If desired, coat each patty lightly in extra breadcrumbs for a crispier texture.
3 Heat olive oil or butter in a nonstick skillet over medium heat. Cook the patties in batches for 3 to 4 minutes per side, or until golden brown and heated through.
4 Remove from pan and drain briefly on paper towels if needed.
5 Serve hot on their own, in a sandwich, or over greens with a drizzle of lemon juice or tartar sauce.
Notes
These patties are freezer-friendly—just shape, freeze on a tray, and store in a zip-top bag. Add chopped celery or bell pepper for extra crunch. You can swap cheddar for Swiss or mozzarella depending on your preference. Serve with a side of pickles or a crisp coleslaw for a complete meal.

