
Lemon lovers, rejoice! If you’ve been craving a cookie that combines the tangy brightness of fresh lemons with a melt-in-your-mouth texture, then look no further. These Zesty Lemon Meltaway Cookies are just what you need to satisfy that citrus craving. The buttery, delicate cookies are infused with fresh lemon zest and juice, making each bite an explosion of flavor. The best part? They’re coated in powdered sugar, which gives them a lovely, sweet contrast to the zesty filling. It’s truly the perfect combination of light, fresh, and indulgent.
I first stumbled upon this recipe when I was looking for something simple yet sophisticated to bring to a spring gathering. I wanted something that wasn’t too heavy but still packed a punch in terms of flavor. After the first bite, I was hooked. These cookies are perfect for all sorts of occasions—whether you’re celebrating a special event, enjoying an afternoon with friends, or simply treating yourself on a cozy evening. The best part is that they’re incredibly easy to make, so anyone can whip up a batch of these little citrus wonders.
Let’s dive into the details and break down exactly how to make these irresistible lemon meltaways.
Ingredients You’ll Need
Before we start, let’s gather all the ingredients you’ll need. This recipe calls for simple pantry staples that you likely already have in your kitchen. Here’s your shopping list:
For the Cookies:
1 cup unsalted butter, softened
1/2 cup powdered sugar, sifted (plus extra for coating)
1 tsp vanilla extract
Zest of 2 lemons (about 2 tbsp)
2 tbsp fresh lemon juice
2 cups all-purpose flour
1/4 tsp salt
For the Coating:
1 cup powdered sugar, sifted (for rolling)
Now that we have everything ready, let’s move on to the fun part—making these meltaway cookies.
How to Make Zesty Lemon Meltaway Cookies
Step 1: Prep the Oven and Baking Sheet
Start by preheating your oven to 350°F (175°C). While it’s heating up, line a baking sheet with parchment paper or a silicone baking mat. This step will ensure that your cookies bake evenly and don’t stick to the pan, making cleanup a breeze.
Step 2: Cream the Butter and Sugar
In a large mixing bowl, cream together the softened butter and powdered sugar until the mixture is light, fluffy, and pale in color. This should take about 2-3 minutes with an electric mixer on medium speed. The softened butter is key here; it will help create the soft, melt-in-your-mouth texture we’re after.
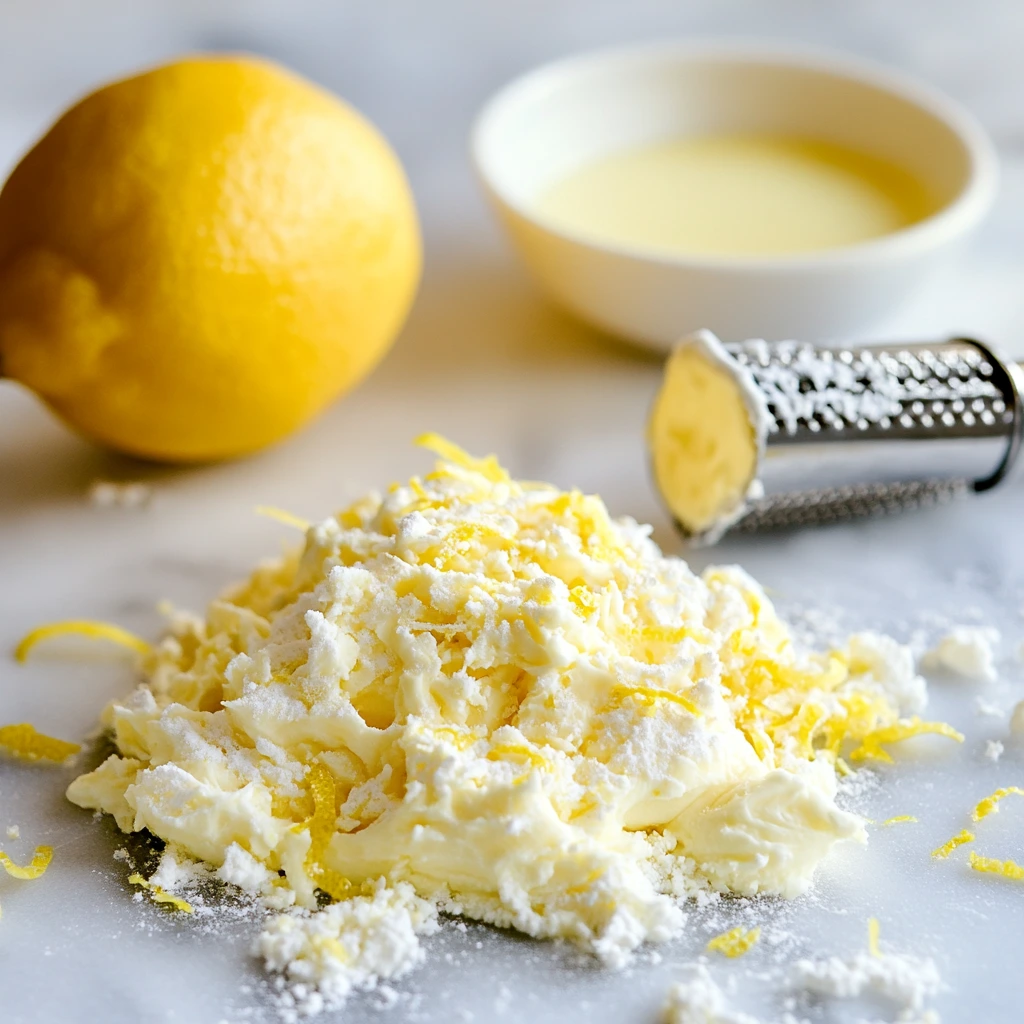
Once the butter and sugar are nicely creamed, add the vanilla extract, lemon zest, and lemon juice. Beat the mixture until everything is well combined. You’ll immediately notice the fresh lemon fragrance—it’s like a little burst of sunshine in the bowl!

Step 3: Mix the Dry Ingredients
Now, it’s time to gradually add the dry ingredients. In a separate bowl, whisk together the flour and salt. Slowly add this dry mixture to your butter and sugar blend, mixing on low speed. Be careful here—overmixing the dough could result in tough cookies, which is definitely not what we want! Just mix until the dough comes together into a soft, slightly sticky ball. It will look smooth and feel velvety to the touch.
Step 4: Shape the Cookies
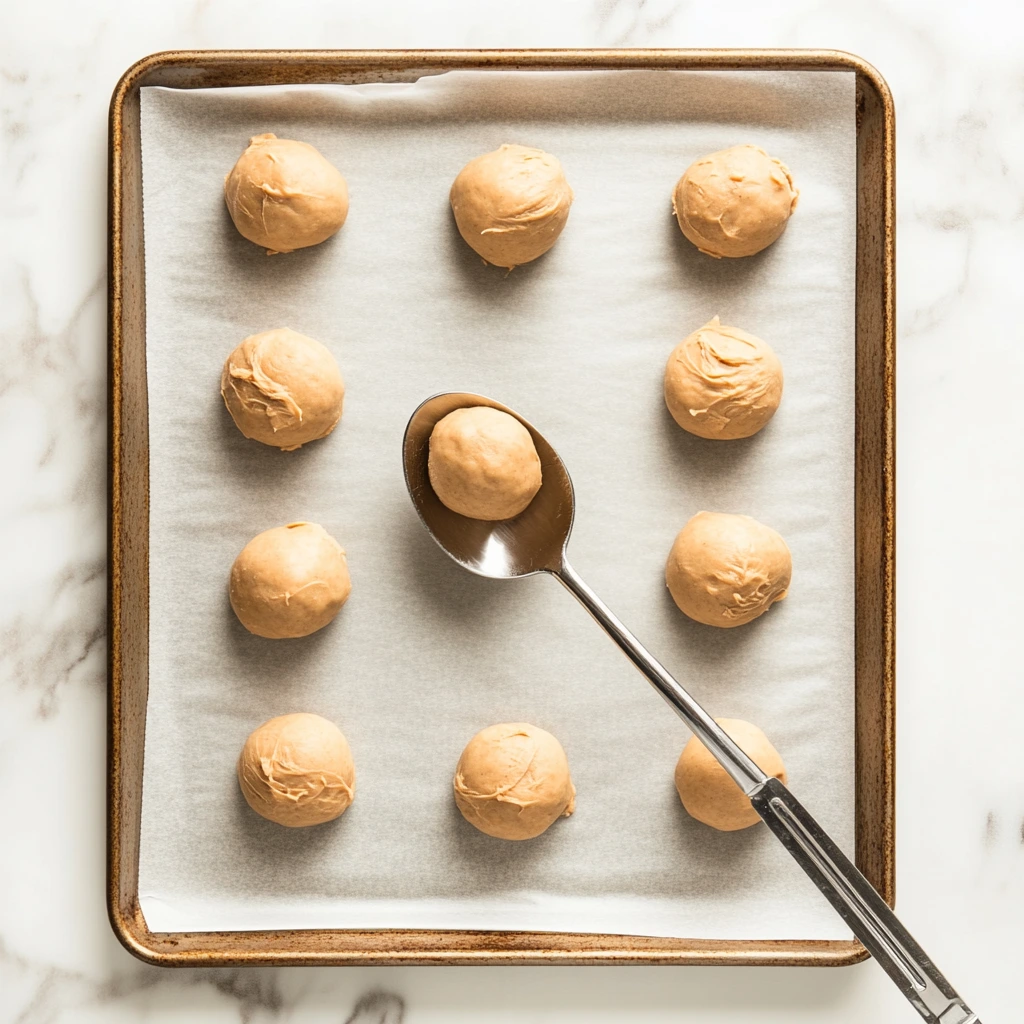
Next, grab a tablespoon and scoop out dough portions. Roll each portion into smooth balls between your palms. Don’t worry if they’re not perfectly round—these cookies have a rustic, homemade charm that we love. Place the dough balls on the prepared baking sheet, spacing them about 2 inches apart.
At this point, you can gently press down on each dough ball with the bottom of a glass or your fingers to slightly flatten them. This step is optional, but it does help the cookies bake more evenly and gives them a lovely, uniform shape.
Step 5: Bake the Cookies
Place the baking sheet in the preheated oven and bake for 10–12 minutes. Keep an eye on them because you want the edges to be lightly golden, but the centers should remain pale. The goal here is to avoid overbaking, as the cookies will firm up a little more as they cool down. Trust me, you want that soft, meltaway texture!
Once the cookies are done, let them cool on the baking sheet for about 5 minutes. This resting time will help them set up without falling apart when you transfer them to a wire rack to cool completely.
Step 6: Powdered Sugar Coating
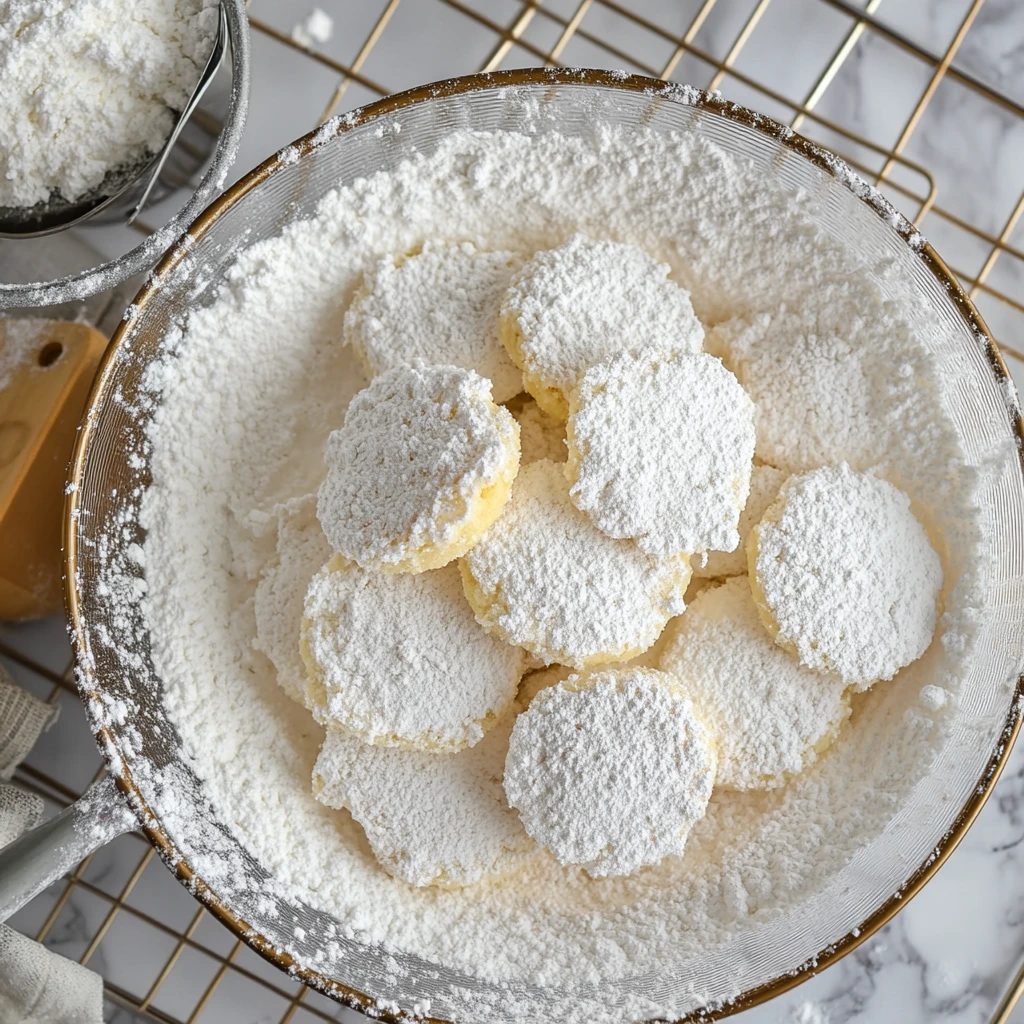
Now comes the fun part! Once the cookies have cooled, it’s time to coat them in powdered sugar. Place the sifted powdered sugar in a shallow bowl, and gently roll each cookie in the sugar until it’s fully coated. For that extra snowy finish, you can roll the cookies again just before serving. This gives them a beautiful, festive look that’s perfect for any occasion.
And there you have it! These Zesty Lemon Meltaway Cookies are ready to be devoured. With their soft, buttery texture and refreshing lemon flavor, they’re sure to be a crowd favorite. But be warned—they disappear quickly! So, if you’re making these for a gathering, you might want to double the recipe.
Tips and Tricks for Perfect Zesty Lemon Meltaway Cookies
Making Zesty Lemon Meltaway Cookies is easy, but there are a few tricks and tips to ensure they turn out as perfectly as possible every time. Whether you’re a seasoned baker or a beginner, these simple tips will help you avoid common mistakes and make your cookies even better.
Let’s dive into a few pointers that will elevate your baking game!

Choosing the Right Ingredients
The quality of your ingredients really matters when it comes to making these cookies. Here are some specific things to keep in mind:
Butter: Always use unsalted butter for this recipe. Salted butter can throw off the delicate balance of sweetness and tang. Make sure the butter is softened but not melted, as this helps create the tender, meltaway texture.
Lemon Zest and Juice: Fresh lemons are essential for the best flavor. Bottled lemon juice lacks the freshness and complexity of the real thing, so take the extra step to zest and juice your own lemons. Zesting the lemon gives the cookies that vibrant lemon fragrance and taste. You’ll need the zest of about two lemons (roughly 2 tablespoons) for this recipe, plus about 2 tablespoons of fresh lemon juice.
Powdered Sugar: For the coating, be sure to sift your powdered sugar before rolling the cookies. This will give your cookies that smooth, snowy appearance without any clumps or lumps.
Avoid Overmixing the Dough
As I mentioned in the first part, one of the most important things to remember when making these cookies is to avoid overmixing the dough. Overworking the dough will make the cookies tough instead of tender, which is definitely not what we’re going for. Mix the flour and salt in slowly and only until just combined—this will keep the dough light and delicate.
It’s tempting to keep mixing, but remember: the less you handle the dough, the softer and meltier your cookies will be. Think of it like giving them a little break before the big moment—less is more!
Shaping the Cookies
When it comes to shaping your cookies, a tablespoon or a small cookie scoop is your best friend. If you don’t have a scoop, you can easily use a spoon to portion out the dough, but a scoop helps ensure that your cookies are all the same size, so they bake evenly.
Rolling the dough into smooth balls is key to getting that meltaway texture. The less you handle the dough, the softer and more delicate they’ll be. After rolling the dough balls, gently press them down with the bottom of a glass or your fingers. This step is optional, but it does help them bake evenly and gives them a slightly flattened shape that looks elegant and homemade.
Baking Time is Crucial
The baking time for these cookies is on the shorter side, which is why it’s important to keep an eye on them. The cookies should bake for around 10-12 minutes. The edges should just start to turn light golden brown, but the centers should still remain pale.
Remember: don’t overbake! If you leave them in the oven for too long, they’ll lose that melt-in-your-mouth softness. You want them to stay tender and slightly chewy in the center, which is what makes these cookies so special.
After taking them out of the oven, allow them to cool for about 5 minutes on the baking sheet. This gives them time to firm up slightly and makes them easier to transfer to a wire rack without falling apart.
Coating in Powdered Sugar: The Final Touch
The final step in this recipe is to coat the cookies in powdered sugar, and this is what gives them that signature “meltaway” look. After the cookies cool down, roll them in the powdered sugar until they are completely coated. But here’s a pro tip: for an extra snowy effect, roll them in the sugar again just before serving. This double-coating gives them that elegant, delicate finish.
If you want to take it a step further and really amp up the lemon flavor, you can mix a little lemon zest or juice into the powdered sugar coating. This will infuse your cookies with even more citrusy goodness and add a fresh burst of flavor when you bite into them.
Customizing Your Zesty Lemon Meltaway Cookies
While these Zesty Lemon Meltaway Cookies are delightful as is, there’s always room for creativity! Here are a few ideas for customization:
Add a Glaze: If you’re looking for a bit of extra shine and sweetness, try adding a simple lemon glaze on top. Just mix powdered sugar with a bit of lemon juice and drizzle it over the cooled cookies for a glossy, tangy finish.
Swap the Lemon for Other Citrus: While lemon is the star of the show here, you could easily switch things up and use other citrus fruits like lime or orange. Just swap out the lemon zest and juice for the same amount of lime or orange zest and juice, and you’ll have a whole new twist on this meltaway cookie recipe.
Infuse with Herbs: For a more complex flavor, consider adding a bit of fresh rosemary or thyme to the dough. A teaspoon of finely chopped herbs can complement the citrus flavor in a unique way and make your cookies stand out at a gathering.
Make Them Smaller or Larger: These cookies are very versatile when it comes to size. If you want bite-sized treats, roll the dough into smaller balls and bake for about 8-10 minutes. Alternatively, you can make larger cookies for a more substantial snack—just increase the baking time by a couple of minutes.
Troubleshooting: What to Do If Something Goes Wrong
Even with the best of intentions, things don’t always go as planned. If you run into issues, don’t worry! Here are a few common baking problems and how to fix them:
Cookies Spread Too Much: If your cookies spread too thin during baking, it might be because the dough was too warm when you placed them on the baking sheet. Try chilling the dough in the fridge for 15-30 minutes before baking to prevent excess spreading.
Cookies Are Too Tough: Overmixing is usually the culprit here. Remember to mix only until the dough comes together. If your dough is too tough, try adding a teaspoon or two of milk to loosen it up, but avoid overworking it.
Cookies Don’t Hold Their Shape: If your cookies spread too much, it could be that the dough was too soft. Next time, refrigerate the dough for a bit before baking. Chilling the dough helps it keep its shape as it bakes.
FAQ: Everything You Need to Know About Zesty Lemon Meltaway Cookies
As with any new recipe, you may have a few lingering questions. Don’t worry, I’ve got you covered! Below, I’ve compiled some of the most common questions about making Zesty Lemon Meltaway Cookies along with their answers. This should help clarify any uncertainties and make sure your cookies turn out just right.
1. Can I use salted butter instead of unsalted butter?
While you can technically use salted butter, I recommend sticking with unsalted butter for this recipe. Salted butter can alter the delicate balance of flavors in these cookies, and since the recipe already includes a small amount of salt, using salted butter may result in cookies that are a little too salty. For the best results, unsalted butter is the way to go.
2. My cookies didn’t spread much. Is that okay?
Absolutely! These cookies are meant to stay fairly thick and soft, so they won’t spread out as much as some other cookies. If they seem too puffy, it might be because your dough was a little too chilled when you shaped them. If you want them to spread more, simply flatten the dough balls a bit more before baking. Just be sure not to press them too hard—you still want that light, meltaway texture.
3. How do I store these cookies?
Zesty Lemon Meltaway Cookies are best enjoyed fresh, but they can easily be stored for up to 5 days. Store them in an airtight container at room temperature to keep them soft and fresh. If you live in a particularly humid environment, you might want to store them in the fridge to help preserve the texture. However, I’d recommend letting them come to room temperature before serving for the best melt-in-your-mouth experience.
4. Can I freeze these cookies?
Yes! These cookies freeze wonderfully, making them an excellent make-ahead option. After baking and cooling the cookies, arrange them in a single layer on a baking sheet and place them in the freezer for about 30 minutes. Once frozen, transfer the cookies to an airtight container or freezer bag, and they’ll keep for up to 3 months. When you’re ready to enjoy them, simply thaw them at room temperature and roll them in powdered sugar again if desired.
5. Can I add more lemon juice to the dough for extra lemon flavor?
You can absolutely add a little more lemon juice, but be cautious. Adding too much liquid could alter the dough’s consistency and make it harder to shape. If you want a stronger lemon flavor, try adding more lemon zest instead. The zest contains essential oils that pack a punch of lemon flavor without affecting the dough’s texture.
6. What can I substitute for the lemon zest if I don’t have fresh lemons?
If you don’t have fresh lemons on hand, you can use bottled lemon zest or lemon extract in a pinch. However, fresh lemon zest will give you the most vibrant and authentic flavor. If you’re using lemon extract, be sure to use just a small amount (about 1/2 teaspoon) because it can be quite potent.
7. Can I make these cookies larger or smaller?
Definitely! This recipe is quite flexible. If you prefer larger cookies, simply scoop out bigger portions of dough and adjust the baking time by a minute or two. For smaller cookies, reduce the dough portion to about a teaspoon and shorten the baking time accordingly (around 8-10 minutes). Just remember to keep an eye on them, as baking times can vary based on size.
Conclusion: Enjoy Your Zesty Lemon Meltaway Cookies!
And there you have it—everything you need to know about making these irresistible Zesty Lemon Meltaway Cookies. Whether you’re baking for a special occasion or just treating yourself to a batch of something sweet, these cookies will not disappoint. They’re light, buttery, and bursting with fresh lemon flavor that’s perfectly balanced with the sweetness of powdered sugar. Plus, the melt-in-your-mouth texture makes them utterly addictive!
I hope this guide has given you all the tools and tips you need to bake up a perfect batch of cookies. These little treats are sure to brighten anyone’s day, and I know you’ll love them just as much as I do. Don’t forget to experiment with your own flavor variations—whether you add a glaze, switch up the citrus, or try a new twist, there’s plenty of room for creativity in this recipe.
I’d love to hear how your cookies turn out! If you give this recipe a try, feel free to drop a comment or share any fun variations you’ve tried. Happy baking, and enjoy every bite of these zesty, meltaway delights!
Print
Zesty Lemon Meltaway Cookies
- Author: Andrew Recipes
Description
These Zesty Lemon Meltaway Cookies are light, buttery, and bursting with fresh lemon flavor. With a soft, melt-in-your-mouth texture, they are the perfect balance of sweetness and tang. Coated in a layer of powdered sugar, these cookies are a refreshing treat that will leave you craving more. Ideal for any occasion, they’re sure to brighten up your dessert table.
Ingredients
For the Cookies:
1 cup unsalted butter, softened
1/2 cup powdered sugar, sifted
1 tsp vanilla extract
Zest of 2 lemons (about 2 tbsp)
2 tbsp fresh lemon juice
2 cups all-purpose flour
1/4 tsp salt
For the Coating:
1 cup powdered sugar, sifted (for rolling)
Instructions
Preheat your oven to 350°F (175°C). Line a baking sheet with parchment paper or a silicone baking mat.
In a large mixing bowl, cream the softened butter and powdered sugar together until light and fluffy. Mix in the vanilla extract, lemon zest, and lemon juice until well combined. Gradually add the flour and salt, mixing on low speed until a soft dough forms. Be careful not to overmix.
Scoop out tablespoon-sized portions of dough and roll them into smooth balls between your palms. Place the balls on the prepared baking sheet, spacing them about 2 inches apart. Gently press down on each ball with the bottom of a glass or your fingers to slightly flatten them (optional).
Bake for 10–12 minutes, or until the edges are lightly golden. The cookies should remain pale in the center—do not overbake, as they will firm up as they cool.
Allow the cookies to cool on the baking sheet for 5 minutes before transferring them to a wire rack to cool completely. Once cooled, roll each cookie generously in powdered sugar until fully coated. For an extra snowy effect, roll them again just before serving. Enjoy!
Notes
To prevent overmixing the dough, make sure to mix the flour and salt in slowly and only until the dough comes together. Overworking the dough can result in less tender cookies.
These cookies are meant to stay pale in the center, so avoid baking them too long to maintain their soft and delicate texture.
For an extra burst of lemon flavor, you can add a small amount of lemon zest or juice to the powdered sugar coating for an enhanced citrusy finish.

