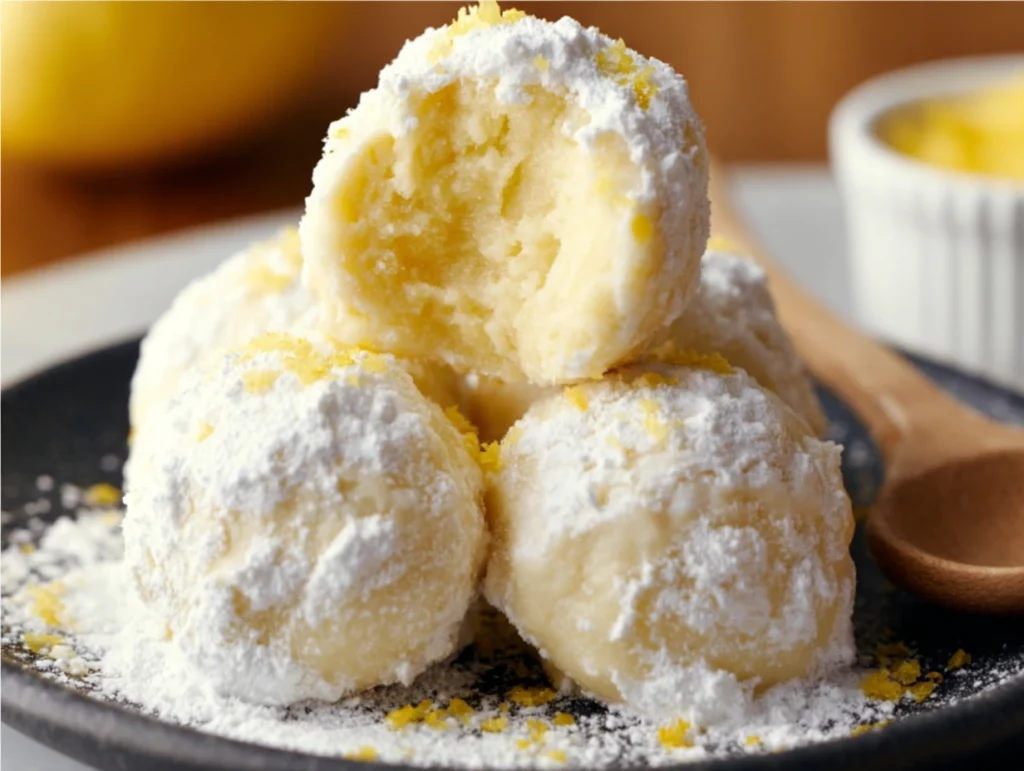
There’s something about the refreshing flavor of lemon that just screams summer, right? Whether it’s the sunshine outside or the craving for something light and sweet after a meal, lemon desserts always hit the spot for me. And let me tell you—these 3 Ingredient Lemon Truffles are exactly the kind of easy, no-fuss treat I turn to when I want something homemade but don’t want to spend hours in the kitchen.
This recipe is so simple, it almost feels like cheating. Just three basic ingredients—white chocolate, heavy cream, and lemon zest—come together to create the most luxurious, creamy truffles with a bright, citrusy kick. They’re chilled instead of baked, making them perfect for hot days when turning on the oven is just not an option. I’ve made these for everything from casual BBQs to bridal showers, and they disappear every single time.
These little gems are also super versatile—you can coat them in powdered sugar, crushed graham crackers, or even coconut flakes to dress them up a bit. And the best part? You probably already have everything you need in your pantry or fridge.
Let’s dive into just how easy it is to whip these up.

Ingredients You’ll Need:
1 cup white chocolate chips
¼ cup heavy cream
2 teaspoons lemon zest (plus extra for garnish)
STEP 1: Melt the Chocolate and Cream Together
Start by placing the white chocolate chips and heavy cream in a heatproof bowl. I like to use a glass bowl for this, just because it makes checking the consistency easier as you go.
Microwave the mixture in 20-second intervals, stirring well after each one. This step is key—white chocolate can scorch easily, so you want to keep a close eye on it. It usually takes about 3 rounds of microwaving to get it perfectly smooth and glossy.
Once everything’s melted and the mixture is silky, you’re ready for the next step.
STEP 2: Add the Lemon Zest
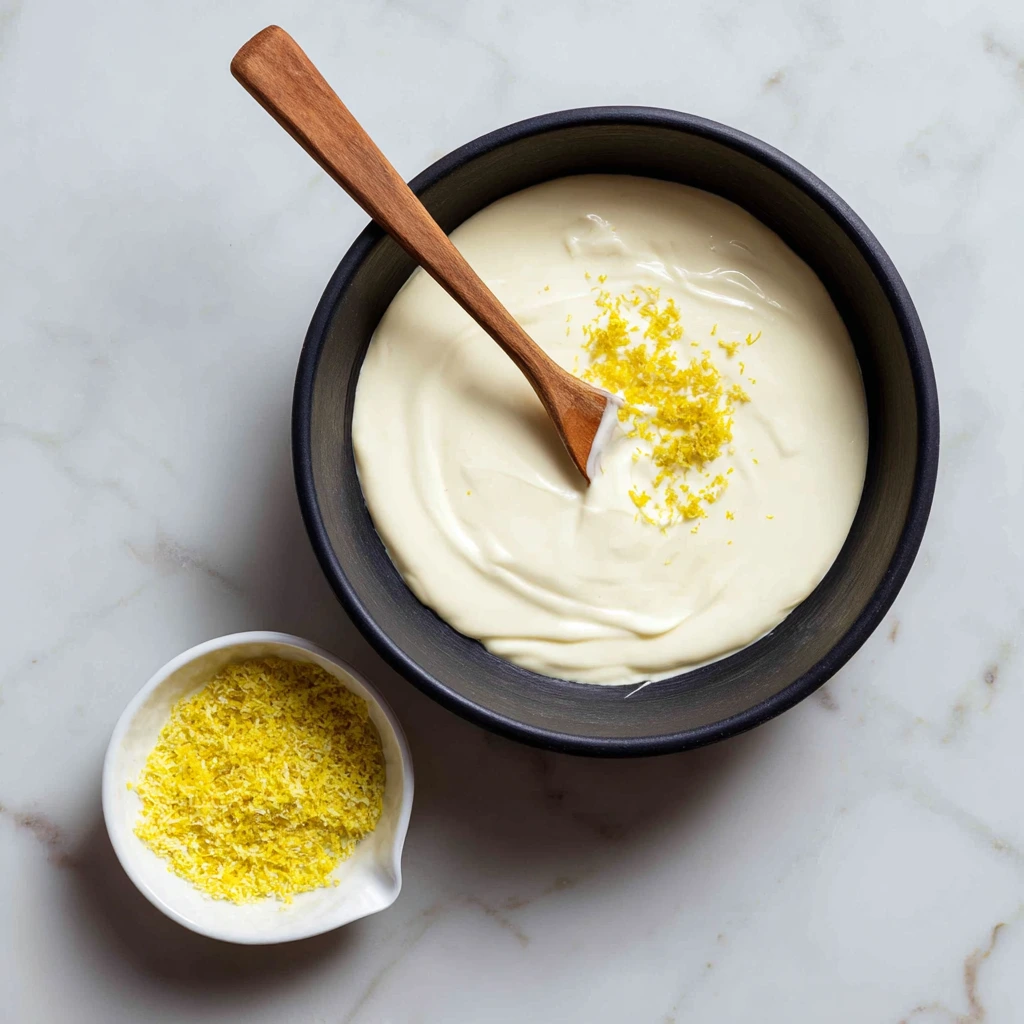
Now it’s time for the flavor punch! Stir in the lemon zest and mix it well into the warm chocolate. This is what gives the truffles that fresh, citrusy taste. I recommend using freshly grated zest for the brightest flavor—just be sure not to include the bitter white pith when you’re zesting.
Give the mixture a final stir to make sure the zest is evenly distributed.
STEP 3: Chill Until Firm
This part requires a little patience, but it’s worth the wait. Cover the bowl and pop it into the refrigerator for at least 1 to 2 hours. You want the mixture to be firm enough to scoop and roll—think thick, scoopable ganache.
If you’re short on time, you can speed things up by placing the bowl in the freezer for about 30-40 minutes, but don’t forget it in there! You want the truffle base chilled, not frozen solid.
Finishing and Customizing Your 3 Ingredient Lemon Truffles
Now that your lemony chocolate mixture has had time to chill and firm up, it’s time for the fun part—shaping and finishing your truffles! This is where the transformation really happens, and you’ll go from a simple mixture in a bowl to bite-sized treats that look (and taste) like they came from a boutique candy shop.
These lemon truffles are perfect for gifting, entertaining, or sneaking out of the fridge one by one after dinner (trust me, no judgment here). And because they’re so simple to customize, you can tweak them to fit any occasion—from spring brunches to baby showers and everything in between.
Let’s get rolling—literally.
STEP 4: Scoop and Shape the Truffles
Once your mixture is firm, remove it from the fridge and get ready to scoop. You can use a small spoon, cookie scoop, or melon baller to portion out the truffles. I find that about 1 tablespoon per truffle is the perfect size—big enough to be satisfying, but still easy to pop in your mouth.
Scoop out each portion and roll it between your palms to form smooth balls. The warmth of your hands will soften the chocolate just enough to get that perfect shape, so don’t worry if the mixture feels a little stiff at first.
Tip: If the mixture gets too soft while you’re rolling, pop it back into the fridge for a few minutes to firm up again.
STEP 5: Add Your Favorite Coatings (Optional But Fun!)
This is where you can really get creative. While these truffles are delicious as-is, a little coating goes a long way in making them extra special. Here are some of my favorite ways to finish them:
Extra Lemon Zest: Sprinkle a tiny bit of fresh zest over the top or roll the truffles lightly in zest for a fresh pop of color and flavor.
Powdered Sugar: A light dusting gives them that soft, snowball-like appearance and adds a touch of sweetness.
Crushed Graham Crackers: Adds a little crunch and a subtle pie-like flavor—so good!
Shredded Coconut: For a tropical twist, roll the truffles in finely shredded coconut.
White Chocolate Coating: If you’re feeling fancy, melt a bit of white chocolate and dip the truffles halfway for a pretty, glossy finish.
Feel free to mix and match toppings or create a variety platter with different coatings. It makes for a lovely presentation if you’re serving them at an event or packaging them as gifts.
STEP 6: Chill and Store Until Ready to Serve
After rolling and decorating, place the finished truffles on a parchment-lined tray and return them to the fridge. Let them chill for at least 30 minutes so they can firm up again.
These truffles are best stored in an airtight container in the refrigerator and will keep well for up to a week (though honestly, they never last that long in my house). You can also freeze them for longer storage—just allow them to thaw in the fridge before serving.
Tips & Variations to Make This Recipe Your Own
Amp Up the Lemon Flavor: If you’re a true lemon lover, try adding a drop or two of pure lemon extract to the mixture before chilling. It gives the truffles an extra punch of citrus that really shines.
Swap the Citrus: This recipe works just as well with orange or lime zest if you want to change up the flavor profile. Try blood orange zest for a beautiful pink hue and unique taste.
Make Them Vegan or Dairy-Free: Substitute the white chocolate chips with a dairy-free version and use coconut cream in place of heavy cream. The texture stays rich and creamy, and the coconut adds a lovely complement to the lemon.
Add a Crunchy Center: Want a little surprise inside? Pop a toasted almond, a piece of candied ginger, or even a mini marshmallow into the center of each truffle as you roll them.
Gift-Worthy Presentation: Pack the truffles in mini paper candy cups and place them in a gift box with a ribbon. They’re just as pretty as anything you’d find at a gourmet store.
3 Ingredient Lemon Truffles: FAQ and Final Thoughts
If you’ve made it this far, chances are you’re either ready to roll your lemon truffles or already munching on one—either way, I’m so glad you’re here! Before we wrap things up, I wanted to answer a few commonly asked questions I’ve received about this recipe. Whether it’s your first time making truffles or you’re a seasoned treat-maker, a few quick tips can make all the difference.

FAQ: Your Lemon Truffle Questions Answered
1. Can I use lemon juice instead of lemon zest?
Lemon juice might sound like a good swap, but it can actually make the mixture too wet and affect how well the truffles set. Lemon zest packs all the citrus flavor without adding extra moisture—so it’s definitely the better choice for this recipe.

2. What kind of white chocolate chips work best?
Go for high-quality white chocolate chips or baking bars. Some store-brand chips contain stabilizers that don’t melt as smoothly. If you have trouble melting the chocolate, adding a tiny bit of coconut oil can help smooth things out.
3. How long do these truffles last in the fridge?
They’ll stay fresh in an airtight container for up to 7 days in the refrigerator. If you’re planning to store them longer, you can freeze them for up to 1 month. Just let them thaw in the fridge before serving.
4. Can I double or triple the recipe for a party?
Absolutely! This recipe scales really well. Just be sure to chill the mixture long enough after melting so it firms up properly, especially if you’re making a big batch.
5. My truffles are too soft to roll—what went wrong?
Most likely, the mixture didn’t chill long enough or got too warm during handling. Just pop it back in the fridge (or freezer for a quick fix), and you should be able to shape them easily once it firms back up.
6. Are these truffles gluten-free?
Yes, the base recipe is naturally gluten-free. Just be mindful of your coating choices—if you’re using crushed cookies or graham crackers, make sure they’re gluten-free as well.
7. Can I use zest from other citrus fruits?
Definitely! This recipe is super versatile. Try orange zest for a sweeter flavor, lime for a tangy twist, or even a mix of lemon and lime for something a little more unique.
Final Thoughts: A Sweet & Simple Treat That Never Disappoints
There’s just something magical about a recipe that’s this simple yet this impressive. These 3 Ingredient Lemon Truffles check all the boxes: quick, delicious, beautiful, and endlessly customizable. Whether you’re making them for a sunny weekend get-together, packaging them up as edible gifts, or just treating yourself to a mid-week pick-me-up, they’re guaranteed to bring a little extra joy.
I always keep this recipe in my back pocket for last-minute dessert needs because it’s one of those crowd-pleasers that feels special without any of the stress. And let’s be honest—when dessert takes less than 15 minutes of hands-on time and still looks like you spent hours in the kitchen, that’s a total win.
Print
3 Ingredient Lemon Truffles
- Author: Andrew Recipes
Description
3 Ingredient Lemon Truffles are a quick and delightful no-bake treat bursting with bright citrus flavor. Made with simple pantry staples, these creamy, tangy truffles are perfect for spring and summer gatherings or whenever you crave something sweet and refreshing without the fuss.
Ingredients
1 cup white chocolate chips
¼ cup heavy cream
2 teaspoons lemon zest (plus extra for garnish)
Instructions
In a heatproof bowl, combine the white chocolate chips and heavy cream.
Microwave in 20-second intervals, stirring between each, until the mixture is smooth and fully melted.
Stir in the lemon zest and mix until evenly incorporated.
Refrigerate the mixture for 1-2 hours, or until firm enough to scoop.
Once chilled, use a small spoon or melon baller to scoop out portions and roll into balls using your hands.
Optional: Roll the truffles in extra lemon zest, powdered sugar, or crushed graham crackers for a finishing touch.
Store in the refrigerator until ready to serve.
Notes
These truffles can be coated in white chocolate or dusted with coconut for added texture. For a stronger lemon flavor, add a drop of lemon extract. Keep them chilled for the best texture and flavor, especially in warmer months. They’re a great make-ahead dessert for parties, showers, or holiday gifts.

