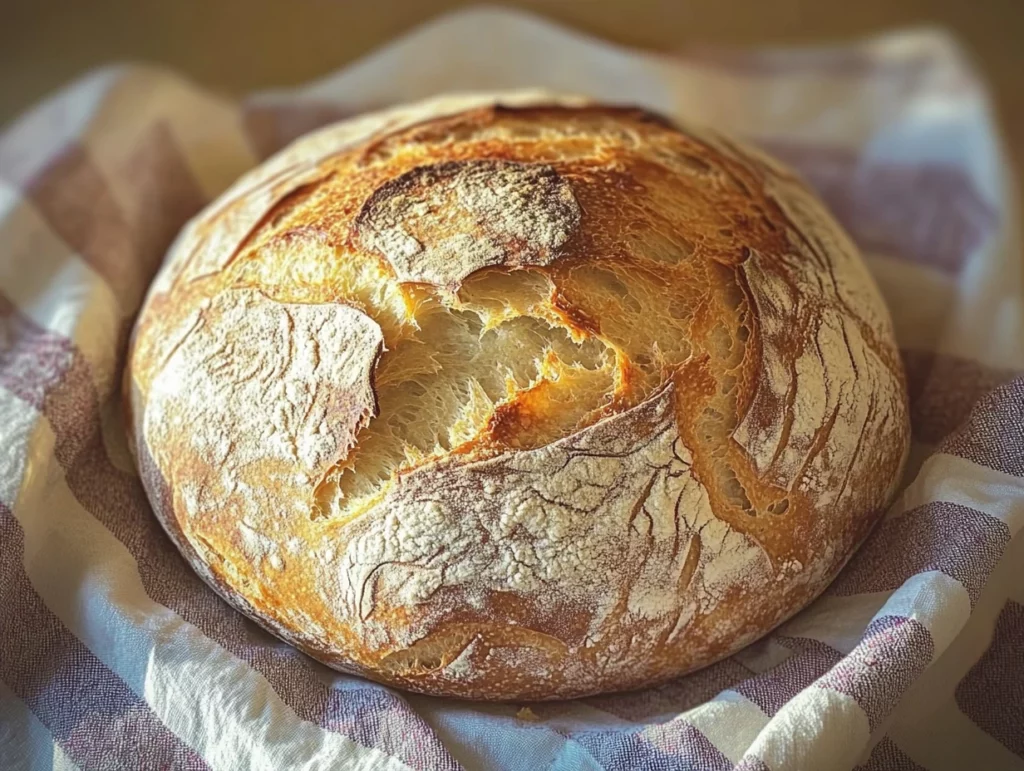
If you’ve ever been intimidated by homemade bread, let me tell you—this 4-Ingredient No-Knead Bread is about to change your baking life. No kneading, no fancy mixers, and no complicated steps. It’s rustic, chewy, golden, and completely irresistible. Best of all? The dough practically makes itself while you sleep.
This bread is perfect for those days when you want the smell of a fresh loaf wafting through your kitchen but don’t have the time (or energy) to babysit a dough. I’ve made it countless times—especially when hosting brunch or when we’re craving something cozy and homemade to go with soup. It never disappoints.
The best part? You only need a few pantry staples and a bit of patience. And trust me, the hands-off time is what makes the magic happen. That long rise gives you a chewy, open crumb interior and a crackly crust you’ll want to knock your knuckles on. If this is your first time baking bread, I promise—this one’s a winner.
Let’s get into the simple steps so you can have a fresh, bakery-style loaf cooling on your counter by tomorrow.
Ingredients You’ll Need (Makes 1 Loaf)
3 cups (360g) all-purpose flour or bread flour
1 ½ tsp salt
½ tsp instant yeast or active dry yeast
1 ½ cups (360ml) warm water (about 100°F / 38°C)
Optional: 1 tbsp honey or sugar for a hint of sweetness
STEP 1: Mix Your Dough (No Kneading, Promise!)
Start with a large mixing bowl. Toss in the flour, salt, and yeast. If you’re using active dry yeast instead of instant, feel free to dissolve it in the warm water first—just to help it get going.
Next, pour in the warm water. If you’re in the mood for a slightly sweet finish (or if you’re pairing this bread with jam later), stir in that optional tablespoon of honey or sugar here. Mix it all up using a wooden spoon or even just your hand until a shaggy, sticky dough forms. Don’t worry if it looks messy—this is exactly what you want. The dough should be moist and a little sticky, but not watery.
You’re not aiming for smooth perfection here. In fact, forget kneading altogether. That’s the beauty of this method: the long fermentation does all the heavy lifting for you.

STEP 2: Let It Rest—Hands Off for 12-18 Hours
Once your dough is mixed, cover the bowl tightly with plastic wrap or a clean, damp towel. Leave it out at room temperature—no need for a warm oven or any special tricks. Just let it sit on the counter.
This is where the real transformation happens. Over the next 12 to 18 hours, the dough will become puffy, airy, and beautifully bubbly. It should just about double in size and be filled with small holes when you take a peek later. Those air pockets? That’s what gives this bread its artisan-style crumb.
Tip: If your kitchen is cooler (especially in winter), let the dough rest closer to the 18-hour mark for best results.
STEP 3: Shape and Prep for the Oven
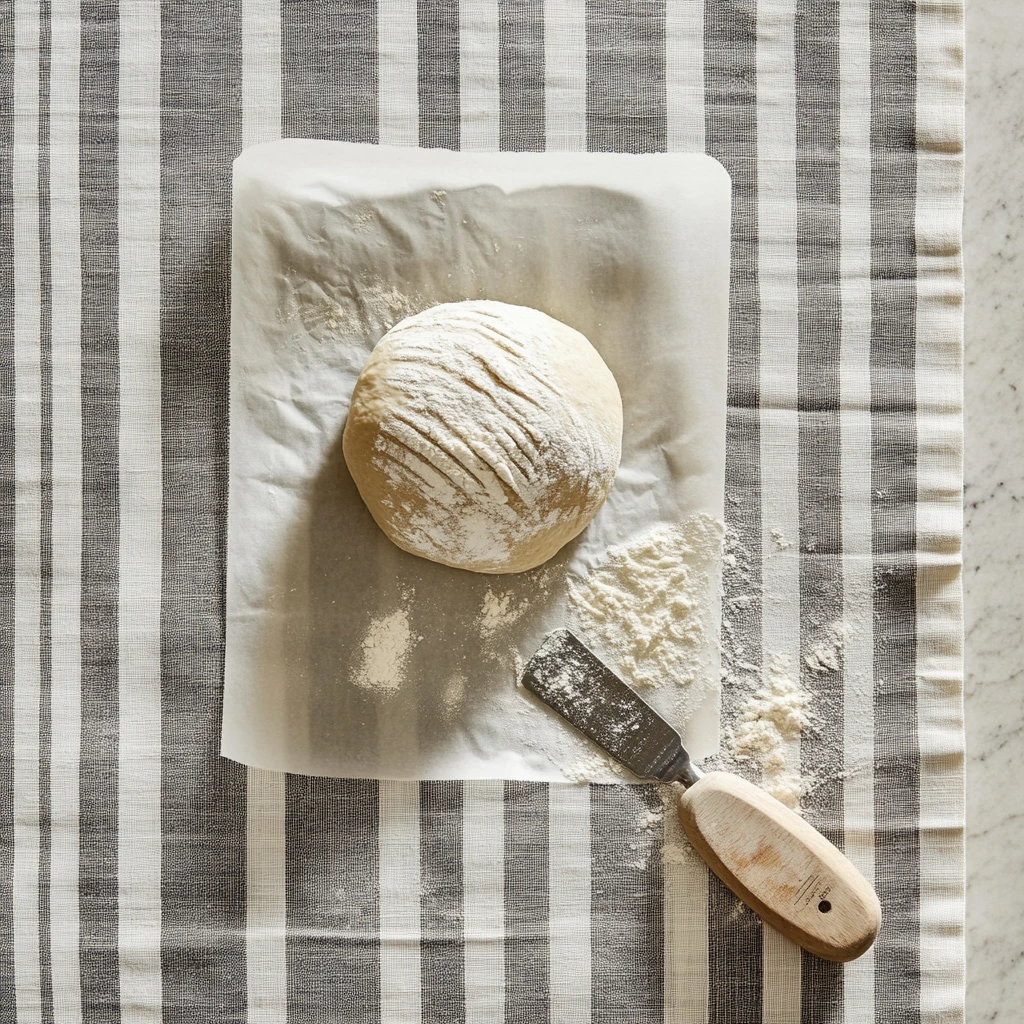
When you’re ready to bake, lightly flour your hands and your work surface. Carefully turn the dough out of the bowl—be gentle here. You don’t want to knock out too many of those gorgeous air bubbles.
Shape the dough into a loose ball or round loaf. Don’t overwork it—just enough to tuck the edges under so it holds its shape. Place it on a piece of parchment paper and cover it loosely with a towel or plastic wrap. Let it rest one more time for about 30 minutes while your oven preheats.
Speaking of which…
Bake It Like a Pro: Finishing Your No-Knead Artisan Bread
Now that your dough has rested, bubbled, and puffed up into that beautiful round loaf, it’s time for the fun part—baking your no-knead bread to golden, crusty perfection. This next stage is where that humble shaggy dough transforms into something you’d swear came from a local bakery.
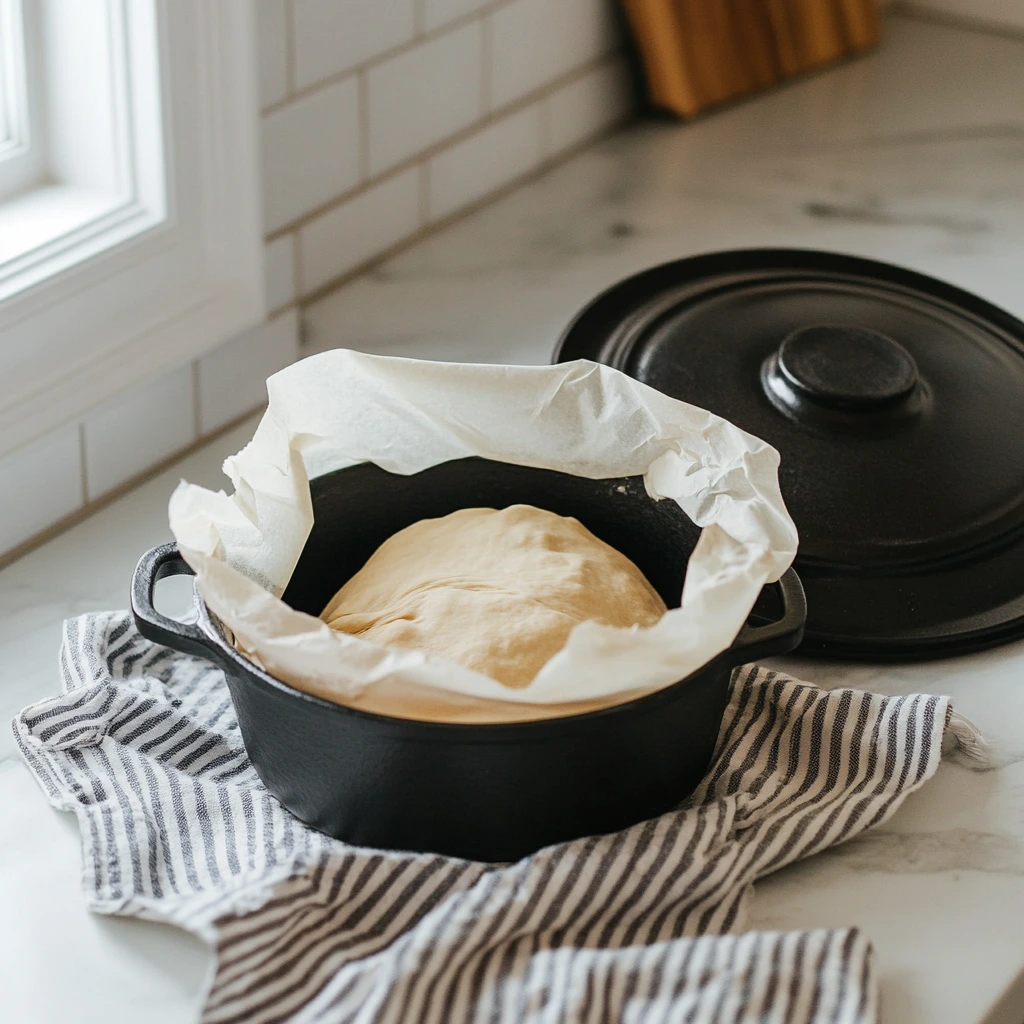
One of the secrets to this recipe’s success is using a preheated Dutch oven. That hot, enclosed environment works like a steam oven, helping the crust develop a crisp, golden finish while the interior stays chewy and light. Trust me, the first time I pulled this loaf from the oven, I couldn’t believe I had made it myself.
Let’s jump back in and finish strong!
STEP 4: Preheat and Bake
While your dough is resting for the final 30 minutes, set your oven to 450°F (230°C). Place a Dutch oven—or any heavy lidded pot—inside the oven to preheat along with it. This part is really important. The pot needs to be hot before your dough goes in to give it that instant burst of steam that helps form the crust.
Once the oven and pot are hot, carefully remove the Dutch oven (use oven mitts—it’s seriously hot) and remove the lid. Using the parchment paper as handles, lift the dough and gently place it (parchment and all) into the hot pot.
Cover with the lid and bake for 30 minutes.
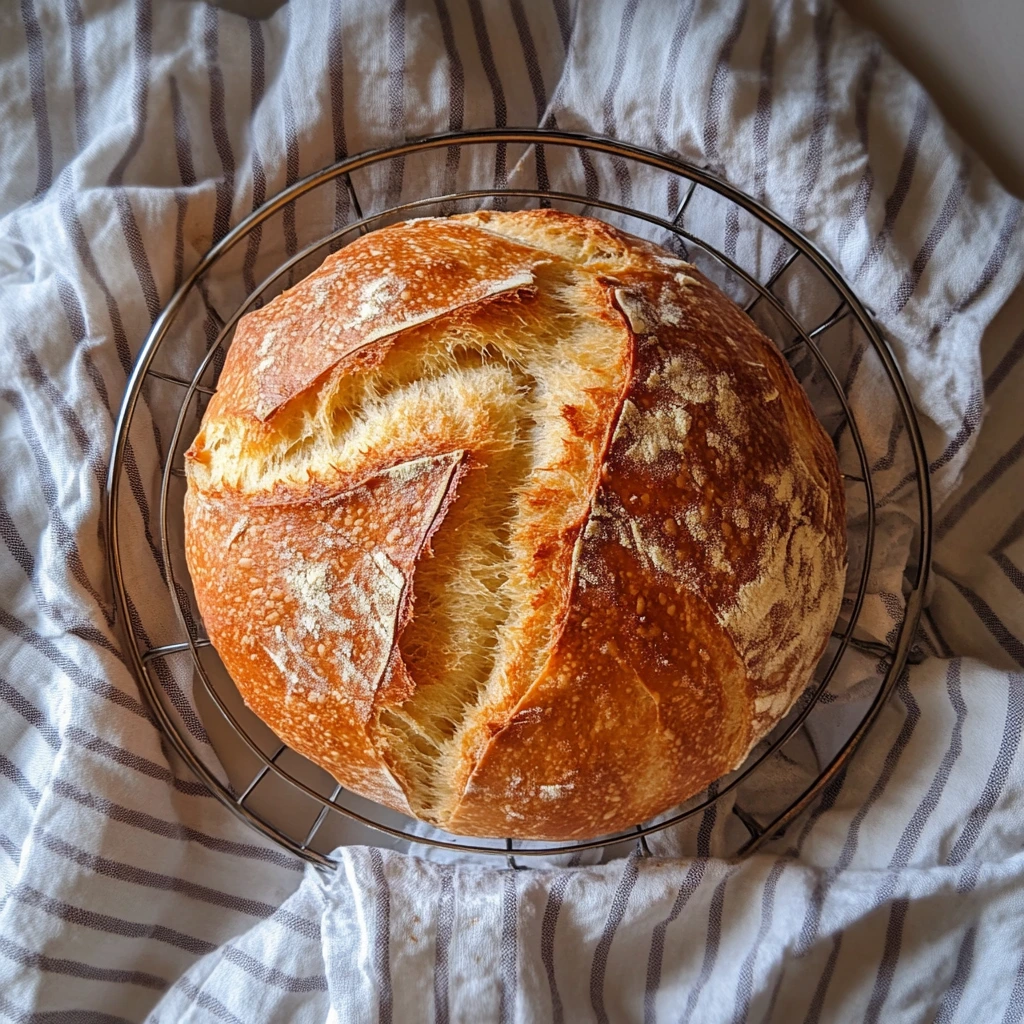
After those first 30 minutes, remove the lid and continue baking for another 10 to 15 minutes. Keep an eye on it during this final stretch. You’re looking for a deep golden-brown crust. It should look rustic and feel firm when you gently tap it with a spoon.
Tip: If you prefer an extra-dark crust (like a classic French-style boule), let it go the full 15 minutes uncovered. The flavor gets even deeper and more complex.
STEP 5: Cool Before Slicing
As tempting as it is to dive right in, resist the urge to slice your bread the second it’s out of the oven. Once baked, remove it from the Dutch oven and place it on a wire rack to cool for at least 1 hour.
I know. It’s tough. The smell is outrageous. But trust me—this is one of the most important steps.
Letting the bread cool allows the steam inside to finish working its magic, setting the crumb (that beautiful interior texture) and deepening the flavor. Cutting it too early can result in a gummy or doughy center. If you’ve ever had homemade bread turn out that way, chances are it was sliced too soon.
Extra Tips and Customizations
One of the reasons I love this recipe is that it’s not only simple—it’s flexible. Once you’ve mastered the base version, you can totally make it your own.
Try these fun variations:
Herb & Garlic Loaf: Add 1–2 teaspoons of dried rosemary, thyme, or Italian seasoning to the dry ingredients. Mix in a bit of granulated garlic for extra punch.
Seeded Crust: After shaping the dough, roll it gently in a mix of sesame, flax, or poppy seeds before placing it on parchment paper.
Cheesy Twist: Fold in ½ cup of shredded sharp cheddar or parmesan when mixing the dough. The result? Gooey pockets of cheese baked right into the crumb.
Sweet Option: Add chopped dried fruit (like cranberries or figs) and a tablespoon of honey or brown sugar for a lightly sweet breakfast loaf.
You can also experiment with different flours—a 50/50 mix of whole wheat and all-purpose adds depth and nuttiness, though it may produce a slightly denser loaf.
Storage and Leftovers
This bread is best the day it’s baked, especially if you’re going for that crackly crust. But it holds up well for a few days if stored properly. Once fully cooled:
Store at room temperature, wrapped in a clean kitchen towel or in a paper bag to help retain the crust.
Avoid plastic wrap or airtight containers, which can make the crust go soft.
To re-crisp the crust, pop slices in the toaster or warm the whole loaf in a 300°F oven for 10–15 minutes.
And yes, it makes incredible toast. Especially the next day, slathered with butter or dipped into a warm bowl of soup.
Your No-Knead Bread Questions, Answered + Final Thoughts
By now, your kitchen is probably filled with that incredible smell only freshly baked bread can offer. You’ve gone from mixing a shaggy dough to slicing into a crusty, artisan-style loaf—all with four ingredients and practically no effort. That’s the magic of no-knead bread, and once you’ve tried it, it’s hard to go back.
Before we wrap things up, let’s tackle some of the most common questions people have about this recipe. Whether it’s your first time baking bread or you’re just looking for a few extra tips, this FAQ section will help you feel confident every time.
Frequently Asked Questions
1. Can I use whole wheat flour instead of all-purpose flour?
Yes, you can swap up to half of the all-purpose flour for whole wheat. Just know that whole wheat absorbs more moisture and can result in a denser loaf. You might need to add a tablespoon or two of extra water to keep the dough moist.
2. What if I don’t have a Dutch oven?
No problem! You can use any oven-safe pot with a lid. A heavy ceramic or cast iron pot works best, but in a pinch, you can bake the loaf on a baking sheet with an inverted metal bowl or foil tent to create a steam environment. The crust might be slightly different, but still delicious.
3. My dough didn’t rise much—what happened?
A few things can affect the rise:
If your yeast is old or expired, it might not be active.
If your kitchen is cool, the dough may need closer to 18 hours to fully rise.
Make sure the water is warm, not hot—too high of a temperature can kill the yeast. Aim for around 100°F (38°C).
4. Can I speed up the process if I’m short on time?
This recipe is built around a long fermentation for that deep flavor and chewy texture, but if you’re in a rush, you can let the dough rise for 4–6 hours in a slightly warm spot, then proceed with shaping and baking. The flavor won’t be quite as complex, but it’ll still be good.
5. How do I know when the bread is done baking?
Look for a deep golden crust. The loaf should sound hollow when tapped on the bottom. If you’re unsure, you can use a food thermometer—your bread is fully baked when the internal temp reaches about 200°F (93°C).
6. Why do I have to wait before slicing the bread?
Letting the bread cool gives the crumb time to set. If you cut into it too soon, it can become gummy or collapse slightly. The cooling period is just as important as baking when it comes to texture and flavor.
7. Can I freeze the baked loaf?
Absolutely. Once the bread is completely cooled, wrap it tightly in plastic wrap and then foil. It can be frozen for up to 3 months. To reheat, let it thaw at room temperature and warm it in the oven to re-crisp the crust.
Final Thoughts: Give This Bread a Try—You’ll Be Hooked
If you’ve made it this far, I hope you’re feeling inspired to bake this simple yet impressive loaf. Whether it’s your first time baking bread or you’re a seasoned home cook looking for a reliable go-to recipe, this 4-ingredient no-knead bread is one you’ll want to keep in your rotation.
It’s hard to beat the feeling of pulling a homemade loaf from the oven—crackling as it cools, golden and crisp on the outside, soft and chewy on the inside. Serve it with soup, top it with avocado, or just tear off a piece and dip it in olive oil. However you enjoy it, this bread brings a little bakery magic into your kitchen.
I’d love to hear how it turns out for you. Did you stick to the classic recipe, or did you get creative with mix-ins? Let me know in the comments what you added—I’m always looking for new twists to try.
And if you’re like me, don’t be surprised if this becomes a weekly habit. Once you realize how easy and rewarding it is to bake your own bread, you might just start skipping the bakery altogether.
Print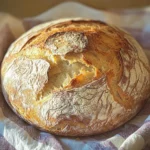
4-Ingredient No-Knead Bread
- Author: Andrew Recipes
Description
This no-knead bread recipe is a game changer for home bakers—simple ingredients, no special tools, and minimal effort yield a crusty, artisan-style loaf with a chewy interior and golden crust. Perfect for beginners or anyone craving fresh, homemade bread without the fuss.
Ingredients
3 cups (360g) all-purpose flour or bread flour
1 ½ tsp salt
½ tsp instant yeast or active dry yeast
1 ½ cups (360ml) warm water (around 100°F / 38°C)
Optional: 1 tbsp honey or sugar for a hint of sweetness
Instructions
1️⃣ In a large mixing bowl, combine the flour, salt, and yeast. Add the warm water and mix until a shaggy, sticky dough forms. Ensure there is no dry flour left, but do not knead.
2️⃣ Cover the bowl tightly with plastic wrap or a clean damp towel. Let the dough rest at room temperature for 12 to 18 hours, until it is bubbly and has expanded significantly.
3️⃣ Lightly flour your hands and work surface. Turn the dough out and gently shape it into a round loaf, being careful not to deflate the bubbles too much. Place the shaped dough on a piece of parchment paper. Cover it loosely and let it rest for 30 minutes.
4️⃣ While the dough is resting, preheat your oven to 450°F (230°C). Place a Dutch oven or heavy lidded pot inside to preheat. When ready, carefully transfer the dough along with the parchment paper into the hot Dutch oven. Cover and bake for 30 minutes, then remove the lid and bake an additional 10 to 15 minutes, or until the crust is deeply golden and crisp.
5️⃣ Remove the bread from the pot and let it cool on a wire rack for at least 1 hour before slicing. This allows the crumb to set and enhances flavor and texture.
Notes
This bread can be customized with add-ins like herbs, seeds, or chopped nuts for extra flavor. The long fermentation time builds complex flavor and structure without kneading. If using active dry yeast, you can dissolve it in the warm water first before adding to the flour. Store leftovers in a paper bag or wrapped in a clean towel for best texture.

