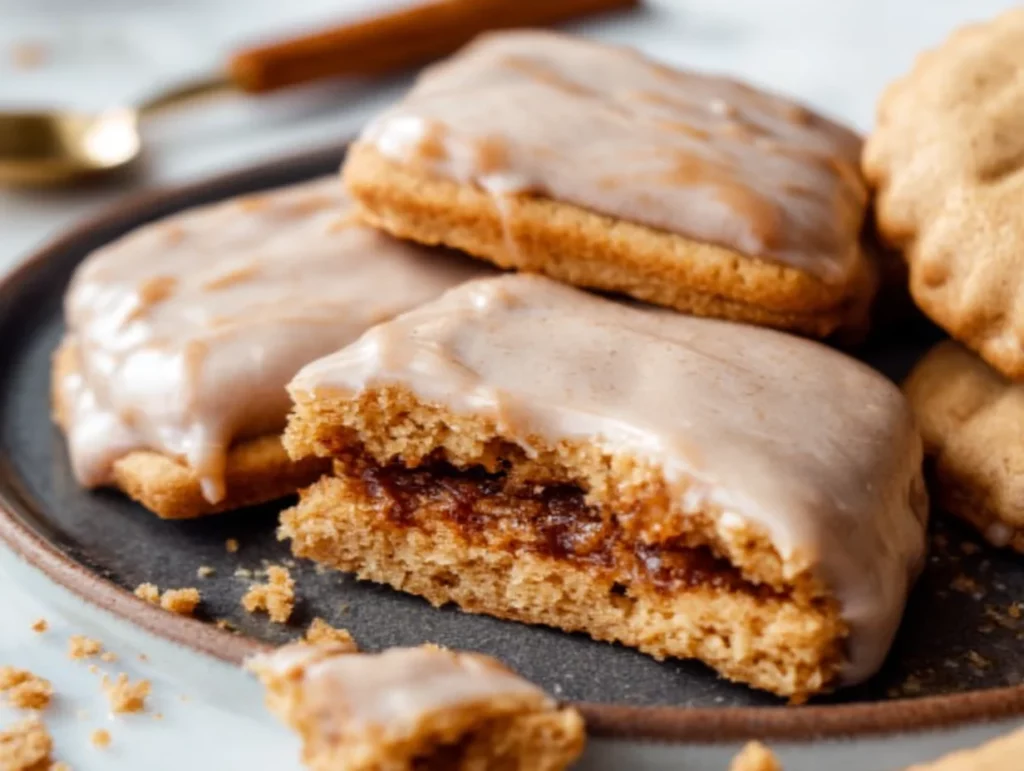
If you’re anything like me, brown sugar cinnamon Pop Tarts were a major part of your childhood. Toasted or not, they were that perfect blend of warm cinnamon, brown sugar sweetness, and flaky pastry that just hit the spot every single time. So when I started experimenting in the kitchen and the idea for Brown Sugar Pop Tart Cookies came to life, it felt like coming full circle. And trust me—these cookies are every bit as comforting, cozy, and crave-worthy as the classic toaster treat they’re inspired by.
The best part? These cookies don’t just mimic the flavor of Pop Tarts—they actually include them. Yep, there are bits of real brown sugar cinnamon Pop Tarts baked right into the dough. Add in a buttery, soft cookie base and a simple cinnamon glaze on top, and you’ve got something that’s part nostalgic treat, part bakery-style cookie, and 100% worth making.
These are perfect for casual snacking, sharing with friends, or adding a fun twist to your next dessert tray. And don’t worry, I’ll walk you through everything—step by step. So whether you’re a seasoned baker or a beginner just trying to keep your cookies from flattening into pancakes, you’re in the right place.
Let’s get started with the first part of the recipe!

Ingredients You’ll Need
Before we get into mixing and baking, here’s what you’ll want to gather:
For the cookies:
1 cup unsalted butter, softened
1 cup light brown sugar
½ cup granulated sugar
2 large eggs
2 teaspoons vanilla extract
2 ¾ cups all-purpose flour
1 teaspoon baking soda
½ teaspoon salt
1 teaspoon ground cinnamon
2 brown sugar cinnamon Pop Tarts, chopped into small pieces
For the glaze:
1 cup powdered sugar
2 tablespoons milk
¼ teaspoon vanilla extract
Pinch of cinnamon
STEP 1: PREHEAT AND PREP
First things first—preheat your oven to 350°F and line a baking sheet with parchment paper. This keeps your cookies from sticking and makes cleanup a breeze. If you’re using multiple pans, go ahead and prep those now too.
STEP 2: CREAM YOUR BUTTER AND SUGARS
In a large mixing bowl, cream together your softened butter, light brown sugar, and granulated sugar until the mixture is light and fluffy. You can use a stand mixer or a hand mixer here—whatever you have on hand. This step usually takes about 2–3 minutes on medium speed. The texture should be smooth, creamy, and well blended.
Tip: Make sure your butter is truly softened—not melted. Room temperature butter creates that perfect fluffy base that helps the cookies hold their shape.
STEP 3: ADD IN EGGS AND VANILLA
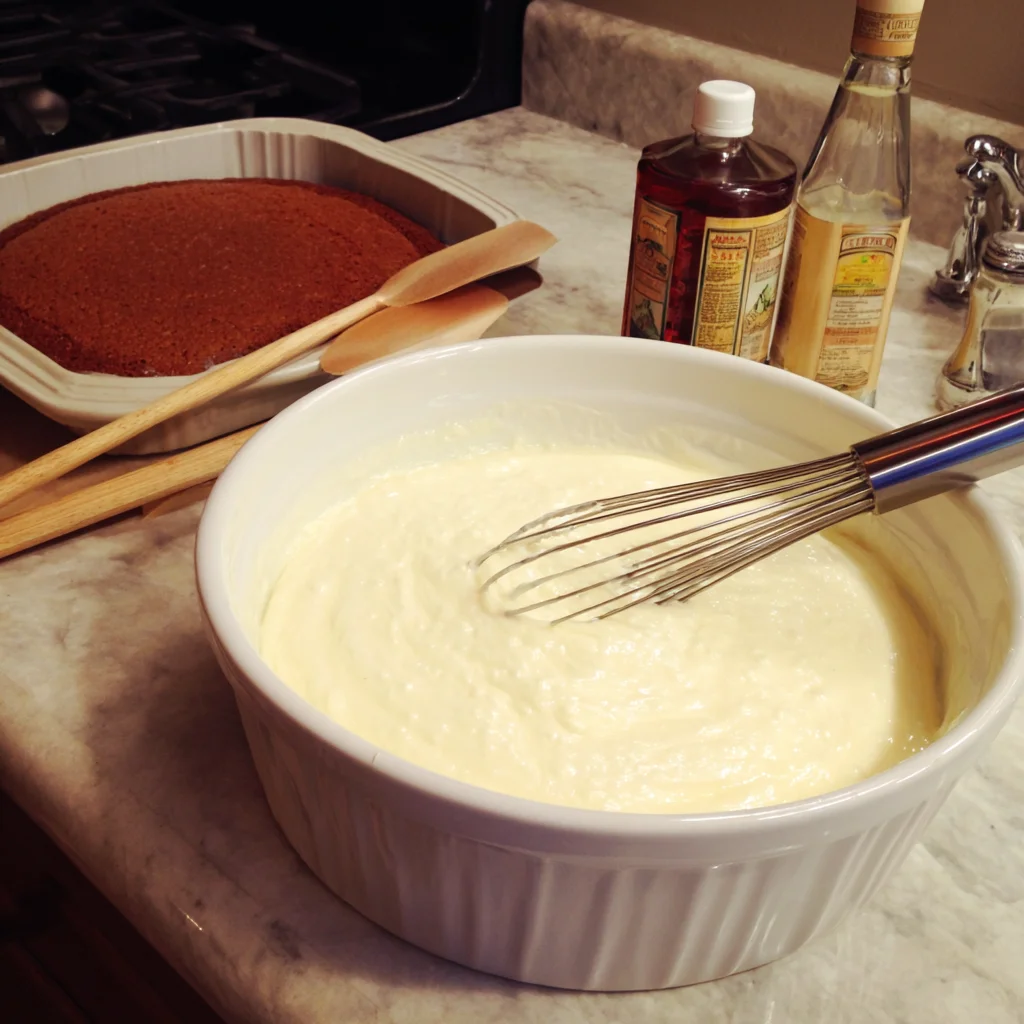
Once your butter and sugars are creamed, add the eggs one at a time, mixing well after each one. Then, pour in your vanilla extract and give everything another quick mix until combined. At this point, your dough will start smelling really good—like buttery cinnamon heaven.
STEP 4: MIX DRY INGREDIENTS SEPARATELY
In another bowl, whisk together the flour, baking soda, salt, and ground cinnamon. Mixing these separately before adding them to the wet ingredients helps make sure everything gets evenly distributed (and keeps you from overmixing later).
Now slowly add the dry mixture to the wet mixture, a bit at a time, stirring just until everything comes together. Don’t overmix here—you want the dough to be thick but not tough.
STEP 5: FOLD IN THE POP TART PIECES
Here comes the fun part! Gently fold in the chopped brown sugar cinnamon Pop Tart pieces. Make sure the pieces are small—about the size of chocolate chips or slightly larger—so they spread evenly throughout the dough. You want a little bit of Pop Tart in every single bite.
Optional Tip: Want a little extra crunch? Try toasting the Pop Tarts before chopping them. It adds a subtle crispiness that plays really well with the soft cookie texture.
Brown Sugar Pop Tart Cookies: A Sweet Throwback You’ll Love Baking
Welcome back! In Part 1, we mixed up a buttery, cinnamon-sweet cookie dough and folded in the star ingredient—actual chunks of brown sugar cinnamon Pop Tarts. Now it’s time to bring those cookies to life. We’re moving into the baking stage, glazing, and of course, a few helpful tips and tricks to make sure everything comes out just right.
Let’s keep going—you’re only a few simple steps away from cookie greatness.
STEP 6: SCOOP THE COOKIE DOUGH
Once your dough is fully mixed and loaded with Pop Tart pieces, it’s time to get them onto your baking sheet.
Use a cookie scoop or a rounded tablespoon to portion out the dough. Place each scoop on the prepared baking sheet, spacing them a few inches apart—about 2 to 3 inches should do it. These cookies spread just a little, so give them some room to breathe.
If you like a more uniform, bakery-style look, you can gently roll the scoops into smooth balls before placing them on the tray. It’s not required, but it makes a difference in presentation.
STEP 7: BAKE TO GOLDEN PERFECTION
Pop your tray into the oven and bake the cookies at 350°F for 10 to 12 minutes. Keep an eye on them around the 10-minute mark. You’re looking for light golden edges and set centers. The middle might look slightly underdone—that’s perfect. They’ll continue to firm up as they cool.
For softer cookies: Stick to the 10-minute range.
For crispier edges: Go closer to 12 minutes.
Tip: Every oven bakes a little differently. If it’s your first time making these, try baking a test batch of just two cookies to see how your oven handles them.
Once baked, let the cookies cool on the sheet for about 5 minutes. This gives them time to set without overbaking. Then transfer them to a wire rack to cool completely.
STEP 8: MIX UP THE CINNAMON GLAZE
Now let’s talk glaze—the finishing touch that brings all those Pop Tart vibes together.
In a small bowl, whisk together:
1 cup powdered sugar
2 tablespoons milk
¼ teaspoon vanilla extract
A pinch of cinnamon
Whisk until smooth. If it’s too thick, add a tiny splash of milk. If it’s too thin, a little extra powdered sugar will thicken it up quickly.
This glaze isn’t just for looks—it adds that extra sweetness and flavor that makes the cookie taste like a handheld version of your favorite toaster pastry.

STEP 9: DRIZZLE & SET
Once the cookies are completely cooled (seriously, wait until they’re cool or the glaze will melt right off), drizzle the glaze over the tops using a spoon or small piping bag. You don’t need a fancy technique here—just a back-and-forth motion works beautifully.
Let the glaze set for about 20–30 minutes before storing or serving. If you’re in a rush, you can pop the cookies into the fridge for 10 minutes to help the glaze harden a bit faster.
Storage Tips and Make-Ahead Options
Here’s what you need to know to keep your cookies fresh and delicious:
Storage: These cookies will stay soft and chewy for several days if stored in an airtight container at room temperature.
Freezing (without glaze): If you’re planning ahead, you can freeze the cookies before glazing. Just let them cool completely, store in a freezer-safe bag or container, and they’ll keep for up to 2 months. When ready to serve, thaw and glaze.
Freezing dough: You can also freeze the unbaked dough balls. Place them on a tray to freeze individually, then transfer to a bag. Bake directly from frozen, just add 1–2 minutes to the bake time.
Fun Variations to Try
Feeling adventurous? Here are a few fun twists:
Switch up the Pop Tart flavor: Try using other Pop Tart varieties like Frosted Strawberry, Blueberry, or even Cookies & Cream for a different vibe.
Add white chocolate chips: A handful of white chocolate chips folded into the dough adds extra sweetness and creamy texture.
Cinnamon sugar topping: Before baking, sprinkle a little cinnamon sugar mix over the dough balls for a crisp, caramelized top.
Brown Sugar Pop Tart Cookies: A Sweet Throwback You’ll Love Baking
You’ve made it to the final stretch, and by now, your kitchen probably smells like a cozy bakery. These Brown Sugar Pop Tart Cookies are the kind of treat that brings a little nostalgia with every bite—especially if you grew up eating those iconic toaster pastries before school or as an after-dinner snack.
Now that we’ve gone through all the baking steps, let’s get into some of the most common questions readers have asked. Whether it’s about storing, swapping ingredients, or customizing the recipe, I’ve got you covered.
Frequently Asked Questions
1. Can I use other flavors of Pop Tarts in this recipe?
Absolutely! While the brown sugar cinnamon flavor gives that classic, spiced sweetness, this recipe works well with other Pop Tart varieties too. Strawberry, blueberry, or even s’mores can bring a fun twist. Just be sure to chop the Pop Tarts into small, even pieces so they blend well into the dough.
2. Do I have to toast the Pop Tarts before adding them to the dough?
Not at all. It’s completely optional. Toasting them can add a little crunch and depth of flavor, but if you’re short on time or prefer a softer texture, you can skip this step. Either way, the cookies will turn out delicious.
3. Can I make the dough ahead of time?
Yes! The dough can be made ahead and stored in the refrigerator for up to 48 hours. Just be sure to cover it tightly. If the dough feels too firm when you’re ready to bake, let it sit at room temperature for 10–15 minutes before scooping.
4. What’s the best way to store the finished cookies?
Once the glaze has set completely, you can store the cookies in an airtight container at room temperature for 3–4 days. If you need them to last longer, freeze the unglazed cookies for up to 2 months. Add the glaze after thawing for the best texture.
5. Can I skip the glaze?
You can, but I highly recommend including it. The glaze gives these cookies that true Pop Tart feel and adds an extra layer of sweetness. If you prefer a less sweet cookie, you can reduce the amount of glaze or drizzle more lightly.
6. How do I keep the cookies soft?
To keep your cookies soft and chewy, store them in a tightly sealed container with a slice of bread or a few marshmallows. This helps maintain moisture. Also, be careful not to overbake—they should look just set in the center when you pull them from the oven.
7. Can I make this recipe gluten-free?
You can try using a 1:1 gluten-free flour substitute. Just make sure to use a blend that includes xanthan gum for structure. Keep in mind that Pop Tarts themselves are not gluten-free, so you’d need to find a gluten-free toaster pastry or skip them altogether and rely on the cinnamon-sugar flavoring.
Final Thoughts
These Brown Sugar Pop Tart Cookies are everything I love about baking: familiar flavors, easy steps, and a fun twist on a childhood classic. Whether you’re making them for a bake sale, an after-school snack, or just because you’re craving something sweet and nostalgic, they’re sure to bring smiles all around.
And here’s the best part—they’re totally customizable. Once you’ve mastered the basic recipe, you can switch up the Pop Tart flavor, add a little crunch with toasted nuts, or get fancy with your glaze game. The base is soft, chewy, and full of cinnamon-brown sugar goodness, so whatever spin you put on it will still feel like a treat.
Print
Brown Sugar Pop Tart Cookies
- Author: Andrew Recipes
Description
Brown sugar Pop Tart cookies are soft, chewy treats inspired by the nostalgic flavor of the classic toaster pastry. These cookies combine buttery dough with cinnamon-brown sugar filling, bits of actual Pop Tarts, and a sweet glaze that mirrors the original. Perfect for dessert tables or afternoon snacking, they deliver a satisfying blend of crunch, sweetness, and spice.
Ingredients
1 cup unsalted butter, softened
1 cup light brown sugar
½ cup granulated sugar
2 large eggs
2 teaspoons vanilla extract
2 ¾ cups all-purpose flour
1 teaspoon baking soda
½ teaspoon salt
1 teaspoon ground cinnamon
2 brown sugar cinnamon Pop Tarts, chopped into small pieces
For the glaze:
1 cup powdered sugar
2 tablespoons milk
¼ teaspoon vanilla extract
Pinch of cinnamon
Instructions
Preheat the oven to 350°F and line a baking sheet with parchment paper.
In a large bowl, cream the butter, brown sugar, and granulated sugar together until light and fluffy. Beat in the eggs one at a time, then add the vanilla extract.
In a separate bowl, whisk together the flour, baking soda, salt, and cinnamon. Gradually add the dry ingredients to the wet mixture, mixing until just combined.
Gently fold in the chopped Pop Tart pieces until evenly distributed throughout the dough.
Scoop dough onto the prepared baking sheet, spacing each cookie a few inches apart. Bake for 10 to 12 minutes or until the edges are golden brown and the centers are set. Let the cookies cool on the baking sheet for a few minutes before transferring them to a wire rack.
To make the glaze, whisk together powdered sugar, milk, vanilla extract, and cinnamon until smooth. Drizzle over cooled cookies and allow the glaze to set.
Notes
For extra texture, you can toast the Pop Tarts before chopping them. If you prefer crispier edges, bake a minute or two longer. These cookies store well in an airtight container for several days and can also be frozen without the glaze for later enjoyment.

